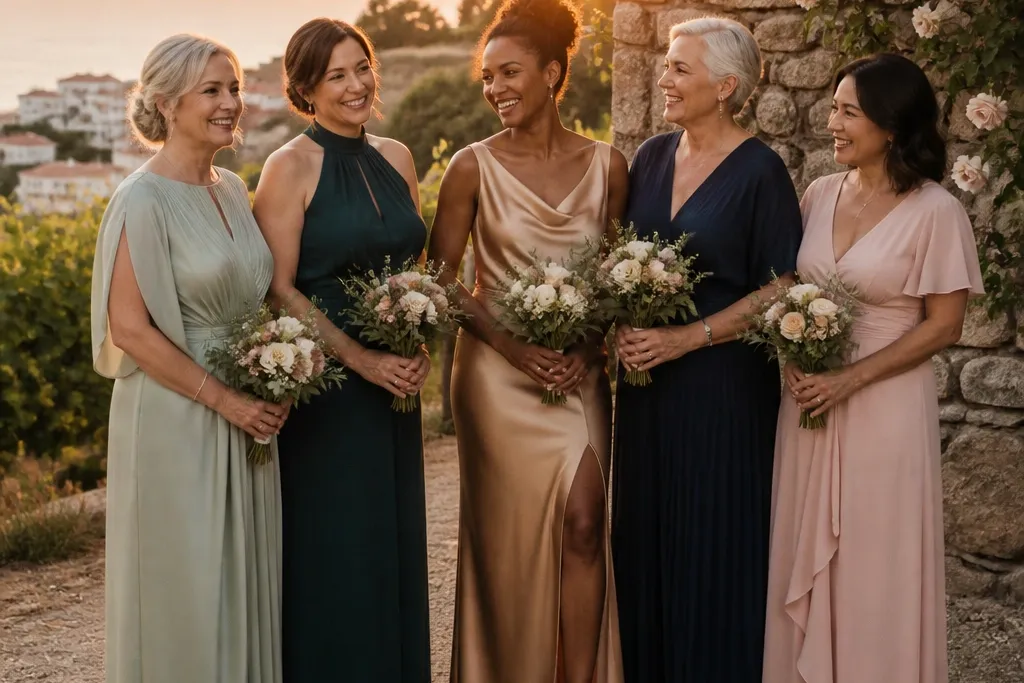
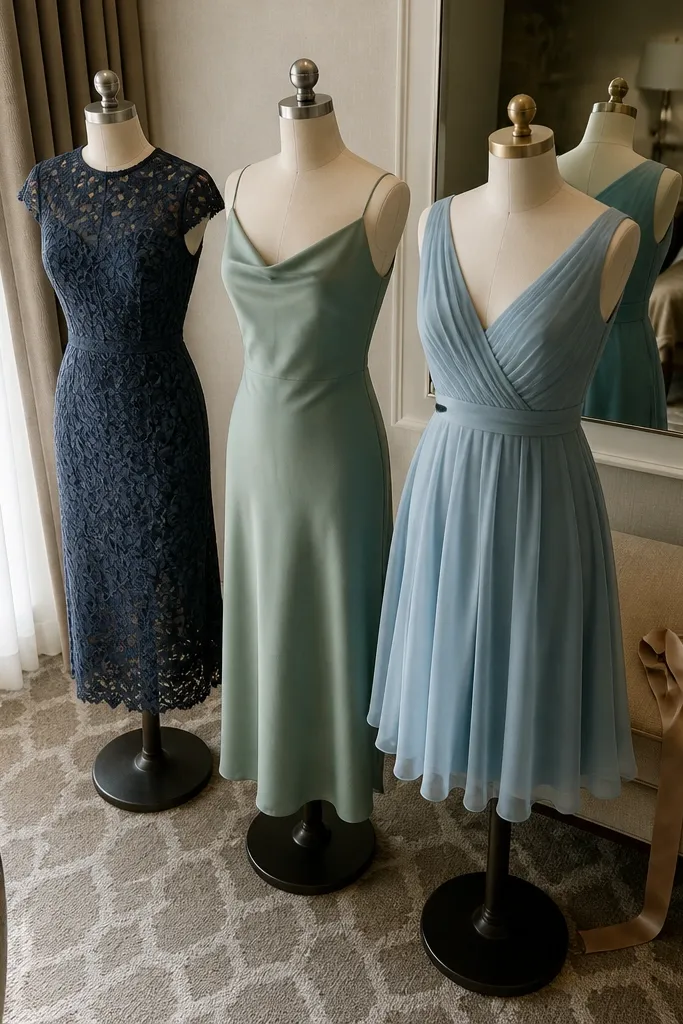
1. Satin Column with a High Side Slit
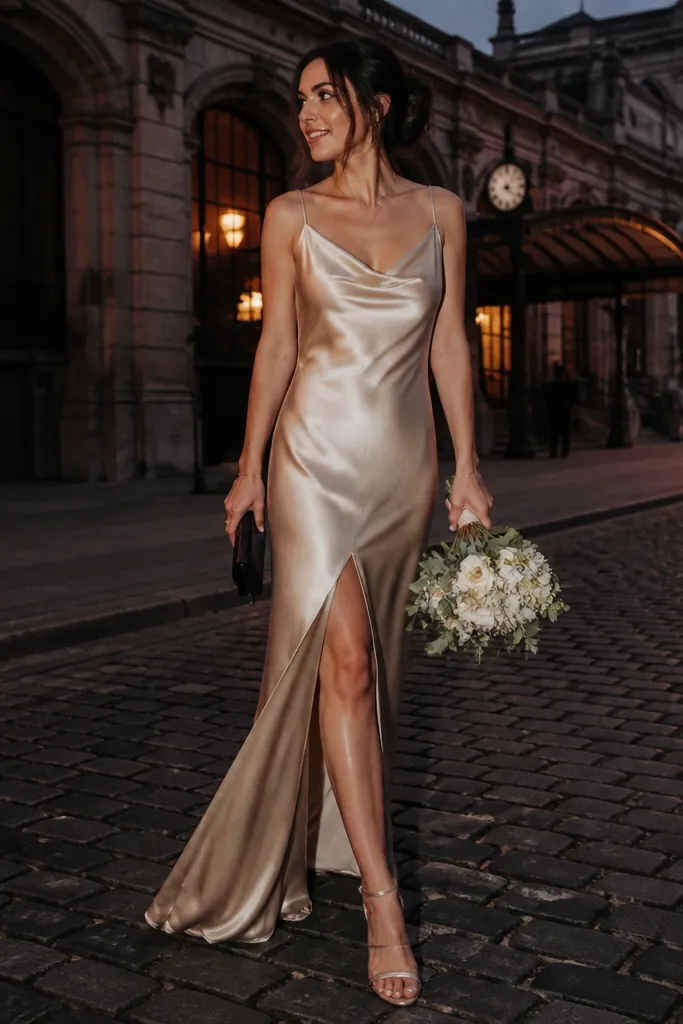
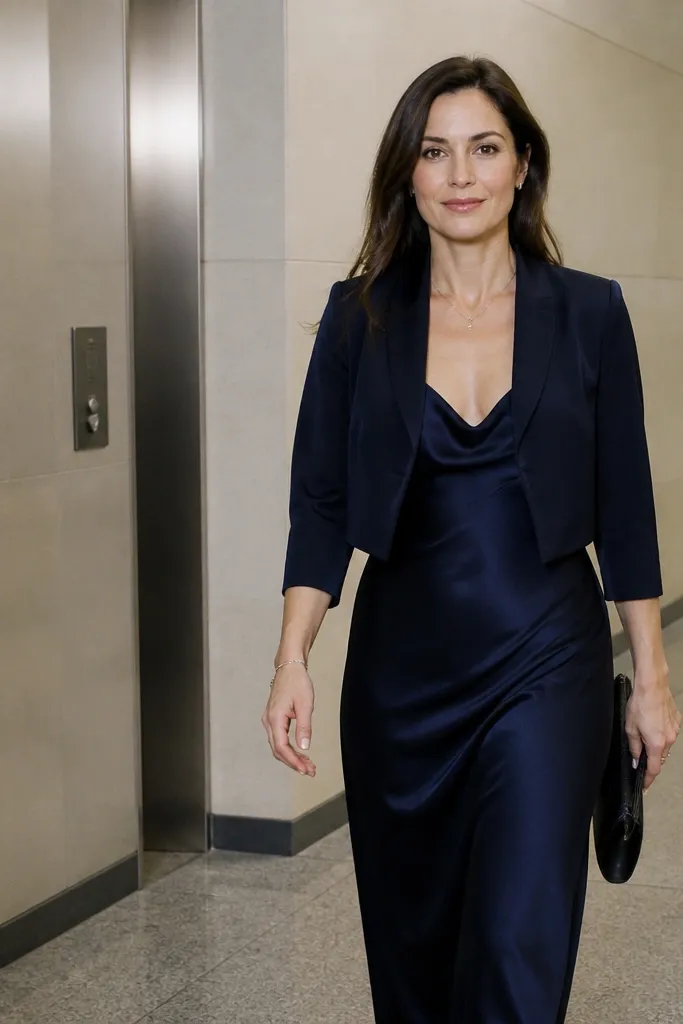
This is the “clean and expensive” option when you want everyone to look long and polished. The column cut skims the body instead of adding volume, so it’s forgiving around the waist and hips when the fabric has enough weight. A high side slit photographs beautifully because it shows movement without turning the whole dress into a costume. It’s best for evening receptions, ballroom lighting, and venues where you’re not doing lots of outdoor walking on uneven ground.
Start by choosing satin with a lining or satin-backed crepe — you want coverage that doesn’t go see-through when the lights hit. Then pick a slit height that matches your comfort: aim for mid-thigh on taller bridesmaids and slightly lower on shorter ones so group photos don’t look uneven. Finally, hem the dress to hit the same spot on each person’s ankle; use a hemming guide based on shoes so the line stays consistent in photos.
If you’re matching across a group, keep the slit height and neckline the same — that’s what keeps the look unified.
Skip unlined satin or very thin satin if you have any bridesmaids who worry about movement and seat coverage.
2. Crepe Fit-and-Flare with a Tapered Waist
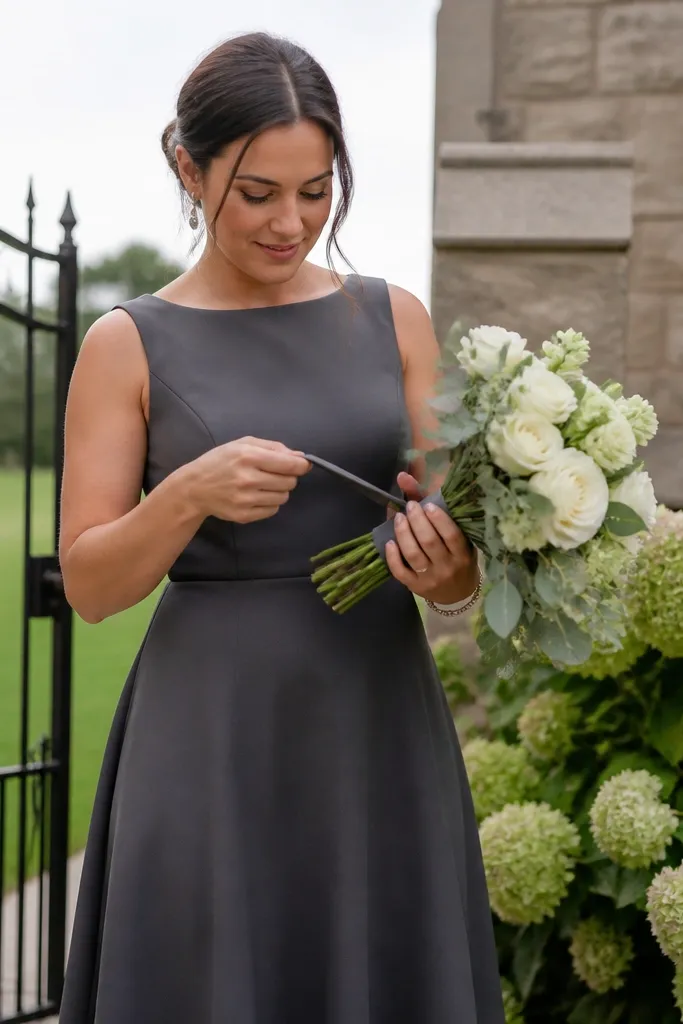
Fit-and-flare is the reliable silhouette when you have multiple body types and still want a cohesive “bridesmaid lineup.” Crepe helps it drape smoothly, so the flare looks intentional rather than bulky. It also handles sitting and standing better than chiffon because the fabric has structure. This style works especially well for outdoor ceremonies and spring-to-fall weddings where you want movement in photos without the dress looking fragile.
Start by selecting crepe with a moderate stretch so the waist doesn’t gap when someone sits. Then choose the flare level: a soft A-line flare looks polished for day weddings, while a fuller flare looks more dramatic for evening. Finally, keep skirt length within a 1-inch range across the group so the hemline lines up in group shots.
Ask the tailor to check waist placement in the standing-to-sitting transition — that’s where fit-and-flare either wins or fails.
Don’t pick a too-short midi if your ceremony includes long walks; it can create awkward bunching when people move.
3. Chiffon A-Line with a Lined Skirt
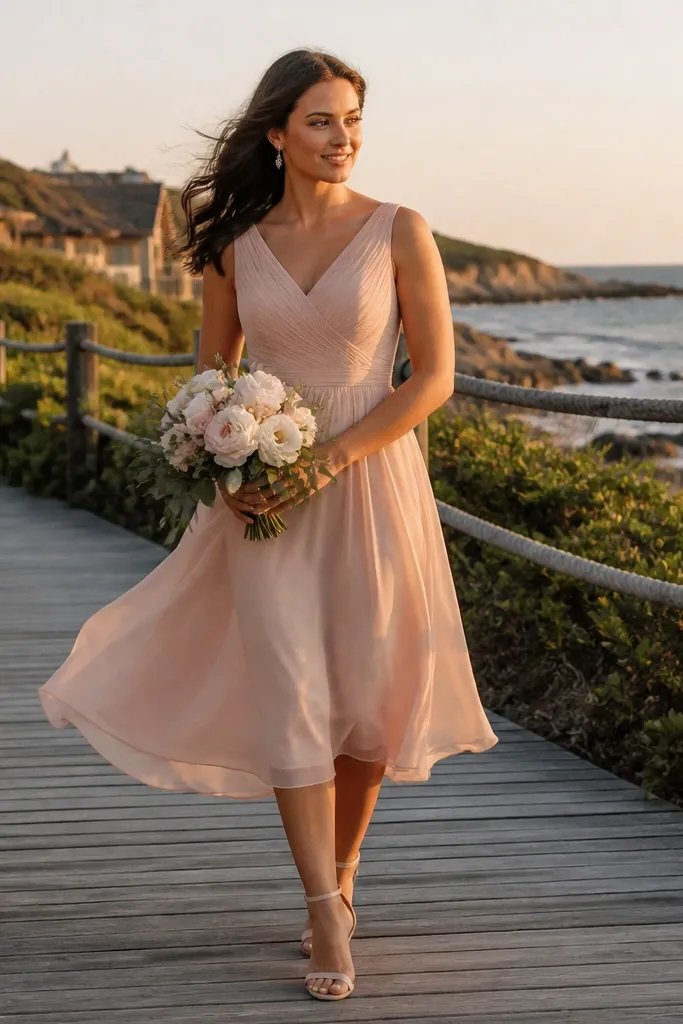
Chiffon A-line is the go-to for romantic, airy photos because it moves with the air instead of clinging. The key is the lining: a lined skirt keeps the silhouette crisp and prevents the fabric from turning see-through in bright daylight. A-line shape is forgiving at the hips and comfortable for photos where people are standing for a while. Choose this for garden weddings, beach ceremonies, and daytime events where you want softness rather than sharpness.
Start by insisting on a full lining for the skirt. Then pick a neckline that won’t pull: V-neck and square necks hold shape well in chiffon when the bodice is structured. Finally, plan for hemming — chiffon needs careful finishing so the hem doesn’t look jagged or uneven after it relaxes.
Quick tipIf you’re planning outdoor photos, go for flutter sleeves over cap sleeves; they reduce friction when people move and pose.
Skip thisAvoid chiffon without a lining if you want a clean look under flash photography.
4. Square-Neck Midi with a Structured Bodice
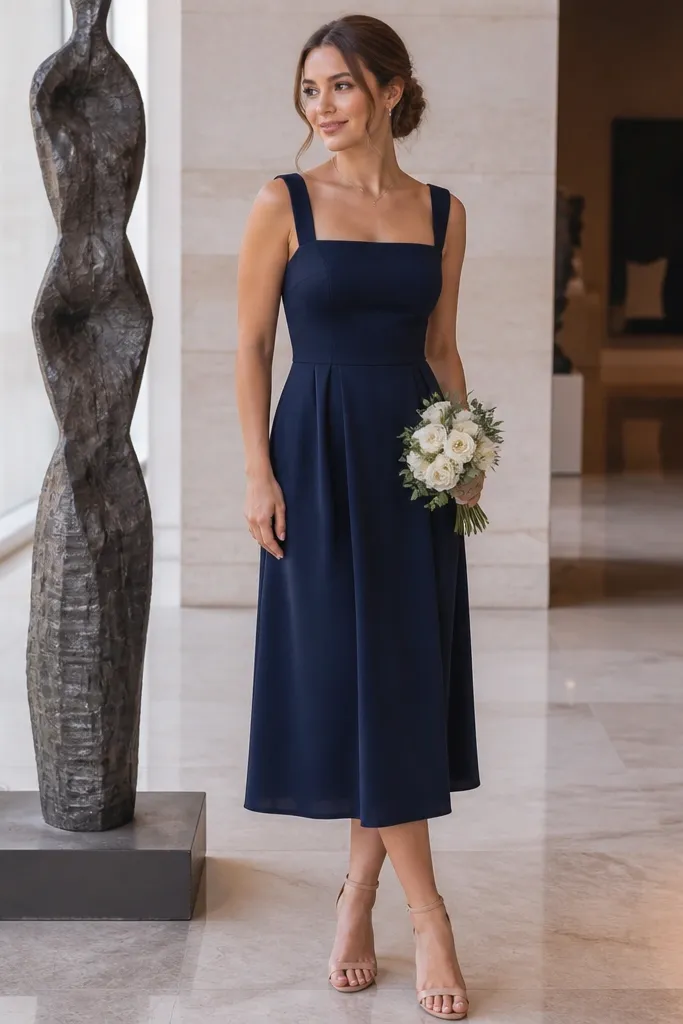
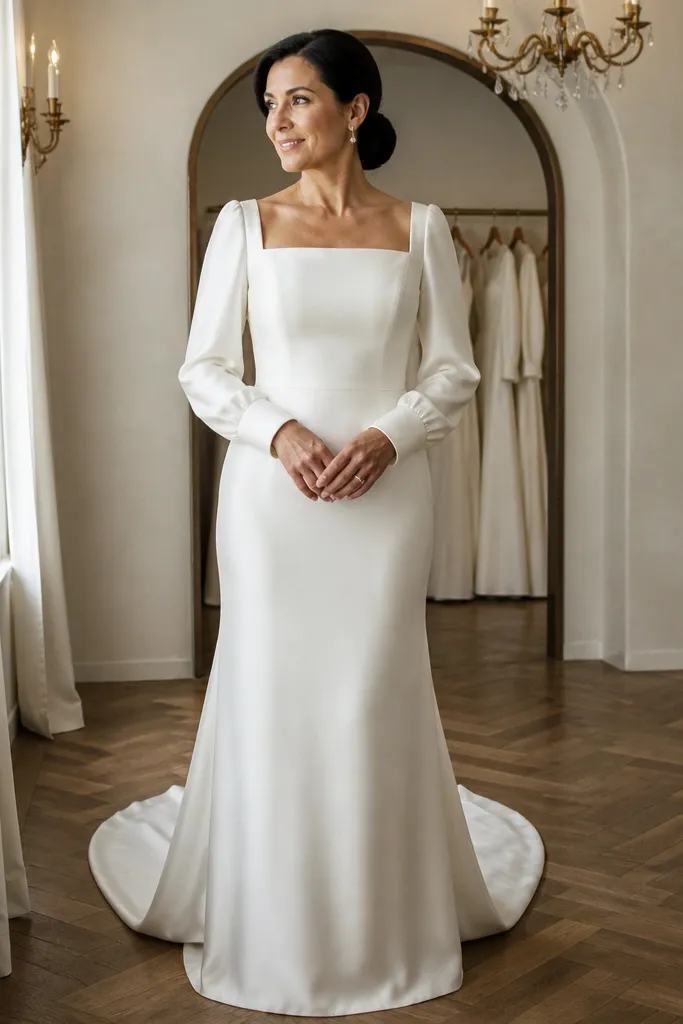
Square necklines read modern and balanced in group pictures because they sit symmetrically across the chest and frame the collarbones. A structured bodice keeps the top from collapsing, which matters when bridesmaids are moving, hugging, and adjusting during the day. Midi length is also practical: it looks polished for photos and keeps the look cohesive without forcing everyone into floor-length hems. This option is great for weddings with a mix of heights and for venues that are more formal than casual.
Start by choosing a bodice with boning or a firm internal structure; you want the neckline to stay crisp. Then set the midi length based on shoes, not just height — the hem should land at the same visual point relative to the ankle. Finally, coordinate accessories lightly: simple studs or small hoops keep the square neckline from competing with jewelry.
Quick tipBring one pair of sample shoes to fittings so the midi hem lands correctly with the exact heel height.
Skip thisSkip super-soft jersey square necks if you want a clean neckline in photos.
5. Minimal Halter with a Smooth Back
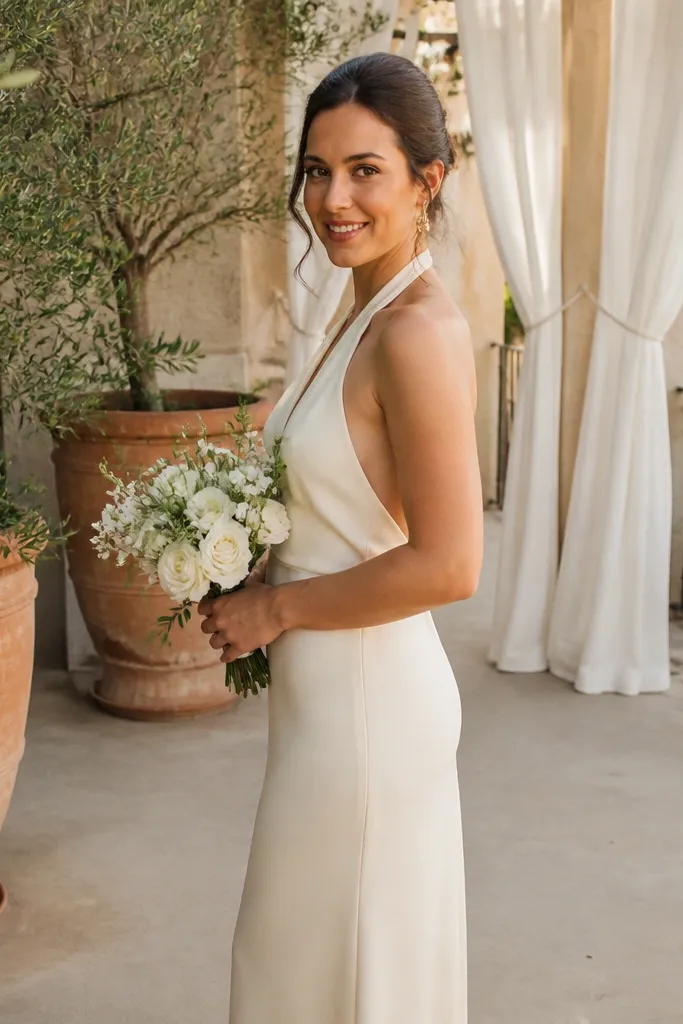
A halter neckline is a strong choice when you want shoulders and upper back to look intentional in photos. It also keeps straps from slipping, which is a real issue with long wedding days and lots of movement. With minimal hardware and a smooth back, it looks sleek and doesn’t distract from the overall color story. This style works best in warm weather and for weddings where the dress needs to stay comfortable through dinner, dancing, and speeches.
Start by choosing a halter with adjustable back coverage or secure closure so it doesn’t shift when someone raises their arms. Then pick the skirt type: a straight column skirt looks sleek, while an A-line skirt looks more forgiving around hips. Finally, check bra compatibility — if you don’t want strap lines, choose a built-in support or a wrap-style bra solution.
If you have a hair-up ceremony, halter dresses look best when the neckline and hairline are aligned — keep the back clean in photos.
Don’t choose a halter that relies on thin elastic ties; it stretches and looks messy mid-event.
6. V-Neck Wrap Midi in Crepe
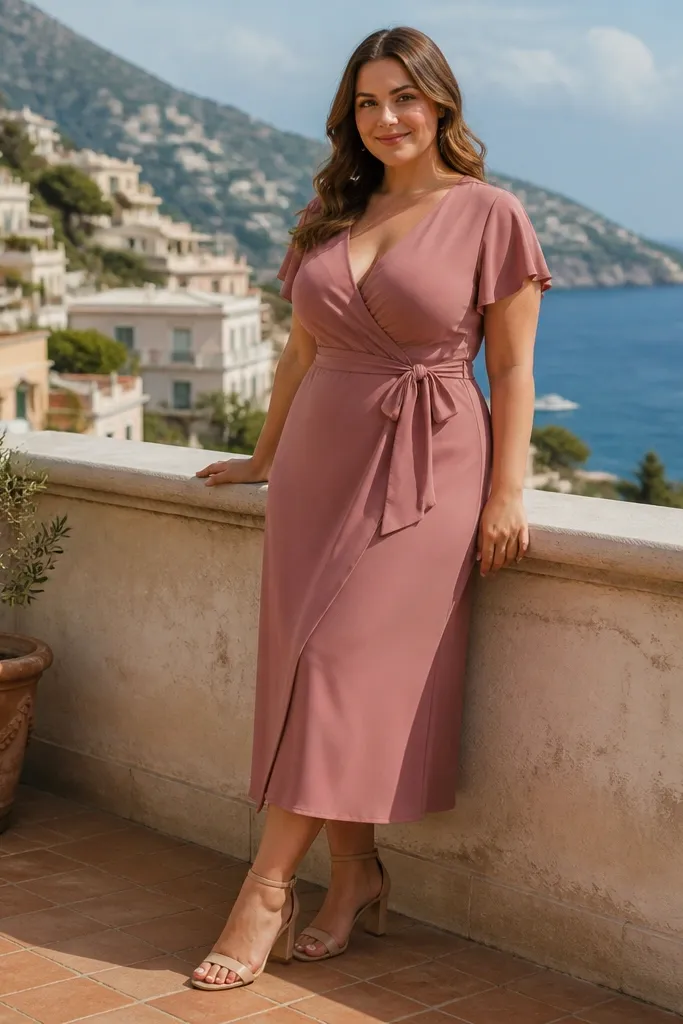
Wrap dresses are the practical pick when you need adjustability and comfort. The V-neck draws the eye downward, and the wrap waist lets each bridesmaid fine-tune fit without looking mismatched. In crepe, the wrap stays smooth instead of wrinkling constantly like lighter fabrics. This option is especially good for pear shapes, post-bump bodies, and anyone who wants a dress that feels secure during the ceremony and dinner.
Start by selecting crepe with enough weight that the wrap panels don’t cling or flare oddly at the hip. Then decide how you’ll manage the tie: use an inside button or snap so the wrap doesn’t loosen when someone sits. Finally, set the hem and neckline depth to a consistent visual level across the group so the V doesn’t look different in photos.
Quick tipHave the seamstress add a hidden inner hook at the waist for stability during photos and dancing.
Skip thisAvoid wrap dresses with very thin ties — they loosen and shift the wrap line.
7. Off-the-Shoulder with Stretch Lining
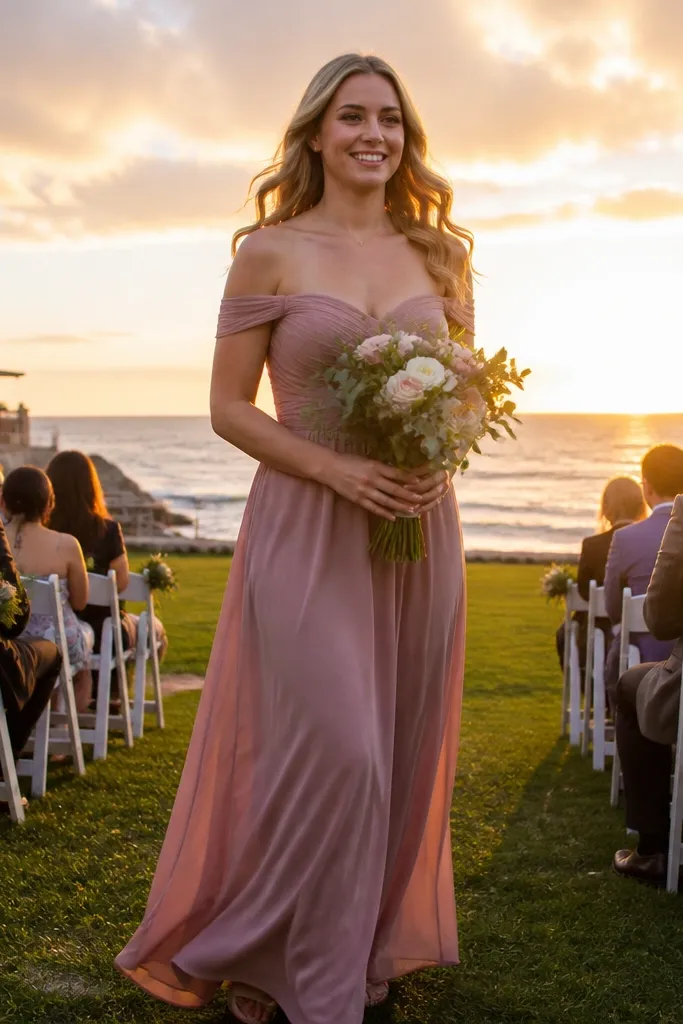
Off-the-shoulder is romantic and flattering because it opens the collarbone area while balancing the visual weight of the skirt. The stretch lining matters — it keeps the neckline from sliding down and helps the fabric sit flat at the top. This silhouette looks great in evening light and on photos where bridesmaids are holding bouquets close to the chest. Choose it for spring evenings, fall weddings, and venues where the weather is cooler or controlled.
Start by selecting off-the-shoulder with a structured top band or grip lining. Then pick a skirt shape that suits comfort: A-line is easiest for walking, and column is best if everyone can move smoothly in fitted fabric. Finally, plan for strap solutions: many off-the-shoulder designs work with adhesive bras, but a tailored interior band is the cleanest look.
Quick tipIf you’re doing floor-length, keep the off-shoulder neckline fitted — loose tops make the whole dress feel sloppy at the hem in photos.
Skip thisSkip off-the-shoulder dresses with no grip or lining; they slide and ruin the neckline line.
8. Long-Sleeve Lace Top with a Simple Slip Skirt
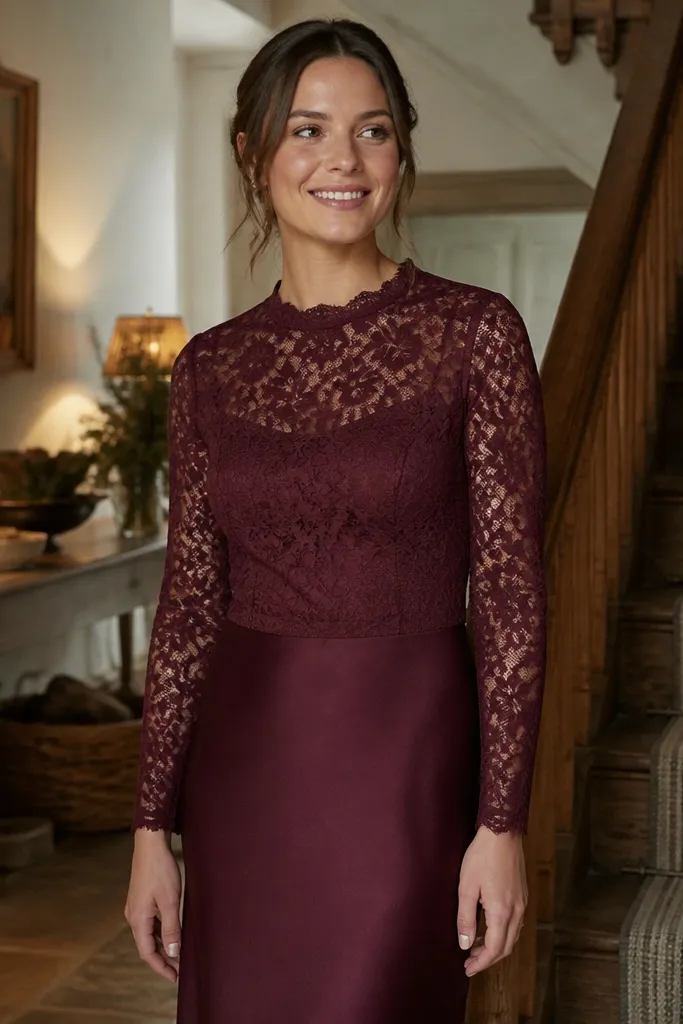
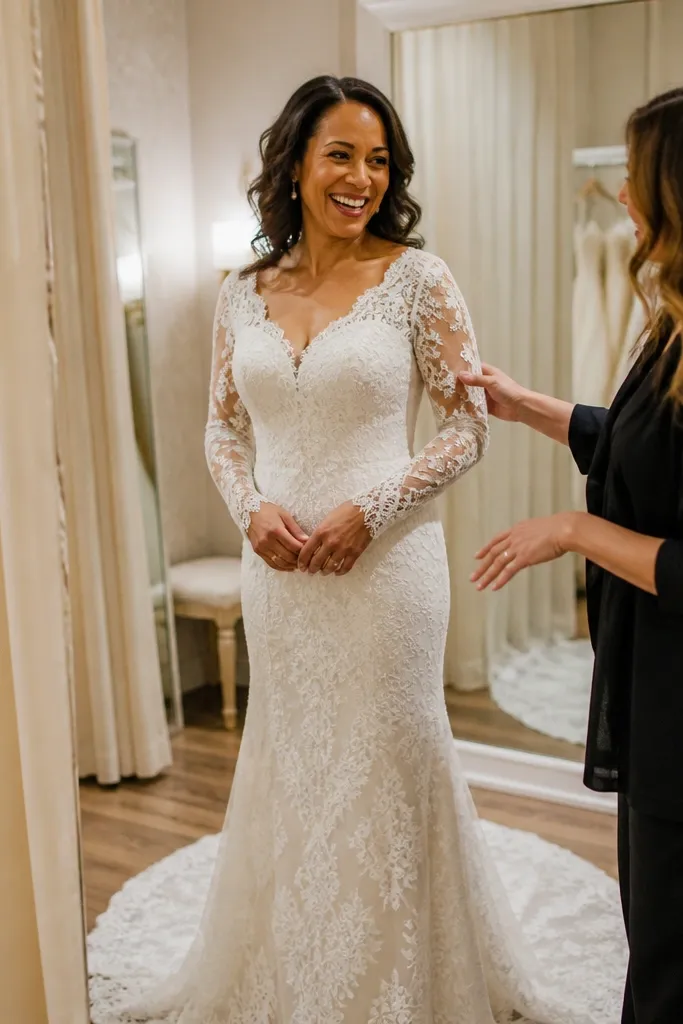
This is for bridesmaids who want detail without a fussy full dress. A lace bodice adds texture that shows up in photos, while a simple slip skirt keeps the look sleek and lets the lace be the focus. It also works well in winter weddings because sleeves cover arms and the slip fabric can feel comfortable under layers. If you have a formal venue, this combo looks more elevated than lace all over without getting overwhelming.
Start by choosing lace with a stable backing so it doesn’t stretch out and gap at the neckline. Then pair it with a slip skirt in satin or crepe-satin for controlled drape. Finally, set the skirt length based on the venue: midi for casual-formal, floor for classic ceremonies, and keep the hem consistent across the group.
Match the lace color to the underlayer, not the wedding dress — under flash, contrast can look harsh.
Avoid lace bodices that are too sheer without a solid lining; it reads cheap in strong lighting.
9. One-Shoulder with a Draped Bodice
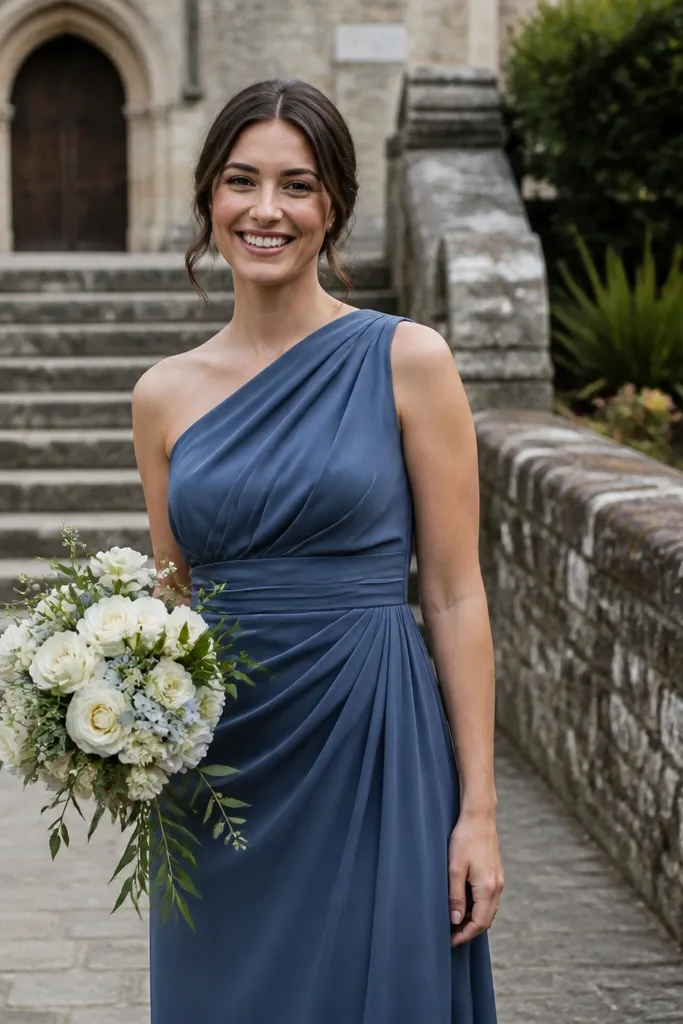
One-shoulder dresses create a clean asymmetry that looks intentional in photos, especially when bridesmaids hold bouquets on one side. A draped bodice can hide fit issues at the waist because the fabric folds instead of showing straight lines. This is a strong choice when you want the group to look styled but not uniform. It’s best for indoor receptions and evening photos where the lighting highlights the drape.
Start by choosing a one-shoulder with a solid base layer under the drape; you want the shape to hold. Then decide on skirt silhouette: column for sleek lines, A-line for comfort. Finally, keep the drape placement consistent across the group, even if you vary color — it’s what keeps photos looking coordinated.
Quick tipFor one-shoulder, test arm movement before buying. If the shoulder seam pulls when reaching, the fit will annoy people all day.
Skip thisDon’t pick a draped bodice made from very thin fabric; it collapses and looks wrinkled in pictures.
10. Flutter Sleeve Chiffon with an Empire Waist
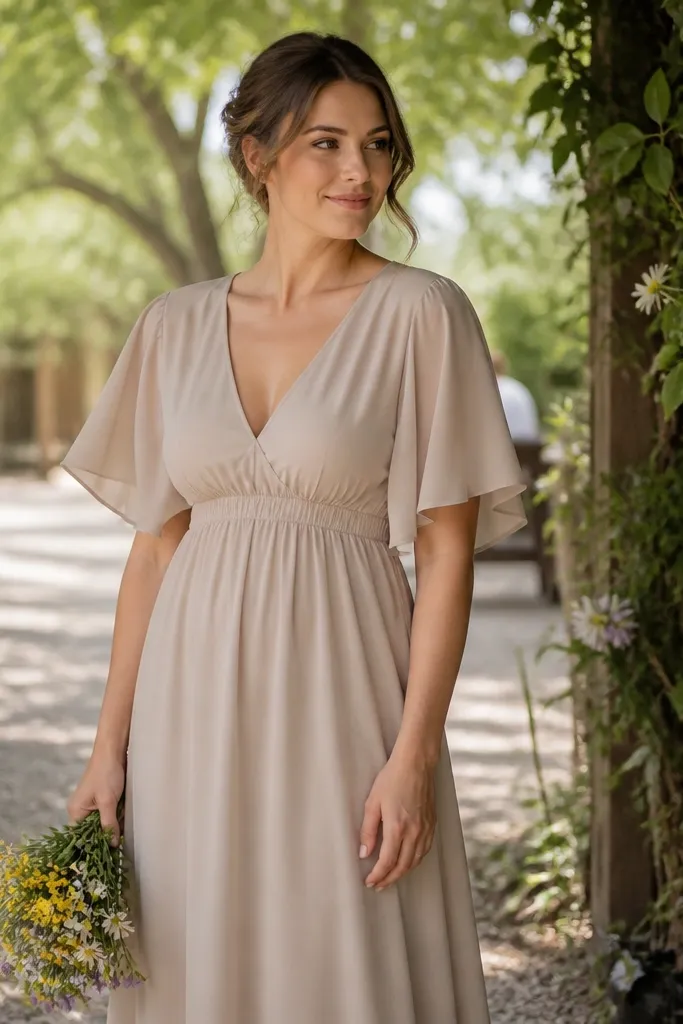
Empire waist dresses are a smart option when you want comfort and a forgiving fit through the midsection. Flutter sleeves add softness and movement, which looks great in outdoor ceremonies and candid shots. Chiffon keeps the skirt light, but the empire seam should be well-constructed so it doesn’t twist. This style is especially good for spring weddings, garden venues, and anyone who wants an easy, airy feel.
Start by choosing chiffon with a lining that reaches at least to the knee for coverage. Then pick an empire seam that sits slightly above the widest point of the belly for a flattering line. Finally, set the skirt length so it hits the same visual point on everyone’s legs — empire waist dresses look best when the skirt doesn’t vary wildly in hem height.
If you’re worried about wind, add a small interior tack at the side seam near the hip so the skirt doesn’t blow open in photos.
Avoid empire waist dresses with a loose, high seam that hits too close to the bust.
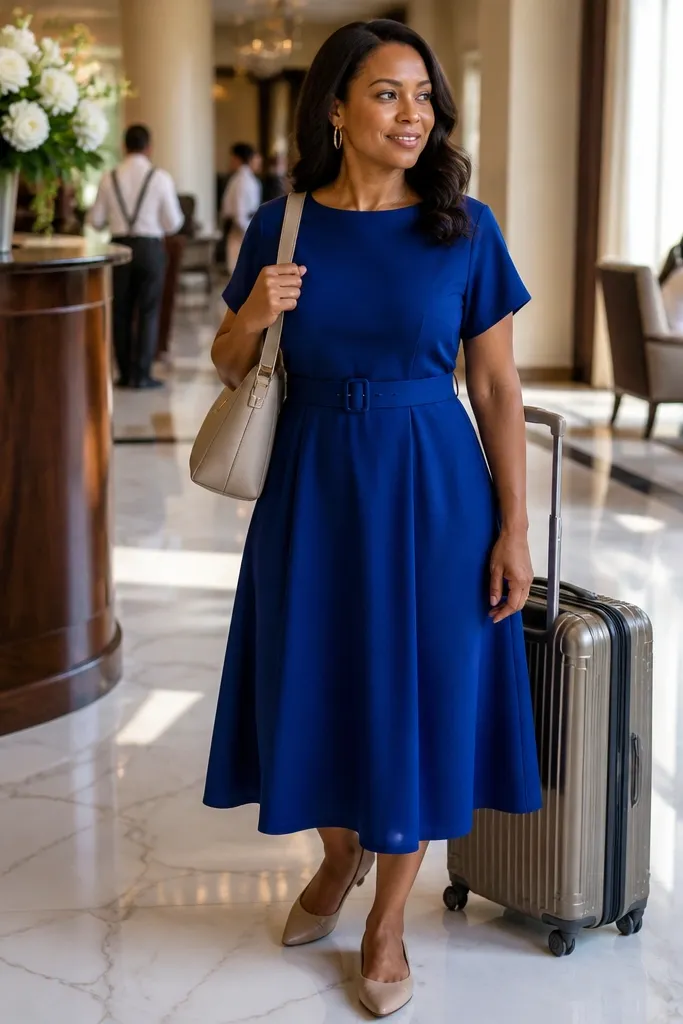
11. Bishop Sleeve Crepe with a Tea-Length Skirt
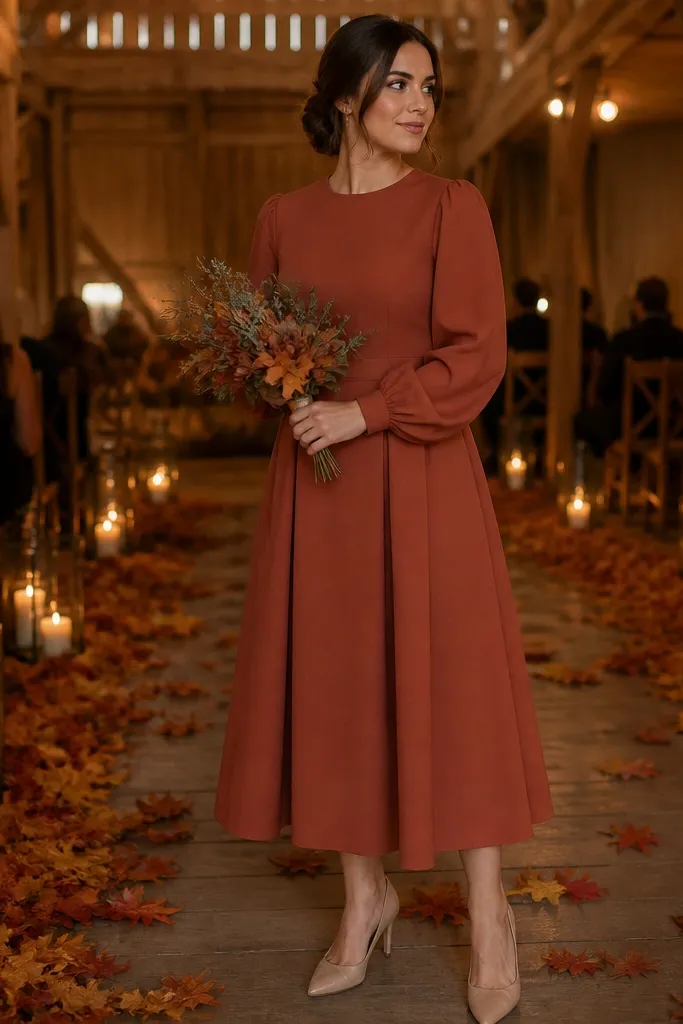
Bishop sleeves can look dramatic in a good way when the fabric is crepe. The sleeve volume adds personality without turning the whole dress into a costume when the skirt is tea-length and clean. Tea length is a sweet spot for weddings that are not fully formal but still want polish. This option works well for fall and spring because crepe feels substantial, and the length keeps people comfortable during outdoor photo sessions.
Start by choosing crepe with a matte finish; it hides texture and looks smooth under daylight. Then pick a tea-length hem that lands mid-calf so it stays flattering for both tall and shorter bridesmaids. Finally, keep the neckline simple — a round neck or modest V — so the sleeves stay the focus rather than competing details.
Quick tipPlan for steam. Bishop sleeves show wrinkles fast, and a quick steam before photos makes a noticeable difference.
Skip thisSkip bishop sleeves in thin jersey; they look sloppy and lose the intended shape.
12. Cowl Neck Column in Satin Back Crepe
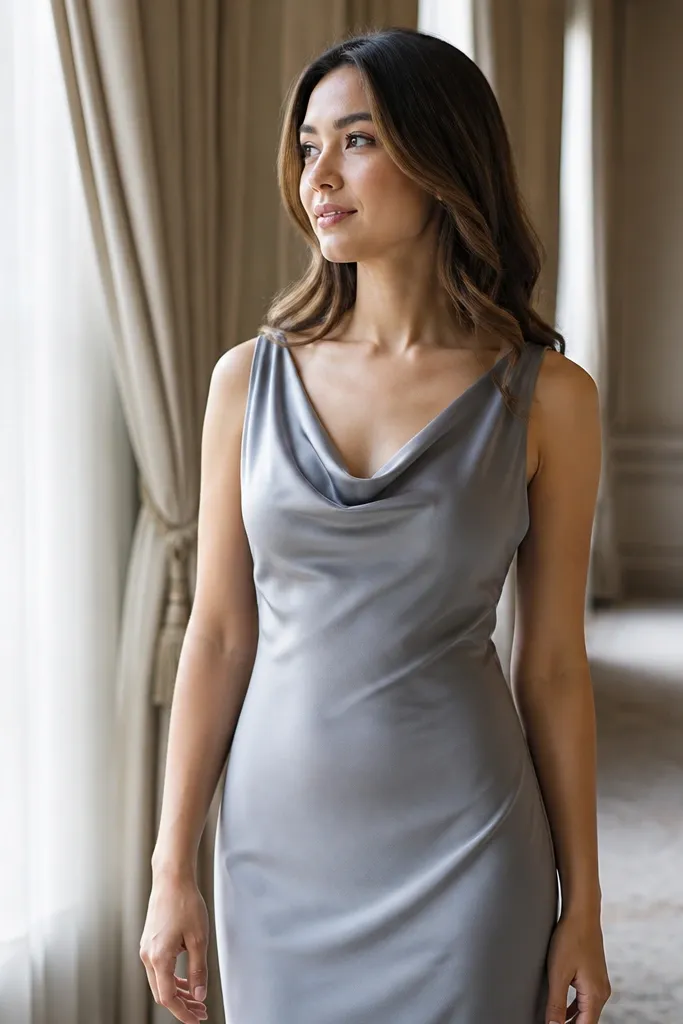
Cowl necks add drama without adding bulk, and satin-back crepe gives you the shine of satin without the slippery chaos. The draped neckline flatters a range of bust sizes because it sits in folds instead of demanding perfect symmetry. This style is a strong pick when you want sleek silhouettes that still feel special. It works for evening ceremonies, winter receptions, and venues with warm indoor lighting.
Start by choosing satin-back crepe with enough body so the cowl doesn’t collapse flat. Then set the neckline depth so it doesn’t pull open when someone turns their head — check in a mirror with arms down and arms raised. Finally, hem to the floor or midi depending on venue, but keep the hem consistent across the group so the line reads clean in group photos.
If you have a lot of candid photos, avoid overly deep cowls; they can look messy when the fabric shifts.
Don’t pick satin with no body. It will cling and the cowl will lose its shape.
13. Strapless Sweetheart with Boning
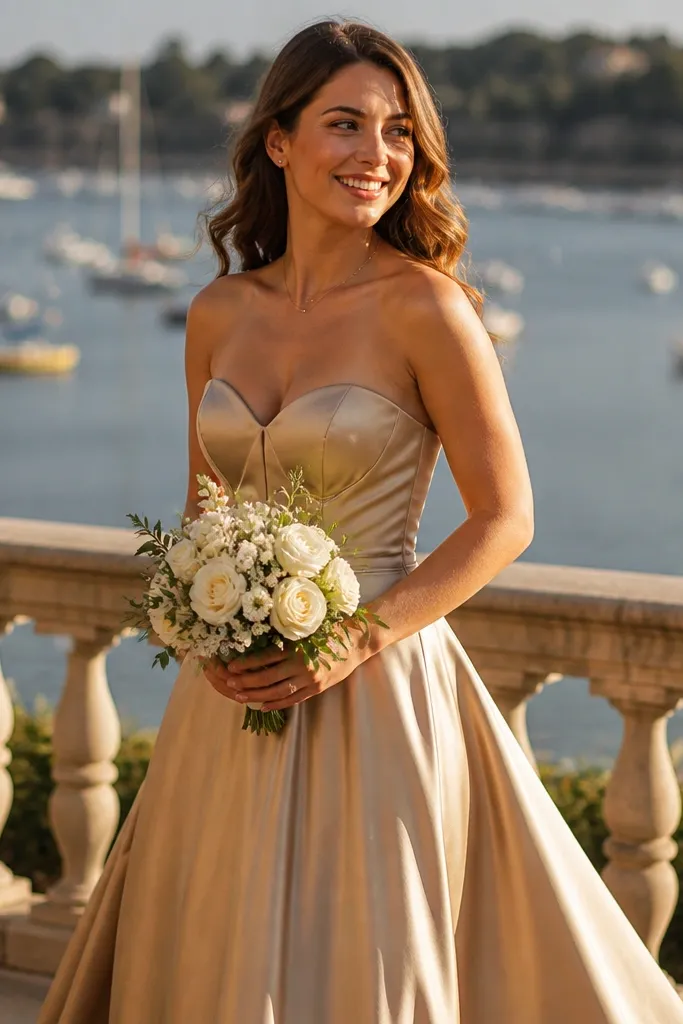
A strapless sweetheart with boning gives you that classic wedding look and keeps the neckline from sagging during speeches and dancing. The sweetheart shape frames the bust area, and boning keeps the top smooth so it photographs cleanly. This is a great choice when the wedding dress is strapless or has a similar neckline vibe. It also works for formal indoor weddings where you want a timeless silhouette.
Start by requiring boning or a built-in structure — strapless without structure is the #1 reason strapless bridesmaid dresses look off by the end of the night. Then choose a fabric with grip at the bodice (matte satin or crepe-satin works well). Finally, get a proper fit around the ribcage; if it feels tight when standing, it will be perfect once everyone is seated and moving.
Ask the tailor to check the side seams at the underarm. That’s where strapless fit either stays put or shifts.
Skip strapless dresses with removable cups and no internal grip if you want a stable neckline.
14. Ruffled One-Sided Skirt with Simple Bodice
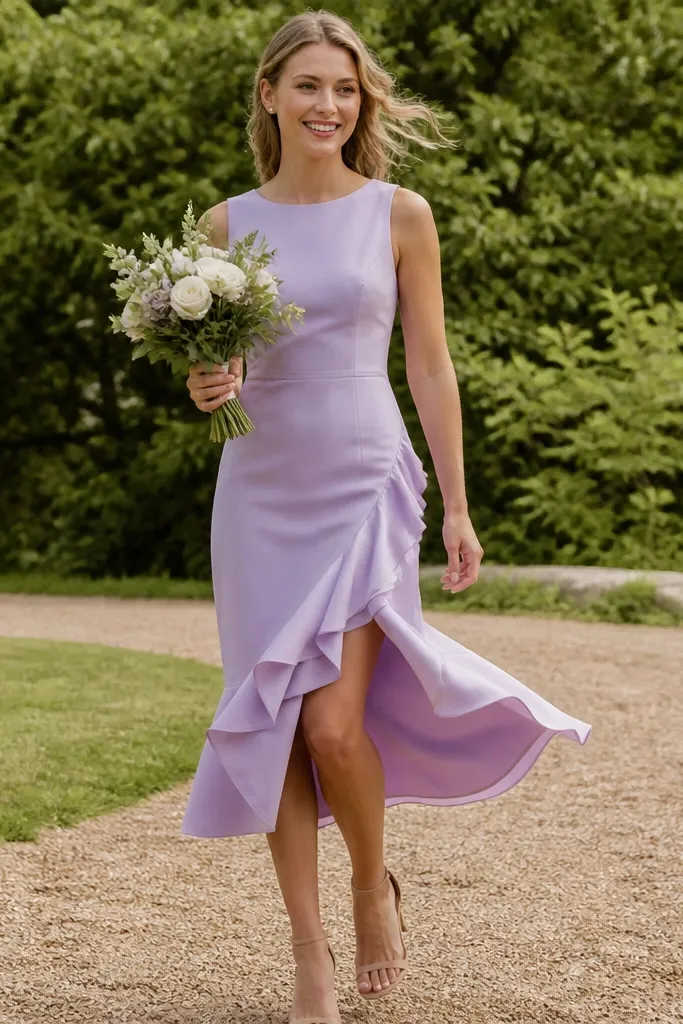
This is the “styled without being matchy” option. Keep the bodice simple and let the skirt do the work with a one-sided ruffle panel. The asymmetry adds movement in photos, and the simple top keeps the overall look clean so it doesn’t turn busy. It’s a strong choice for outdoor ceremonies where you want visible motion. Choose it for spring and summer when the ruffles look airy rather than heavy.
Start by choosing a ruffle that isn’t too long — mid-thigh ruffle length can look costume-like if it’s heavy. Then select a bodice fabric that holds shape, like crepe or lined satin, so the ruffle doesn’t pull the top out of alignment. Finally, coordinate colors across bridesmaids if you’re mixing styles: keep the shade family the same and avoid drastic undertone changes.
If your bridesmaids wear heels, check that the ruffle doesn’t brush the heel when walking — it should swish, not snag.
Avoid very stiff tulle ruffles on a one-sided skirt; they look scratchy and can snag.
15. Tulle Skirt Over Crepe Lining
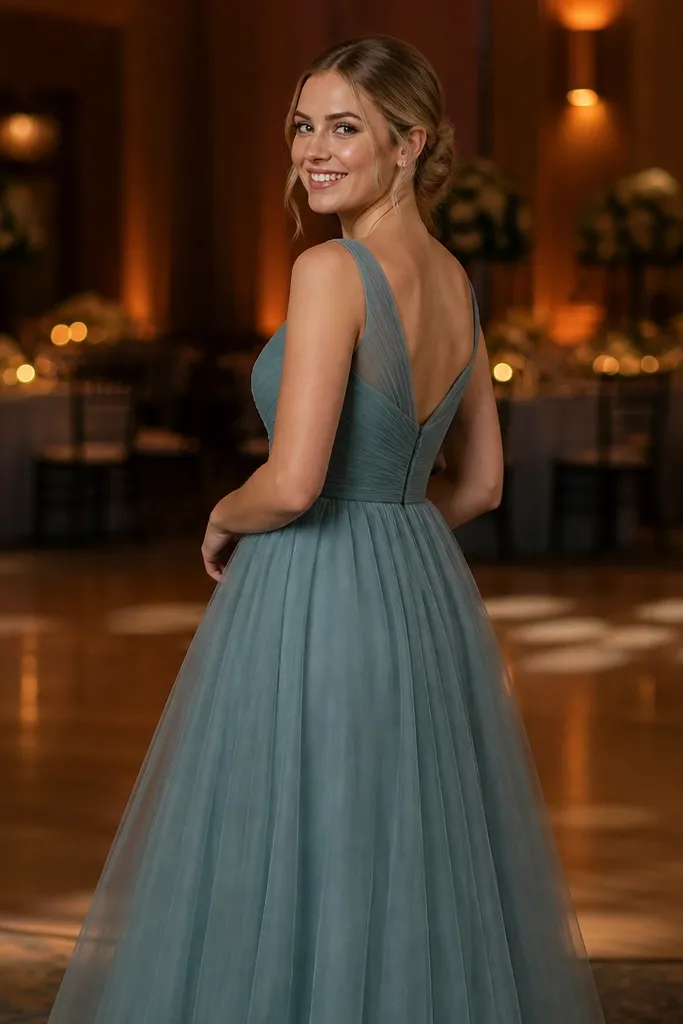
Tulle skirts look magical in photos, but only when they have a real base layer. A crepe lining makes it comfortable and keeps the silhouette smooth, so the tulle doesn’t cling to thighs or ride up. This style is great for evening weddings and indoor ceremonies where you want that soft volume effect. It also works for bridesmaids who like a bit of drama without going full ballgown.
Start by choosing tulle with a breathable lining underneath and enough coverage at the knee. Then pick a skirt volume level: a light overlay gives movement, while a fuller overlay looks more formal. Finally, plan the hem carefully so the tulle layer ends at the same point for every bridesmaid — mismatched tulle lengths look messy in group photos.
Steam the tulle right before photos so the overlay falls in smooth layers instead of looking crinkled.
Skip unlined tulle if you want comfort during a long wedding day.
16. Velvet Wrap Dress with a Long Sleeve
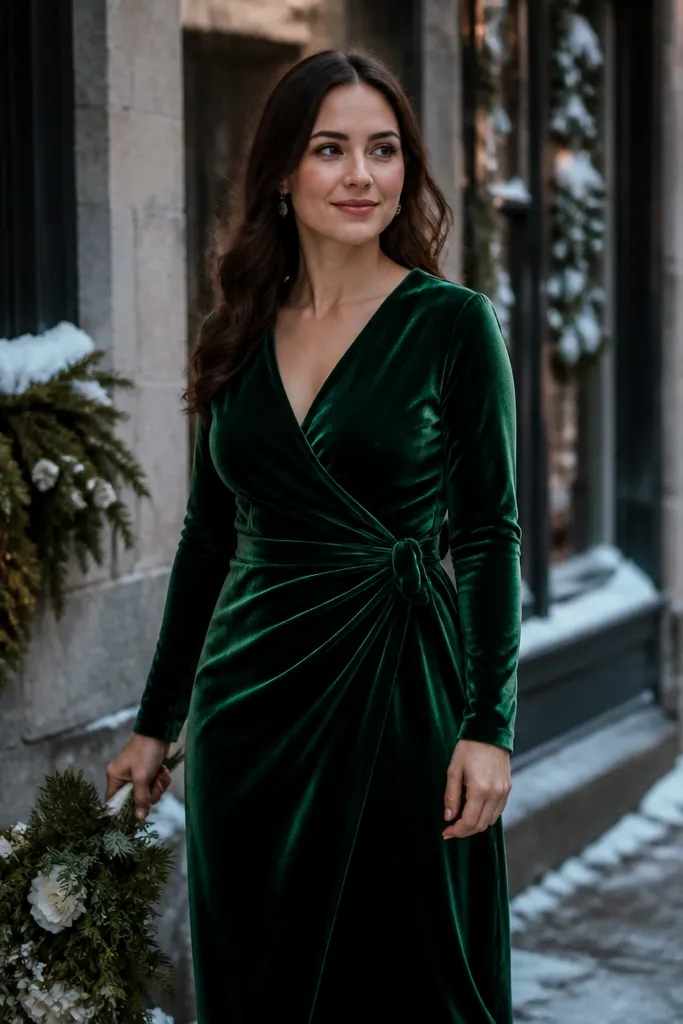
Velvet wrap dresses are a cold-weather win because velvet looks rich under indoor lighting and feels cozy in winter photos. The wrap style adds adjustability and comfort, while the long sleeve keeps the look season-appropriate. This option is best for fall and winter weddings, especially in venues with wood beams, candlelight, or warm spotlights. It photographs beautifully because velvet catches light in a soft gradient instead of flat shine.
Start by selecting velvet with a stable backing so it doesn’t look limp. Then choose the wrap depth: a moderate V keeps it elegant and avoids excessive cleavage in a long event. Finally, hem to midi or floor based on venue — midi is easier to dance in, while floor length looks more formal for ceremonies.
Quick tipAvoid heavy perfume right before photos; velvet shows oil stains more easily than crepe.
Skip thisDon’t pick stretch velvet that feels thin. It loses shape and can look wrinkled quickly.
17. Ruched Column in Matte Jersey
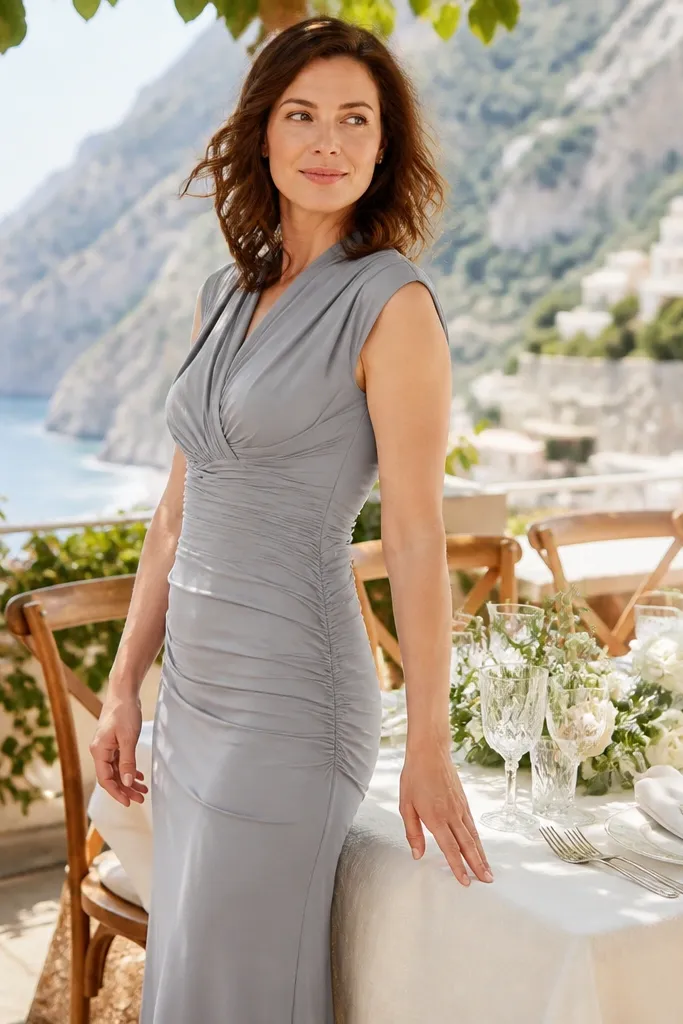
Ruched columns are the comfort-first option that still looks flattering and photo-ready. The ruching acts like a built-in shaping panel, which helps the dress sit smoothly over hips and midsection without adding bulk. Matte jersey reduces glare, so it looks better under daytime lighting than glossy fabrics. This style is great for casual-formal weddings, courthouse ceremonies, and anyone who needs a dress that’s easy to move in.
Start by choosing matte jersey with real thickness, not thin spandex. Then aim for ruching that runs vertically on the sides rather than only at the waist — vertical ruching reads more slimming in photos. Finally, pick the hem height based on movement: midi is the safest for dancing and walking without trips.
Quick tipIf you’re mixing lengths across bridesmaids, keep the ruched column length the same so the silhouette stays aligned.
Skip thisSkip shiny jersey; it catches flash and makes texture look uneven.
18. Satin Slip Dress with a Detachable Chiffon Overlay
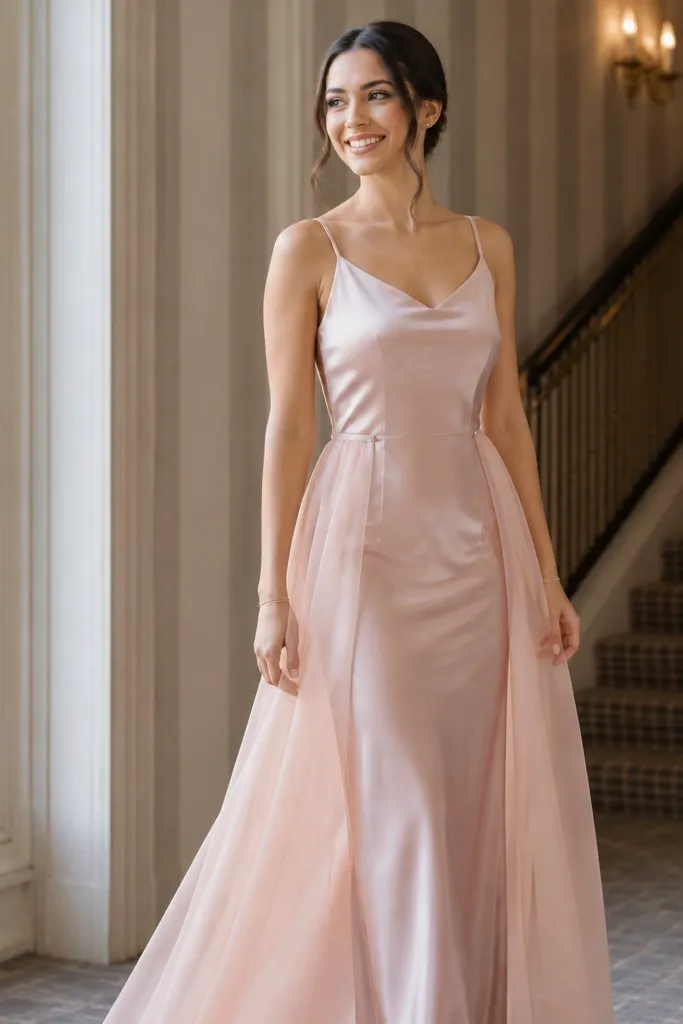
This is a two-look dress that stays stylish from ceremony to party. The satin slip is sleek and photogenic, and the detachable chiffon overlay adds softness for the ceremony when you want a romantic vibe. It’s also practical for temperature changes because bridesmaids can remove the overlay during dinner or dancing. This option works for weddings with a formal ceremony and a more relaxed reception, especially in spring, summer, or early fall.
Start by choosing a slip dress with a secure neckline and enough lining so it looks finished on its own. Then make sure the chiffon overlay attaches with buttons or snaps that won’t leave gaps or bulk at the waist. Finally, coordinate the overlay fabric shade with the slip color so it looks intentional in photos — match undertones, not just the same label color.
Take a quick test photo with the overlay on and off. If the neckline line changes too much, it won’t look cohesive in the ceremony and reception shots.
Avoid overlays that attach only with loose ties; they shift and look messy mid-event.