1. Stretch Crepe Mermaid with Low Flare
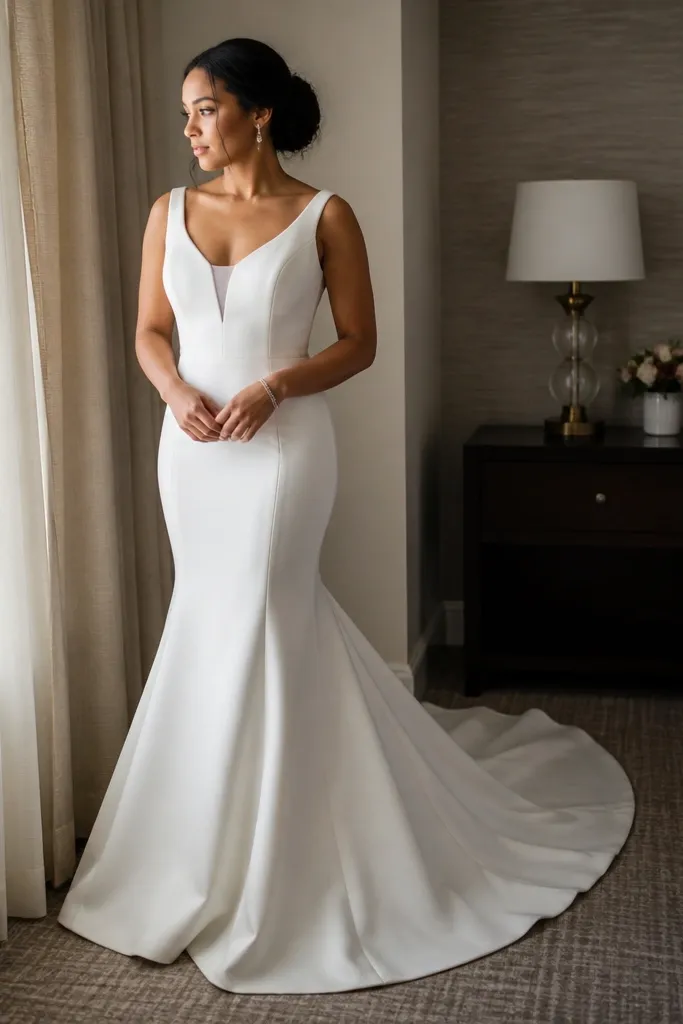
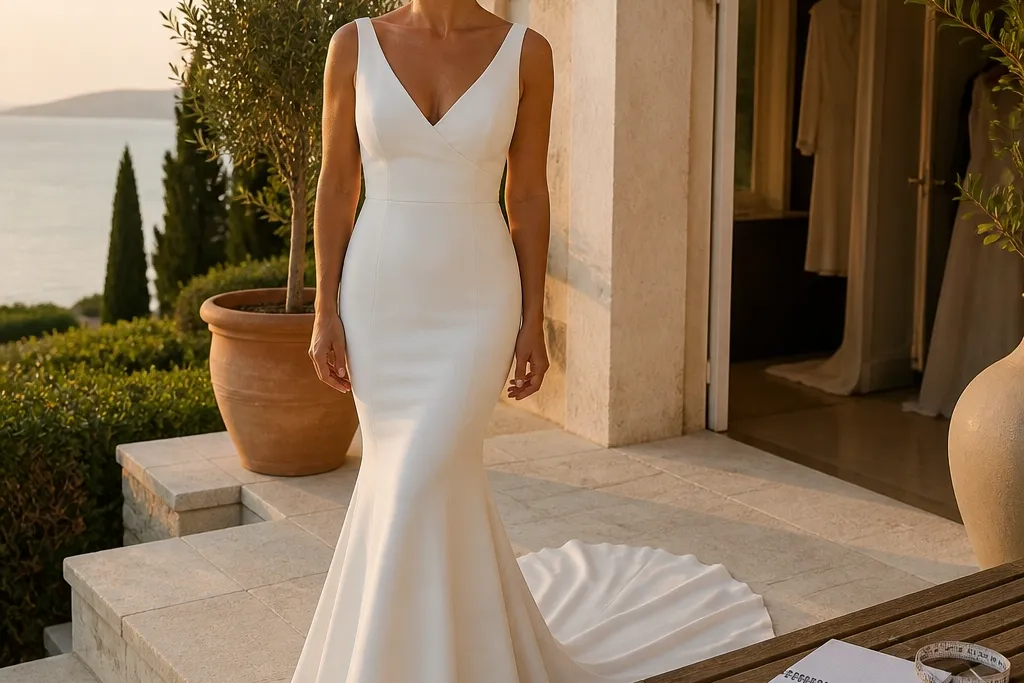
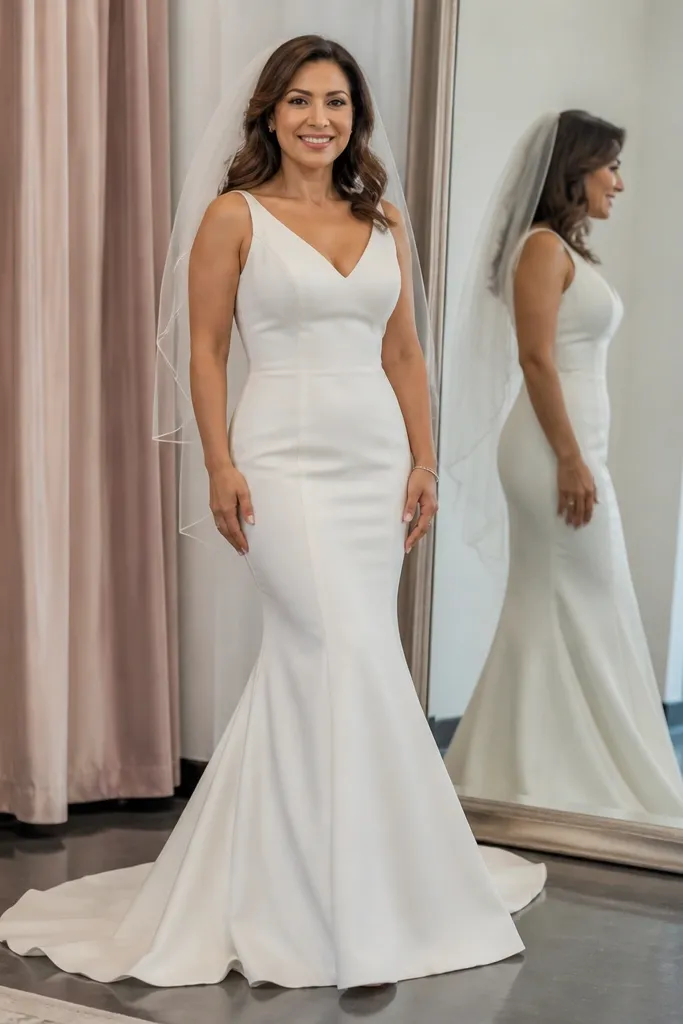
A stretch crepe mermaid with a low flare is the easiest way to get the “sexy but wearable” look. The matte surface hides minor texture issues, and the flare starts later so your legs keep their line before the skirt opens. This style works especially well for brides who want a fitted silhouette without feeling trapped — crepe with the right amount of stretch moves with you. It also photographs cleanly because crepe doesn’t bounce light like satin, which means fewer glare spots in venue lighting.
Start by looking for a flare that begins around the upper thigh, not the hip bone. Then check the lining — it should feel substantial enough that the dress holds its shape when you sit. Finally, plan a hem that clears the floor unless you’re choosing a deliberate train, because drag ruins the line in photos. Expect 5-10 minutes for a quick fit check at the mirror: sit, walk, and confirm the flare doesn’t ride up.
Choose crepe with a lined bodice; it smooths the torso without adding bulk.
Avoid unlined crepe if you’re prone to visible undergarment lines.
2. Lace Over Lined Tulle Mermaid
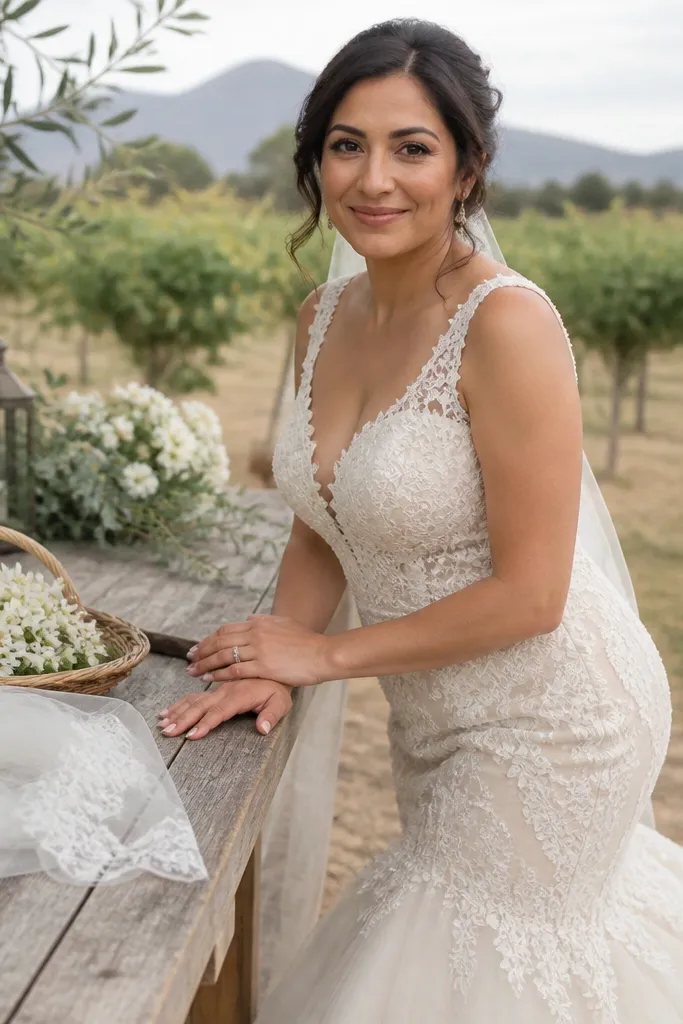
Lace over lined tulle gives you that classic mermaid drama without the “clingy” problem. The lace reads romantic, but the tulle lining supports the flare so it doesn’t collapse into a pencil shape. This is a smart option if you want texture in photos — lace catches light softly and adds dimension. It also helps conceal small bumps because the underlayer smooths the body rather than showing every seam.
Start by checking that the tulle is stitched and structured, not flimsy. Then lift the skirt slightly near the seam — you want the flare to spring outward, not fold in on itself. Finally, choose a lace pattern that repeats consistently across the fitted section; random placement can look uneven in close-up photos. Give yourself 10-15 minutes to compare two similar dresses: one with structured lining and one with thin lining, and notice how the flare behaves when you move.
Quick tipAsk for the back view too; lace placement can change how the flare looks from behind.
Skip thisSkip lace-on-sheer without a strong lining if you want a smooth hip line.
3. Satin Mermaid with Strategic Paneling
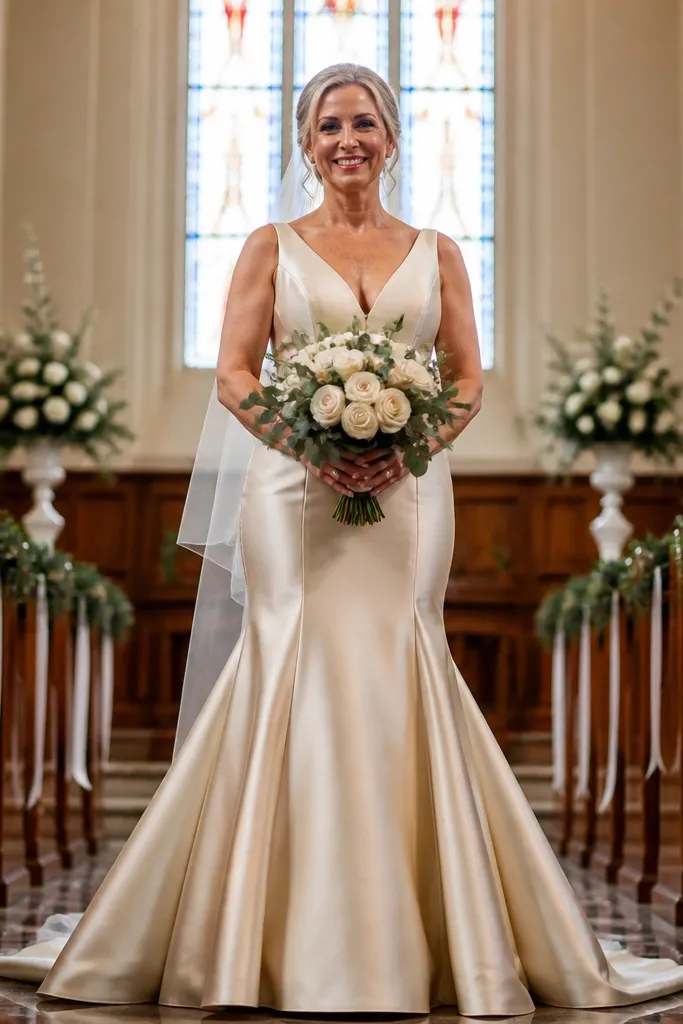
Satin mermaid dresses can look stunning, but only when paneling is doing the work. The right seam design shapes the waist and controls the hip so the sheen stays flattering instead of highlighting every line. If you’re drawn to satin for its sleek look, prioritize dresses with structured seams and a supportive lining. This style is best for brides who want a polished, formal vibe and love how a smooth fabric looks in flash photography.
Start by checking the inside — look for a lining that feels firm and helps the satin sit flat. Then examine the side seams and front paneling: they should guide the eye toward your waist, not pull the fabric tight across the hip. Finally, test movement by walking and sitting — satin tends to show tension points, so you want enough give. Plan 15 minutes per candidate dress because satin fit issues show up fast.
Quick tipChoose satin with a slightly heavier weight if you hate cling; lighter satin looks great until you move.
Skip thisAvoid satin with thin lining — it shows strain lines across the hip and thighs.
4. Off-Shoulder Mermaid with Boned Corset Bodice
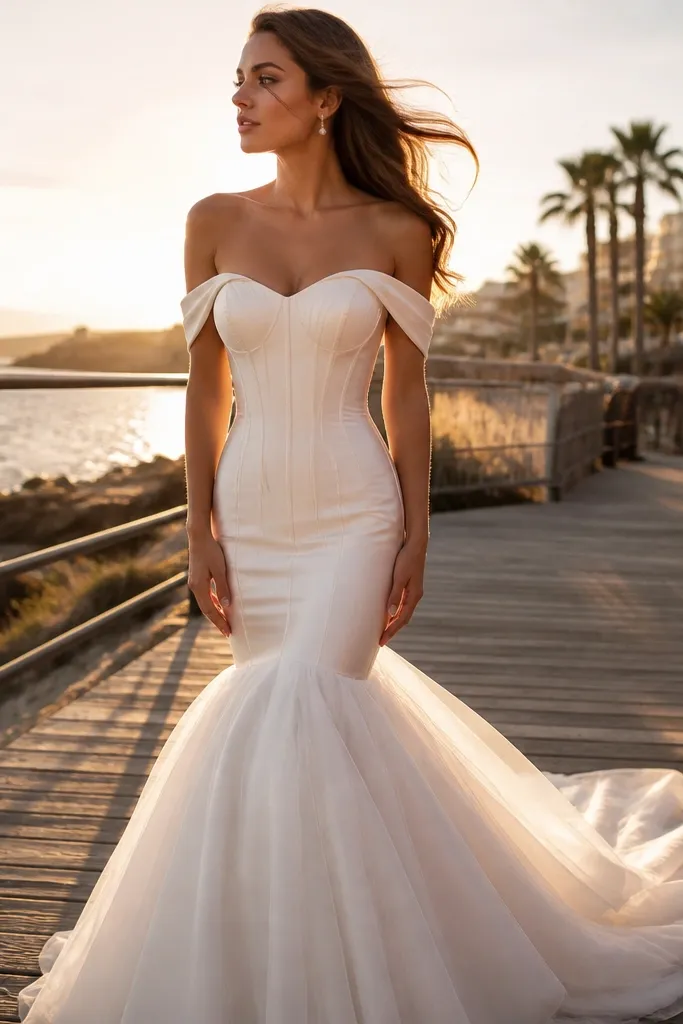
An off-shoulder mermaid with a boned corset bodice gives you the best “shape first” outcome. The boning controls the torso so the dress fits smoothly through the waist and hip, and the off-shoulder neckline balances the flare visually. This is a great pick if you want a fitted look but don’t want to rely on shapewear for everything. It also creates a strong frame for photos because the neckline anchors the upper body while the skirt does the drama.
Start by checking boning placement: it should support without poking when you sit. Then confirm the neckline is secure so it doesn’t slide — off-shoulder dresses can shift if the cups aren’t fitted. Finally, verify the waist seam sits where you want your waist defined, not higher or lower. Spend 10-12 minutes doing the sit test and watching the bodice — you’re looking for smooth lines, not gaps or wrinkling.
Quick tipBring the exact bra or strapless undergarment you’ll wear; off-shoulder fit depends on it.
Skip thisSkip overly loose off-shoulder tops; they pull focus and ruin the mermaid line.
5. Sweetheart Mermaid with Lace Appliqué Fade
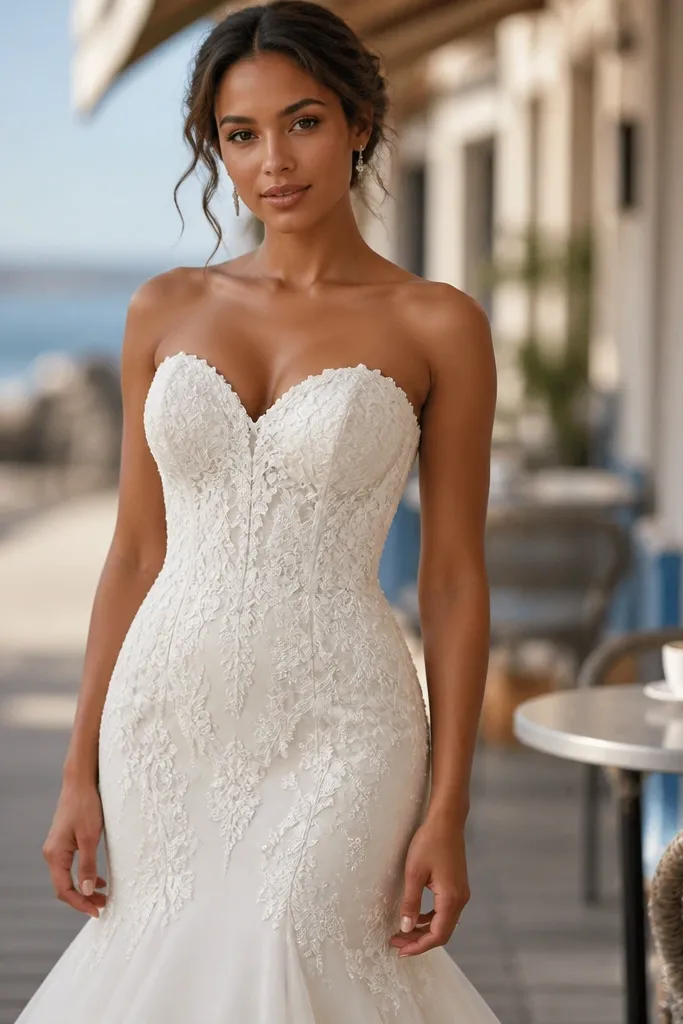
A sweetheart mermaid with lace appliqué that fades toward the flare is a smart visual trick. The lace draws attention to the upper body and waist, then the skirt opens with a cleaner look as it widens. This reduces the “busy” feeling some brides get with full-lace mermaids. It’s also forgiving if you want coverage but still want leg visibility at the flare.
Start by finding the lace fade point — it should start to thin as the skirt transitions into the flare. Then check the base fabric under the lace so it doesn’t show patchy coverage in bright lighting. Finally, take one quick photo: if the lace pattern makes the hip look wider than it is, pick a dress with smaller appliqué density near the fullest area. Give this one 10 minutes; the fade effect is easy to evaluate quickly.
Pick lace size that matches your scale: smaller motifs usually flatter in close-up photos.
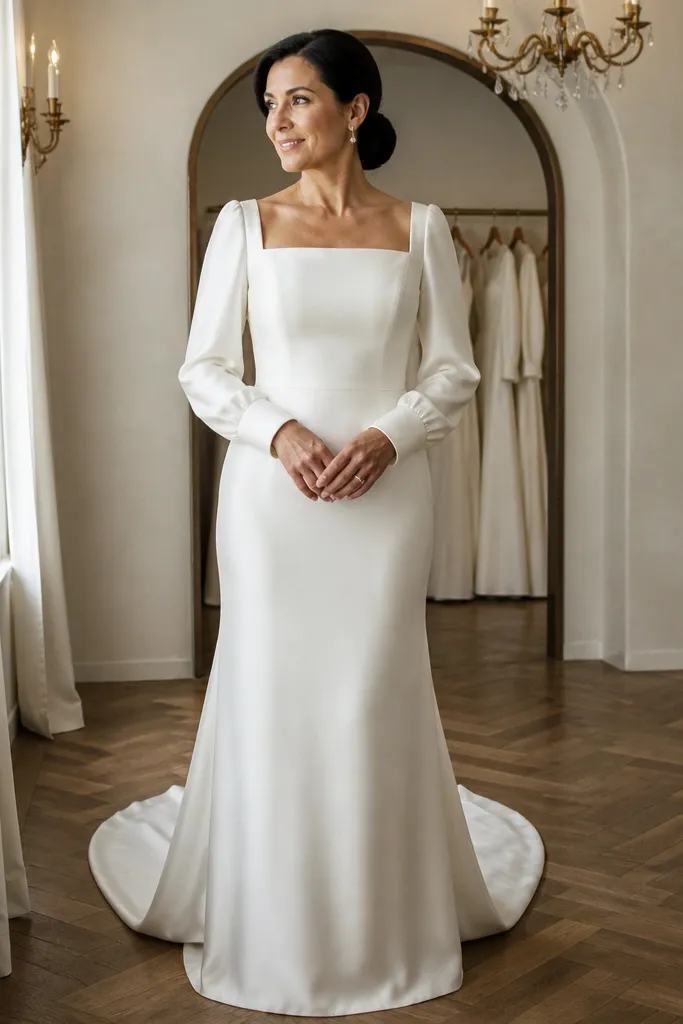
6. Square-Neck Mermaid with Minimal Seams
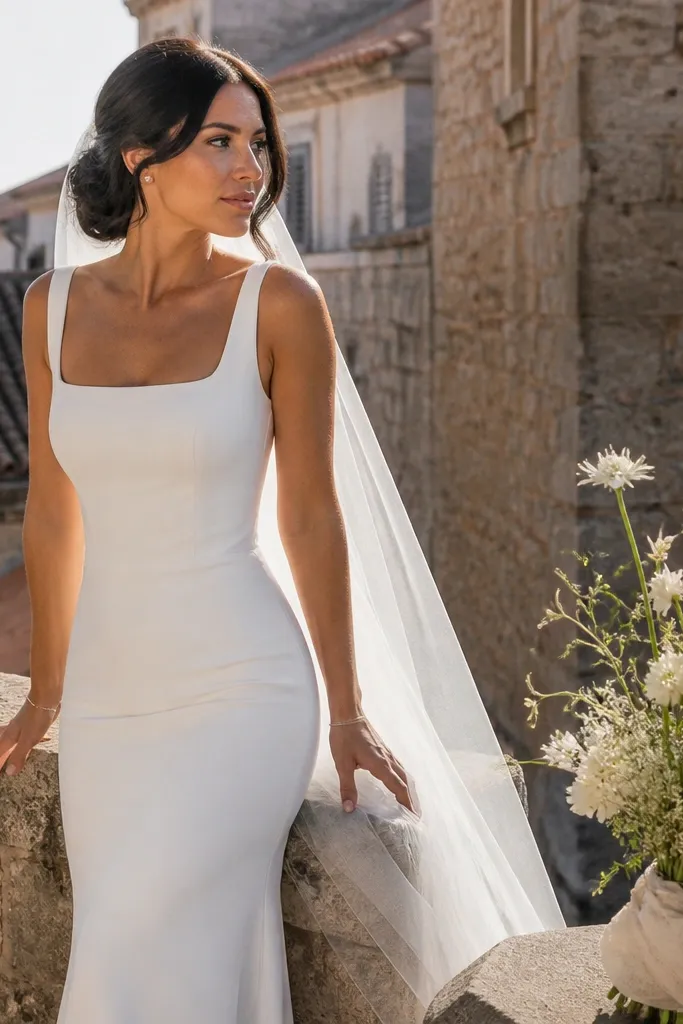
A square-neck mermaid with minimal seams looks clean and modern, and it helps your silhouette read crisp. Fewer seam lines means fewer chances for unwanted pulling or puckering. This style is a great fit if you want the mermaid shape without heavy embellishment. It also works well for brides who plan to add a statement accessory like a veil or bold earrings, because the dress stays visually quiet.
Start by checking the neckline structure — square necklines need solid support so they don’t gap. Then look at the hip area: minimal seams should still guide the fabric, not just flatten it. Finally, test the torso fit by raising your arms slightly; if the neckline shifts or the fabric wrinkles heavily, you need a better cup or a different bodice pattern. Allow 8-12 minutes to compare two similar square-neck options.
Quick tipIf you’re adding a veil, choose a slightly thicker fabric so it doesn’t compete with the neckline.
Skip thisAvoid flimsy square neck bodices; they gap and flatten your shape in photos.
7. V-Neck Mermaid with High-Impact Waist Definition
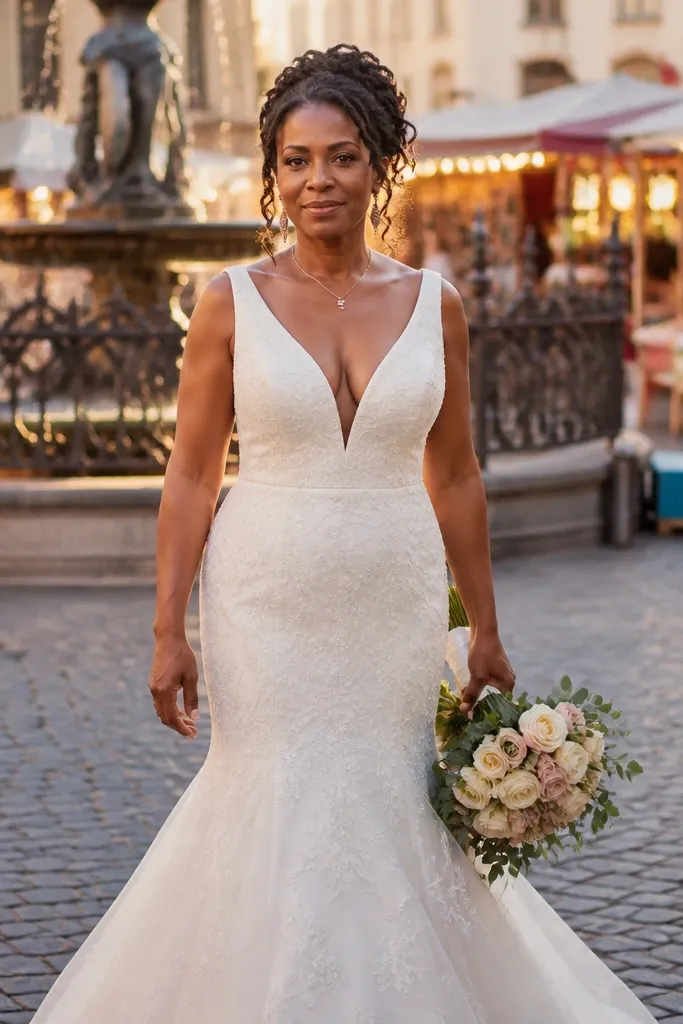
A V-neck mermaid with strong waist definition is a reliable choice when you want the mermaid silhouette to look intentional, not accidental. The V draws the eye upward and lengthens the torso, while the waist seam keeps the fitted section from looking like it starts too high. This is a strong option for brides who feel like their waist disappears when dresses are too straight through the bodice. It also works well with both long and short sleeves because the neckline stays the focal point.
Start by checking where the waist seam sits: it should hit your natural waist or slightly below, depending on your comfort. Then confirm the V shape doesn’t cut too deeply at the center — too deep can look harsh in bright photos. Finally, test sitting and standing again; V-neck bodices can shift if the cups don’t fit. Spend 10 minutes total: quick fit check, then one photo straight-on.
Quick tipChoose a V that stays close to your body; shallow V necklines can make the torso look wider.
Skip thisSkip V-necks with loose center seams — they create visible gaps on camera.
8. Cap-Sleeve Mermaid with Lace Sleeves
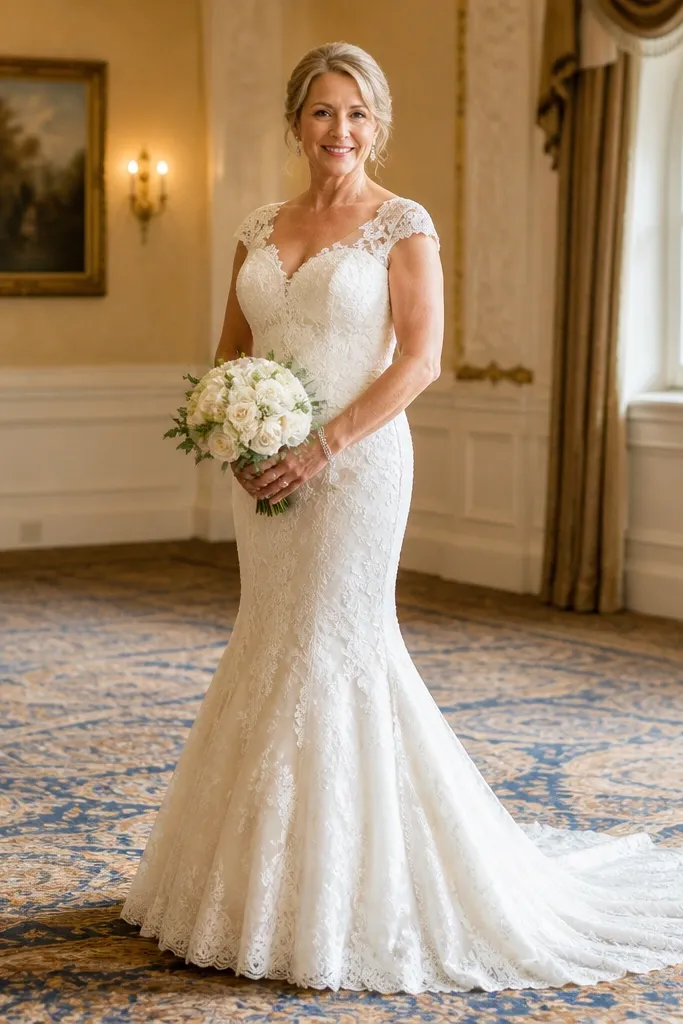
Cap-sleeve mermaid dresses are a cheat code for comfort and coverage without losing the fitted shape. Lace sleeves add softness at the shoulders and help the mermaid line look balanced from every angle. If you want your arms covered but still want the dress to feel light, cap sleeves are usually the sweet spot. This style also helps hide undergarment straps issues, because the sleeve coverage reduces the need for strap adjustments.
Start by checking the sleeve edge sits flat — lace cap sleeves should not curl or pull away from the arm. Then look at the fitted section: the mermaid should still hug from waist to hip, not balloon. Finally, do the reach test: lift your arms slightly and watch where the fabric pulls at the shoulder seam. Plan 10-12 minutes per dress so you can spot sleeve fit problems early.
If you plan to wear a bracelet, pick sleeves that don’t extend over your wrist — you’ll get better movement in photos.
Avoid cap sleeves that are too tight at the upper arm; they make the mermaid skirt look less flattering.
9. Off-Shoulder Mermaid with Soft Tulle Overlay
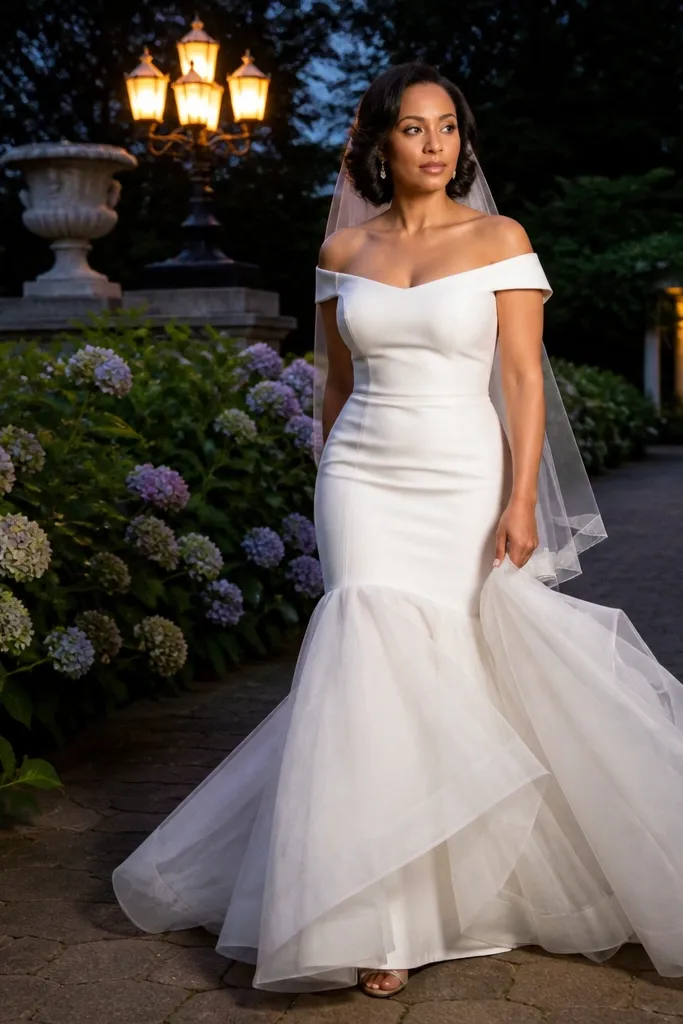
This is the mermaid option for brides who want movement but hate heavy bulk. The off-shoulder neckline frames the shoulders, while a soft tulle overlay at the flare creates that light, fluttering opening. It looks romantic in motion and gives photos more depth than a plain fitted skirt. If you’re worried about a stiff mermaid feeling “static,” tulle overlay is the fix — it moves without turning the whole dress into a full skirt.
Start by checking where the tulle overlay begins — it should concentrate near the flare so the fitted section stays sleek. Then look for a lining that keeps the tulle from clinging to your legs when you walk. Finally, test the skirt swing: take 10 steps and watch if the overlay lifts away instead of sticking. Give yourself 12-15 minutes because the motion test matters more here than in other styles.
Choose a slightly longer hem so the overlay doesn’t drag; dragging tulle looks messy fast.
Skip tulle overlays that start at the knee; that’s where they cling and look heavy.
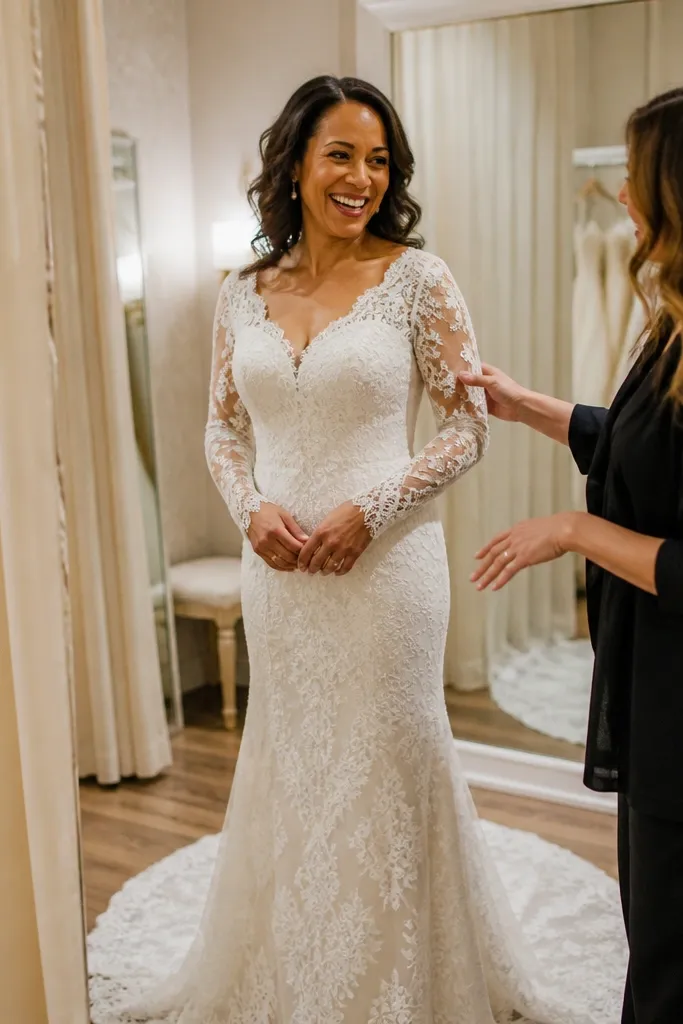
10. Long-Sleeve Lace Mermaid with Straight Flare
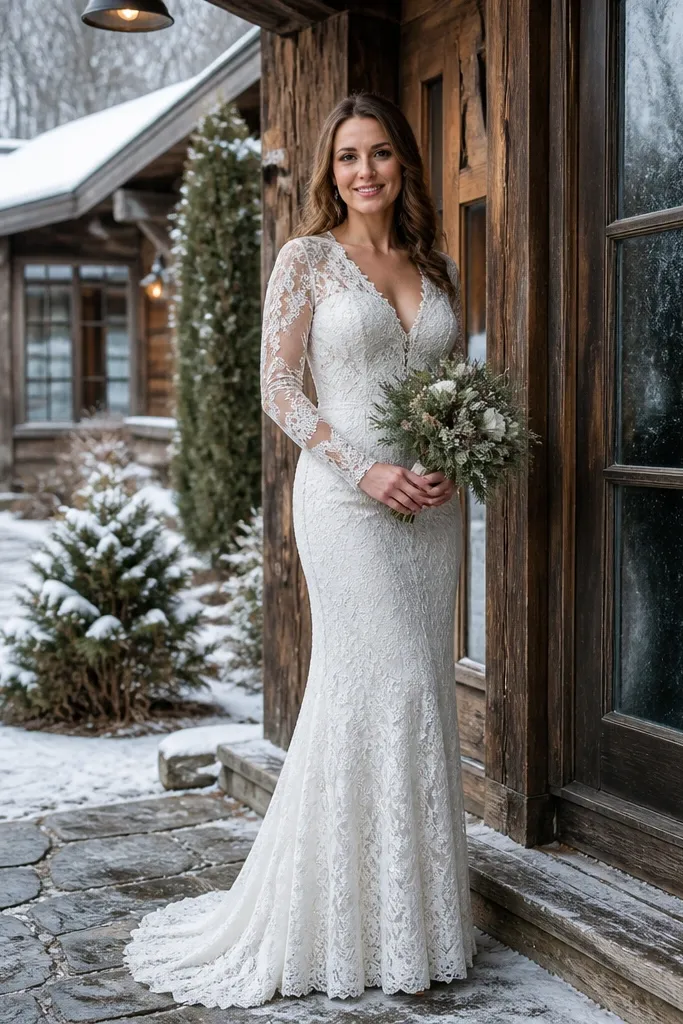
Long-sleeve lace mermaids look dramatic for ceremonies and portraits, and a straight flare keeps them from becoming overly romantic and bulky. The straight flare reads sleek, so you get the mermaid shape without a wide, princess-like opening. This is a strong choice for fall or winter weddings because it balances coverage with a fitted silhouette. It also photographs well in outdoor shade because lace texture adds detail without glare.
Start by confirming the flare seam is straight enough to stay controlled — you want a clean widening, not a wavy, uneven hem. Then check the sleeve stretch and neckline fit; long sleeves can pull if the pattern is too firm. Finally, do the sit test and watch the waistline — long-sleeve lace can wrinkle when seated. Allocate 10-15 minutes, and don’t skip movement checks.
Pick lace with a slightly denser pattern if you want it to read crisp in low light.
Avoid long-sleeve lace that’s too stretchy; it can bag at the wrist and ruin the silhouette.
11. Sculpted Mermaid with Texture Crepe Panels
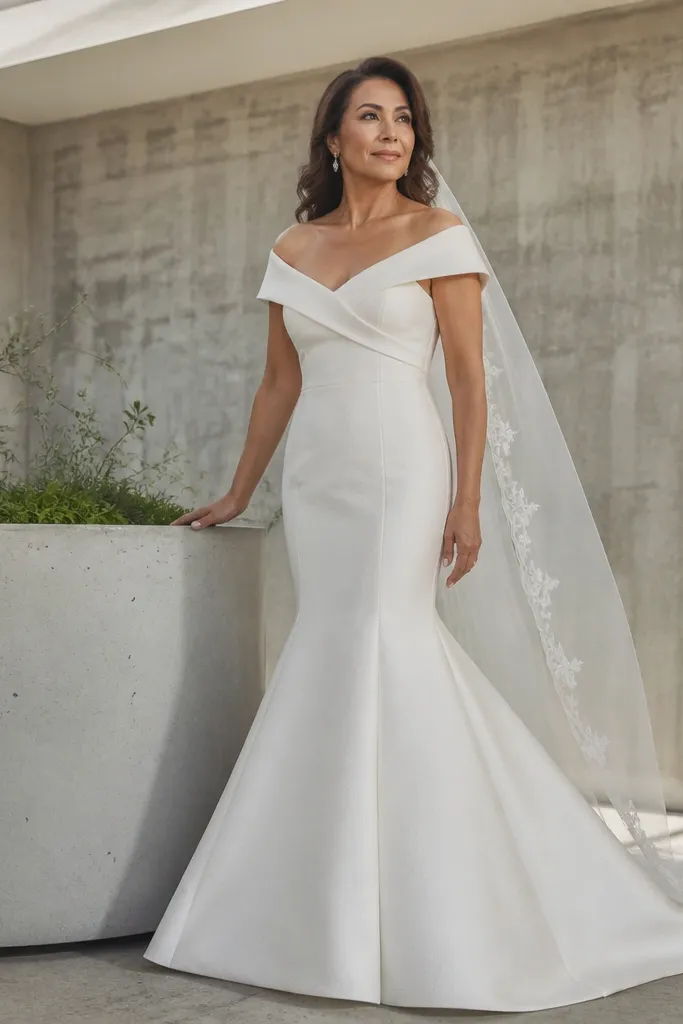
Texture crepe panels give you shape without heavy embellishment. The fabric has enough variation to hide minor unevenness while still looking modern and sharp. This is the pick when you want a mermaid dress that feels grown-up and calm, not too lacey or too shiny. It also works well for brides who plan a simple veil or minimal jewelry because the dress texture creates the interest.
Start by feeling the fabric: it should feel smooth but not slippery, with panels that guide the body. Then check the hip area for tension; textured crepe can still pull if the sizing is off, even though it hides lines. Finally, compare two dresses with different panel patterns and choose the one that keeps the flare even from both sides. Spend 8-12 minutes; texture crepe is quick to evaluate by touch and movement.
Choose a matte finish if your venue has overhead spotlights; it reduces harsh reflections.
Skip dresses with very thin textured fabric; they can look see-through at the flare.
12. Minimalist Mermaid with Beaded Belt at the Waist
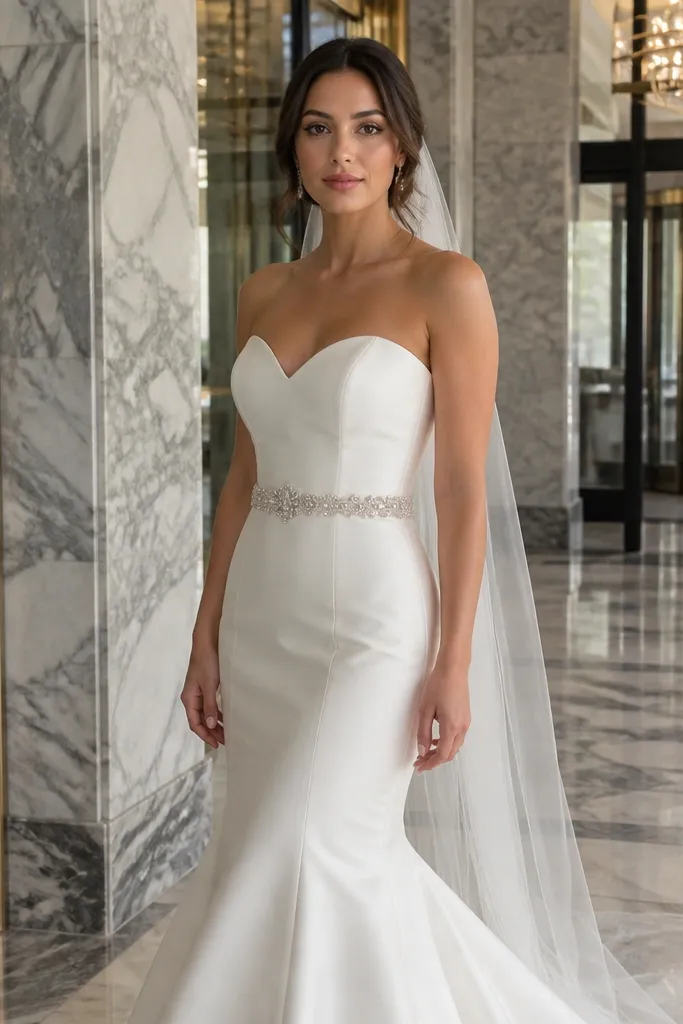
A minimalist mermaid with a beaded belt is a fast way to look styled even if the dress is otherwise simple. The belt marks the waist clearly, which makes the mermaid silhouette look more intentional in photos. It also lets you avoid all-over beading, which can feel heavy and scratchy. This style is especially good if you want a clean background for veil, hair, and jewelry — the belt gives just enough sparkle at the right point.
Start by checking belt placement: it should sit at your natural waist, not an empire line. Then look at the beading density — you want it to catch light, not weigh down the fabric so it sags. Finally, take a quick photo and check that the belt stays straight when you move; if it twists, you need a different attachment or alterations. Give it 10 minutes for a belt-only decision, then 5 for the overall fit.
If you hate itchy beadwork, choose a belt that sits over a smooth lining at the inside edge.
Avoid belts that attach with thin thread; they shift and ruin the waist line.
13. Bateau Neck Mermaid with Embroidered Bodice
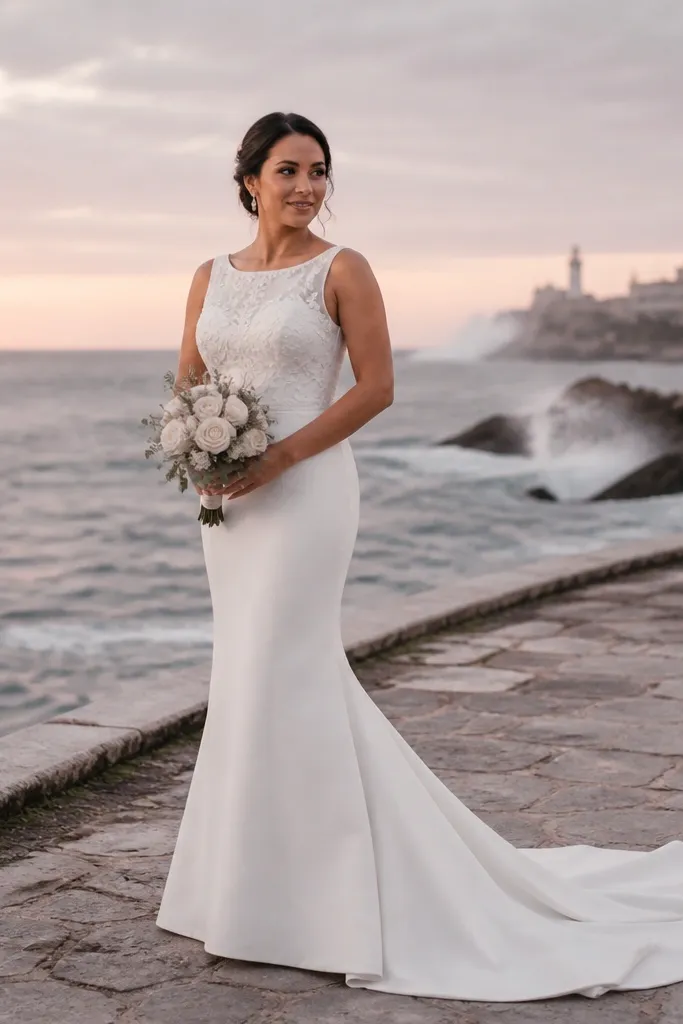
Bateau necklines on mermaid dresses create a balanced, sculpted look. Embroidered bodices add interest where you want attention, while the skirt can stay clean so the mermaid line doesn’t get visually busy. This style is great for brides who want coverage at the top but still want a fitted, modern silhouette. It also works well in formal venues where you want the dress to look “finished” without relying on lots of hardware at the skirt.
Start by checking the neckline height — bateau should sit comfortably across the collarbone without choking. Then look at how far the embroidery extends down the torso; stop short of the widest hip point for the most flattering effect. Finally, test the shoulder fit by turning your body slightly and watching for neckline gapping. Plan 12 minutes because neckline fit is the make-or-break detail here.
Quick tipChoose embroidery that stays flatter against the fabric so it doesn’t create bumps in close-up photos.
Skip thisSkip embroidered bodices that start too low; they can make the hip area look wider.
14. Square-Neck Mermaid with Detachable Tulle Train
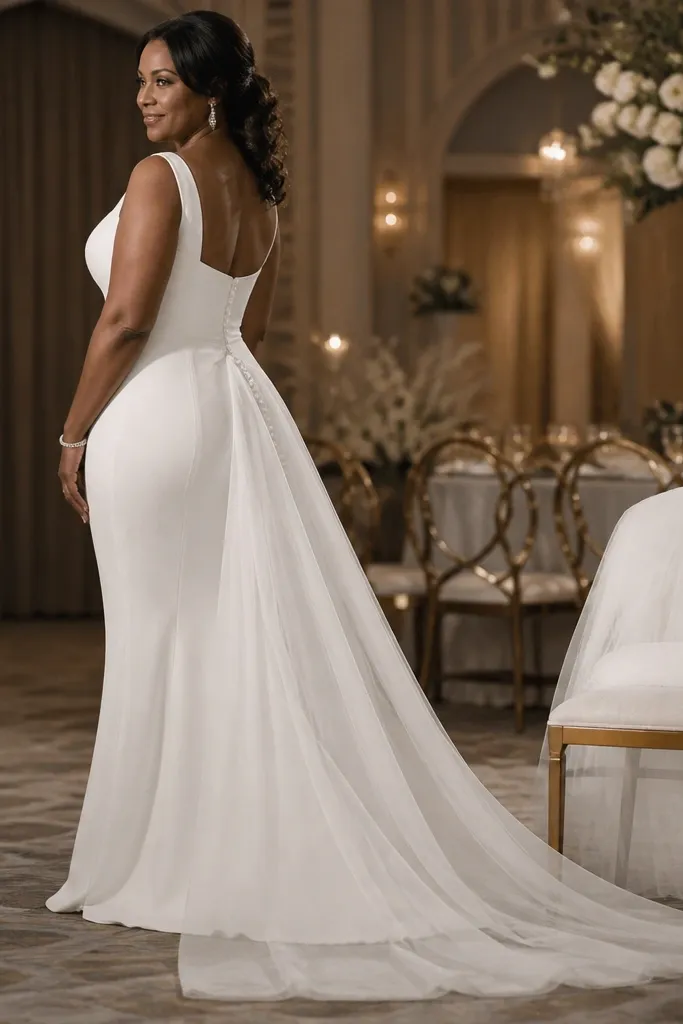
A detachable tulle train keeps the mermaid practical. You get the dramatic aisle moment, then you can remove the extra length for easier dancing and less risk of stepping on fabric. The square neck stays crisp and modern, while the tulle train adds softness at the back without weighing down the fitted silhouette. This is a great choice for brides who want options — ceremony photos with a train, reception comfort immediately after.
Start by checking how the train attaches — it should be secure and easy to unfasten without awkward fuss. Then confirm the dress hemline looks finished with the train removed, not awkward or unfinished. Finally, practice the removal method before the wedding day; you want the system to feel simple. Spend 15 minutes total: fit check, then train attachment check, then one walk test with and without.
If your venue has gravel or grass, keep the train off for most photos after the ceremony.
Avoid detachable trains that rely on flimsy buttons; they can pop mid-event.