1. Dessert Wall with a Slice-First Ritual
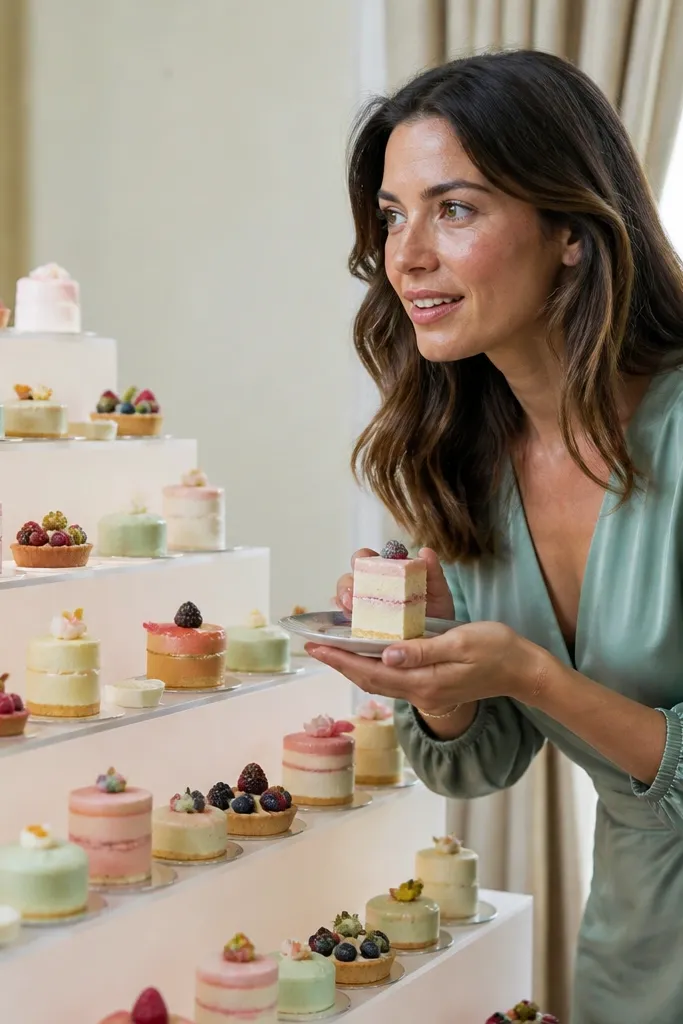
A dessert wall looks good because it gives you a repeatable background and a color story even when guests are moving. Make it booth-friendly by arranging mini desserts in a grid or stepped tiers so the backdrop stays neat in photos. This works best when you want “fun reception” energy without props clutter. It also photographs well after dinner, when people are smiling, seated nearby, and ready to celebrate again.
Start by choosing 3-4 dessert colors and building the wall around them (for example, cream, berry, chocolate, and gold accents). Then set out small plates and forks at two heights so guests can grab and pose without blocking the display. Finally, schedule the slice-first moment 15 minutes after dessert arrives so the wall is still full and the lighting is stable.
Quick tipUse matte serving trays instead of shiny ones; flash glare makes desserts look flat.
Skip thisDon’t place the dessert wall directly beside the dance floor — the constant movement ruins the clean look.
2. Mini Donut Bar with a Dip Station Frame
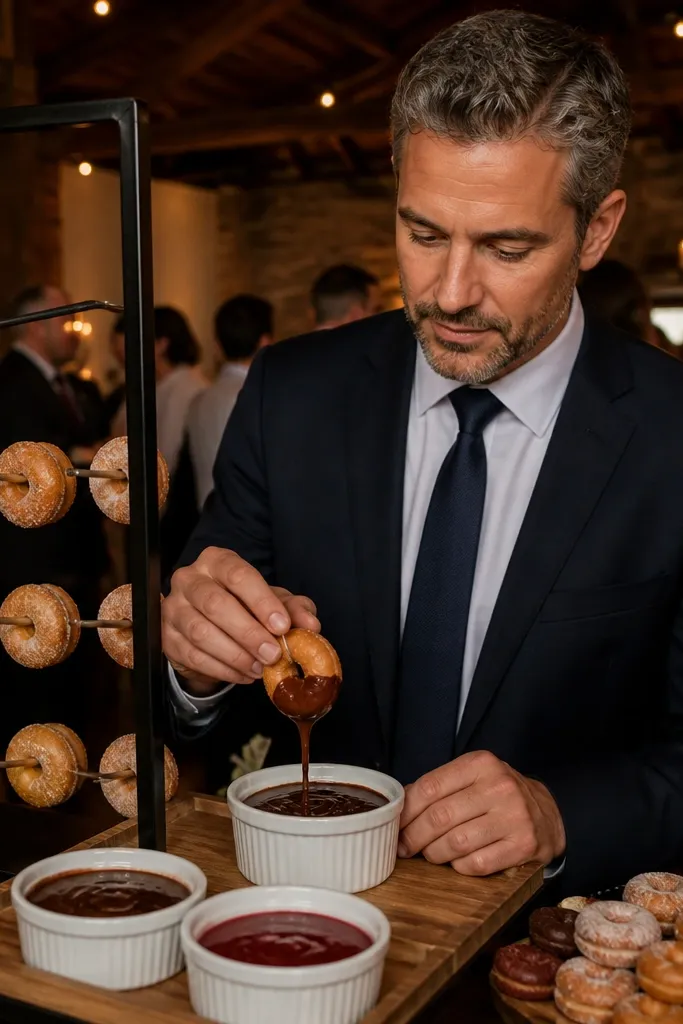
A donut bar is instantly photogenic because it’s playful and easy to hold. The dip station adds a second visual element, so photos don’t look like a plain table. Guests naturally lean in, lift donuts, and show sauce drips, which makes the booth feel interactive. This is a great choice for late-night fun or a casual reception where you want bright, high-energy pictures.
Start by arranging donut stands in a single line so guests can line up without crowding the lens. Then place three sauce bowls in a row with labels that match your wedding palette (warm caramel, berry compote, and chocolate). Finally, set up a simple photo “frame” using two tall stands or a chalkboard arch behind the dip bowls and keep the camera-facing side clear.
Quick tipLight the dip station from the side with a small uplight so sauces look glossy without overexposing.
Skip thisSkip sticky, glossy tablecloths; they catch fingerprints and show up in every flash.
3. Taco Bar with a 'Build Your Own' Photo Line
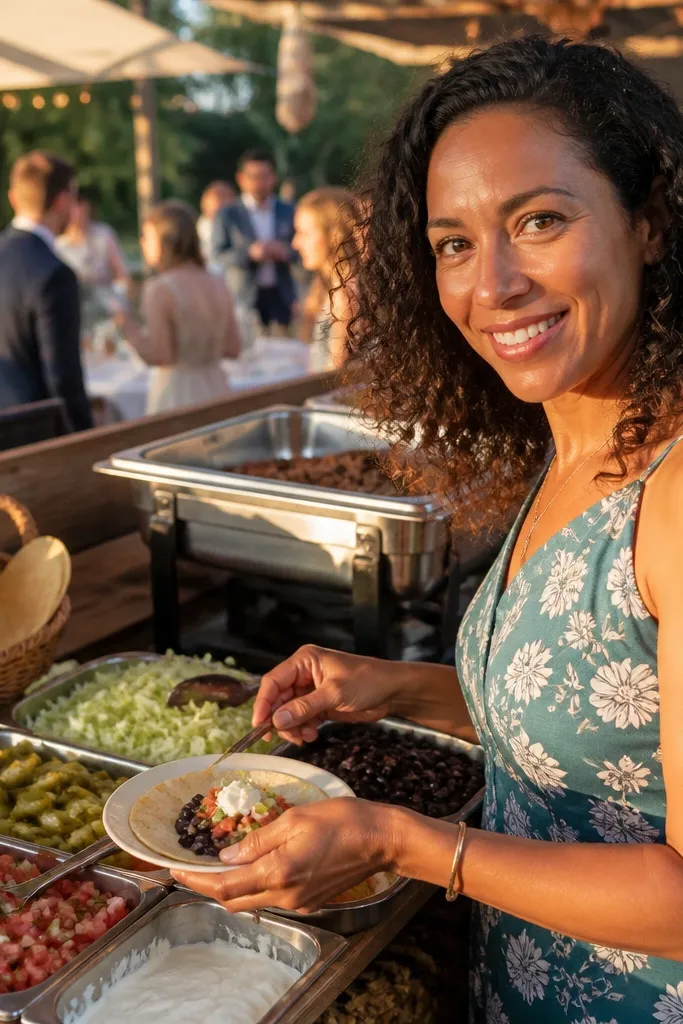
Taco bars photograph well because the toppings are color-blocked and guests can create their own look. The “build your own” format gives you a built-in pose — hands busy, smiles up, plates in frame. It’s best for receptions with a lively vibe where you want fun rather than formal. Photos also look great because the station naturally creates a foreground subject without needing extra props.
Start by setting toppings in neat rows by type and color (greens, reds, browns, whites) so the table looks tidy in pictures. Then keep one signing board or menu board centered behind the topping line to act as your backdrop. Finally, assign an order: tortillas first, then protein, then toppings — and keep the booth area 8 feet from the service lane to avoid chaos.
Quick tipOffer two sauce options only; too many choices makes the table look messy in photos.
Skip thisDon’t let guests take photos while food is still being set up; the background will look incomplete.
4. Coffee Cart with a 'Latte Art Challenge' Backdrop
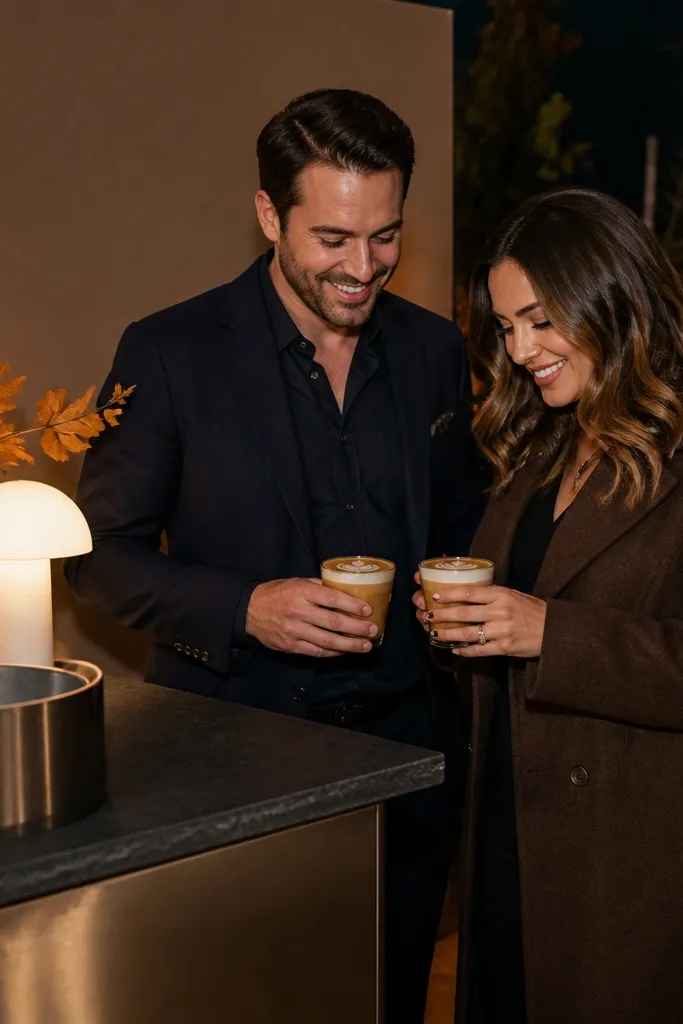
A coffee cart is one of the cleanest ways to get “late-night cozy” photos that still feel fun. Latte art adds a moment guests can react to, and a cart creates a strong vertical background. This idea works especially well for fall and winter receptions or any wedding that ends with speeches and mingling. The booth look is polished because the cups, steam, and warm tones read clearly in photos.
Start by placing the coffee cart on a wall side or a corner with minimal background distractions. Then hang a single branded sign or menu board behind the cart at eye level so it frames guests. Finally, run a short latte art challenge: have one barista create a simple heart/leaf pattern, and have guests hold the cup for 3-5 seconds right after it’s poured.
Choose warm white cups; they keep contrast high and avoid weird color shifts from colored lighting.
Skip plastic stirrers and random clutter; every small item shows up in the background.
5. Champagne Tower with a 'First Toast Pose'
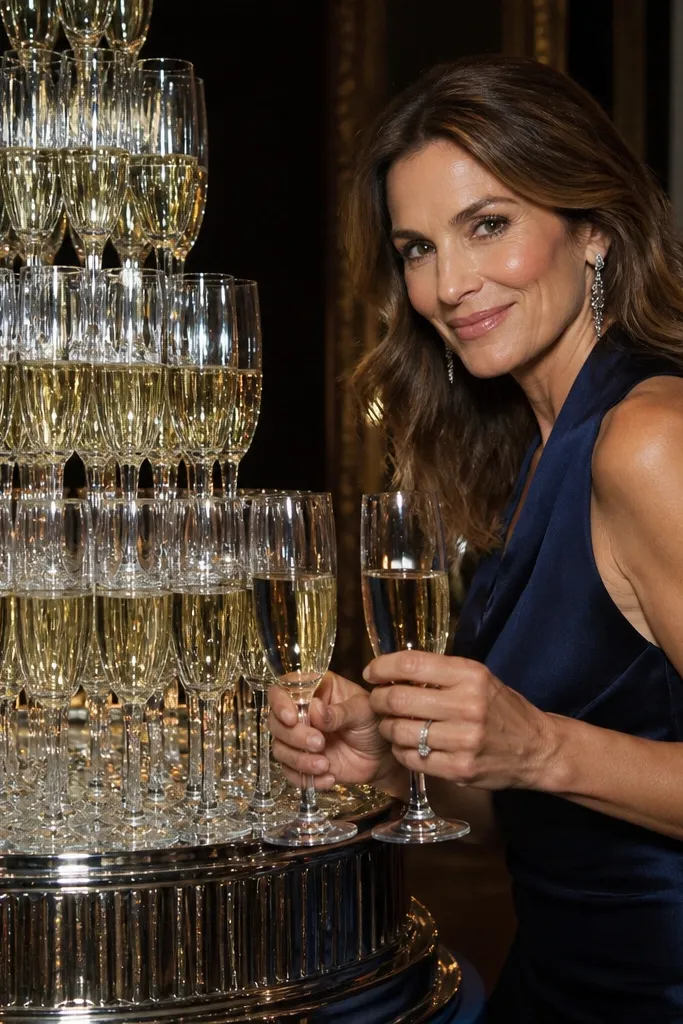
A champagne tower looks cinematic because it creates height and sparkle, and height is what makes photos feel like an event. Pair it with a clear toast pose so guests know what to do: hold flutes at chest level, lean slightly toward the tower, and smile on the count. This works best when you want a more formal-but-still-fun reception moment. It also gives you strong highlights without needing extra backdrops.
Start by placing the tower on a stable surface with a clear 360-degree viewing area (avoid placing it against a busy wall). Then dim the surrounding overhead lights slightly so the tower’s highlights don’t blow out faces. Finally, schedule the photo moment 10 minutes before the main toast so guests are already holding glasses and the tower is still full.
Quick tipBring a microfiber cloth for any fingerprints on the glass — it matters more than people think.
Skip thisDon’t put the tower where it blocks the DJ booth; you’ll get awkward angles and interrupted flow.
6. Popsicle Station with a 'Color Splash' Wall
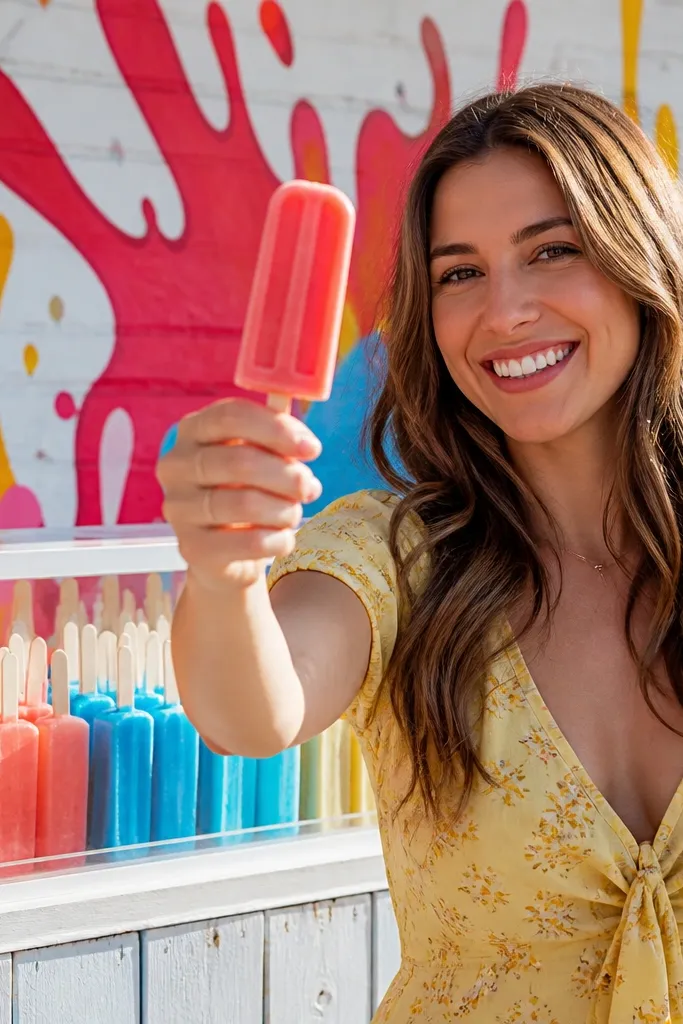
Popsicles are playful and photogenic because the colors are bold, and guests naturally hold them up. If you pair the station with a bright wall or a printed backdrop panel, you get instant contrast and clean composition. This is ideal for summer receptions, outdoor venues, and weddings where you want the booth photos to feel light and carefree. The best part is that it works for both couples and big groups without props.
Start by choosing 4 popsicle flavors that match a color palette (for example, citrus yellow, strawberry pink, mint green, and berry purple). Then set the station on a single side of the wall so the background stays consistent. Finally, put a simple “Flavor Bar” sign behind the station and have guests pose holding the popsicle at shoulder height for 2-3 seconds.
Use paper cones or matte wrappers; shiny wrappers reflect flash and look messy.
Don’t serve popsicles in deep, dark bowls; the food disappears in photos.
7. S'mores Bar with a Fire Pit Backdrop
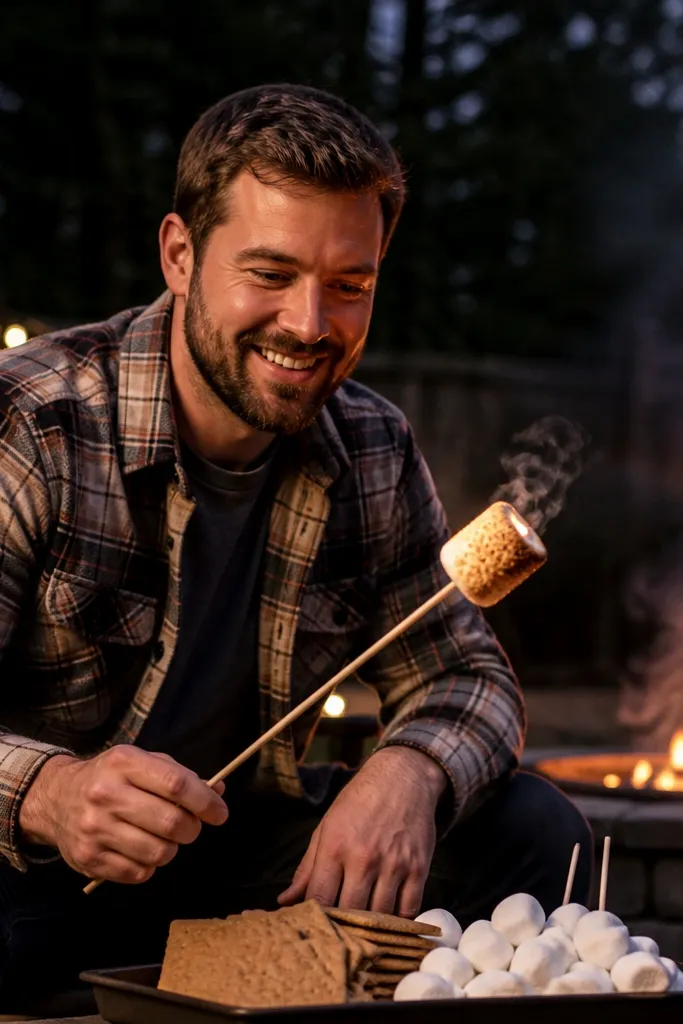
S’mores create dramatic warmth and a natural “campfire glow,” which makes photos look cozy and cinematic. Marshmallows are fun to hold and toast, so guests interact without feeling like they’re posing too hard. This is a perfect fit for outdoor venues and evening receptions where the temperature drops. You also get a clear visual theme: chocolate browns, golden graham, and soft marshmallow whites.
Start by setting the s’mores ingredients on a long table with a simple color order: crackers, chocolate bars, then marshmallows. Then place a fire pit or faux flame heater behind the station, angled so the glow lights faces from the side. Finally, run a short “toast and pose” cue: guests toast for 10-15 seconds, then hold the marshmallow at chest height while the photographer counts.
Have tongs and napkins pre-staged; mess makes people step back from the photo.
Skip open flames directly behind the camera position — it creates harsh backlight and silhouettes.
8. Sea Salt Caramel Popcorn Booth Table
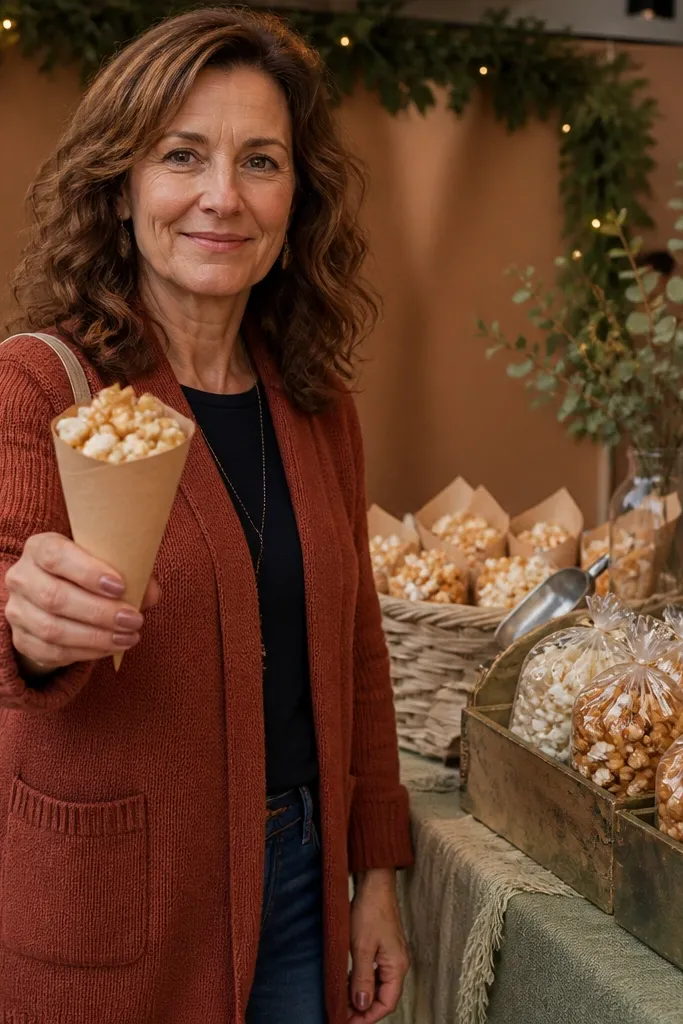
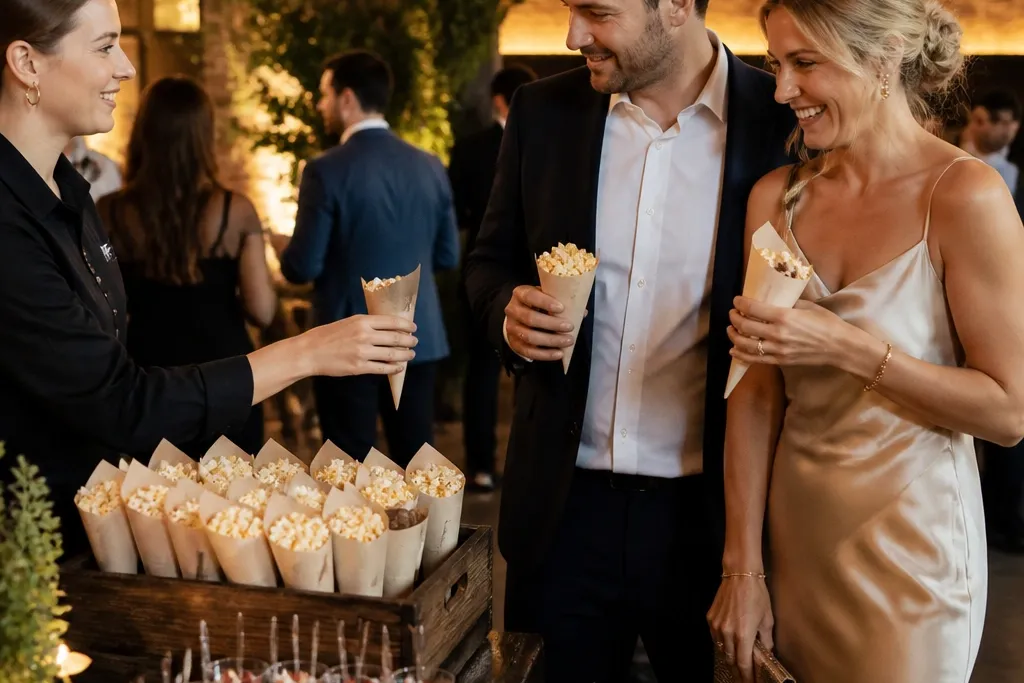
Popcorn looks great because it’s textured and high-contrast, and it’s easy for guests to grab. Use clear bags or paper cones so the color stays visible, and build a backdrop that matches your wedding palette. This is a strong option for budget-friendly fun that still looks styled. It also works as a late-night photo booth moment when people are tired of standing but still want something to do.
Start by choosing one color theme for packaging (cream bags with gold twist ties, or kraft bags with white labels). Then place popcorn in a central bowl with a caramel drizzle tray and a small salt dish. Finally, set the table near a wall or curtain and add a single banner behind it so your photos have a clean background.
Keep the table height consistent with a step stool for the couple; level hands look better in photos.
Don’t overfill bags; crushed popcorn creates ugly shadows and smudges.
9. Charcuterie Board 'Photo Frame' Trio
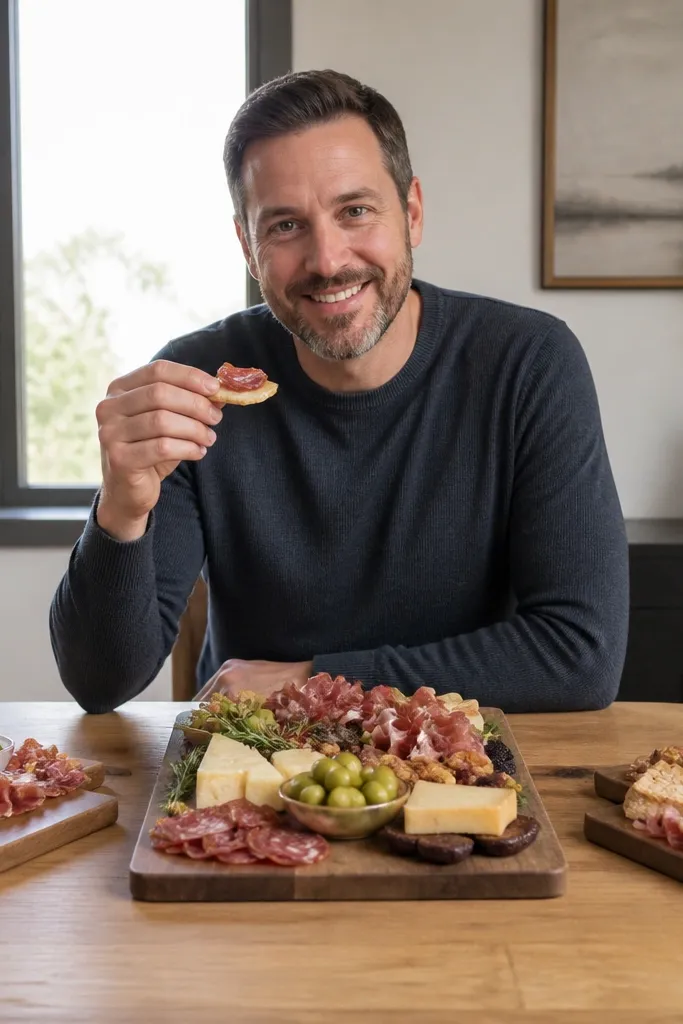
Charcuterie can look luxe and styled if you build it like a set, not a buffet table. The trick is the trio effect: two smaller boards on the sides and one larger board centered so you get a symmetrical backdrop. Guests can hold small picks and crackers, which gives you hands-in-frame action. This works for cocktail receptions, welcome parties, and any wedding that wants a more grown-up, aesthetic food moment.
Start by stacking boards so the center board is slightly higher, creating a clear focal point behind guests. Then keep serving utensils facing outward so the table looks organized in photos. Finally, place two small stools or step points in front of the boards so couples and small groups can pose without crowding the food.
Quick tipUse neutral cheese boards and add colored napkins to control the palette in photos.
Skip thisSkip mixed clutter like random snack bags; it makes charcuterie look like a leftover pile.
10. Sushi 'Take a Photo, Then Take a Bite' Station
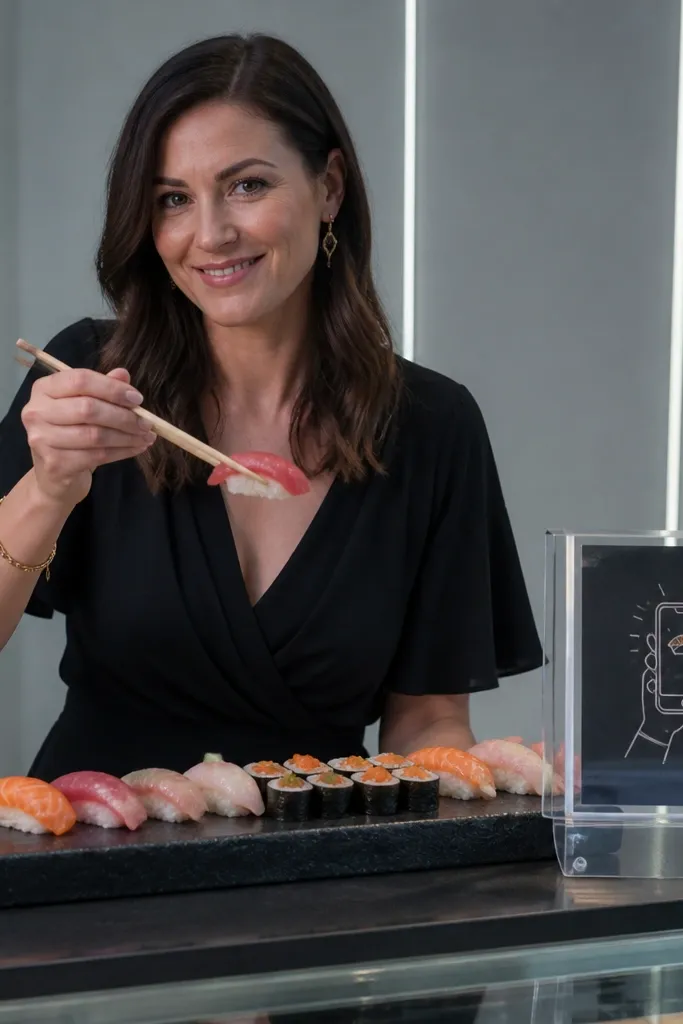
Sushi looks clean and modern, which makes it perfect for aesthetic wedding photos. The station works because guests can hold one piece, smile, and still keep the table tidy. Add a sign that tells people to pose first, bite second, and your photos will look coordinated instead of chaotic. This is best for receptions that feel contemporary and for venues with bright, even lighting.
Start by arranging sushi rolls in a grid on a long platter, then add soy sauce and pickled accents in small, matching ramekins. Then place chopsticks in a container at the same spot every time so guests reach consistently. Finally, mount a simple backdrop sign behind the station and have a helper cue guests: pose for one shot, then grab.
Choose matte place mats; glossy ones reflect overhead lights and wash out colors.
Don’t serve sushi on a dark table with no lighting — the food turns into silhouettes.
11. Dessert Flight Bar with 'Taste and Match' Cards
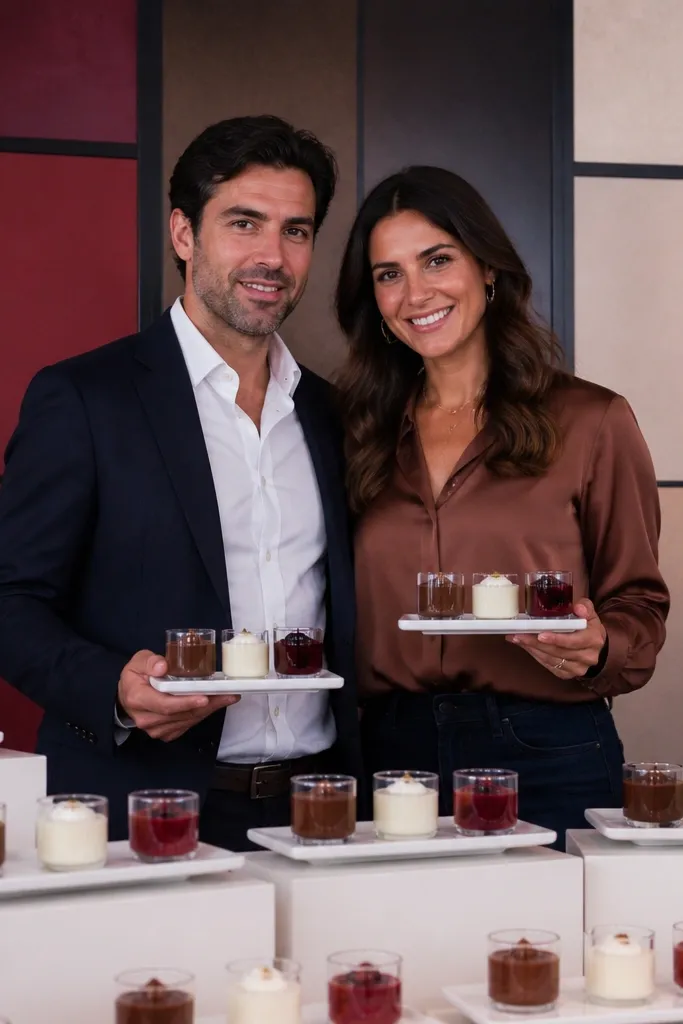
A dessert flight makes the photo booth feel like an experience instead of a buffet line. The tray format gives structure, and the matching cards create a visual design element behind guests. This works for weddings that want a fun, curated vibe without looking overly staged. It also photographs well because each guest holds the same shape of tray, so group photos look cohesive.
Start by choosing 3 mini desserts that vary in color and texture (for example, chocolate, berry, and vanilla). Then use flight trays with identical placement for each dessert and add a small card holder with tasting cards. Finally, put the card holder on a stand centered behind the flight trays and cue guests to hold the tray toward the camera for two seconds.
Quick tipPrint cards in a thick, textured paper so they don’t look flimsy in close photos.
Skip thisSkip mismatched serving plates; it breaks the uniform look across the whole set.
12. Ice Cream Sundae Bar with a 'Pick Your Toppings' Wall
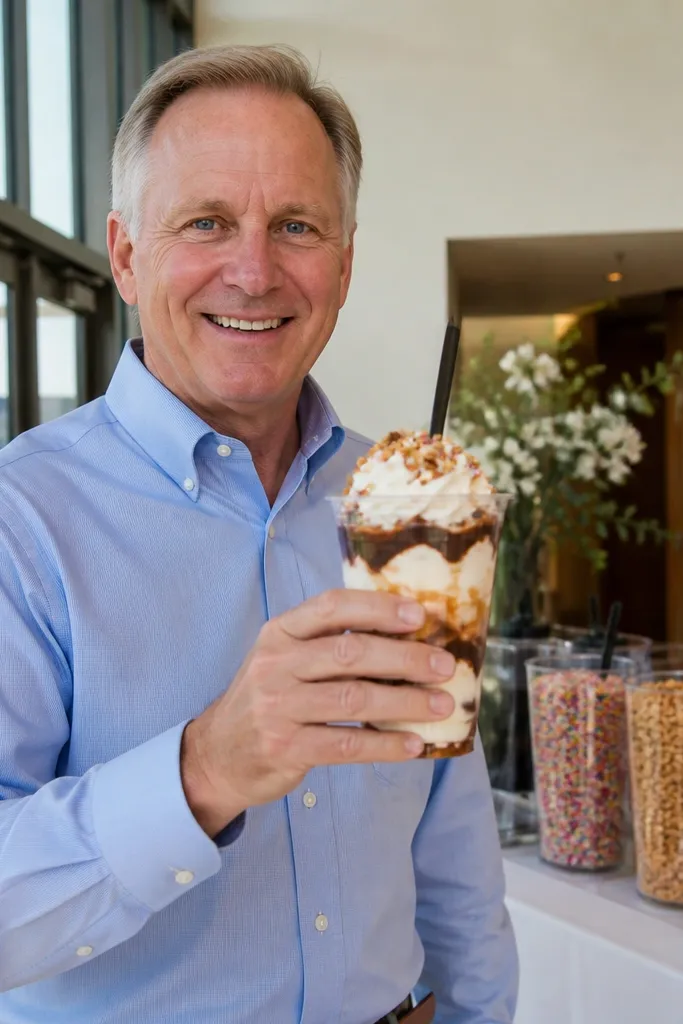
Sundae bars win because guests hold something tall and colorful, and it reads clearly in photos. The topping wall keeps the background interesting even when guests move — it’s designed for repeatable shots. This is a great move for family-friendly receptions and warmer months, plus it works indoors if you control lighting. The photo moment feels interactive without requiring props.
Start by arranging toppings in labeled rows with matching containers so the table looks designed. Then set a “Pick Your Toppings” sign on a stand behind the containers at eye level. Finally, cue guests to build quickly, then pause for the booth shot before they start eating.
Quick tipOffer 6-8 toppings max; too many options make the wall look chaotic in pictures.
Skip thisDon’t put sprinkles in a single messy bowl; use labeled containers so the wall stays clean.
13. Mocktail Bar with a Neon-Style Backdrop Sign
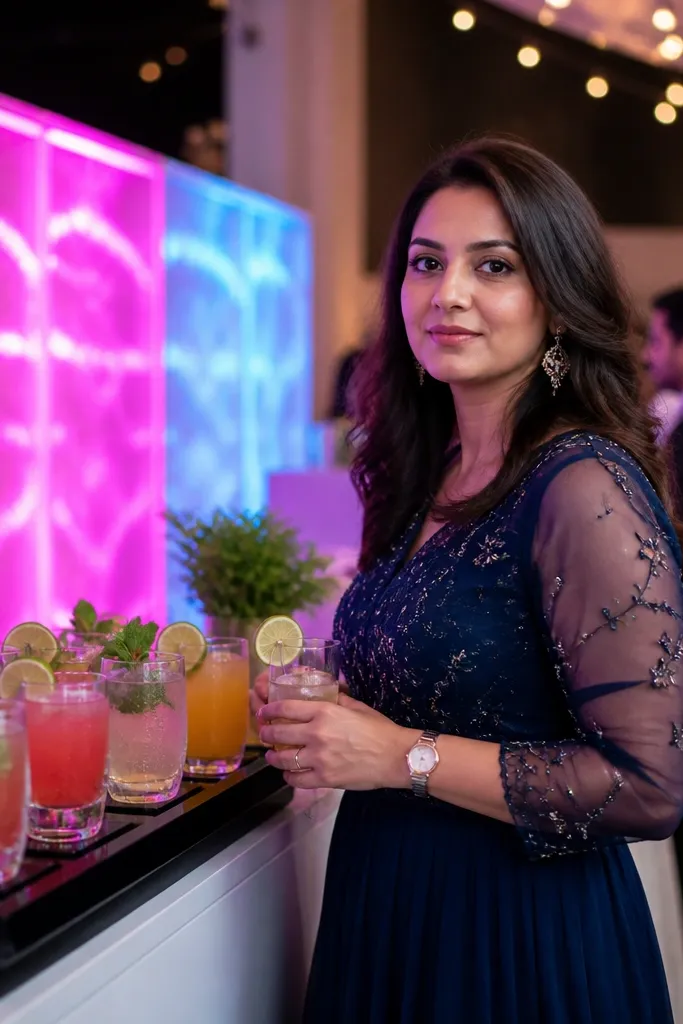
Mocktails look like cocktail photos when you build them for color. A neon-style sign or bright backlit panel makes the background pop, and clear glasses keep the drink color visible. This idea is perfect if you want a fun reception with non-alcoholic options that still look party-ready. It also gives you a clean, modern look for couples and friends.
Start by choosing 3 signature mocktails with distinct colors and garnishes (citrus wheels, berries, mint). Then place glasses on a tray for easy grab-and-pose so guests don’t spill while waiting. Finally, position the bar under the sign and keep a 6-foot clear zone in front so the camera sees the sign and the guests together.
Use clear acrylic drink stirrers; they disappear in photos better than colorful plastic.
Skip cloudy ice; it looks dirty on camera. Use clear ice if you can.
14. Pizza Slice Parade with a Curtain Backdrop
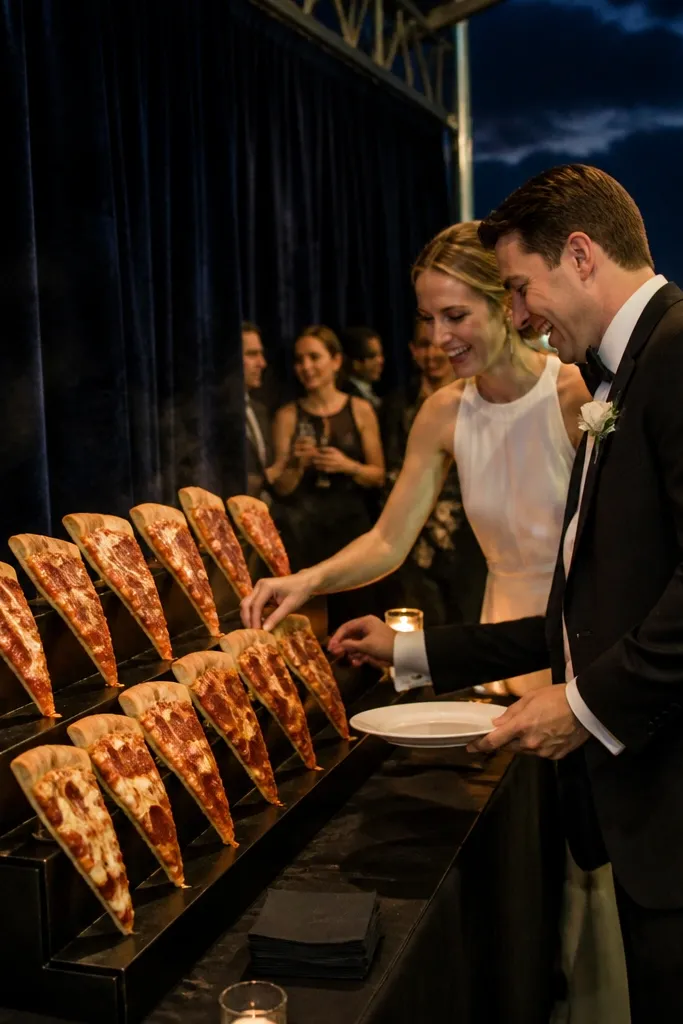
Pizza looks casual but still photogenic when the backdrop is intentional. A dark curtain or velvet drape behind the slice station makes the bright cheese and toppings pop. This is a strong choice for late-night, post-dance snack moments when you want guests to laugh and move. The key is to keep the “slice parade” organized so photos look like a guided booth moment, not a crowd.
Start by setting up pizza on a counter with a clear pick-up line and single-size slices so guests hold the same shape. Then hang a curtain behind the counter and add a simple sign at the top for a clean graphic. Finally, cue a short parade: 6-10 guests at a time take their slices, step into the marked area, and pose for 1-2 photos.
Use parchment liners and swap trays quickly; oil stains show up fast in flash.
Don’t serve slices in mixed sizes; inconsistent shapes ruin the uniform look.
15. Fresh Fruit 'Charms' Table with Skewer Poses
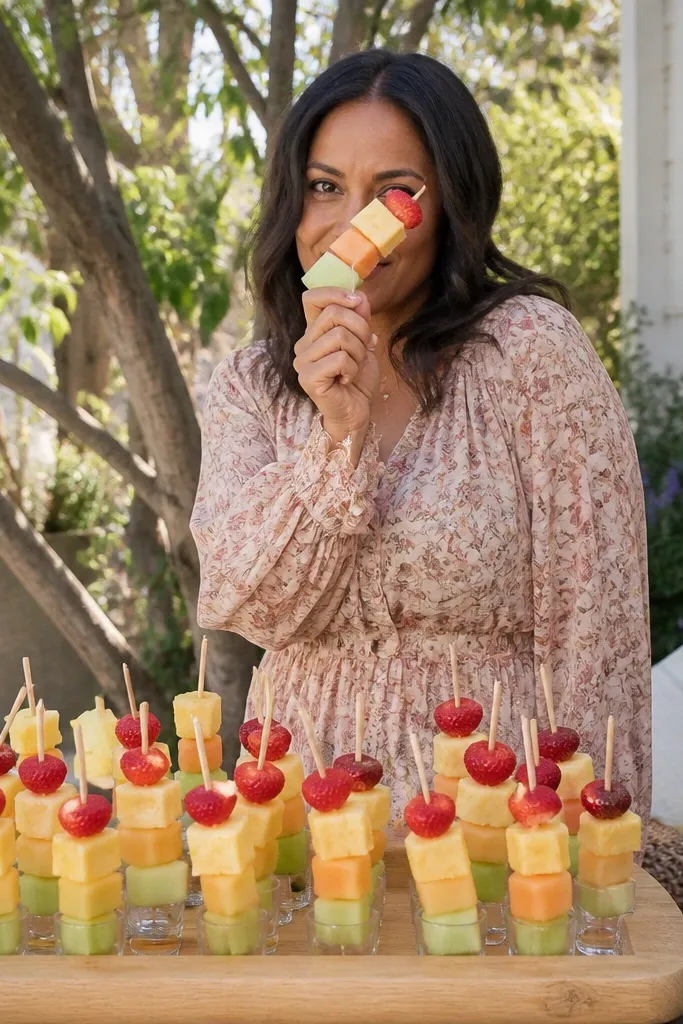
Fruit skewers are one of the easiest ways to get bright, clean, kid-friendly photos that still look styled. The skewers create a natural hand pose, and the fruit colors read well without being messy. This works best for daytime or early evening receptions, especially outdoors where you want lighter visuals. Your booth shots will look crisp because the fruit is structured and easy to hold.
Start by pre-assembling skewers in color groups (citrus, berries, melon) so the table stays organized. Then set out skewers on a long wooden board with pastel napkins and small bowls for optional drizzle. Finally, place a simple fabric backdrop behind the board and mark a spot for guests to stand so the table stays centered in every photo.
Quick tipUse lime, berries, and melon — the color contrast looks great under mixed indoor lighting.
Skip thisSkip cut fruit trays with loose pieces; they look messy and messy reads as low-quality.
16. Bread and Olive Oil 'Dip + Pose' Setup
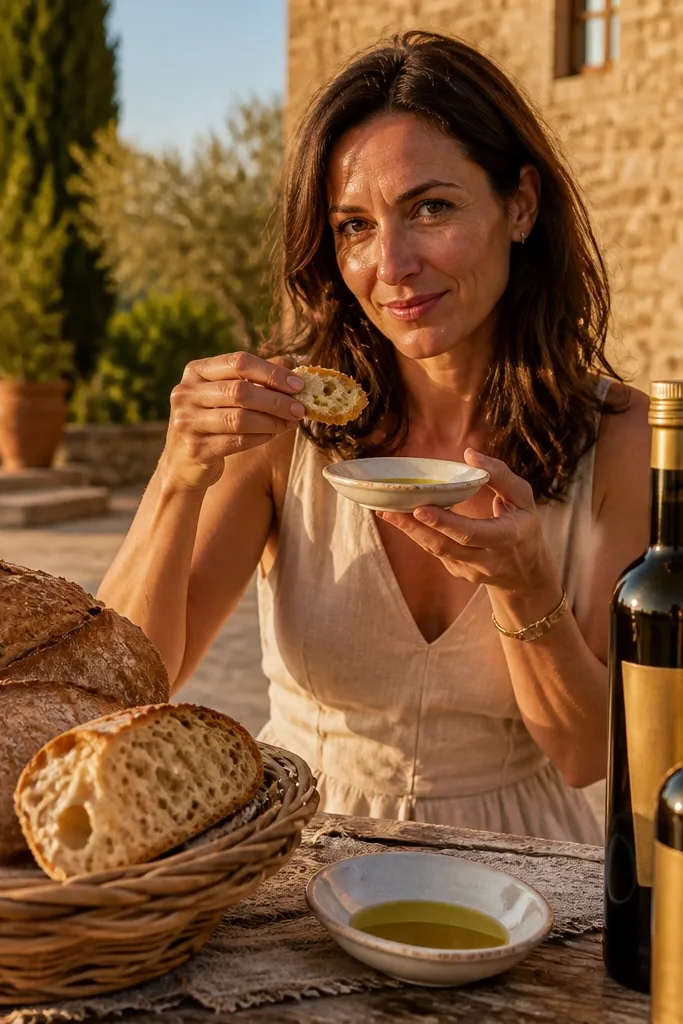
This is a sleeper hit for aesthetic photos because it looks European and styled, not buffet-like. Bread baskets give texture, and the olive oil bottles add vertical shape behind guests. The “dip + pose” cue gives you an action moment — guests hold small plates, bread, and tiny bowls. It’s best for rehearsal dinners and early cocktail hours when you want a calmer, photogenic food moment.
Start by placing bread baskets in two rows with a small gap in the center for the camera. Then use matching small bowls for dipping oil and herbs so the background stays uniform. Finally, cue a quick pose: hand one small plate to each guest, then have them turn slightly toward the oil bottles for the shot.
Quick tipChoose bottles with labels that match your palette; plain labels photograph cleaner than fancy glare labels.
Skip thisDon’t overcrowd the table with too many serving dishes; it turns the scene into visual noise.
17. Macaron Tower with a Gold Stand and Matching Labels
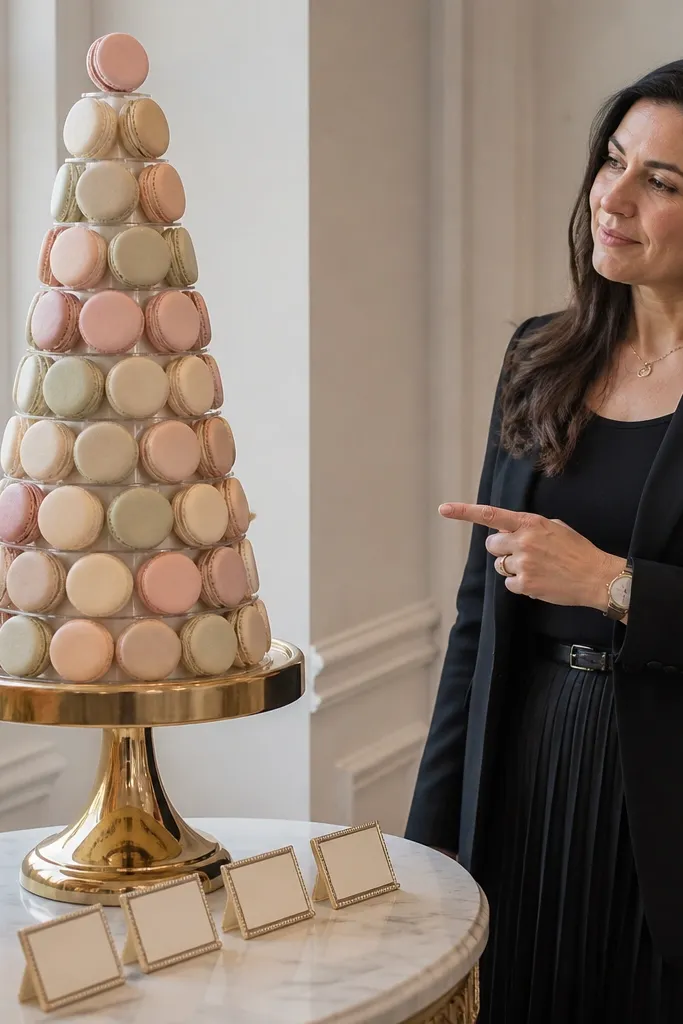
Macarons read as wedding-appropriate instantly, and a tower gives you height that looks luxurious on camera. Labels add a design element that makes the station feel intentional and gives the photographer a clean focal point. This works for elegant receptions, but it still feels fun because guests can point to flavors and hold small boxes. Best timing is right after dinner when people are seated close and ready for dessert.
Start by building the tower in tiers with consistent spacing so it looks structured in every angle. Then add small label cards at the front edge of each tier so the station looks complete even in wide shots. Finally, set out small macaron boxes so guests can hold them at chest level for consistent photos.
Quick tipKeep a lint roller nearby; macaron powders and crumbs make the scene look messy fast.
Skip thisSkip random loose macarons on trays; the tower look disappears and photos feel unfinished.
18. Breadsticks + Marinara Photo Booth on a Brick Wall
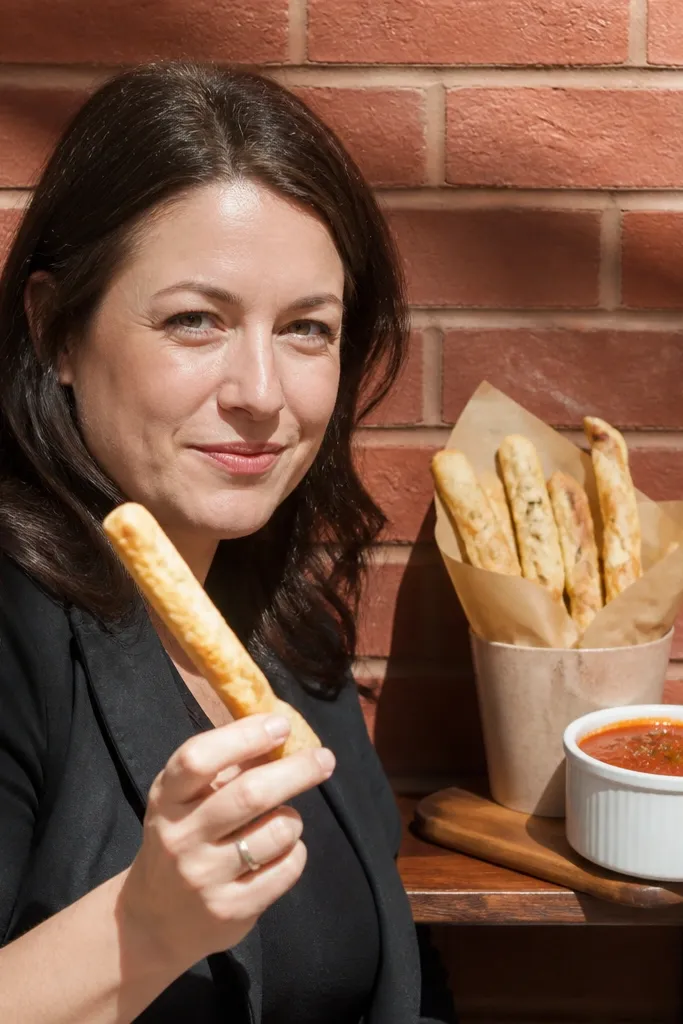
If you have a brick wall, use it. Breadsticks and marinara look great against brick because the warm tones match, and the food is easy to hold. This setup is fun without being childish, and it creates a strong “comfort food” aesthetic. It’s a great late-night add-on because it’s quick to serve and guests don’t have to sit for a full dessert moment.
Start by setting breadsticks in a tall container and marinara cups in a neat row so the table looks symmetrical. Then place the setup directly in front of the brick wall, leaving a clean gap for guests to stand. Finally, add a simple menu board on an easel and cue guests to hold one cup and one breadstick for the booth shot.
Quick tipUse white linen or a light cloth under the containers; it keeps the scene bright in flash photos.
Skip thisDon’t use a busy patterned tablecloth; the brick + pattern creates visual chaos.
19. Late-Night Taco Cups with a Neon Rim Light
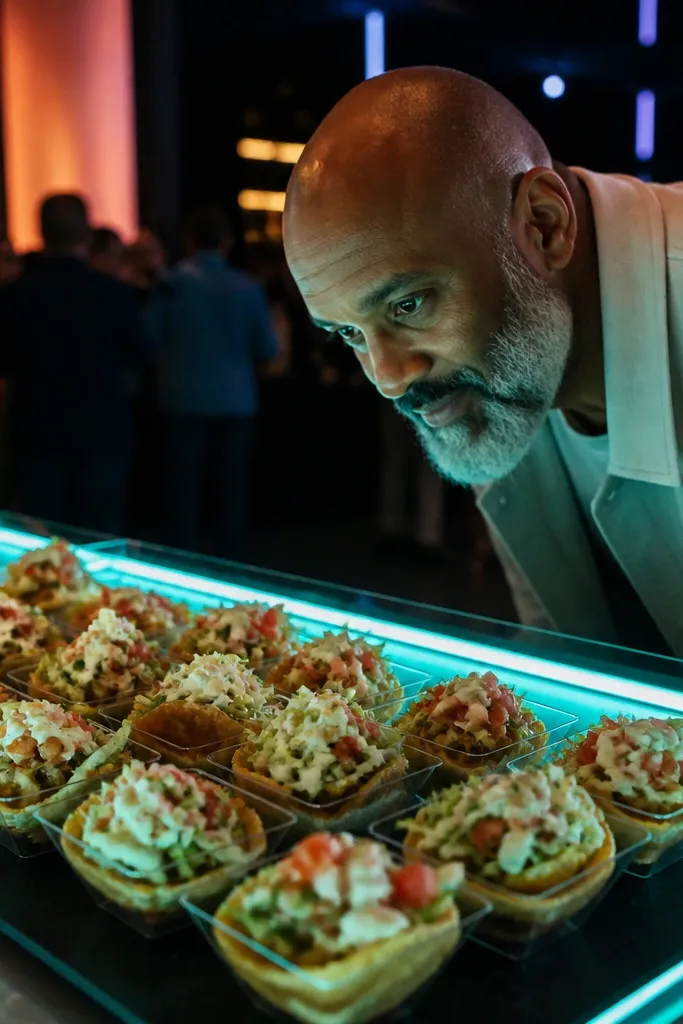
Taco cups are a clever way to make finger food look like a designed product. When you add a neon-style rim light or a bright backlit panel, the cups and toppings glow in photos instead of blending into the background. This works best after the dance floor when you want quick, fun, stand-up photos. The cup shape is easy to hold and keeps toppings from sliding off.
Start by assembling taco cups in a consistent size so guests hold the same look every time. Then line them up on trays with toppings on the side in small cups so the station stays tidy. Finally, set the bright backlight behind the trays and mark a standing spot 5-6 feet in front so everyone ends up in the same frame.
Use small napkins tucked under the cups; it looks clean and helps with spills during photos.
Don’t place the neon light too close to guests; it will flare and wash out faces.
20. Charcoal Grill 'Smoked Bites' Station with a Smoke-Glass Backdrop
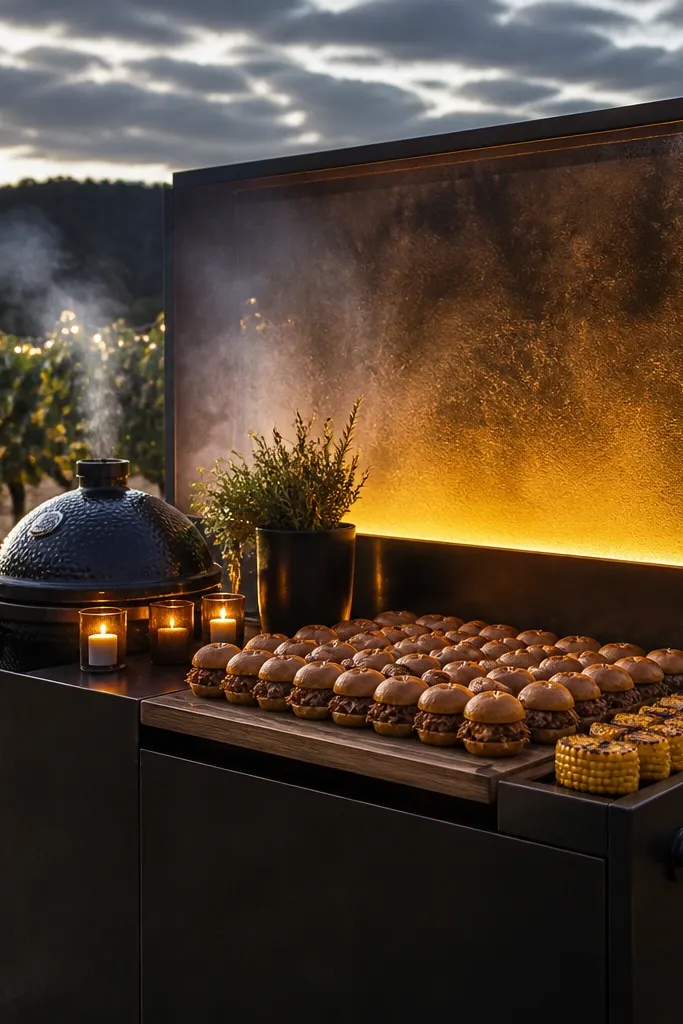
A grill station looks dramatic because of the dark tones and the warm glow, and smoked bites give you a moody, editorial vibe. This is perfect for outdoor receptions, especially in the evening when the background goes darker and the food becomes the star. The smoke is a visual texture, but your station still needs organization so it doesn’t look messy. Guests photograph well here because the lighting is flattering and the food plating is structured.
Start by plating smoked bites on small boards in consistent rows, not on a pile. Then place the station against a dark backdrop panel or near a shaded wall so the food stands out. Finally, cue a slow “first bite” pose: guests pick up one board, stand in the marked area, then take the photo before they start eating.
Quick tipUse food-safe serving gloves for you and staff; fingerprints on boards ruin the look under flash.
Skip thisSkip a cluttered grill counter; the background needs to stay clean for the moody look to work.
21. Garden Herb Mocktail with a Hanging Plant Backdrop
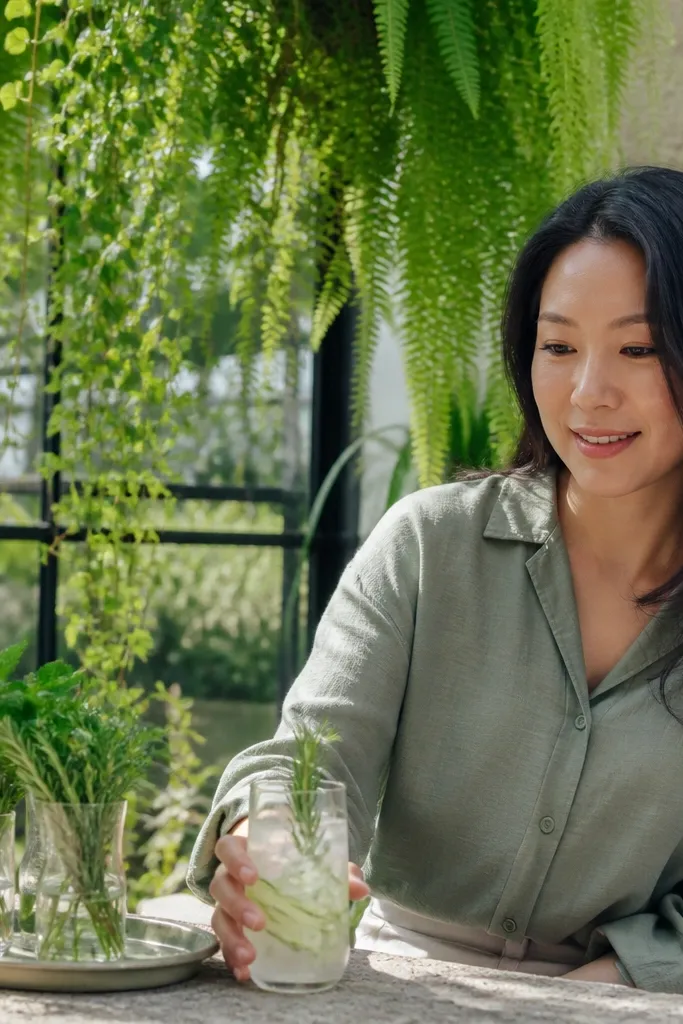
If your venue has greenery, use it as the backdrop and keep the drink styling simple. Herb-forward mocktails look fresh, and hanging plants add depth so photos feel like a garden moment instead of a table shot. This works best for spring and summer receptions, especially outdoors or in a conservatory-style room. Guests hold the bottle or glass, and the greenery frames them naturally.
Start by choosing two herb tones for the drinks (mint and basil) and two garnish types (citrus peel and berries). Then serve in clear bottles or tall glasses so guests can lift them for photos. Finally, position the bar under hanging plants and keep the camera-facing area uncluttered so the plants create depth without blocking faces.
Quick tipTie bottles with thin twine in your palette; it reads as intentional in photos.
Skip thisDon’t stack too many props on the bar; the hanging plants already provide texture.
22. Dessert Spoon Display with a 'Choose Your Bite' Line
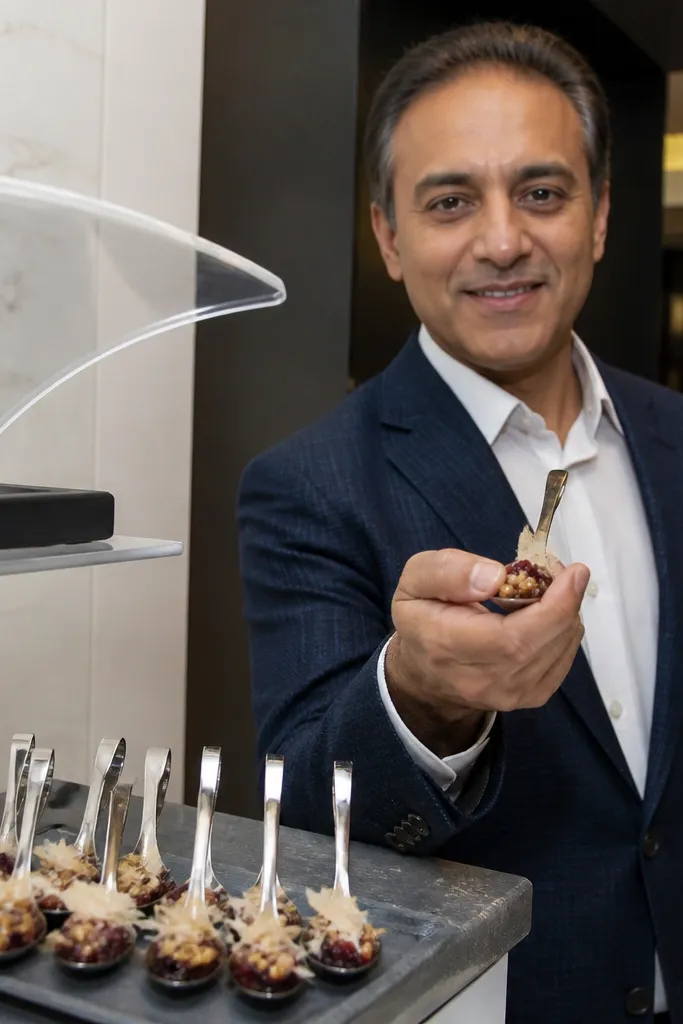
Dessert spoons look great because they create a strong, repeatable hand gesture. A spoon display also keeps the station orderly, which matters for booth photos where you’re shooting multiple angles quickly. This works well for receptions that want a clean, modern aesthetic and for venues with limited space. Guests can grab a spoon and pose without sitting down, so you get consistent photos even during busy transitions.
Start by filling small spoons with bite-sized desserts and arranging them in rows by color. Then set up a stand behind the spoons so it reads as a backdrop, not just a table. Finally, place a line marker on the floor and cue guests to hold the spoon toward the camera for one photo before eating.
Quick tipUse acrylic or frosted stands; they look crisp in flash and don’t reflect as much as clear plastic.
Skip thisSkip mixed-height spoon displays; staggered levels make the station look messy in wide shots.
23. Soda Fountain Style with Vintage Labels and a Photo Sign
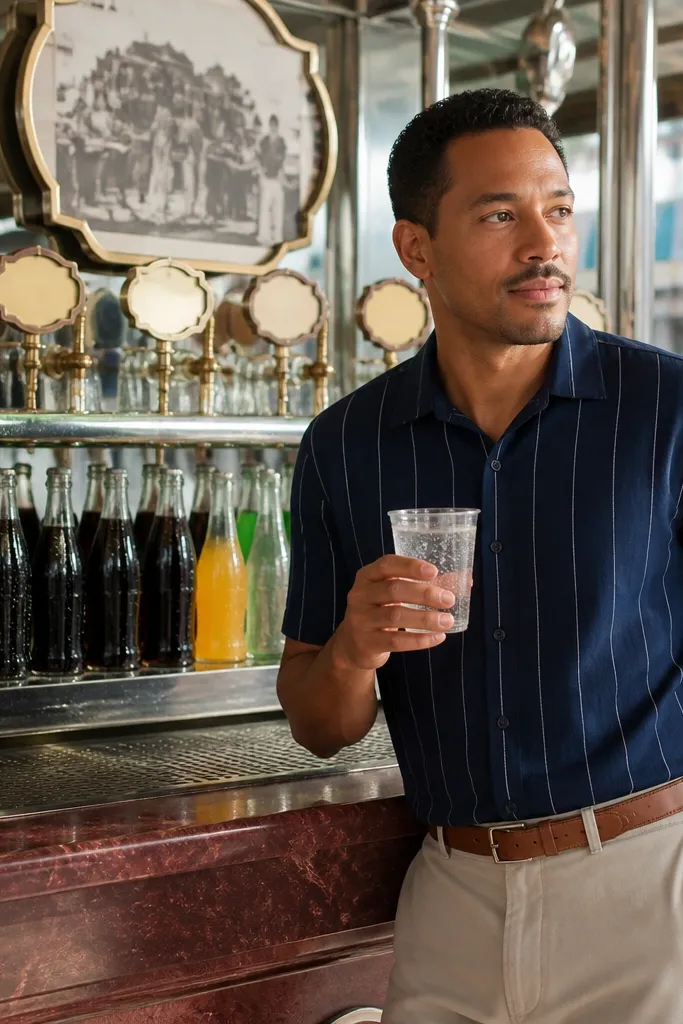
A soda fountain setup gives you that classic fun vibe, and the bottles create a clean, graphic background. Vintage labels look good in photos because they’re consistent and colorful, and bubbles add motion. This is ideal for summertime receptions or any wedding that wants retro charm without being childish. Guests hold bottles and glasses easily, so you get quick booth moments between dances.
Start by picking 4-5 soda flavors in consistent bottle styles and chilling them in a tub lined with light-colored ice. Then add a retro sign behind the station with your wedding monogram or reception date. Finally, cue guests to pick one bottle, step into the marked area, and hold it at chest height for two quick shots.
Use a light ice base; dark ice makes bottles look dull and shadows get heavy.
Don’t mix glassware types; mismatched cups look messy in group photos.
24. Charcoal and Cream Dessert Table with a Candlelit 'Hold Still' Moment
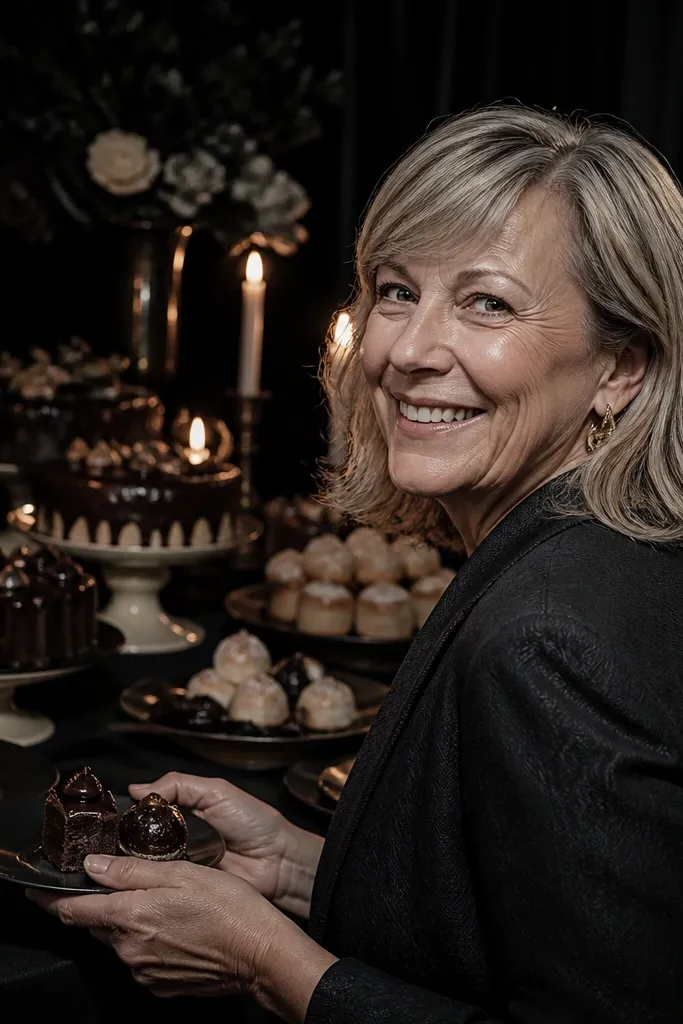
This idea is about controlling the look with contrast. A charcoal-and-cream palette makes the desserts pop, and candles add warm light that flatters faces without blowing out skin. It’s perfect if your venue lighting is unpredictable and you want a reliable, aesthetic booth moment. Guests don’t need props because the table design and candle glow create the mood.
Start by choosing a charcoal table runner or cloth and matching cream plates so the background stays consistent. Then place candles in a tight line behind the dessert display, keeping them low enough to avoid dramatic shadows. Finally, set out small plates and cue the couple and a few guests to pause together for one photo set before moving on.
Quick tipUse LED candles if your venue restricts open flame; the photos still get the warm look.
Skip thisDon’t place candles too close to the food; melted wax and heat wreck the scene.
25. Fresh Pasta Station with a 'Twirl and Eat' Pose
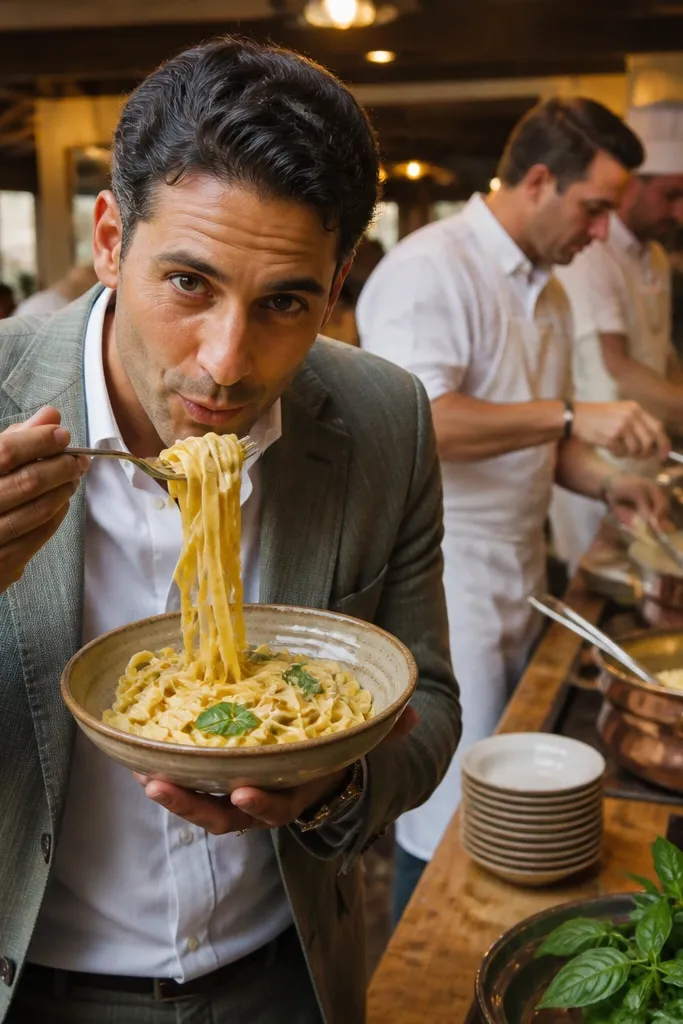
Fresh pasta reads elegant and fun because guests receive it warm, and warm food makes people smile naturally. The “twirl and eat” cue is a built-in photo action — guests lift the bowl and lean in toward the camera for a second. This works best for dinner receptions where the staff can plate quickly and keep the station organized. The photo booth look stays cohesive because the bowls are uniform and the background can be kept simple.
Start by setting up one plating station with a clean backdrop panel behind it. Then use identical bowls and keep garnishes in small labeled containers so the station looks styled. Finally, time it right: do the photo moment right after the first round is served, then reset the station before the next wave.
Quick tipChoose a garnish with one dominant color (like basil green) so photos don’t look speckled.
Skip thisSkip multi-person plating in the same spot; the background becomes cluttered fast.