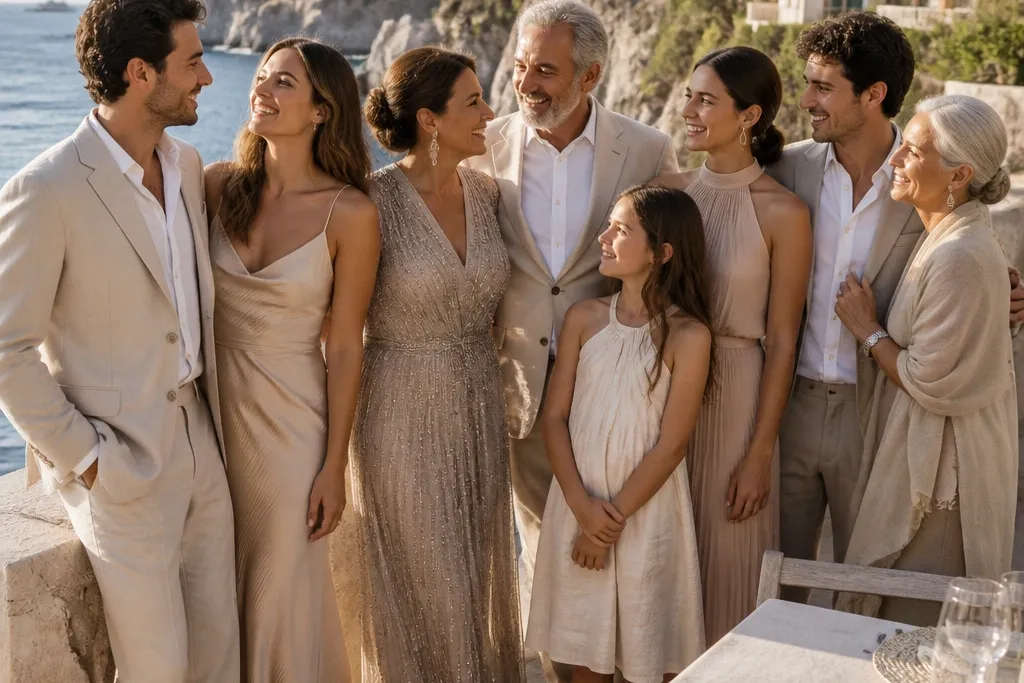
1. Grandparents front row on a stone walkway with soft shade

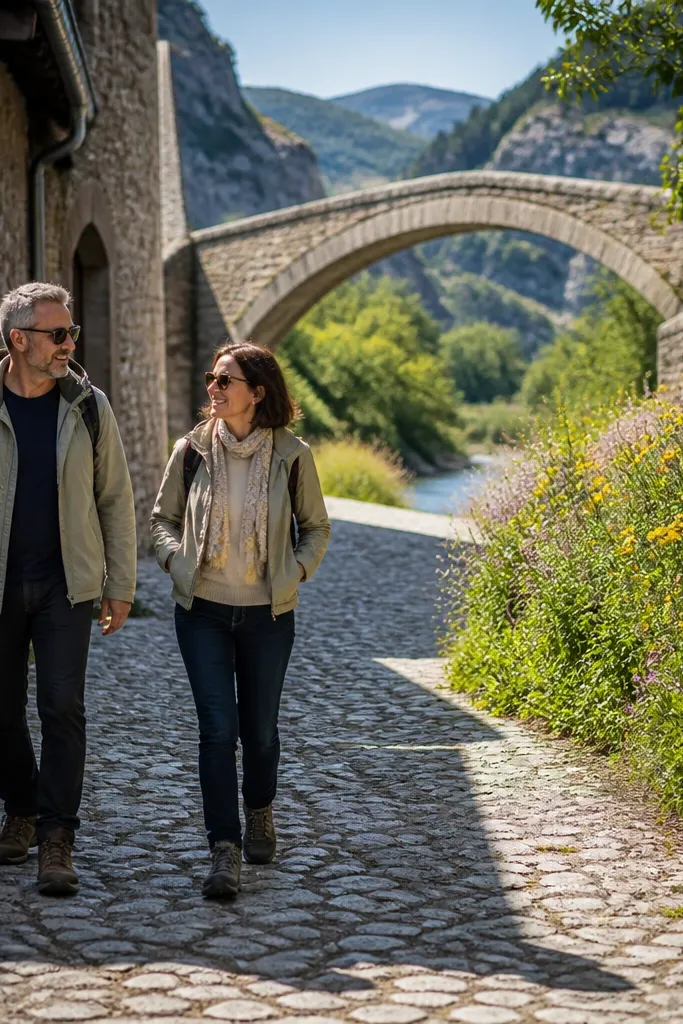
This one looks classy because the background has texture but stays calm. A stone walkway gives you natural lines that frame faces, and soft shade keeps skin tones even — especially for older relatives who squint in direct sun. Put grandparents in the front row, slightly offset from the center, so the family forms a gentle arc toward the camera. It’s perfect for Day 2 morning or late afternoon when the light is flattering but not dim.
First, pick a stone path with open shade from a nearby building or trees, then mark a spot where the front row can stand without stepping onto uneven ground. Next, start with grandparents and immediate parents only, then add siblings and cousins in widening rows. Finally, take 3 variations: everyone looking straight, everyone looking slightly toward the bride, and a half-turn “talking” moment to break stiffness.
Bring a small cloth or wipes for shoes — stone shows scuffs fast.
Don’t place people directly under tree shadows with patchy light; faces will look uneven across the group.
2. Extended family in a doorway frame with matching height lines

Doorways create instant structure, and structure is what makes family group photos look expensive. You also get a clean frame that pulls attention to faces, which matters when you have a lot of people. Use it when you want everyone to look coordinated without forcing identical outfits. The best vibe is early evening when the doorway light is bright but not glaring.
Start by finding a doorway with light coming from behind the camera side, so faces are evenly lit. Then place the tallest people at the outer edges and step down to shorter relatives toward the center so heads land on a smooth height line. Finally, do two rounds: full group inside the doorway, then a tighter group just at the threshold for a second look.
Ask everyone to stand still for the first frame, then give one prompt for motion like “look at each other and smile for a second.”
Skip doorways with strong overhead beams that cut across heads — it makes the photo feel cluttered.
3. Family picnic blanket arrangement with coordinated neutrals
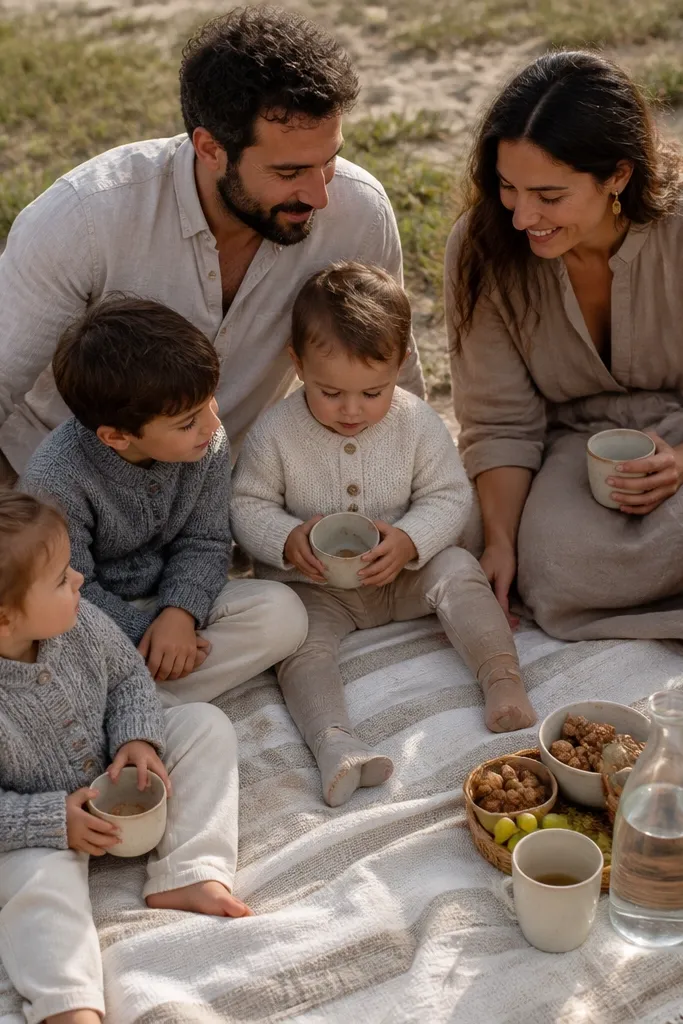
This is one of the most photogenic “family together” styles because it creates a natural pose. A picnic blanket anchors the group, gives you a clear foreground, and makes everyone look like they’re part of the same moment instead of separate individuals. Stick to neutrals like cream, sand, or soft gray so skin tones and dresses pop without fighting the background. It’s especially good on Day 1 or Day 3 when the itinerary includes downtime and you want photos that feel relaxed.
First, choose a flat spot with a simple background behind the blanket — grass with no clutter is ideal. Then lay a folded blanket with a slight diagonal angle, place the elders in the back row, and seat kids in the front row with a clear gap for parents. Finally, get two shots: one wide frame showing the full blanket and one tighter crop from chest-up so faces look warm and connected.
Quick tipPack a lint roller and a small piece of fabric to smooth wrinkles before you start.
Skip thisDon’t use a loud patterned blanket; it competes with faces and makes the group look chaotic.
4. Golden hour family arc on the beach path edge
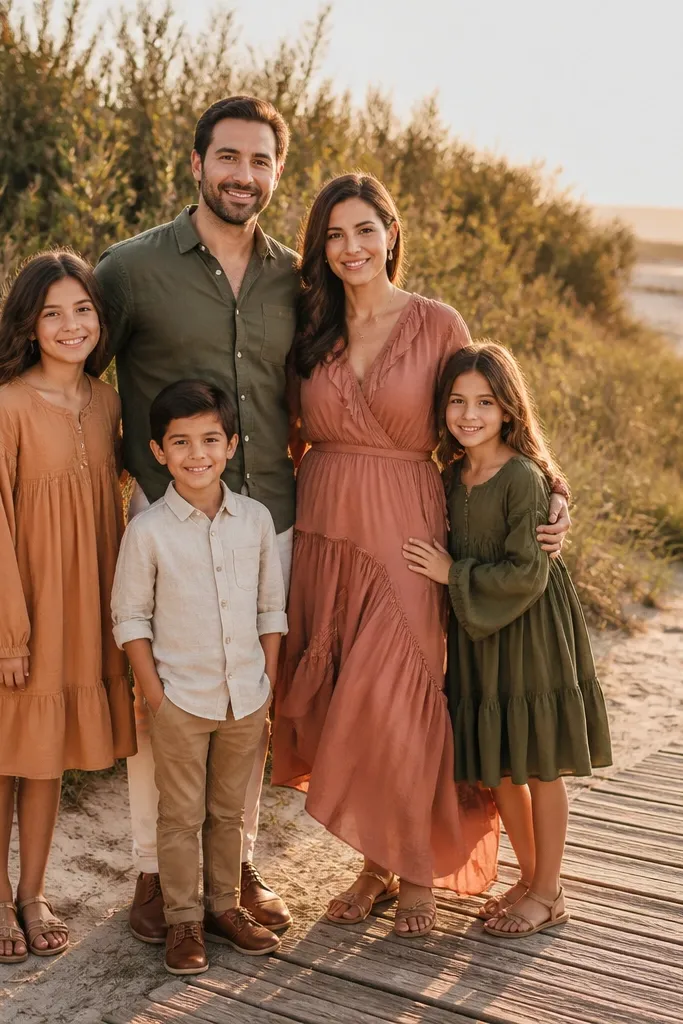
Beach path edges give you depth without turning into a windy disaster. The arc pose is flattering for big groups because it keeps everyone visible while guiding eyes from left to right. Golden hour makes clothing colors look warmer and softer, which is a huge win for photos with many relatives in different outfits. Schedule this for Day 2 late afternoon so you’re not chasing sunset in the middle of dinner.
Start by picking a path section with sand or low vegetation behind the group, not a crowd behind you. Then form a wide arc with the couple or closest family near the center, and keep everyone about an arm’s length apart to avoid overlapping bodies. Finally, take frames with slight head turns — straight ahead, then toward the couple — so the photo has natural variety without changing the whole setup.
Quick tipAssign one person as the “herder” for kids and anyone who wanders; it saves your timing.
Skip thisAvoid strong wind pockets; hair and veil movement will look messy more than romantic.
5. Family stairs shot with staggered rows and hand placement
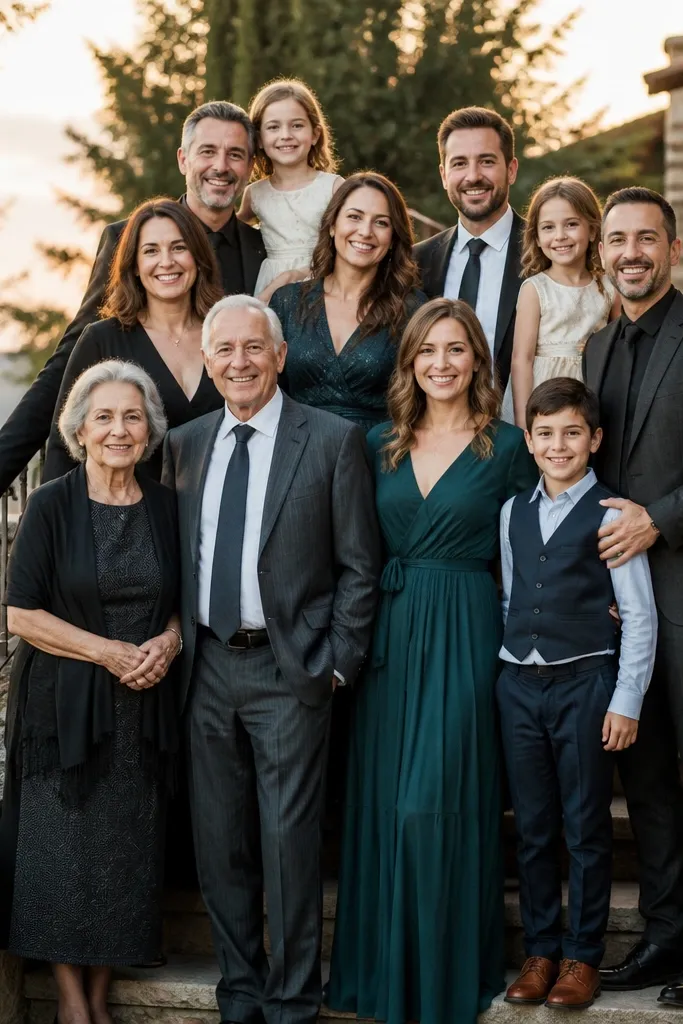
Stairs are unbeatable for group portraits because they solve height differences instantly. Staggered rows keep faces visible and give you a clean diagonal composition that looks intentional. This is one of the best options when you have a lot of people and uneven ages. Do it near sunset or in open shade so shadows don’t carve harsh lines under chins.
First, choose stairs with a simple wall or railing background so the scene stays clean behind heads. Then stagger people across two or three steps, starting with the shortest in the front and placing taller people higher back. Finally, give everyone a job for hands: one hand holding someone’s hand, one hand resting on a shoulder, or both hands at their sides with a relaxed grip.
Quick tipBring a small steplight or phone flashlight for the “last frame” if dusk hits early.
Skip thisDon’t pack everyone onto one step; you’ll lose faces and end up with heads cut off.
6. Indoor window light family line with no flash
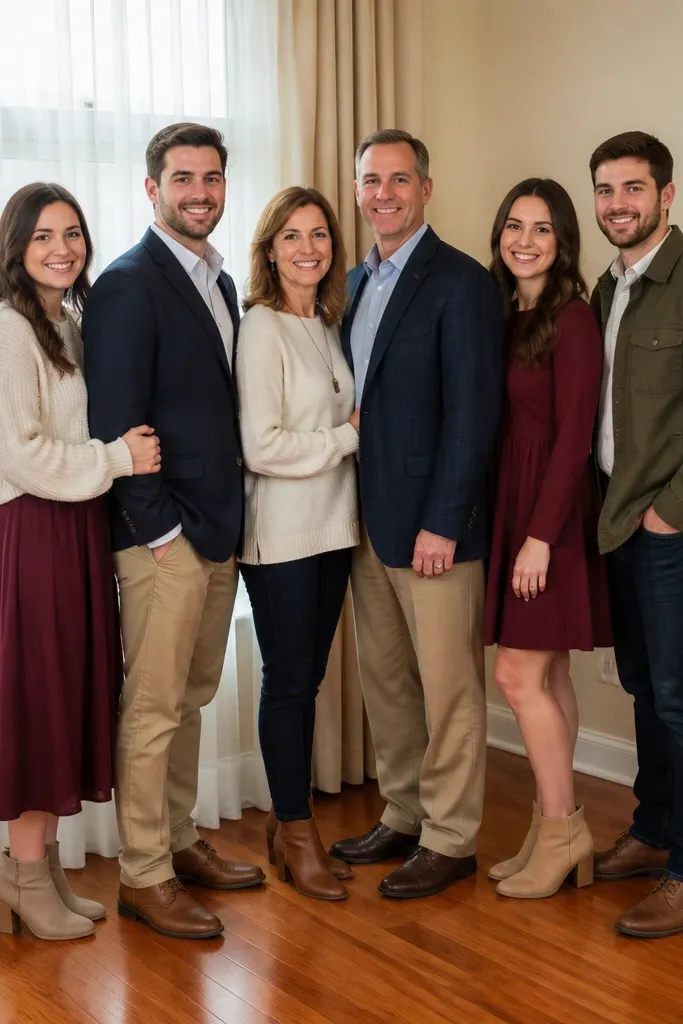
Indoor window light makes family shots look polished without needing a fancy studio. You get soft direction on faces and a smooth background wall, which is perfect for big groups when outdoor weather turns. Keep everyone within a few feet of the window so lighting stays consistent. This is a strong Day 2 backup or Day 3 when you want clean, repeatable results.
First, test the window by taking one quick frame of two people and check that faces aren’t washed out or too dark. Then line the group slightly angled to the window — not straight on — so everyone gets even light on cheeks. Finally, take a wide group frame, then do a smaller version of the same line with the couple in the center for a second look.
Use matte clothing if possible; shiny fabric can reflect window glare.
Skip mixed locations inside — moving 20 feet changes the light a lot and makes the set look inconsistent.
7. Family photo on a quiet lawn with deliberate spacing
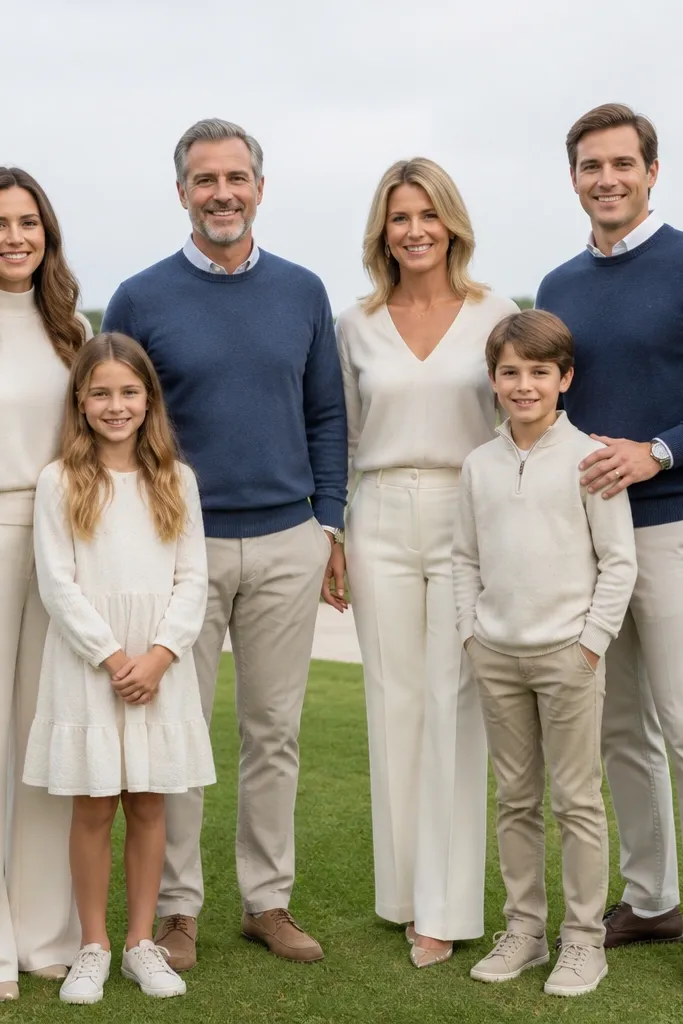
A quiet lawn is clean and forgiving. It gives you a simple background that doesn’t distract from faces, and deliberate spacing makes the group look intentional rather than crowded. This is the best option when you want a classic “we’re all together” shot that still feels modern because your composition is airy. Choose a spot with short grass and minimal foot traffic behind you.
First, walk the lawn and pick a section with an even color — avoid patches of yellow or tall weeds. Then place the center family (usually parents and the couple) first, and expand outward by height so no one’s head blocks another. Finally, ask everyone to stand on the same line for the first frame, then shift into a slight V shape for the second to add dimension.
Quick tipBring a small measuring tape and mark footprints with chalk so spacing stays consistent.
Skip thisDon’t do this on uneven ground where people sink into taller grass; it ruins the line.
8. Family portraits under an arbor with soft dappled light
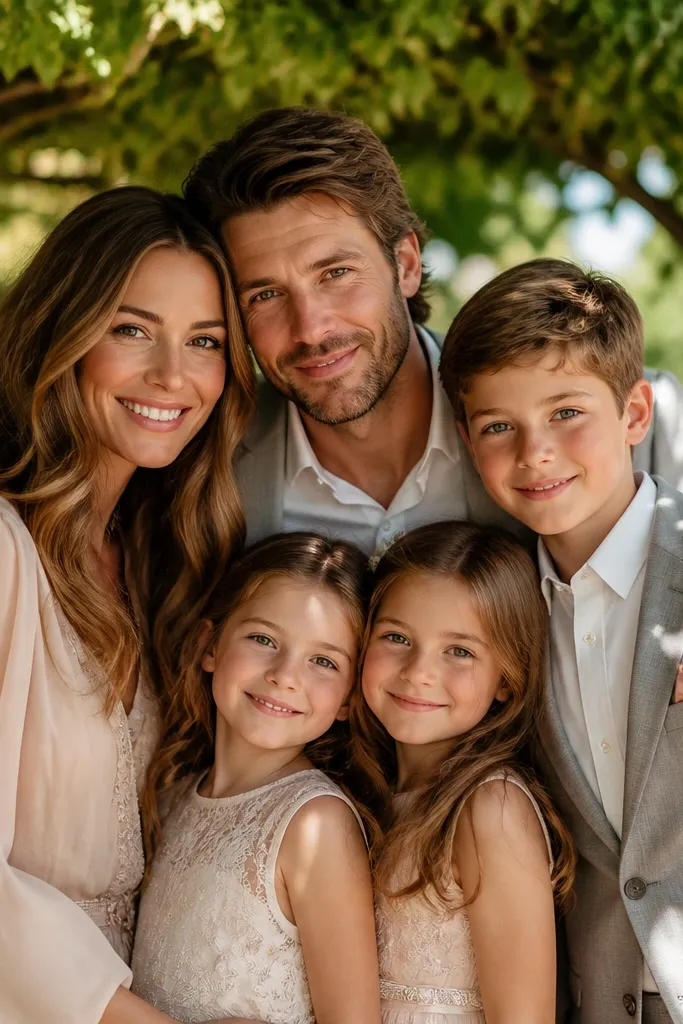
Arbors look romantic because they create natural geometry and depth. The dappled light adds movement without turning faces into shadow masks, as long as you pick the right density of leaves. This one is great when you want the family shots to feel wedding-specific, not generic. Plan it for late afternoon because the light warms up and the background stays flattering.
First, check that the dappled pattern is gentle by watching your test frame for 10 seconds; hard shadows across cheeks are a no. Then position the group so everyone stands in the brighter half of the light patch, with the darkest person closer to the light source. Finally, capture one wide shot for the arbor frame, then do a mid shot where the couple and parents are centered and the rest fans out behind.
Quick tipAsk everyone to angle their bodies slightly toward the center; it reduces the “flat wall” look.
Skip thisAvoid arbors with heavy overhead shadows that cut faces into stripes.
9. Family group on a white wall with color pop clothing
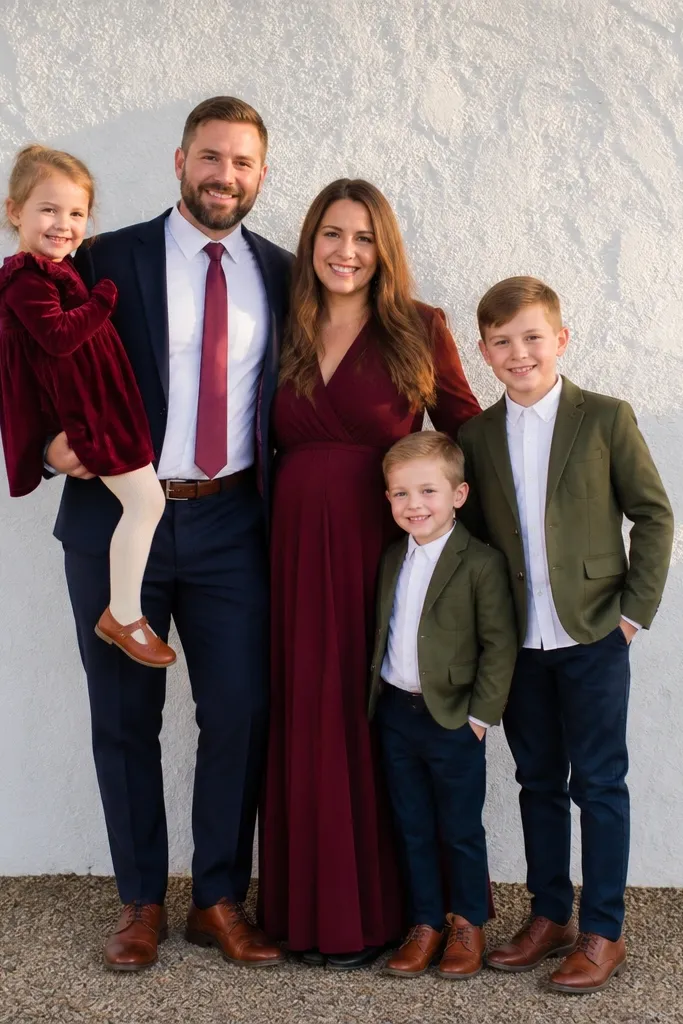
A white wall turns family photos into graphic portraits. It’s clean, it flattens background distractions, and it makes color accents read instantly — think navy suits, burgundy dresses, and olive jackets. This works best when you have a range of colors in the family outfits so the photo has energy. Use it on Day 3 if you want a fast, reliable setup that still looks styled.
First, pick a wall with no peeling paint and no strong shadows from nearby trees. Then place everyone in two rows: front row slightly crouched or leaning forward by a few inches, back row standing tall, so faces don’t overlap. Finally, give the group one coordinated action prompt like “hold hands” or “link arms” for a single extra frame.
Quick tipIf the wall is too bright, move the group a few feet away to avoid blown-out highlights.
Skip thisSkip walls with window frames or signs behind heads; they create visual clutter.
10. Family seated row with a linen tablecloth backdrop
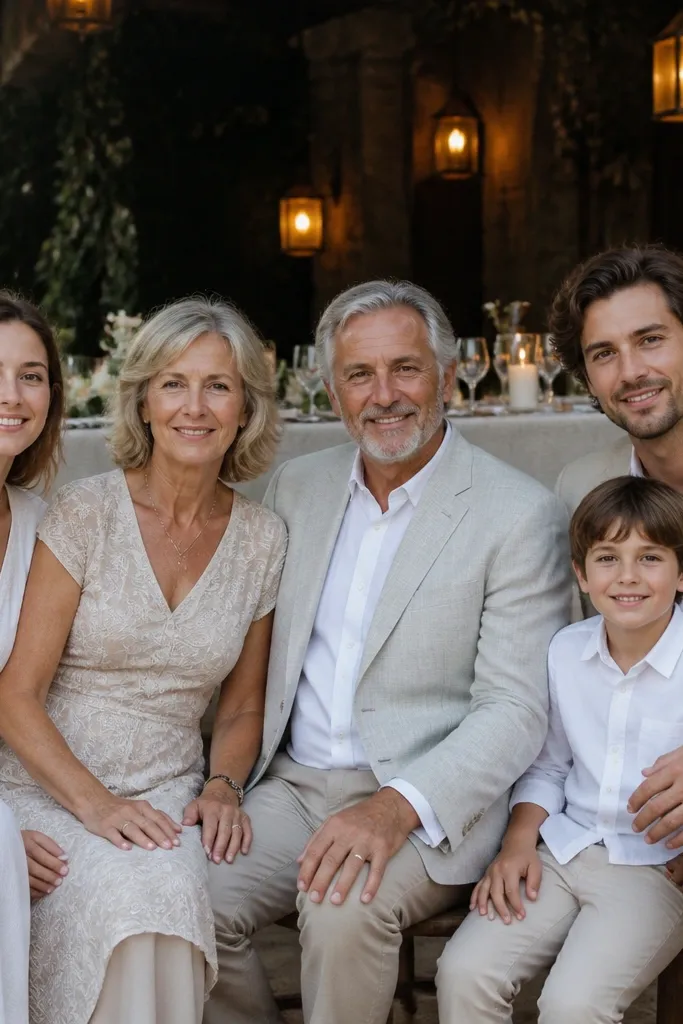
A linen tablecloth gives you that styled look without needing a studio. It creates a soft color field behind faces, which makes everyone pop and keeps the photo from feeling busy. This is ideal for families that include kids, because sitting reduces squirming and makes it easier to get everyone looking forward. Do this near the ceremony grounds or any place you can quickly set up a cloth.
First, lay a large linen cloth on the ground against a simple backdrop like a hedge or blank wall. Then arrange the family in a seated row with the tallest people at the ends and parents or couple slightly forward in the middle. Finally, take one wide frame and one tighter crop, keeping the cloth edges visible for that styled “scene” feeling.
Use cloth clips or small rocks to stop the linen from shifting if there’s wind.
Don’t use a cloth that’s too short; visible gaps behind heads make the setup look unfinished.
11. Family handshake moment at the ceremony entrance
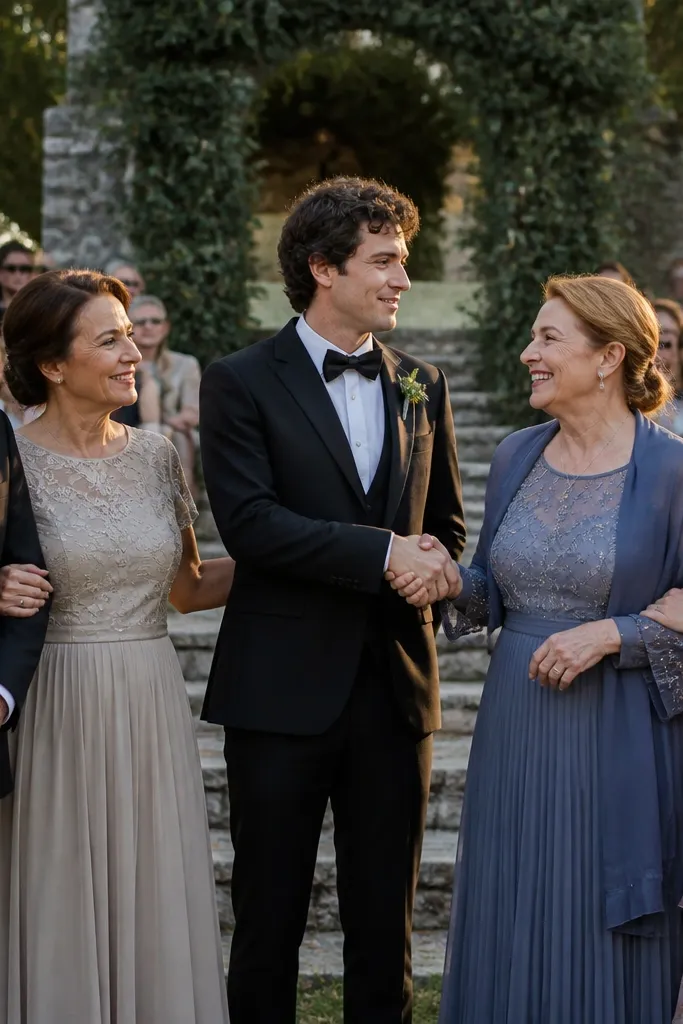
This idea gives you emotion without needing everyone to smile perfectly. The handshake or arm-link moment looks natural because people are doing something, not holding a stiff pose. The ceremony entrance is photogenic because it’s the event’s “threshold,” and it places family in the story of the day. Schedule it for Day 2 before the ceremony or right after, when everyone is already dressed and focused.
First, choose a spot near the entrance where the background is uncluttered and you can gather everyone in under two minutes. Then position the couple or parents in the center and ask the outside groups to link arms or place hands on shoulders. Finally, shoot a sequence: one frame with everyone looking at the officiant, then one frame with everyone looking at the camera for a clean final image.
Quick tipGive the group a 20-second countdown so they don’t drift apart while you set up.
Skip thisSkip busy angles with guests sitting behind — it makes the family group blend into the crowd.
12. Family group with soft wind hair moment in open shade
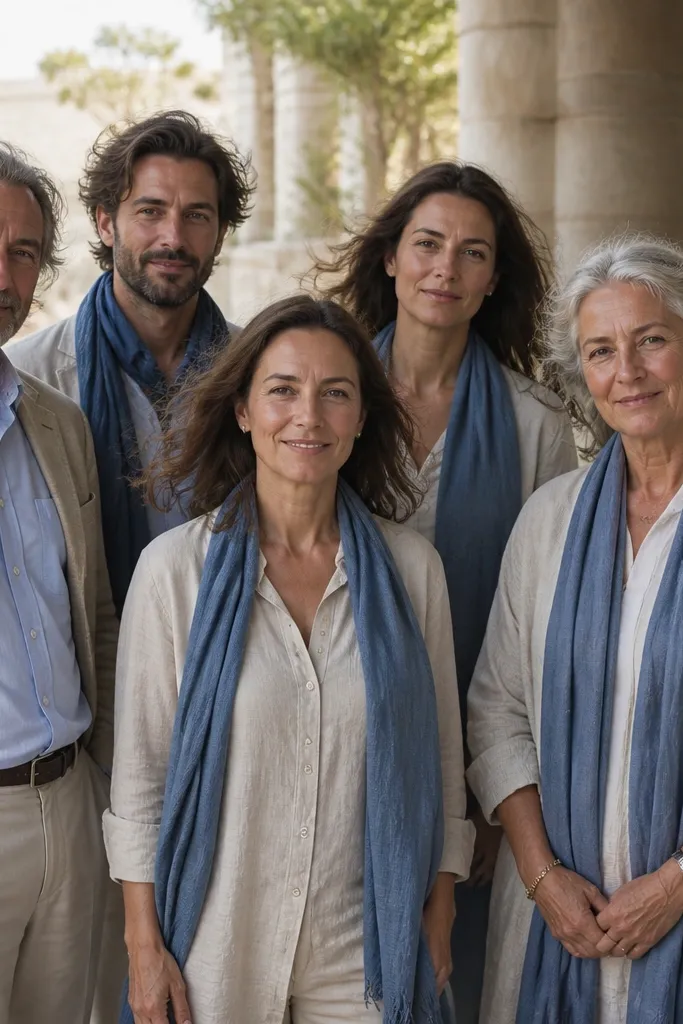
Wind moments look good when the light is soft and the group is relaxed. It adds movement to hair and clothing, which makes the photo feel alive even when everyone is standing still. Open shade keeps faces clear and prevents squinting, so you get the aesthetic without the “sun glare” problem. Use this for Day 1 evening when the air is cooler and people are more comfortable.
First, pick a shaded area near an open sky background so hair motion shows but faces stay evenly lit. Then pose everyone in a slight sway — feet planted, shoulders angled — and instruct them to take a breath and relax their jaw. Finally, shoot a short burst while they’re moving, then immediately grab the next frame when they settle into a still pose for sharpness.
Quick tipAssign one person to watch for wind direction and adjust the group position if hair keeps blowing into eyes.
Skip thisDon’t do this under trees with patchy shadow; motion plus shadow looks messy.
13. Family photo with matching umbrellas for rainy-day style
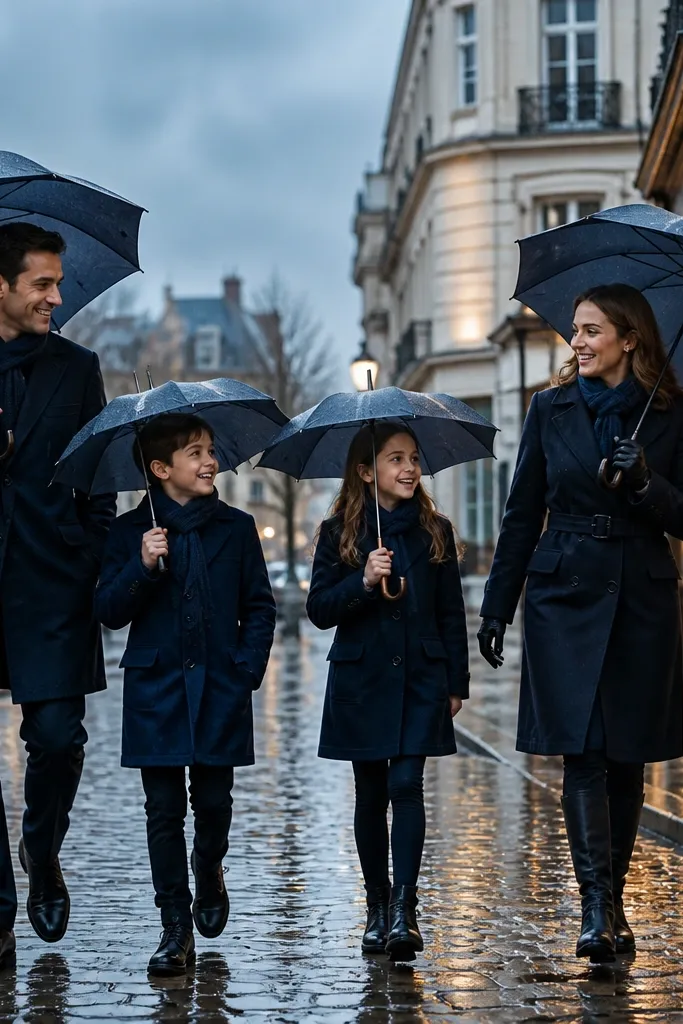
Rain doesn’t have to ruin family photos — it can make them look cinematic. Matching umbrellas turn a chaotic weather moment into a cohesive visual. The wet ground also reflects light, which adds a polished look to the background. This is a smart Day 3 plan if your forecast shows rain, because you can still get multiple frames quickly on a covered walkway or near an awning.
First, pick an area with cover — a portico, covered entry, or overhang — so the group stays comfortable and faces stay visible. Then choose umbrella colors that harmonize with the wedding palette, and place the largest umbrella behind the center so it frames heads instead of blocking them. Finally, shoot wide, then move slightly closer for a mid group frame where hands and faces are crisp.
Quick tipUse umbrellas with matte fabric; glossy ones reflect harsh highlights.
Skip thisSkip photos where umbrellas block the couple’s faces or sit too low over kids' eyes.
14. Family group on a dock with simple horizon lines
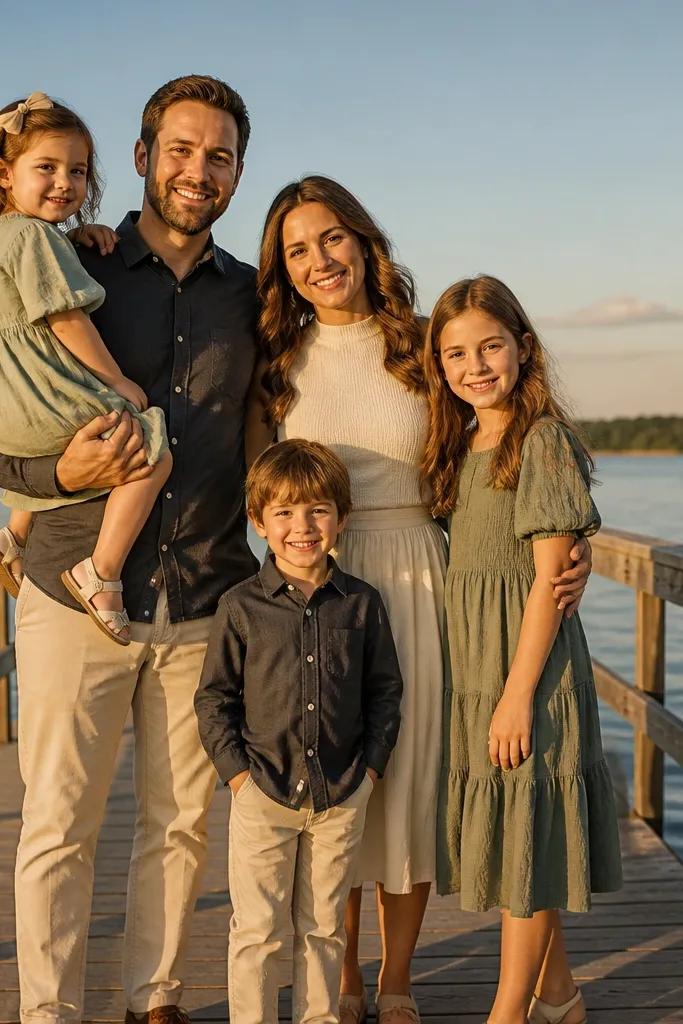
A dock gives you a strong horizon line and a background that stays uncluttered even with a lot of people. It also creates depth — the railing and planks lead the eye toward faces. This is best for families who want a more modern, travel-feeling look without busy landmarks. Do it in late afternoon when the water isn’t too dark and glare is lower.
First, scout a dock section with railings that don’t crowd faces, then set the family slightly away from the edge for comfort. Next, arrange the group in a shallow U so everyone faces the camera and the center stays open. Finally, take one frame facing the horizon and one frame angled slightly toward the couple so you get variety without changing your location.
Quick tipBring a small towel for shoes — dock wood gets slick.
Skip thisAvoid docks with thick ropes and dangling hardware in the background.
15. Family portrait in a flower border with controlled background blur
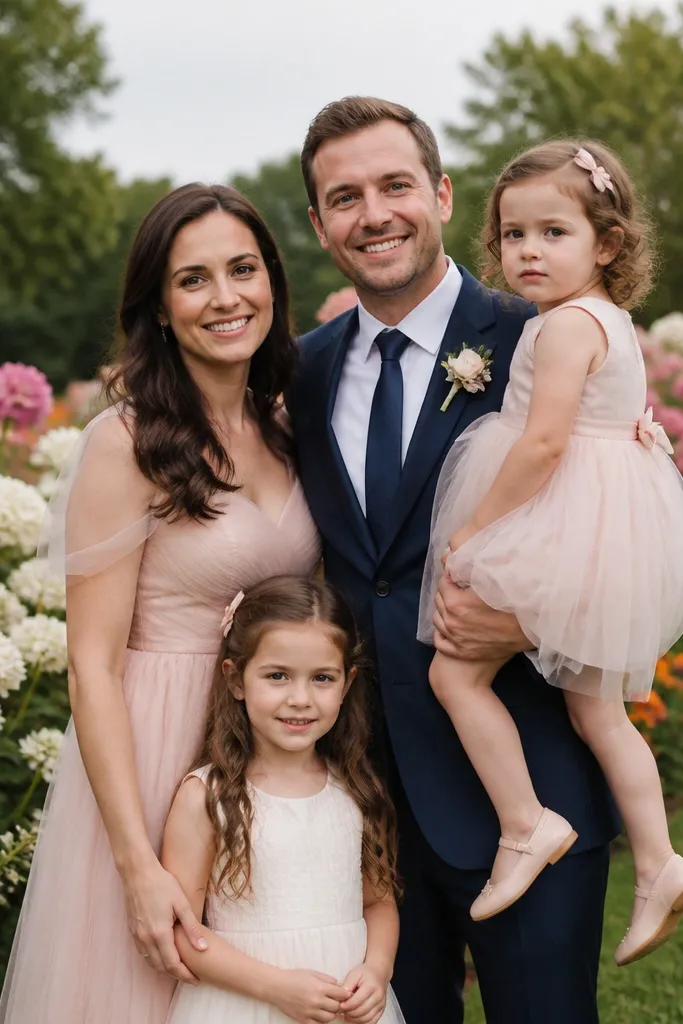
Flower borders look gorgeous because they add color, but you need control or it turns into visual noise. The best version places the family in front of a dense section and keeps them a few feet away from the closest blooms so faces stay the focus. This idea is perfect for Day 2 when you want wedding-specific beauty without relying on props. Choose flowers with consistent color tones — pinks and creams for a soft look, or blues and whites for a crisp one.
First, pick a border that is thick enough to hide the ground behind legs, then position the group where the background color is uniform. Then arrange the tallest people at the back and slightly to the edges so the center stays visible. Finally, take wide frames first, then step slightly closer for a mid frame where hands and faces read clearly.
Quick tipTell everyone to keep a few inches of space between bodies to avoid blocking flowers with arms.
Skip thisDon’t place people too close to stems and leaves; hands catch on branches and ruin the calm look.
16. Family group on a vineyard row with clean grape-leaf lines
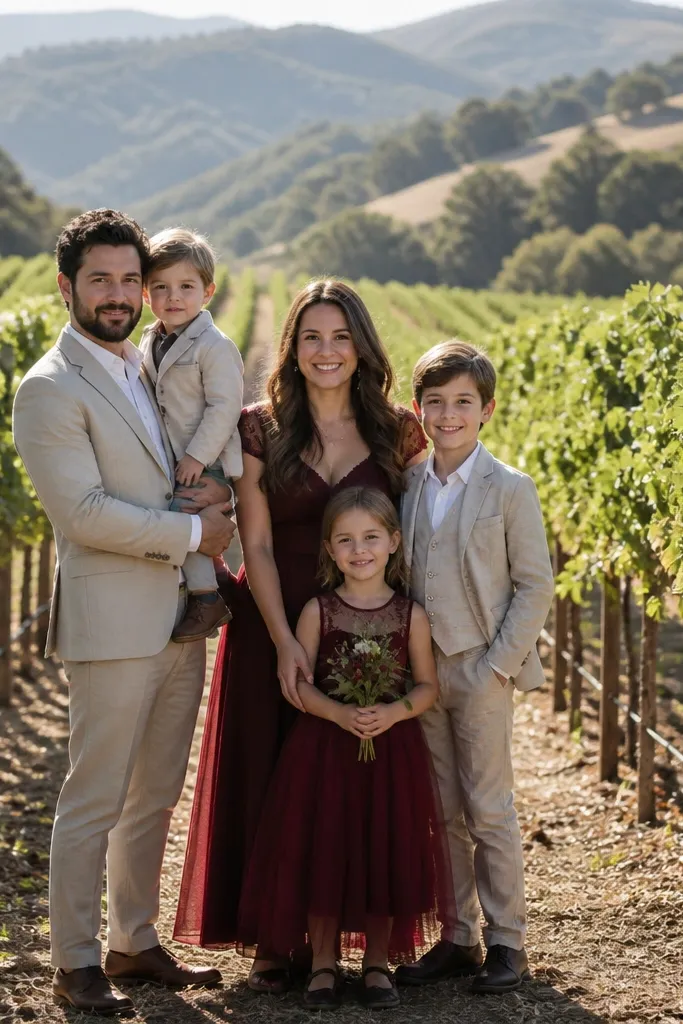
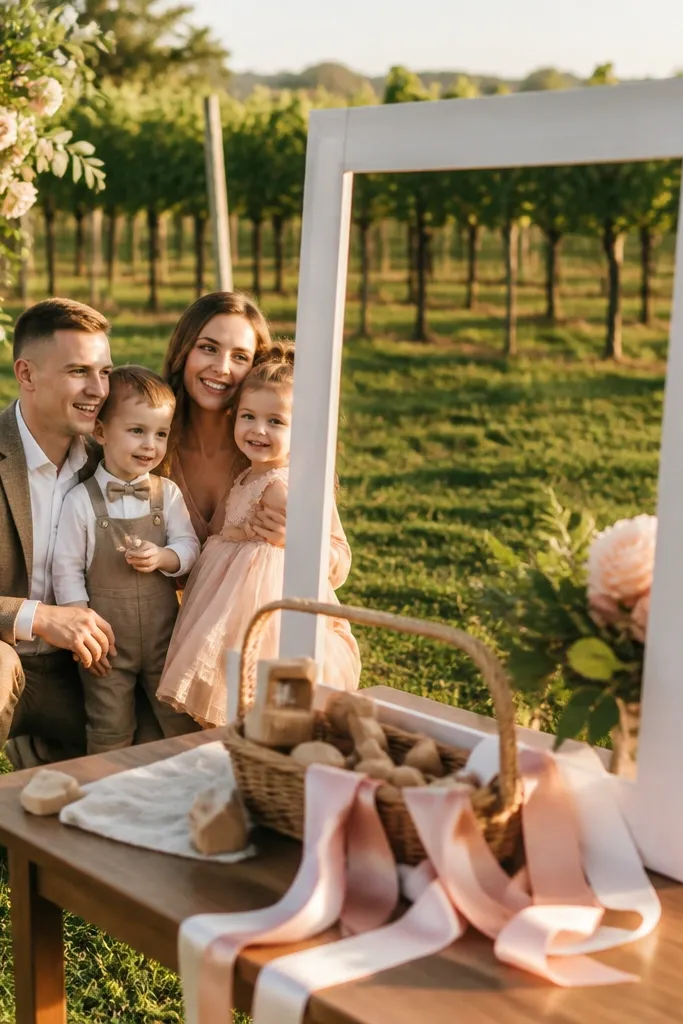
Vineyards create a natural pattern, so your family group photo looks styled even without props. You get straight lines from rows that lead toward the camera, and grape leaves add texture without turning into clutter. This is ideal for travel weddings where you want a “place” that still reads elegant. Pick a row with healthy leaves and avoid sections where vines look sparse.
First, walk the vineyard and choose a row where the background rows fade into a soft blur, not a messy tangle. Then position the group at a slight angle to the row so the leaves form a consistent diagonal behind faces. Finally, shoot one wide group frame and one with the parents and couple centered for a composed hierarchy.
Quick tipWear shoes you can handle — vineyard ground can be uneven and dusty.
Skip thisAvoid rows with visible equipment, hoses, or abandoned crates behind people.
17. Family portrait on a balcony railing with layered depth
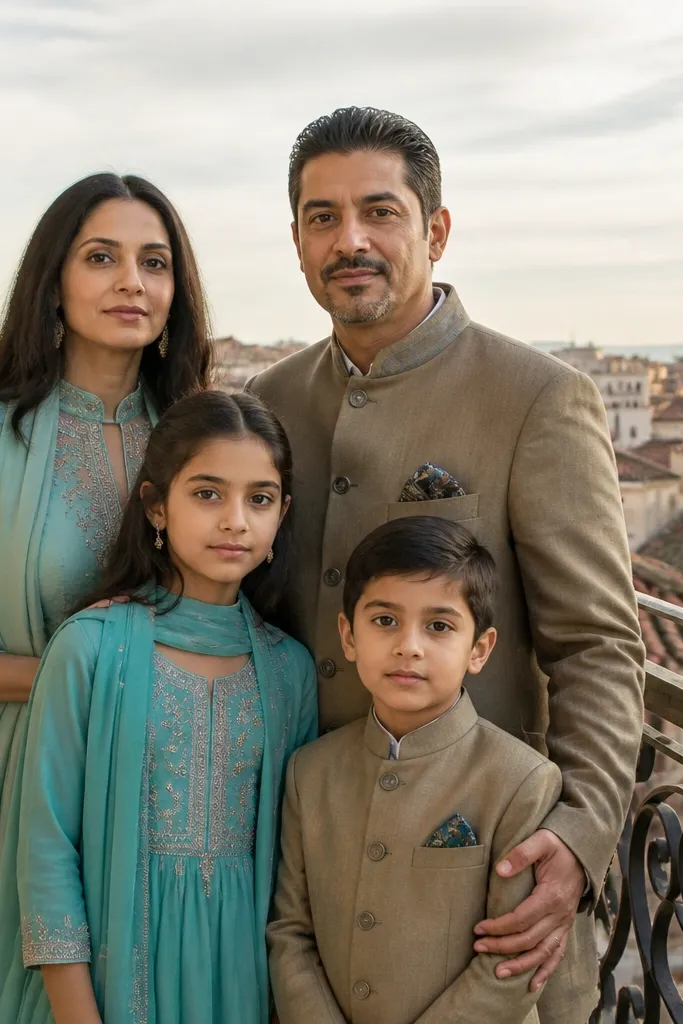
A balcony gives you vertical structure and layers, which makes group photos look more dimensional. The railing creates a clean boundary and helps keep faces aligned, even with many people. This works especially well on Day 2 if you want to stay near the venue and avoid long walks. Choose a balcony with an open view — garden, courtyard, or city skyline — so the background feels intentional.
First, check that the balcony has enough space for everyone to stand without crowding the railing. Then set the front row just behind the railing line and place elders slightly forward so they don’t disappear. Finally, shoot from one fixed position for the full group, then do a second set where the couple and parents stand closer together.
Assign a spot for kids so they don’t wander to the railing gaps.
Don’t use a balcony with cluttered decor behind — it fights the clean composition.
18. Family group on a city street with soft morning light
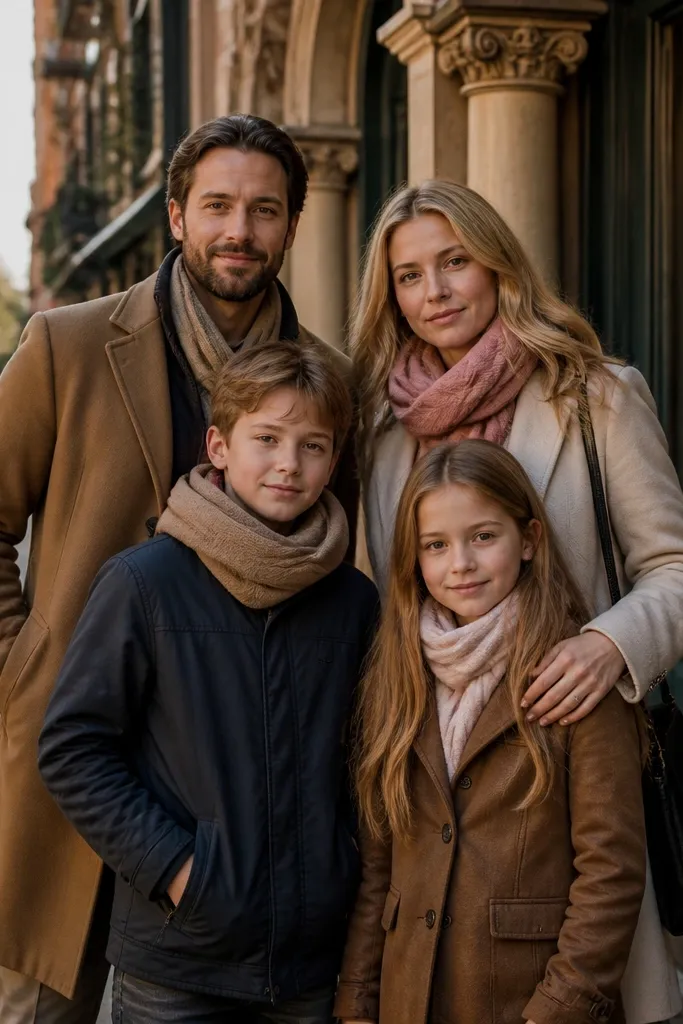
City streets can look stunning for family groups when you time it right. Morning light is softer and people are less rushed, so you get faces that look calm instead of strained. The urban background also adds color and texture without needing flowers or props. This is a smart Day 1 or Day 3 option if your venue is in a historic district with clean building facades.
First, pick a street with minimal storefront clutter and consistent building height, then scout a spot where the background doesn’t include parked cars. Next, place the group in a straight line or slight arc so everyone’s full face is visible. Finally, take a frame with the street receding behind them and then one closer crop where the family fills the center of the frame.
Quick tipSchedule this 60-90 minutes after sunrise to avoid cold shadows across faces.
Skip thisSkip busy intersections — even a short pause can bring crowds into the background.
19. Family photo with linen curtains and a calm courtyard wall
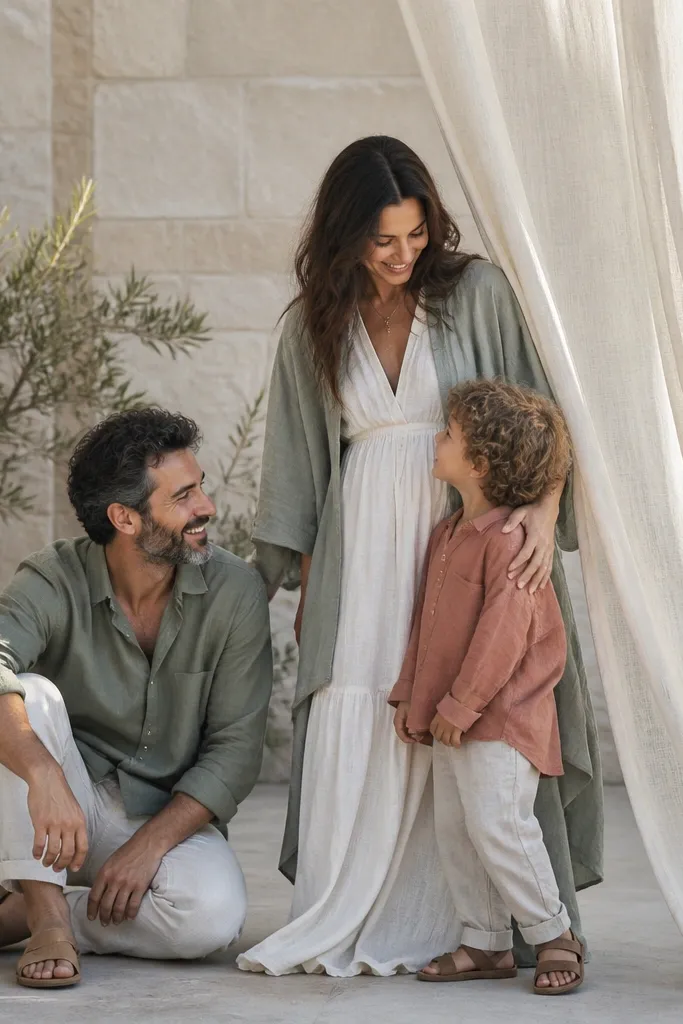
Linen curtains add softness and romance without looking like a theme park prop. A calm courtyard wall keeps the background clean so faces stand out, and the curtain texture gives you depth. This idea is great when the venue has a courtyard with drapes, or when you can borrow simple fabric panels for a short setup. Use it on Day 2 when you want a styled look that still feels natural and not staged.
First, position the family so the curtain is behind them, not wrapped around bodies, so it doesn’t block faces. Then stagger people slightly left and right so the composition doesn’t look like a flat line. Finally, shoot one wide group frame and one tighter frame focusing on grandparents and parents so you get variety for albums.
Quick tipTie curtain edges back before the group arrives so the fabric doesn’t flop across shoulders.
Skip thisDon’t place the group too close to the curtain — it creates messy overlap in the foreground.
20. Family group with a simple balloon cluster in matching colors
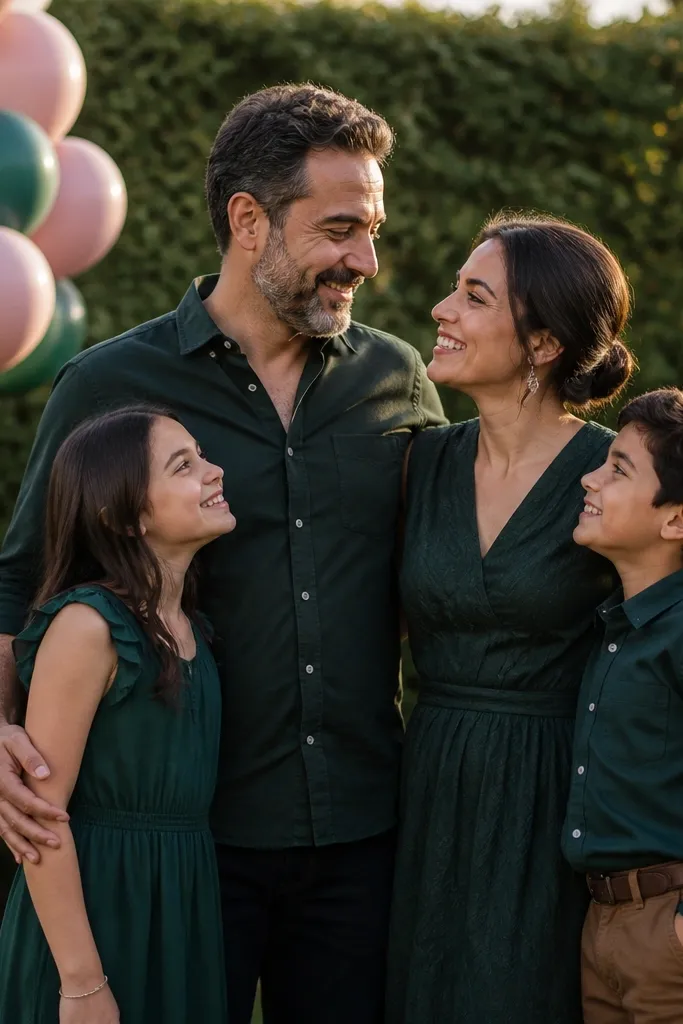
A small balloon cluster can make family photos feel celebratory without covering everyone. The key is keeping the cluster modest and placing it behind the group so it frames the scene rather than stealing attention from faces. Matching colors tie the balloons to the wedding palette and keep the photo looking designed. Use this for Day 1 or Day 3 when you want a playful look that still reads “family moment.”
First, pick two or three balloon colors that match the wedding palette, then keep the cluster small — 6-10 balloons max. Then place it behind the center of the group and slightly higher than head level, so it doesn’t block faces. Finally, take a wide frame and then a mid frame where the balloons sit at shoulder height behind the couple or parents.
Use balloon weights that won’t tip — wind can wreck the composition fast.
Skip huge balloon arches; they dominate the frame and look messy with large groups.
21. Family portrait on a minimalist staircase with side light
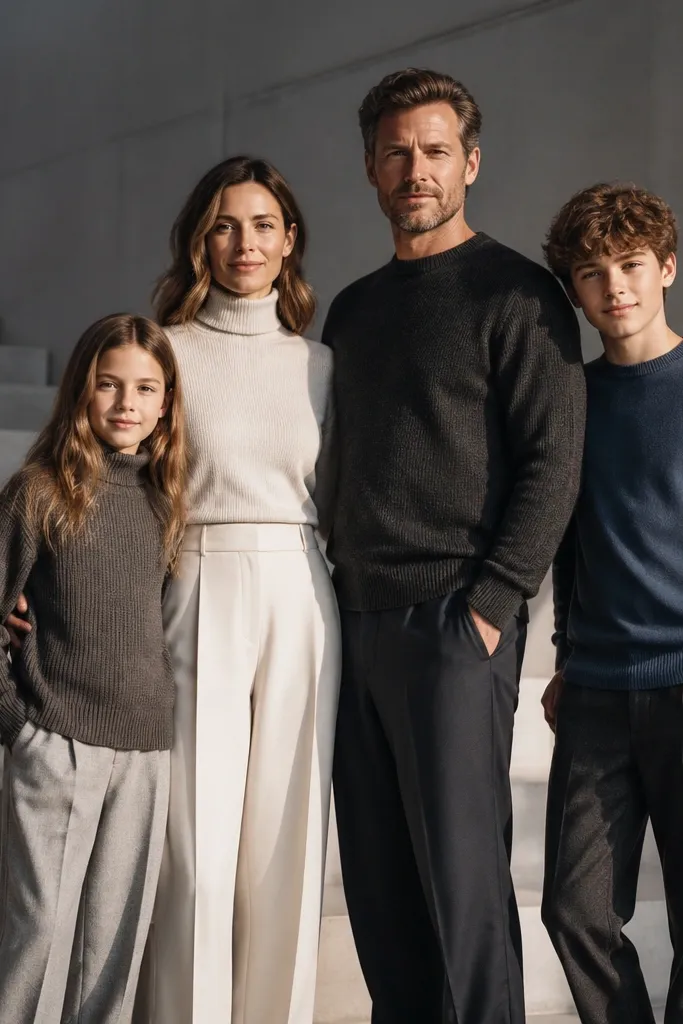
Minimalist staircases make family photos look modern because the lines are clean and the background stays simple. Side light adds shape to faces and clothing, which helps when you have multiple outfits and fabrics. This works best when the staircase has a smooth wall behind it, not exposed clutter. Schedule it for late afternoon so side light is warm and flattering.
First, find a staircase with a blank wall or smooth railing behind the group, then choose a spot where the light hits faces evenly. Next, build the group in two rows, with the front row standing on a lower step and the back row one step higher. Finally, do one frame where everyone smiles, then one frame where everyone looks at a single point slightly off-camera for a more natural vibe.
Quick tipKeep shoes aligned on the same step edge so nobody looks crooked in the photo.
Skip thisDon’t use a staircase with worn, shiny steps; reflections can distract from faces.
22. Family group in a park with a single tall tree as backdrop
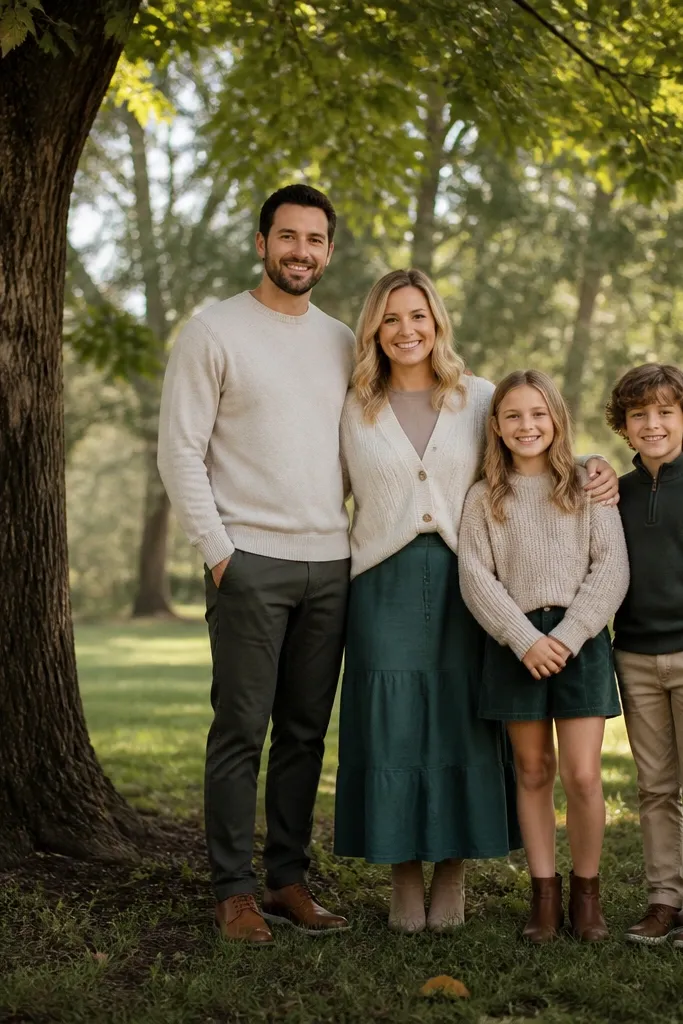
A single tall tree acts like a natural backdrop, which helps when you want the family to look clean and cohesive. The trunk and canopy create a vertical frame, and the background around it stays softer if you position the family slightly away from the tree. It’s a reliable option for Day 2 when you need flattering light and a simple setting. Choose a park spot where the ground is even and the background isn’t full of paths.
First, locate one tall tree with a canopy that casts gentle shade, then place the group where the light falls evenly across faces. Next, position the family slightly in front of the trunk so heads don’t merge with leaves. Finally, shoot wide for the full group and then a mid frame focusing on parents and grandparents for album-ready variety.
Quick tipIf leaves block eyes, ask everyone to raise their chins slightly — it fixes most shadow issues fast.
Skip thisAvoid dense leaf clusters directly behind heads; it creates dark halos.
23. Family photo with a long dining table indoors for layered group depth
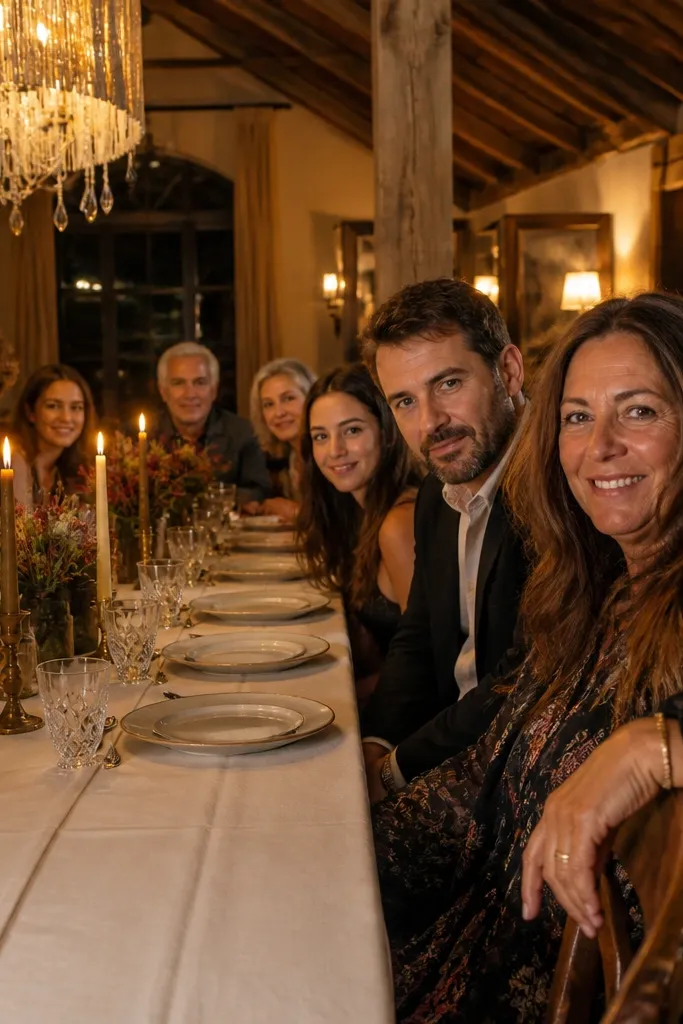
An indoor dining setup gives you depth and a natural “stage” for groups. The table creates foreground structure, so wide shots look richer even when the room is simple. Warm indoor lighting also helps older relatives look better on camera. Do this on Day 3 when the venue is calm and you can set up quickly without interrupting guests.
First, clear one long table area and set it with plain linens if possible, then keep place settings minimal so the background stays clean. Next, arrange the family in front of and beside the table: adults in chairs or standing behind, kids seated closer to the camera. Finally, take one wide group frame from the table end and one closer frame with the couple or parents centered.
Quick tipAsk the venue for a time when lights can be dimmed slightly; it helps skin tones look softer.
Skip thisDon’t place people directly under ceiling lights; it creates harsh overhead shadows.
24. Family group with a simple wall mural in one-color tones
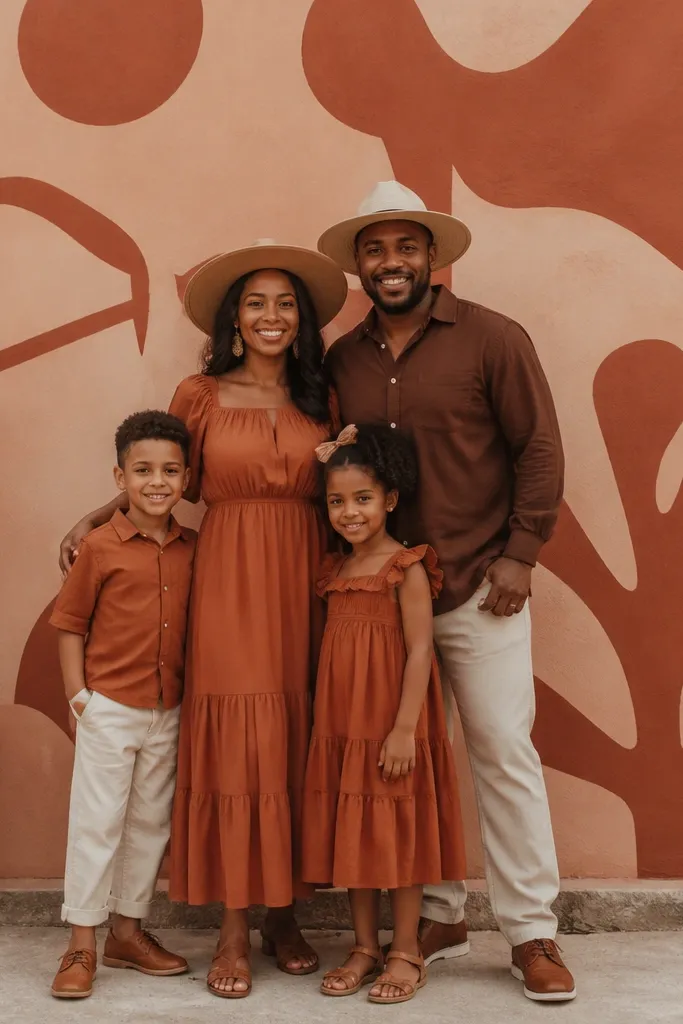
A mural can look beautiful for family photos when it’s controlled. The best choice is a mural with one dominant color or simple shapes so it doesn’t compete with outfits. It gives you an artistic background that still feels cohesive across multiple groupings. This is a strong Day 1 or Day 3 option for city or destination weddings where you want photos that look like they belong in a travel magazine.
First, scout a mural section where the wall is flat and not peeling, then test two people so you can see if the color shifts their skin tone too much. Next, place the group so faces sit in front of the simplest part of the mural, usually the lighter or single-tone section. Finally, shoot a wide frame first, then move in for a mid frame where everyone’s faces fill the center.
Quick tipChoose clothing colors that complement the mural, not match it exactly.
Skip thisSkip busy murals with lots of small details behind heads — it makes the photo feel noisy.
25. Family group under a red barn door with matching outfits
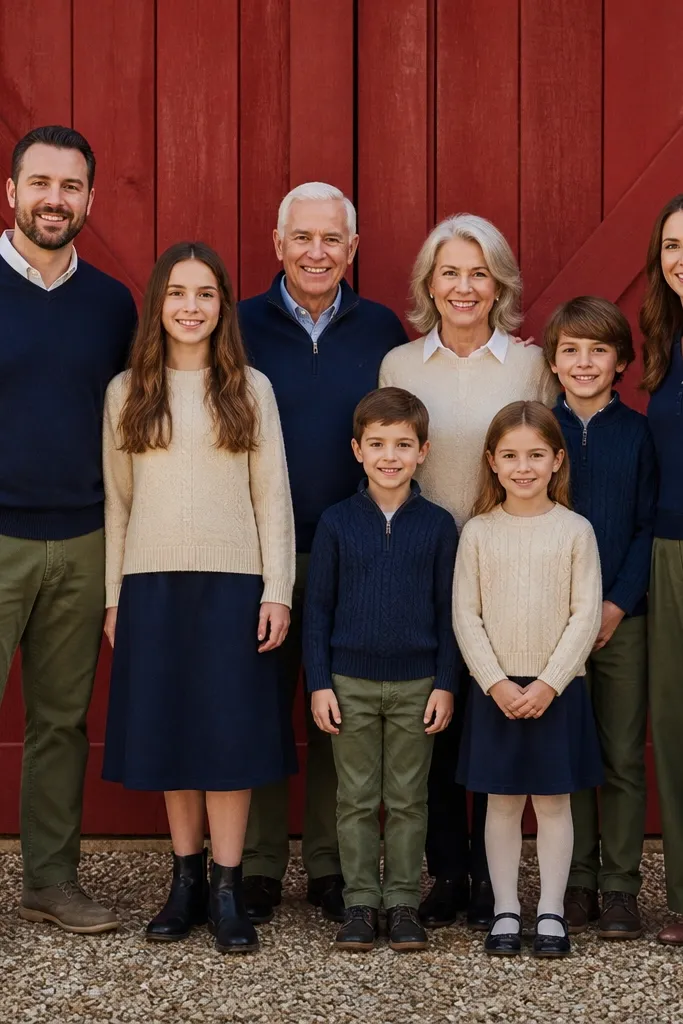
This shot is all about a strong, simple frame. A red barn door gives you instant color, texture, and a “real place” feel without needing fancy sets. It works especially well for multi-generation groups because everyone stands naturally in the same plane, and the door creates a clean boundary behind them. Choose outfits that echo the barn red — think cream, denim blue, olive, and black — so the family looks intentional instead of busy. Go in late afternoon when the light rakes across the wood and makes the door and hair tones pop, which is exactly what you want for beautiful group photos.
Start by finding a working farm or historic property with a visible barn door that faces an open yard. Plan to arrive 45-60 minutes before sunset, so you get warm light but still have time to settle, especially if there are other wedding parties nearby. Budget is usually entry-based or donation-based for private properties; expect roughly $0-$30 per person depending on the venue rules, and set aside 20-30 minutes for the group to line up and re-shoot once. Book your visit through the venue coordinator — ask whether you can use that door as a photo spot and whether it’s okay to move in close for family portraits. If you’re doing this as part of 3 day itinerary wedding photo ideas, slot it on the day your family travel is most settled, not the day right after arrivals.
Quick tipBring a small steamer or lint roller for the outfits — the barn setting shows texture and stray fuzz fast. If the door is too bright in direct sun, shift the group 5-10 feet to the side so faces get even light.
Skip thisDon’t pick outfits that fight the barn red — bright neon or all-white can blow out next to that door.