1. Robe Sleeve Pull + Button-Up Tie Moment
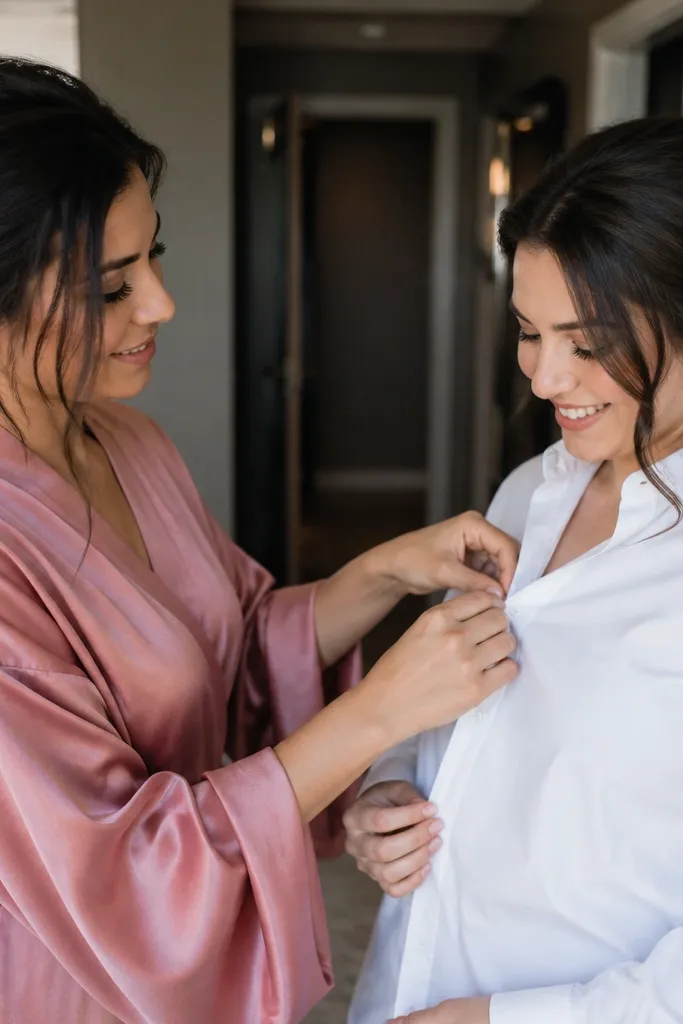
This shot works because it looks like real help, not a pose. The robe gives you a clean, consistent color block while the hands-in-action detail keeps everyone focused on doing something. Choose a spot near a window or soft hallway light so skin tones stay even. It’s especially good for bridesmaids because they look useful and connected to the getting-ready story.
1) Line bridesmaids up along the edge of a window or in shade from a nearby doorway so faces get soft light. 2) Give one clear action: “Pull the sleeve back, then tie the cuff.” 3) Aim for 10-15 frames as hands move; stop when smiles start to break, because that’s when it looks most natural.
Quick tipKeep a small steamer or lint roller nearby; robes look better when they hang smooth.
Skip thisDon’t ask everyone to look at the camera — keep eyes on the hands and the result looks candid.
2. Bridesmaids' Bouquet Ribbon Color Walk
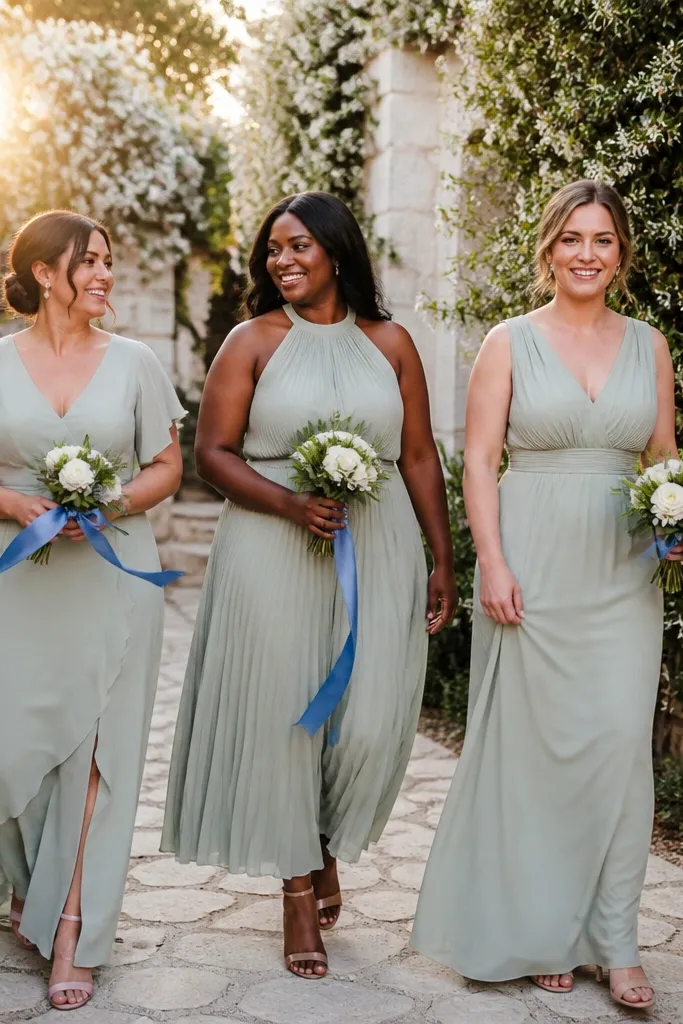
Ribbon is the easiest way to make beginner-friendly photos look styled. When bridesmaids walk, the ribbon creates motion lines that make the photo feel alive even with simple composition. Pick a path with a consistent background — a garden walkway, stone courtyard, or fence line — so the ribbon stays the focal point. This is a great idea for a beautiful celebration because it adds color rhythm across multiple frames.
1) Choose a short route you can repeat: 20-30 feet works fine. 2) Start with bouquets held low, then take 3 slow steps and pause; shoot during the pause and the step into it. 3) Use the same route for 3-5 frames so you can pick the best expressions later.
Quick tipBring a small hair tie or ribbon clip for stray pieces; loose ribbon looks messy in bright sun.
Skip thisAvoid busy backgrounds like full flower beds right behind faces — it steals attention from the ribbon.
3. Doorway Frame With Half-Turn Smiles
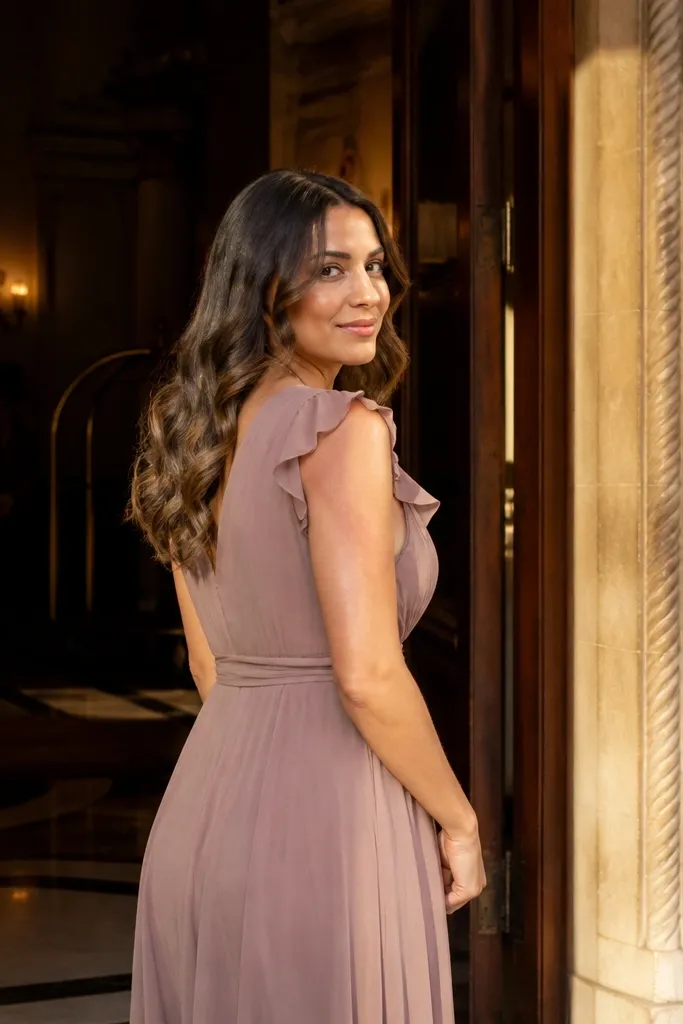
Doorways give you instant structure. The half-turn pose flatters most body types and keeps faces angled toward light instead of straight-on. This is perfect for beginners wedding photo ideas because it doesn’t require height differences or complicated staging; the doorway does the framing for you. It also looks great in a wedding day timeline since doors appear in hotels, rental houses, and ceremony prep areas.
1) Stand bridesmaids just inside the doorway so light spills from the outside or window side. 2) Ask them to rotate 30-45 degrees, then smile like they’re about to step out. 3) Shoot two rounds: one with bouquets visible, one with hands relaxed at waist level.
Turn off harsh interior lights if the doorway has strong daylight; mixed lighting makes skin look blotchy.
Don’t center everyone perfectly; slight spacing breaks the “group school photo” look.
4. Window Shade Candid Laughs With Hands Busy
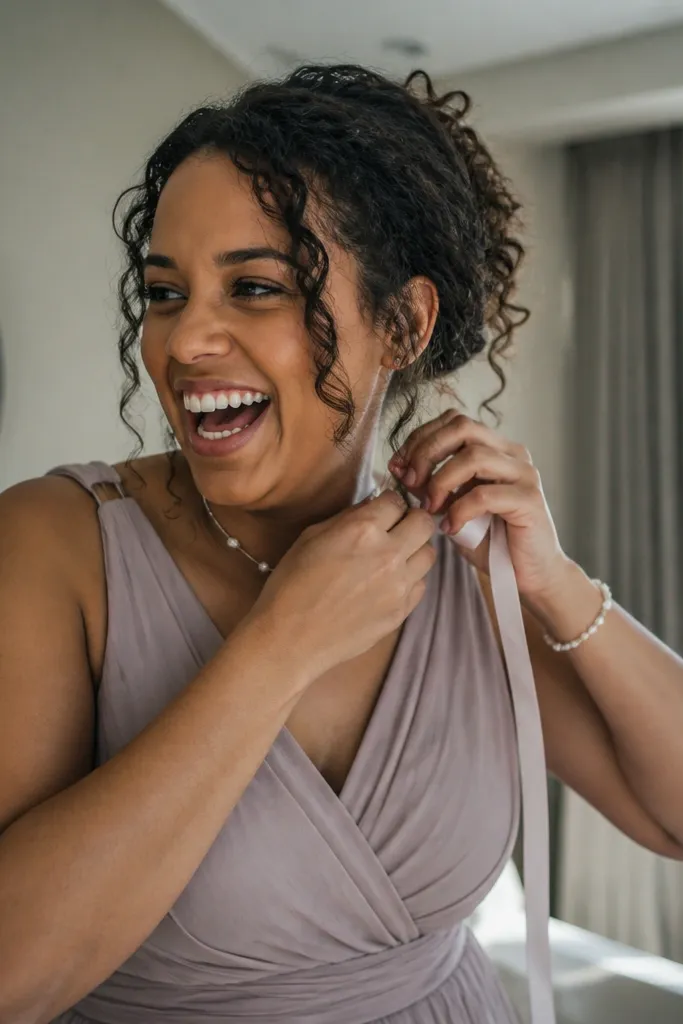
Soft window shade makes faces look flattering and forgiving, which is why this works for beginners. The key is hands busy: hairpins, necklace clasps, and small adjustments keep expressions real. Laughter looks best when it happens mid-action — not after you say “smile.” This gives you images that feel like the celebration is already happening, not staged for it.
1) Put everyone 3-6 feet from a window so light hits evenly. 2) Assign one tiny job per person: straighten a veil edge, fix a bracelet clasp, or tuck a hair clip. 3) Shoot short bursts while you talk casually; stop prompting after the first laugh wave.
Quick tipUse a white or cream robe sleeve as a background layer; it makes dark dresses look clean.
Skip thisAvoid overhead lighting in the same frame; it turns window shade photos into mixed-color mess.
5. Veil Detail Passing Line
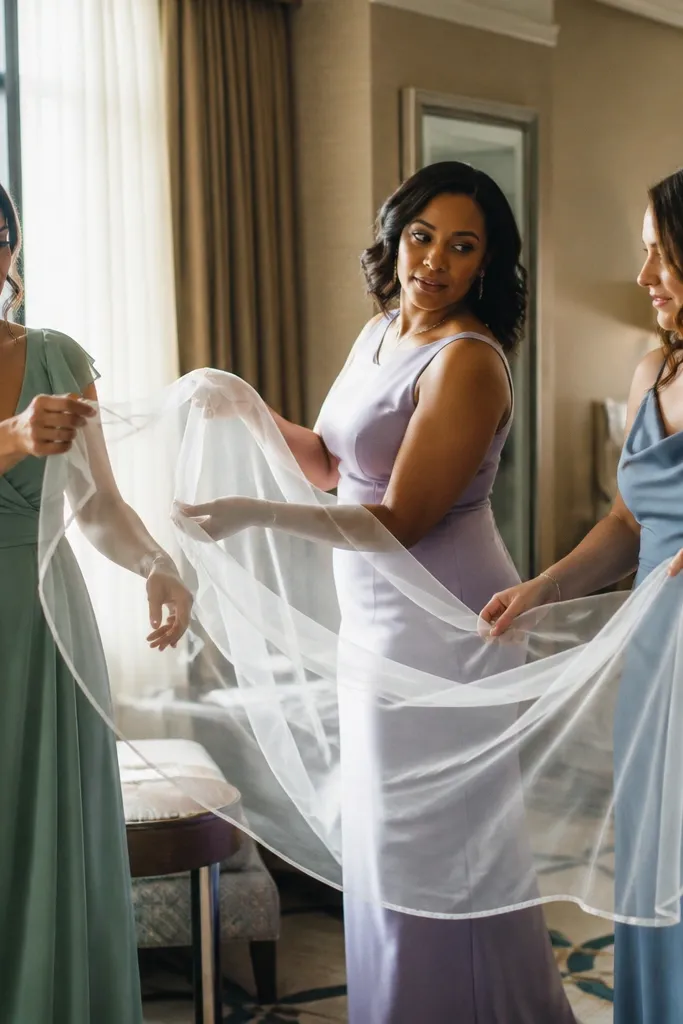
Fabric passing creates a beautiful “flow” image that still reads clearly as wedding day prep. It also gives bridesmaids a shared task, so they don’t drift into awkward spacing. Choose translucent fabric like a veil edge or ribbon-trimmed cloth; it catches light and adds softness. This is a strong for beginners wedding photo ideas pick because it’s simple to direct and visually elegant.
1) Set bridesmaids in a slight arc, shoulder-width apart, near a light source. 2) Have them pass the fabric from one person to the next, one smooth movement. 3) Shoot from waist height, not too high, so the fabric line leads the eye across the group.
Dry fabric static is a real issue — lightly mist your hands with water before handling delicate pieces.
Don’t let fabric bunch at chins; keep it moving so it stays airy.
6. Champagne Toast Before the Ceremony Sign
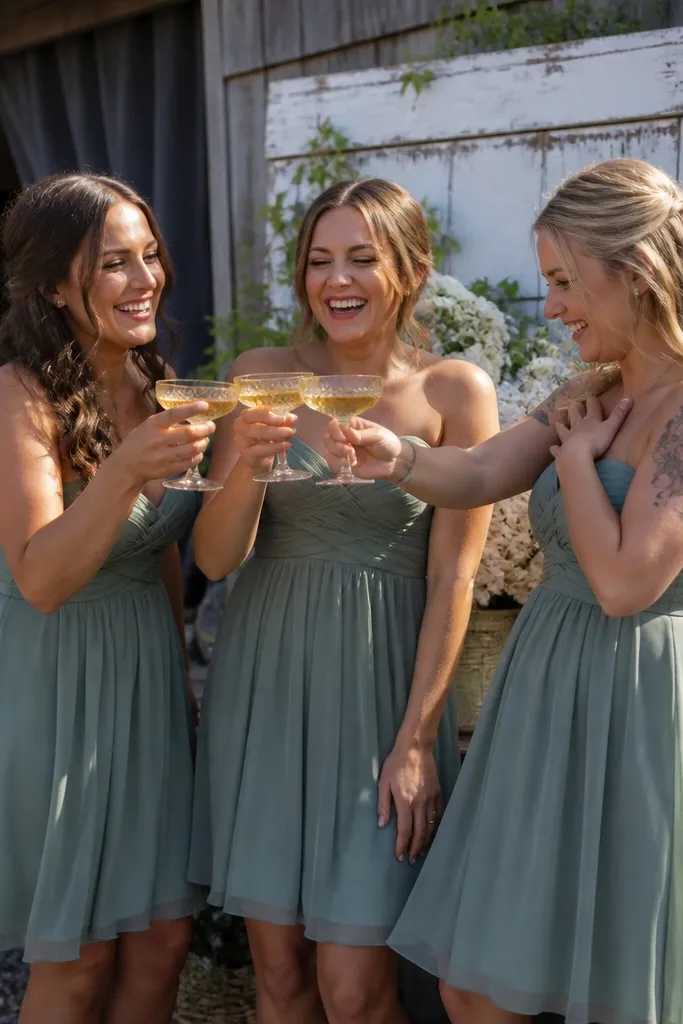
A toast gives you an instant celebration vibe, and the glasses create bright highlights that read well on camera. The setting matters: use the ceremony entrance area or a sign wall so the photo looks tied to the event. Bridesmaids look best when they’re mid-cheer, not frozen at “cheers.” This idea is beginner-friendly because you only need one direction — lift, clink, laugh.
1) Pick a background with one dominant feature: a sign, arch, or doorway. 2) Have everyone clink once, then take 2 seconds to react naturally. 3) Shoot in bursts as glasses rise; the best frame is usually the first clink, not the second.
Use sparking drinks with clear ice or no ice; cloudy ice looks dull in close frames.
Don’t stand everyone shoulder-to-shoulder; leave 6-12 inches between people so highlights don’t merge.
7. Bouquet Lift Against a Clean Wall
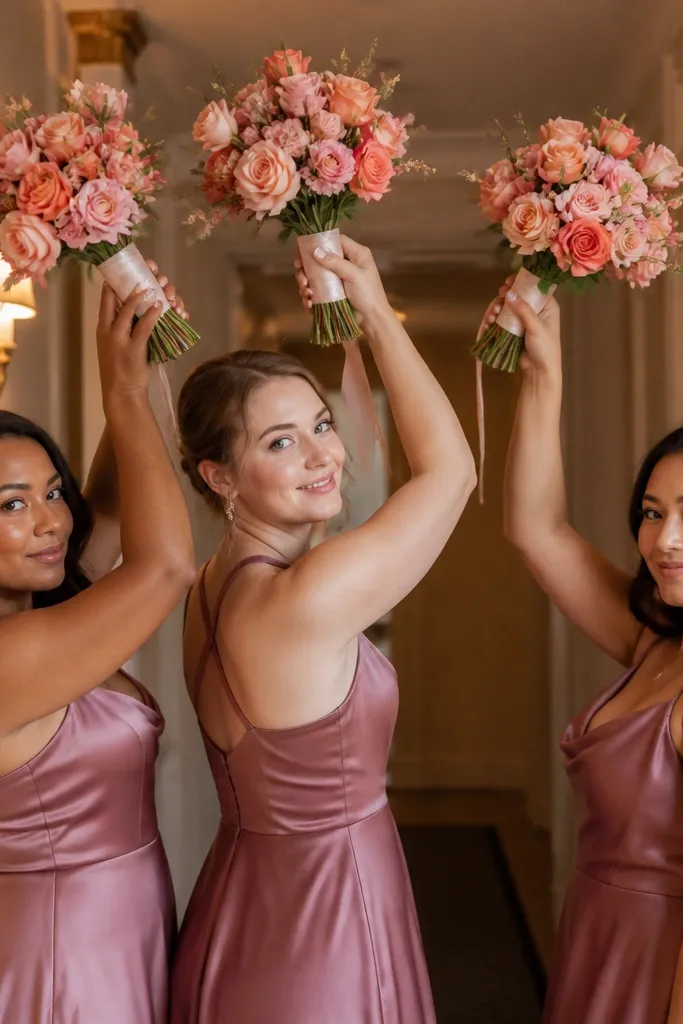
Clean walls make the bouquet the star. When bridesmaids lift bouquets upward, you get a flattering angle on arms and shoulders, and the bouquet shape creates a strong silhouette. This is one of the most reliable for beginners wedding photo ideas because it works in almost any venue hallway. For a beautiful celebration look, keep the wall background uncluttered and use consistent bouquet height.
1) Find a wall with minimal texture and no busy signage; paint color matters less than cleanliness. 2) Mark a line where bridesmaids stand so spacing stays even. 3) Direct them to lift bouquets to eye level, pause for 1 second, then lower slightly for a second frame.
If the wall is dark, place bouquets higher so the stems don’t disappear into shadow.
Avoid clutter behind heads like mirrors or framed photos — they distract from the bouquets.
8. Staircase Descent With Matching Steps
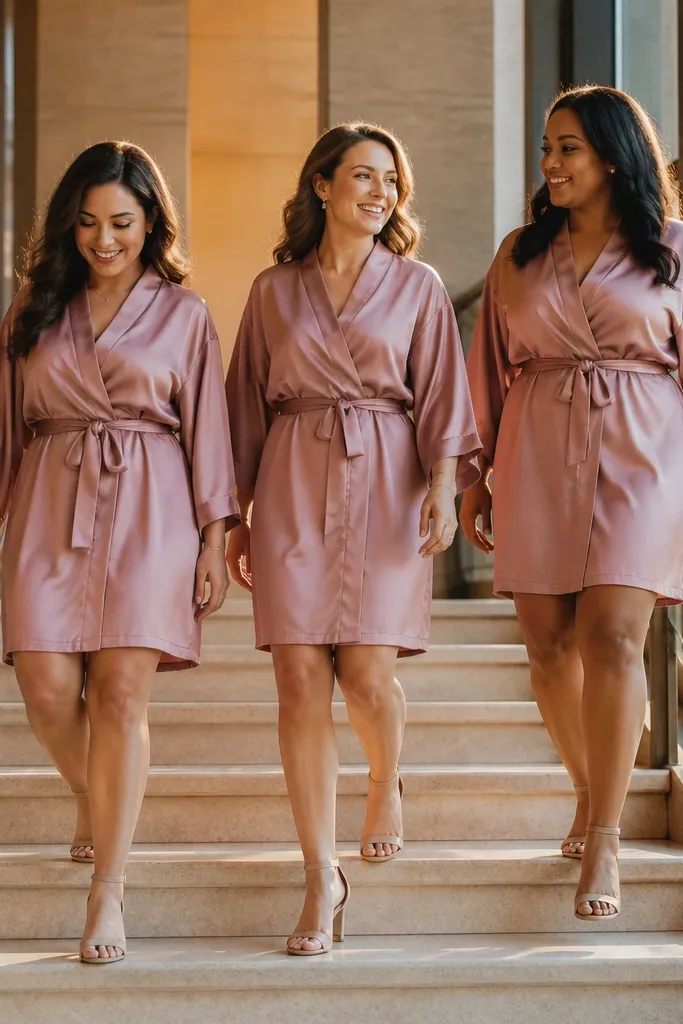
Stairs create natural leading lines and make group photos look dynamic without heavy posing. The trick is matching steps: if everyone moves at the same pace, faces stay in sync and the photo looks intentional. This works well for hotels and venues with both indoor and outdoor staircases. It’s a great option for a beautiful celebration because it feels like a “moment arriving” rather than a static group shot.
1) Choose a staircase with a clean railing and a background that doesn’t block faces. 2) Have bridesmaids descend 6-10 steps, then stop on the same step for a frame. 3) Shoot from the side at chest height so you capture both faces and the staircase line.
Watch for shiny railings; turn everyone slightly so the railing doesn’t reflect harsh light into eyes.
Don’t shoot from the bottom with everyone looking up; it exaggerates chin shadows.
9. Garden Path Side-Profile Walk
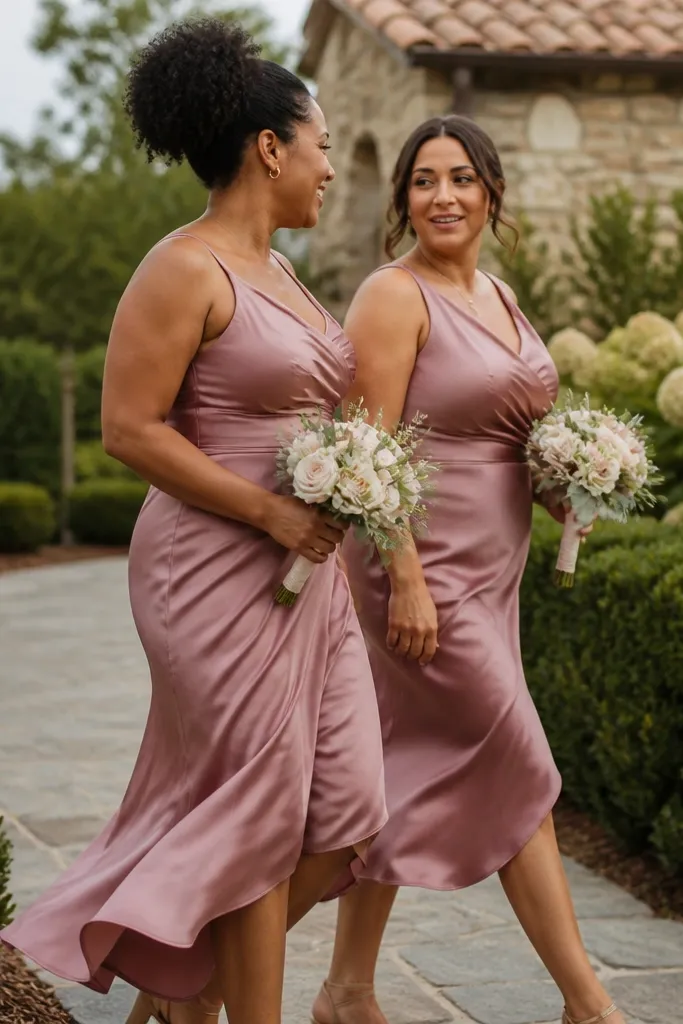
Side-profile walking photos look editorial without needing perfect choreography. The garden path gives you depth, and side angles show dress movement and bouquet shape. Bridesmaids look best when they’re not all smiling at the lens; let them talk to each other while walking. This delivers beginner-friendly wedding photo ideas that still look like you planned a whole set.
1) Pick a path with repeating elements — fence slats, hedges, or evenly spaced lights. 2) Ask bridesmaids to walk past the camera slowly; shoot as they pass, not while they stop. 3) Capture 20-30 frames across a 10-15 second walk so you can pick the cleanest moments.
If it’s windy, secure loose hair with two pins on each side and check before the walk.
Avoid turning everyone fully toward the camera; side angles keep the look natural.
10. Hands on Hairline Fix Before Flash
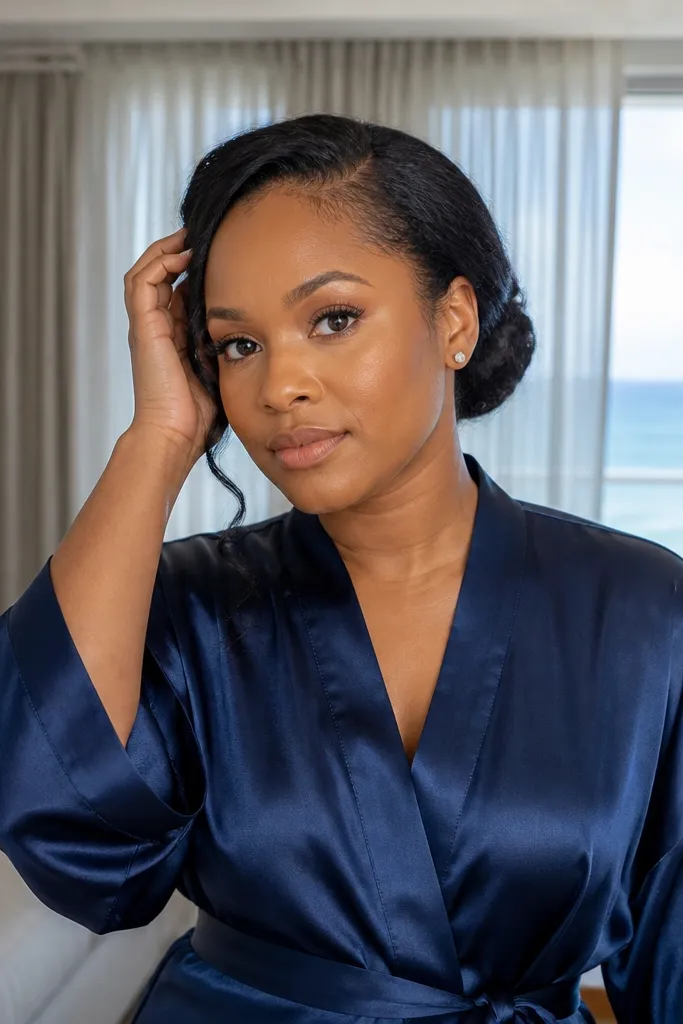
This is the “micro-moment” that makes beginner photos look intentional. When bridesmaids touch their hairline, the image looks candid but still styled because everyone is doing a similar action. It also solves the problem of hair flying or jewelry shifting during getting-ready. The best photos come when the action is quick and the smiles are half-formed.
1) Put bridesmaids near consistent soft light and ask them to fix one thing at a time: hair clip, necklace chain, or earring. 2) Shoot from slightly off to the side so faces aren’t flat. 3) Take 8-12 frames per person; choose the one where eyes are relaxed and the hands are mid-motion.
Bring a travel mirror and a small brush; one quick touch-up before the frame saves minutes later.
Don’t over-direct with big poses; small hairline fixes look natural and flattering.
11. Reception Table Setting With Bridesmaids' Place Cards
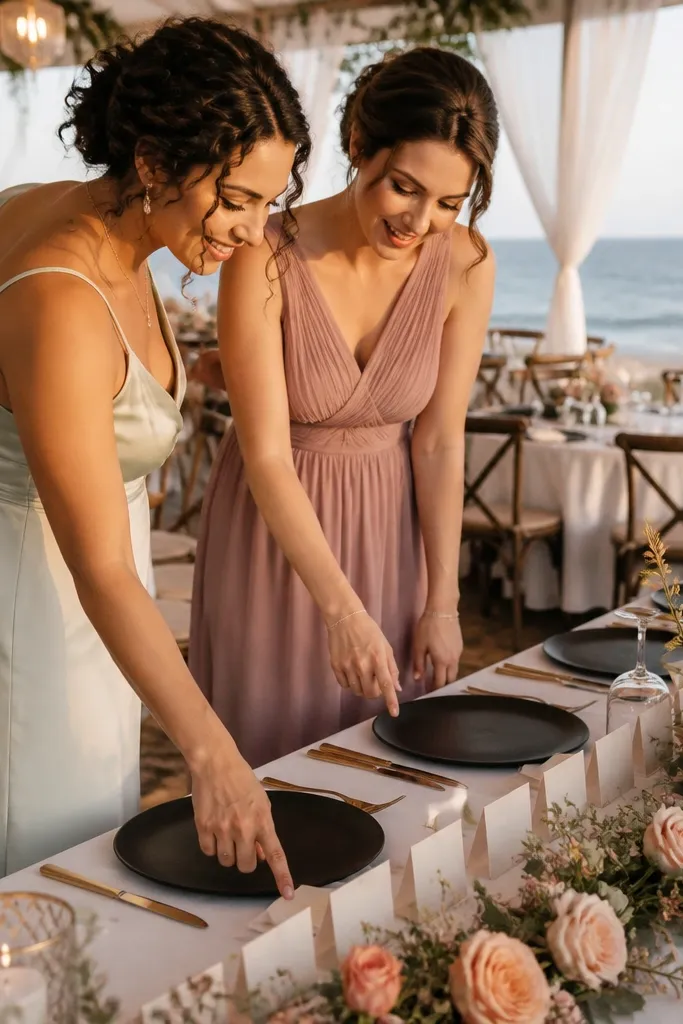
Table details are where wedding photos look expensive, even when the prompt is simple. Place cards add a graphic element that frames hands and helps the group look connected. Bridesmaids should hold or point to the place cards, not just stand by the table. This gives a beautiful celebration feel because guests and community are part of the story.
1) Find one table with a clean centerpiece and minimal clutter behind it. 2) Give each bridesmaid one prop: a place card, a menu, or a small printed program. 3) Have them stand two steps away from the table edge so the setting stays in view; shoot from above table height.
Quick tipAvoid reflective tablecloths; they throw bright highlights across faces.
Skip thisDon’t include random stacks of cords, extra chairs, or a half-open gift bag in the background.
12. Bouquet Over Shoulder Glance
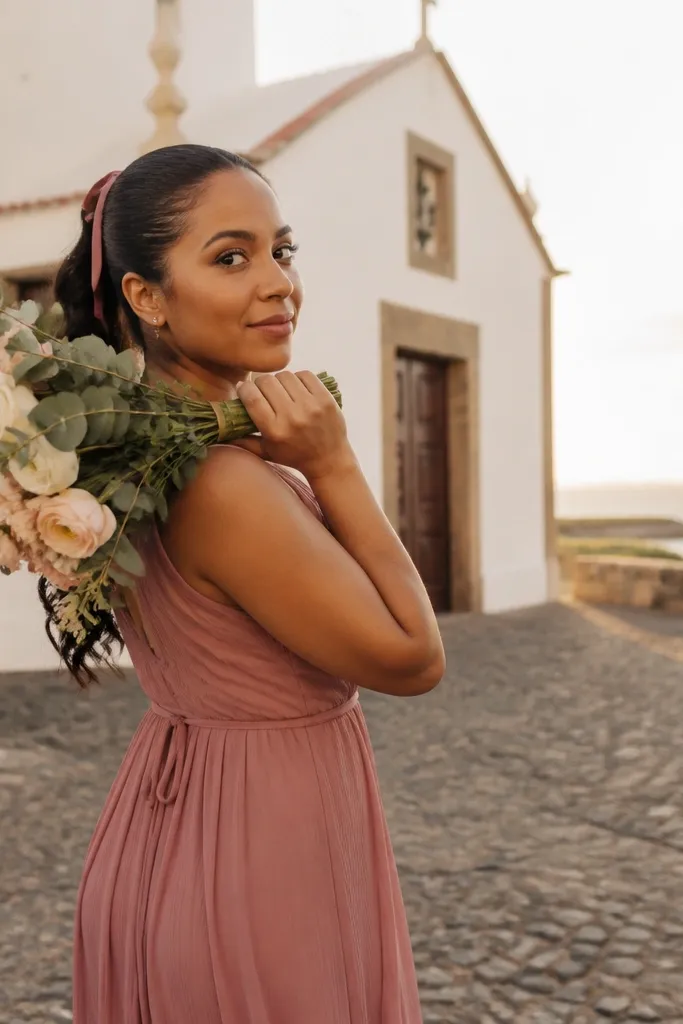
Over-the-shoulder looks flattering because it gives depth and keeps the body angled. It also makes bridesmaids look like they’re stepping into the celebration rather than posing for it. Use a single bridesmaid or a pair for the best results; group versions get messy fast. This is one of the most photogenic for beginners wedding photo ideas because direction is easy and the composition is forgiving.
1) Stand near a background with separation: grass edge, curtain, or a light-colored wall. 2) Ask the bridesmaid to hold the bouquet near shoulder height, then glance back over the shoulder. 3) Shoot two angles: one from chest height and one slightly higher for cleaner jaw lines.
Quick tipKeep bouquets angled down slightly; upright bouquets can hide hands and create awkward wrist angles.
Skip thisAvoid using this pose when the background is busy behind the head.
13. Bridesmaids Holding the Train Ribbon
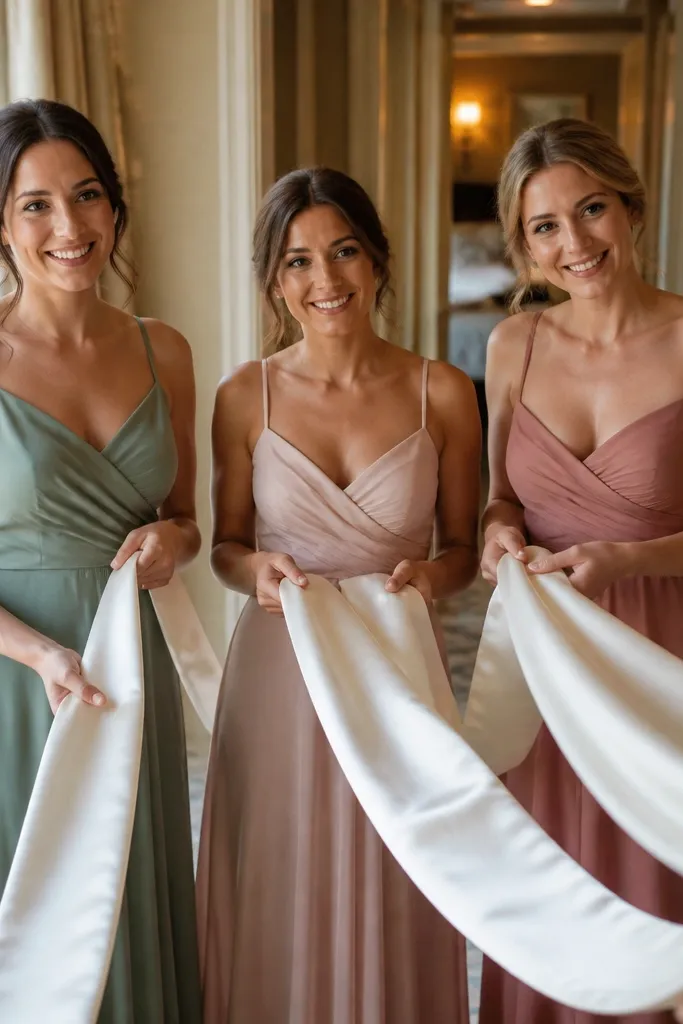
Train-ribbon moments are made for wedding day photos because they show the dress story without needing perfect posing. Bridesmaids look helpful, and the fabric creates a clean leading line from lower frame to faces. Choose a corridor or room with enough space so nobody has to crowd. This idea reads beautifully even for beginners because it’s an obvious job and the visuals are clear.
1) Give bridesmaids a simple instruction: hold the ribbon lightly, don’t lift high. 2) Ask them to take one slow step forward together, then stop for a photo. 3) Shoot from a slight side angle so the ribbon line curves naturally across the frame.
Quick tipAssign one person to keep the ribbon tension even; uneven tension makes the dress look tangled.
Skip thisDon’t pack too many people in — two or three bridesmaids is cleaner than a crowd.
14. Confetti Toss With Bridesmaids in the Front Line
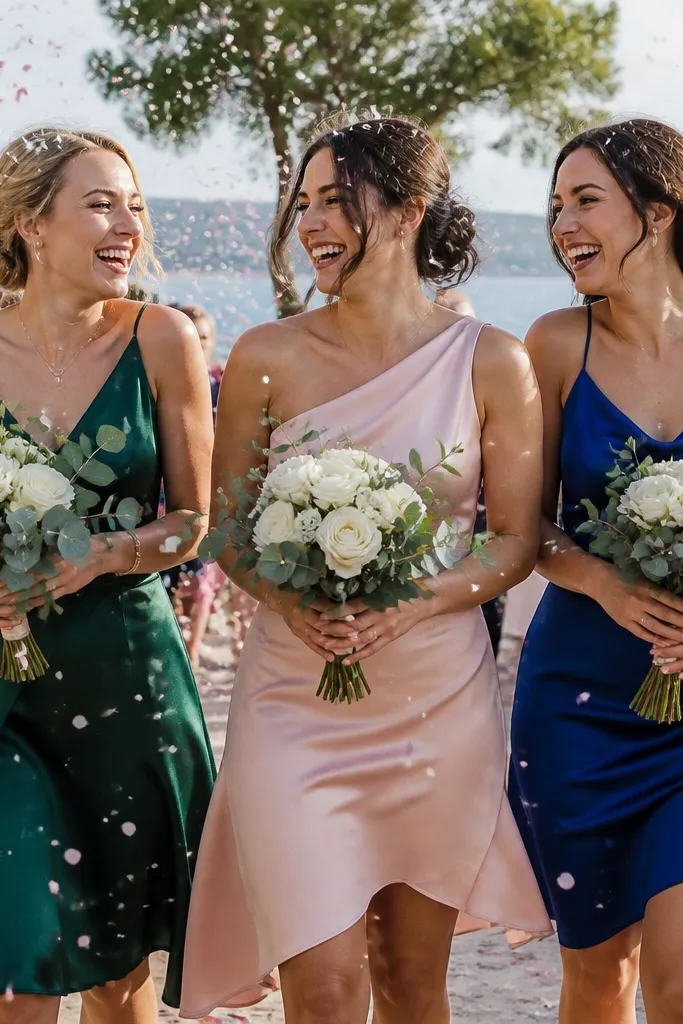
Confetti photos are instantly celebratory and forgiving, because motion hides small expression issues. Put bridesmaids in the front line so you get faces with the confetti, not just floating color in the background. The beauty comes from timing: you want the moment confetti reaches peak spread, not the moment it’s already falling. This is one of the easiest for beginners wedding photo ideas because the action is obvious and fun.
1) Stage a small confetti zone and test wind direction; shoot with confetti blowing toward faces. 2) Have bridesmaids toss once, then laugh and look at each other for 2 seconds. 3) Use a fast shutter speed if your camera allows; aim for 30-60 frames to catch the peak.
Quick tipChoose biodegradable confetti pieces that are light; heavy pieces fall fast and look clumpy.
Skip thisAvoid tossing confetti too early; the best frames are right after the first toss.
15. Golden Hour Exit Through a Simple Arch
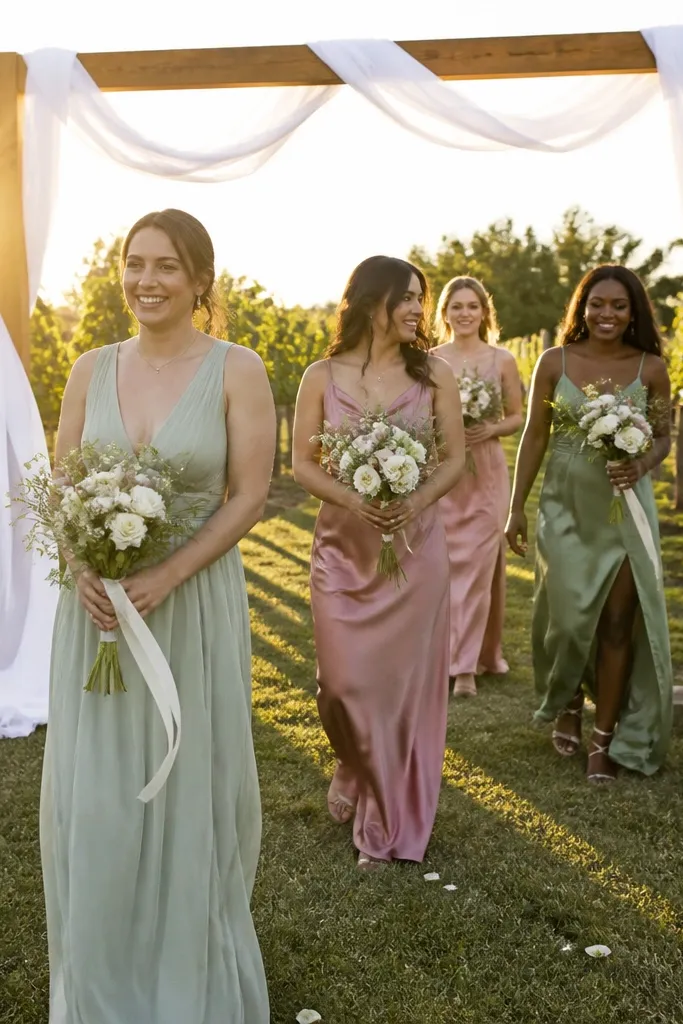
A simple arch gives you a clean “exit” story, and golden hour makes everyone look better without extra posing. Bridesmaids should walk forward in a staggered line, not in a straight row, so you get layered depth. This is a beautiful celebration look because it feels like the party is starting. It also works for beginners because the arch provides framing and the movement provides the rest.
1) Scout the arch spot and confirm sun direction 30 minutes before exit time. 2) Put bridesmaids slightly behind the photographer’s position so they move into light. 3) Walk through at one pace, stop for one frame at the arch center, then continue.
If the sun hits from the side, ask bridesmaids to angle their faces slightly toward the light, not fully toward the camera.
Avoid stopping too long in the arch; stiff pauses make faces look tense.
16. Reception Dance Floor Footwork Close Framing
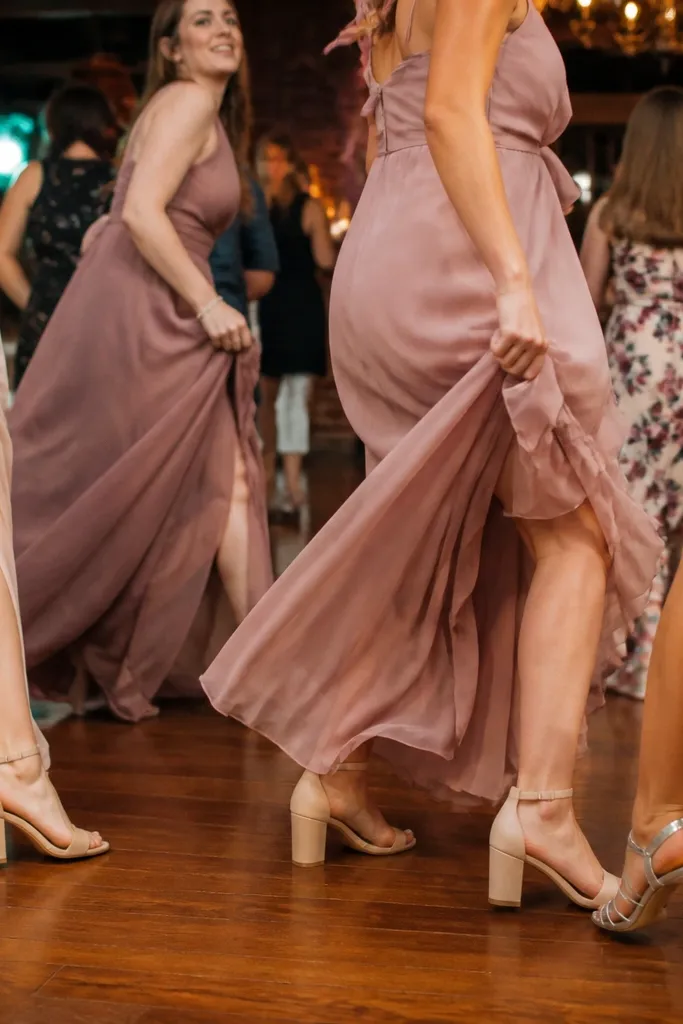
Not every wedding photo has to show full faces to look beautiful. Footwork framing captures movement, shoes, and dress hems in a way that looks lively and editorial. Bridesmaids usually have coordinated footwear or dress length, which makes this shot cohesive across the set. It’s a great for beginners wedding photo ideas pick because you can direct it with simple action: dance, turn, step back.
1) Find the brightest part of the dance floor with clean lighting — avoid spots with harsh colored LEDs. 2) Frame low at shin to shoe level and keep the camera steady. 3) Ask bridesmaids to do a simple move: two steps forward, one turn, then freeze for one second.
Bring a small lint roller; dance-floor dust shows up on dark shoes.
Avoid chaotic backgrounds with tables and chairs directly behind the feet.
17. Bridesmaids Holding Fans or Parasols in Shade
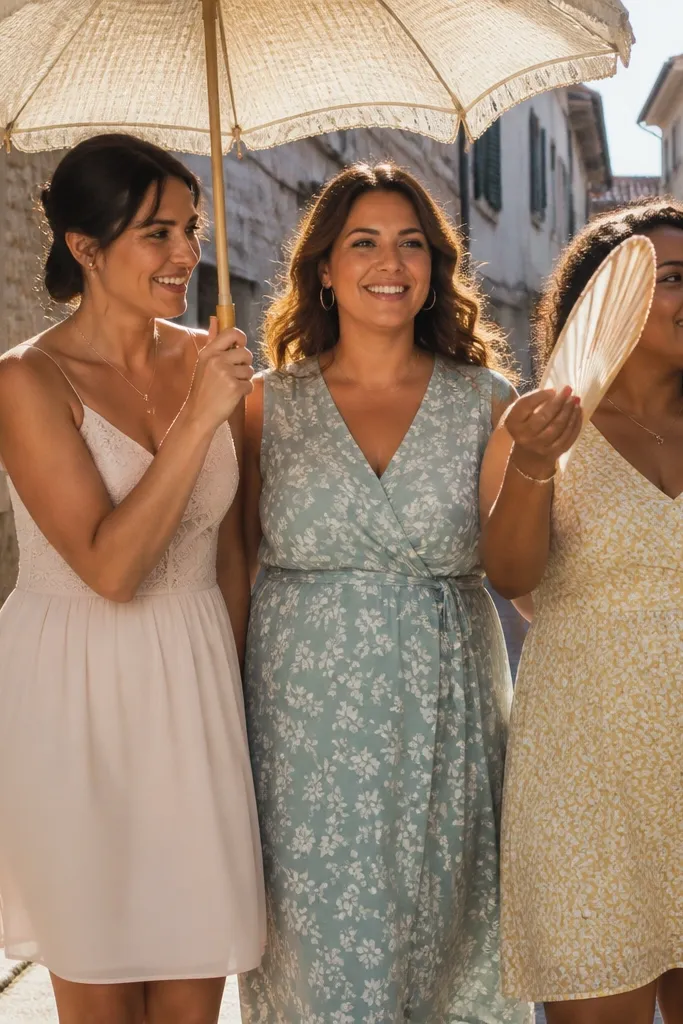
Fans and parasols add shape and motion without demanding complicated body angles. Shade keeps skin looking smooth and reduces squinting, which matters a lot for beginners. Choose lightweight fans so they catch air and create movement lines. This looks beautiful in hot weather and also adds a styled “theme” feel even if your wedding is casual.
1) Pick a shaded area near the ceremony space — under trees, a covered patio, or a tent edge. 2) Have bridesmaids open fans halfway, then close and reopen once for a motion sequence. 3) Shoot from a slight angle so the fan ribs create a pattern behind faces.
If you use parasols, match the color to bridesmaid dresses so the photo looks intentional.
Avoid using umbrellas in wind without securing; it ruins timing and expressions.
18. Bridesmaids' Hair Clip Stack Photo
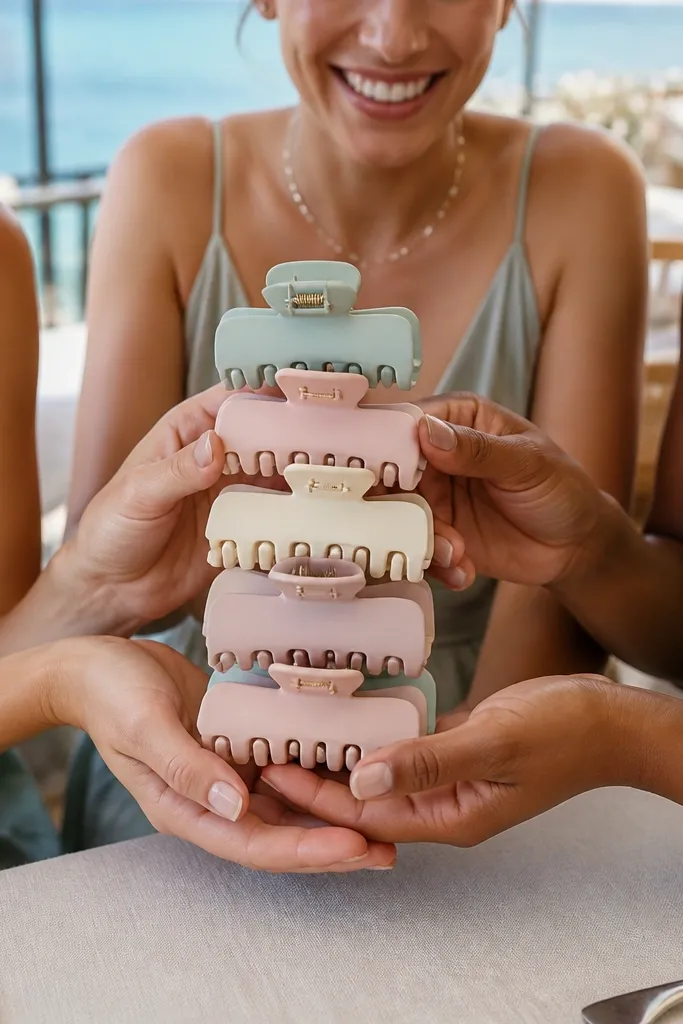
This is a detail shot that feels fun and modern, and it gives you a break from standard group poses. Hair clips are easy for bridesmaids to hold without messing up makeup, and they create a clear “cohesion” moment across the set. The beauty is in the repetition: same clips, different hands, similar angles. It’s perfect for beginners wedding photo ideas because the direction is simple and the outcome looks styled.
1) Gather bridesmaids in a line near a window or soft lamp light. 2) Ask them to hold their hair clips at chest height, palms facing up, with relaxed fingers. 3) Shoot straight-on at a slight downward angle so the clips stay sharp and faces stay readable.
Quick tipUse matte clips or remove any shiny packaging tags; glare can ruin the detail.
Skip thisAvoid clutter on hands — no nail polish smudges on fingers holding the clips.
19. Ceremony Aisle Side Line With Walking Eyes
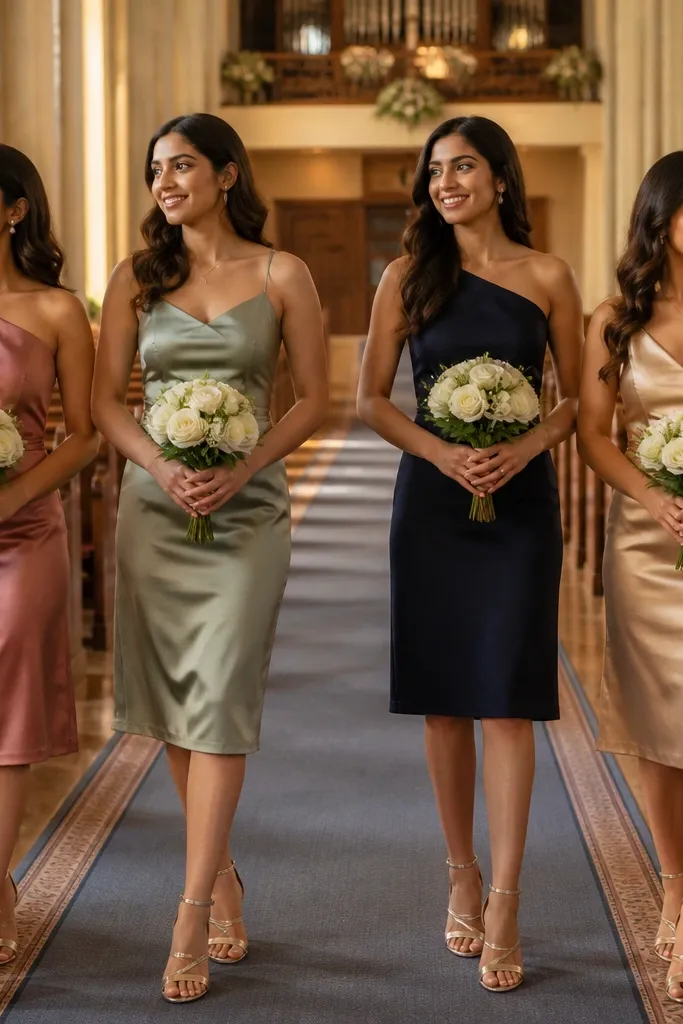
This idea captures the emotional energy without making bridesmaids pretend to be the couple. Put them along the side of the aisle with a slight stagger so faces don’t overlap. “Walking eyes” means they look toward the aisle as if they’re watching someone approach, which feels natural and cinematic. It’s a strong for beginners wedding photo ideas option because it uses the venue layout and avoids awkward group poses.
1) During seating or early ceremony prep, place bridesmaids along the aisle edge and confirm spacing. 2) Ask them to look down the aisle, then take one tiny step to adjust posture. 3) Shoot from the side with the aisle leading line in frame for depth.
Quick tipIf the aisle is carpeted, ask for one step back from the edge so shadows don’t fall across faces.
Skip thisAvoid standing too close together; overlapping heads ruin the clean line effect.
20. Reception Bar Counter Lean With Matching Glasses
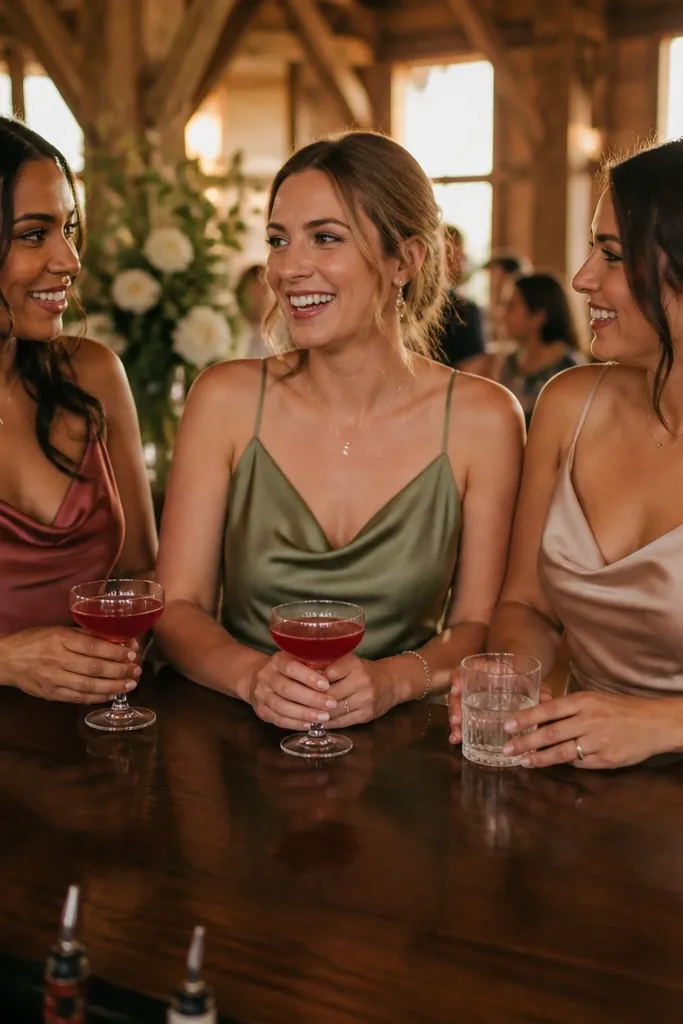
A bar counter gives you a clean background edge and a natural place for hands. Bridesmaids leaning with matching glasses looks styled, but it still feels social because people are talking and sipping. Choose drinks with consistent color — clear sparkling, cranberry, or soda with citrus. This photo idea is great for beginners wedding photo ideas because you can direct it with one posture and one action.
1) Ask the bartender or coordinator where you can step without blocking service. 2) Give bridesmaids glasses at the same height, then have them lean in and talk to each other for 10 seconds. 3) Shoot from slightly above counter height so smiles show and hands stay visible.
Use paper straws or remove bent straws; weird straw angles show up in close frames.
Avoid chaotic bar backgrounds with too many logos directly behind heads.
21. Bridesmaids' Shoe Reveal on a Neutral Surface
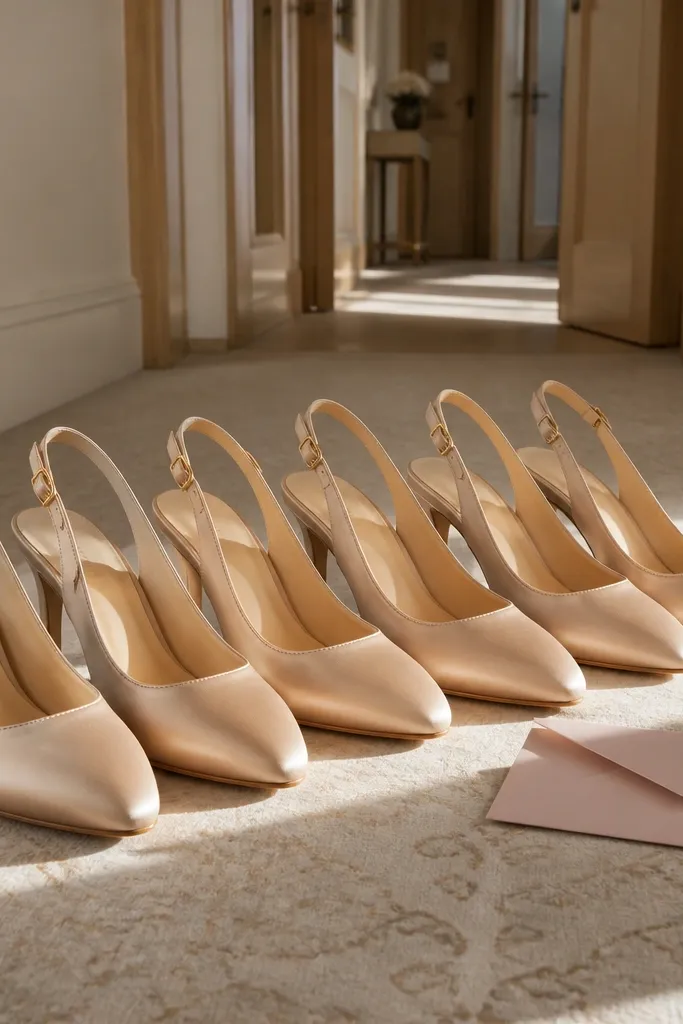
Shoe reveals look surprisingly good in wedding galleries because they add a fashion layer. Bridesmaids often have coordinated shoes, and lining them up creates a neat visual rhythm. This works best when the floor is neutral — light tile, wood, or a plain rug — so the shoes don’t blend into background clutter. It’s a simple for beginners wedding photo ideas win that still looks intentional.
1) Pick one neutral surface near getting-ready or the reception entrance. 2) Place bridesmaids' shoes in a line with equal spacing and straighten dress hems so they don’t cover ankles. 3) Shoot from low angle, then take 5-10 frames adjusting height so shoes and fabric are both sharp.
Quick tipKeep a small cloth for wiping dust off soles; it makes shoes look new on camera.
Skip thisAvoid shooting on patterned floors; it competes with the shoes.
22. Bridesmaids' Handwriting Notes on Wedding Day Cards
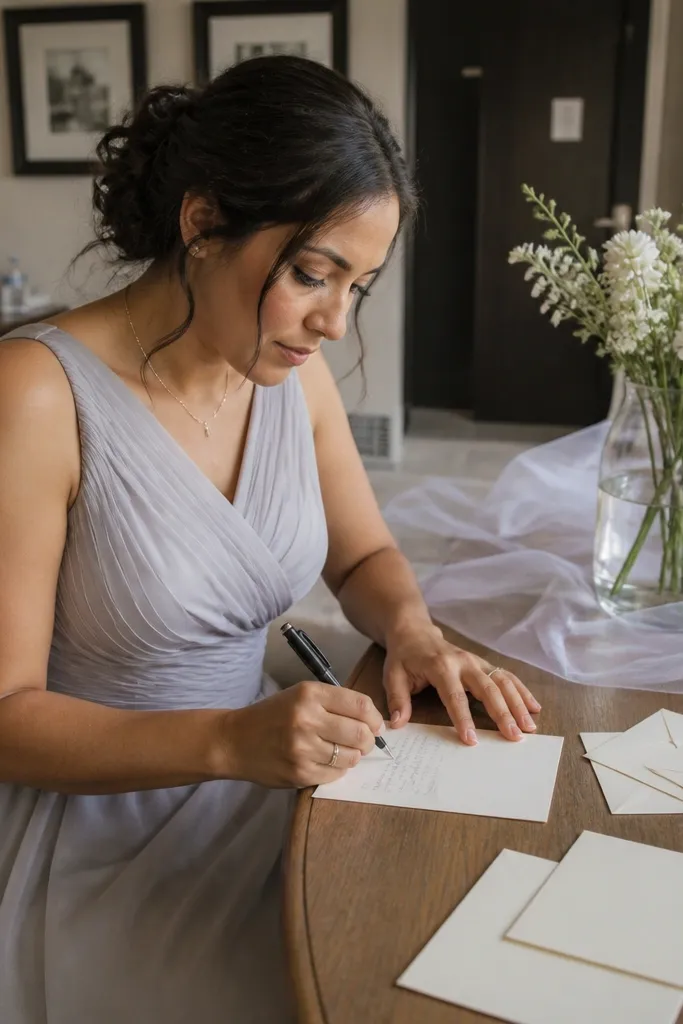
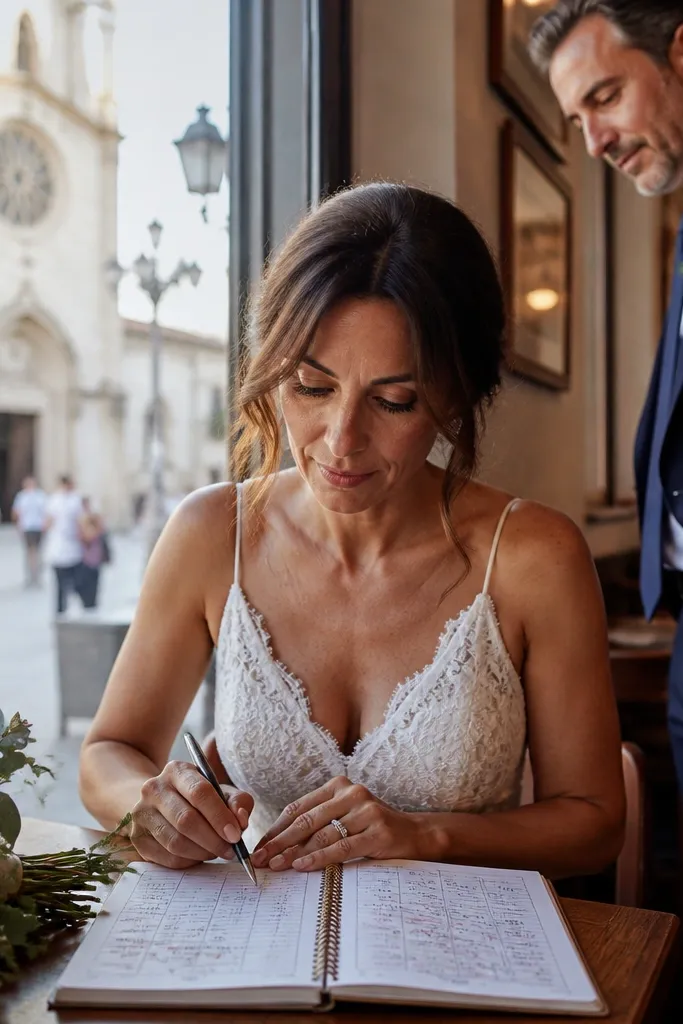
Handwriting notes give you a quiet, pretty moment that still feels wedding-related. It’s more interesting than generic “holding cards” because hands are in motion and expressions soften while people focus. Choose stationery with a clear color — cream paper with black ink looks clean in photos. This idea is beginner-friendly because you don’t need posing tricks; you just need a surface with good light.
1) Set up a table near a window and lay out the cards, pens, and a small tray. 2) Ask bridesmaids to write for 30-45 seconds, then pause and smile gently while holding the pen. 3) Shoot from above or side angle so you capture both faces and the paper texture.
Use black ink pens; they read clearly and don’t smear as easily as gel pens.
Avoid bright overhead lighting that flattens paper texture.
23. Bridesmaids in Matching Color Robes Under a Tent Edge
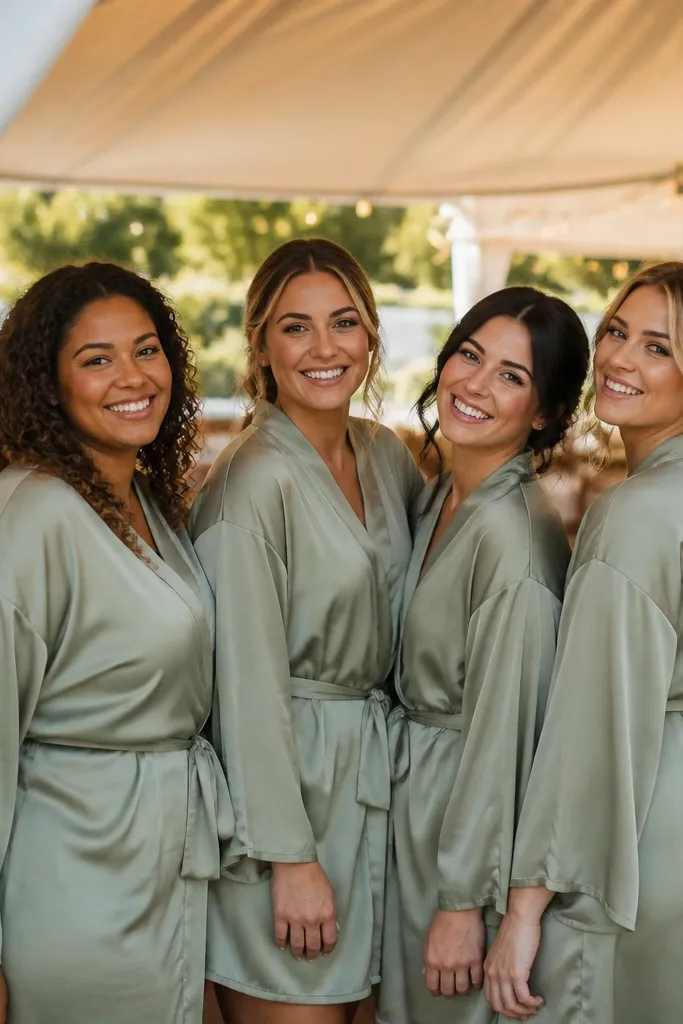
Tent edges create a natural frame and soft shade, which is why this looks good even when the venue is chaotic. Matching robes give you consistent color and cover anything you don’t want photographed — messy sleeves, hair tools, or random bags. Bridesmaids can stand in a gentle V shape so everyone’s faces catch light. This is one of the most reliable for beginners wedding photo ideas when weather is unpredictable.
1) Position bridesmaids under the tent where the light is even and backgrounds are plain fabric. 2) Ask them to step forward one pace, then turn their shoulders toward the light. 3) Shoot at chest height and take 12-20 frames so you can pick the best calm expressions.
If the tent fabric is white, it bounces light nicely; if it’s dark, bring a small reflector or find a nearby doorway.
Avoid standing too close to tent poles; they cut the background into distracting vertical lines.
24. Sunrise Steam Vows on a Balcony Rail
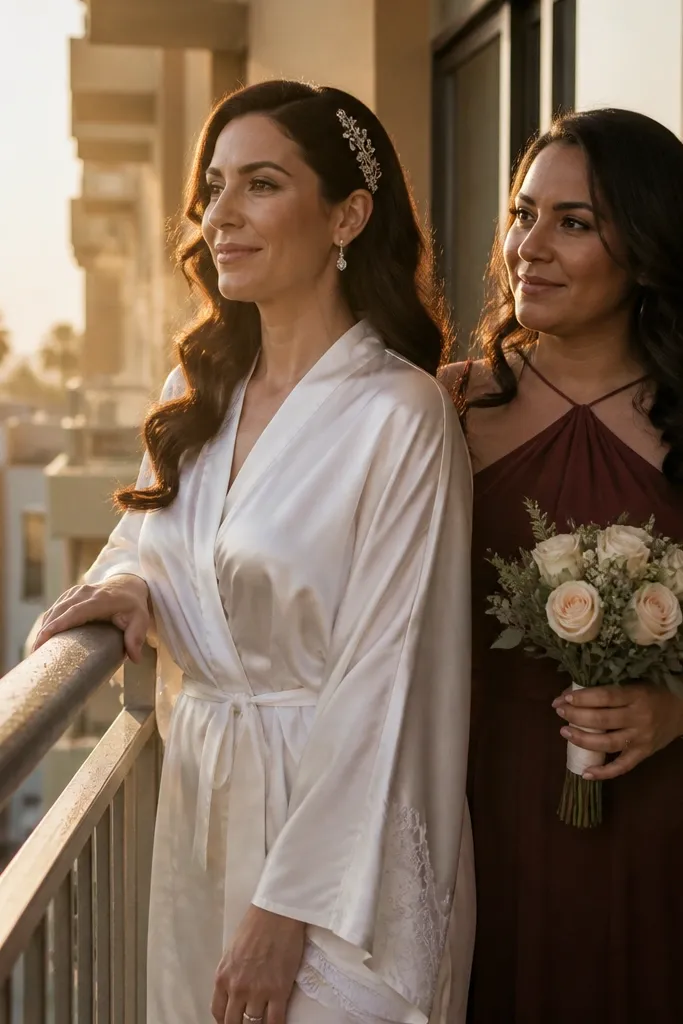
This is one of the cleanest for beginners wedding photo ideas because the light does most of the work. The soft sunrise haze makes skin tones look warm and hides busy backgrounds, so you get that beautiful, intentional “we’re starting our day” feeling. It also feels special without needing a big location — a hotel or rental balcony is enough if it faces open air. This works best in late fall through early spring when mornings are cooler and you get more natural steam from hot drinks or nearby vents. It suits couples who want romantic and calm photos, not a loud party vibe. If you’re traveling, this is also a low-effort win because you’re already at your room.
Pick a stay with a balcony or a second-story terrace where you can stand at the rail without blocking doorways. Pack two simple props: a small thermos and two clear mugs or cups so you get visible steam without smoke machines. Plan for 25-35 minutes total, starting 30-45 minutes before sunrise so you catch the glow and not just darkness. Book the room as early as you book anything — balconies go first, and you want an unobstructed view to the east. Expect to spend more on the room category, but you’ll save money by skipping a separate sunrise session location. If the balcony is shared or overlooks neighbors, choose a time when streets are quiet and curtains can close behind you.
Quick tipBring a thermos from home or buy one locally and pour right before the shot so steam is consistent. If you can, choose a room facing east; it’s the difference between gold light and flat light.
Skip thisDon’t schedule this for a random time after sunrise — the mist fades fast and you lose the look.
25. City Street Exit With Moving Taxi Lines and Veil Wind
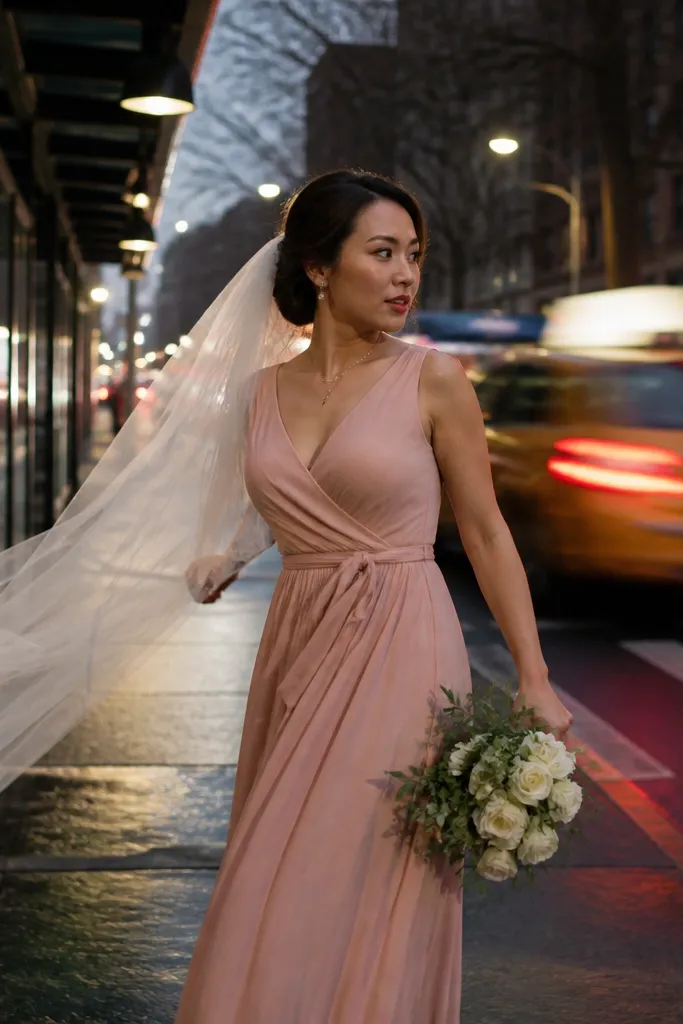
This gives you that “wedding day is happening in real life” energy while still looking polished. The moving vehicle blur turns a normal street into a graphic background, and the veil wind adds motion that looks intentional instead of accidental. You get a dramatic exit without needing a grand venue — any walkable downtown area works if traffic flows nearby. This is best in spring and early fall when weather is mild enough to keep the veil and hair loose. It suits couples who want bold, modern photos and don’t mind a little bustle in the background. For beginners, it’s easier than it sounds because the posing is simple — walk, turn, and look back once.
Choose a street with two lanes and a clear line of sight — look for a spot near a hotel drop-off or a taxi stand so vehicles pass consistently. Plan a 15-25 minute window right after portraits so you’re still in wedding-day hair and makeup, then head to the street exit. Keep the route short: walk 40-60 feet, stop for one turn, then continue. Timing matters — aim for late afternoon into early evening when the sky is bright but not blown out. Costs are low: you may spend on parking or a rideshare to get there, but you’re not paying for a separate location fee. Book a hotel or rental with parking access or a nearby drop-off so you’re not dragging your dress through multiple blocks.
Wear comfortable shoes under the dress hem and assign one person to manage the train so you can keep walking smoothly. If you’re worried about wind, lightly pin the veil at the crown and let the ends float.
Don’t pick a street with stop-and-go traffic — you need steady passing vehicles for the clean blur look.