1. Candle-Edge Couple Portraits on a Long Table
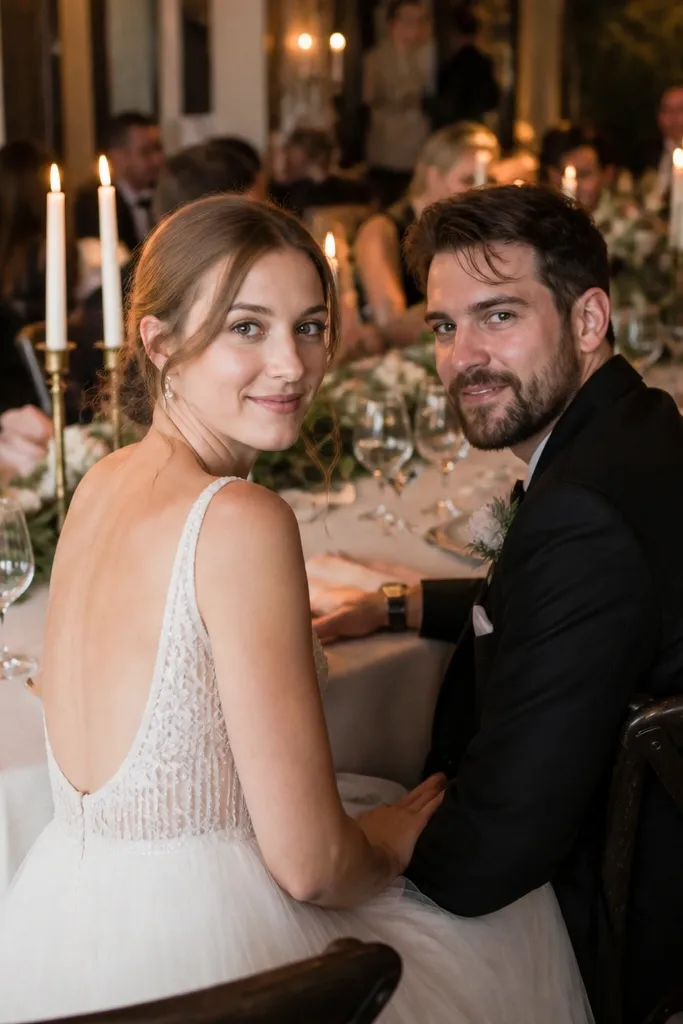
This works because taper candles give you warm, directional light that flatters skin and makes the frame feel intimate even in a busy reception hall. The long table creates a natural leading line, so your subjects look positioned instead of “standing around.” It also hides clutter behind the table setting, which is the difference between a pretty photo and one that looks styled. Best for fall and winter receptions, but it also looks great in spring if you pair it with crisp white linens and greenery.
Start by finding your longest table or the closest long surface, then place taper candles in a straight line with the wicks aligned. Then position the couple just off the table edge so the candles sit in the foreground at a slight angle. Finally, shoot when the room is dimmer — turn off overhead lights or ask for lower lighting so the candles become the light source.
Quick tipUse LED candles if your venue has restrictions, and keep them consistent across the line so the light doesn’t flicker unpredictably.
Skip thisDon’t shoot with overhead lights blasting — the candles turn into decoration instead of light.
2. Veil or Ribbon Motion at the Entrance Photo Spot
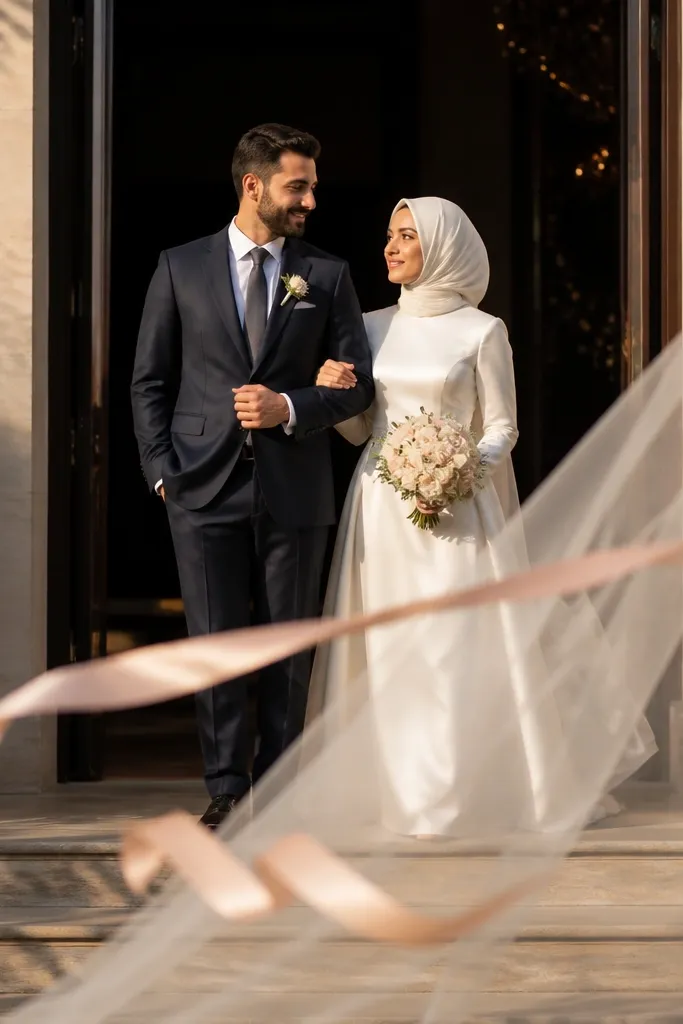
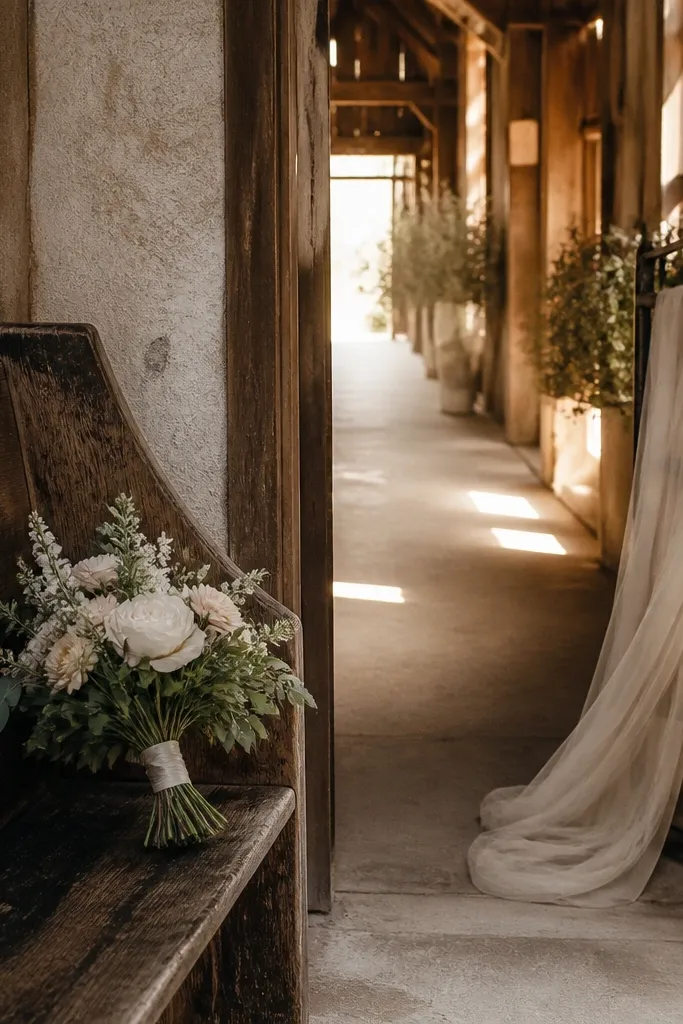
Motion photos look expensive when you control the movement and keep the background clean. The entrance door or hallway is perfect because it frames the couple automatically and gives you a natural sense of arrival. Use a veil edge or a ribbon streamer so you get a visible shape in the air, which reads as romantic instead of random blur. This is ideal when guests are already flowing in, so you’re not asking anyone to pause for long.
Start by choosing a doorway or hallway wall with minimal signage, then schedule the shot right after the couple finishes greeting. Then have the bride hold the veil or ribbons and take two slow steps while the photographer fires a burst as the fabric lifts. Finally, do a second take with the couple facing the door and the fabric trailing behind for a different vibe.
Assign one person to gently manage the veil so it doesn’t snag on clothing or decor.
Skip complicated props — one veil or one ribbon line looks cleaner than multiple moving items.
3. First Dance Backlight Through a Fabric Draped Chair
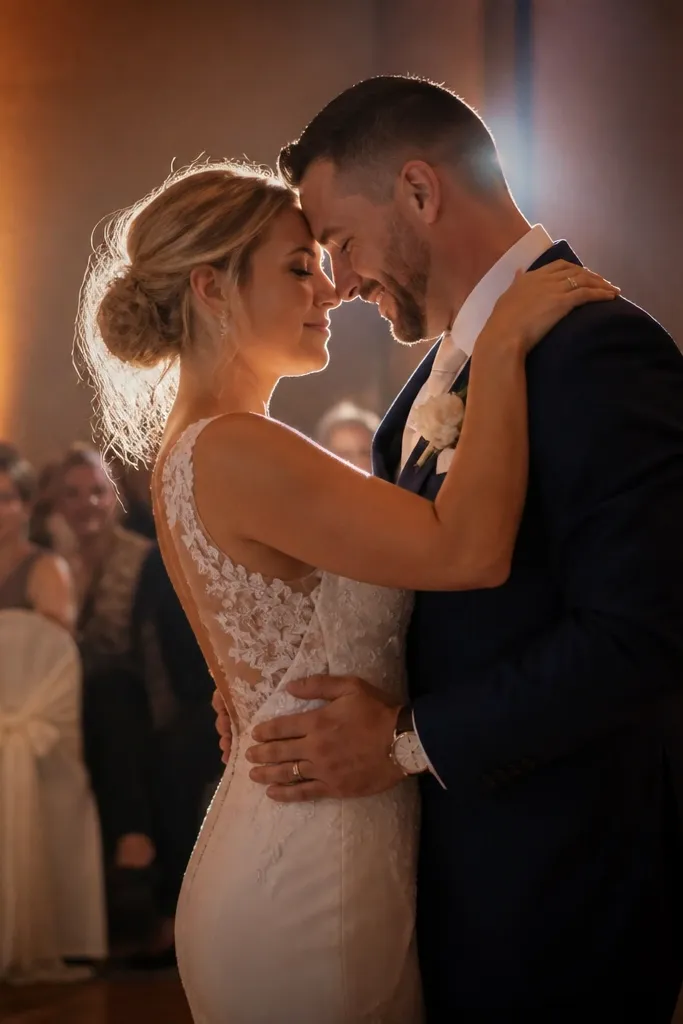
Backlight turns ordinary reception lighting into dreamy glow, and a fabric-draped chair helps you shape that light. The chair gives you a texture that catches highlights, so even if the room isn’t pretty, the photo still feels intentional. It also creates separation from the background, which is what makes images look like a real editorial set. This works best when there’s a stage spotlight or a warm uplight behind the couple.
Start by placing a chair near the light source, then drape it with a single piece of fabric so it forms a soft screen. Then position the couple a step in front of the chair and angle them slightly so the light hits the edges of hair and shoulders. Finally, shoot during the first minute of the dance when guests aren’t blocking the frame.
Bring a lint roller for the drape — one fuzzy spot shows up fast in backlight.
Don’t use busy patterned fabric — it turns the glow into visual noise.
4. Champagne Toast Reflections on Polished Glassware

Toast photos look premium when the light catches glass rims and the background stays soft. Reflections create a natural sparkle, and clinking moments give you real energy, not posed stillness. Use this idea when you have a moment with everyone facing the couple, like after dinner or before speeches. The trick is to shoot with the glassware creating a foreground highlight while the couple stays sharp.
Start by coordinating the toast timing so the couple clinks in front of a warm light source, like a candle wall or uplight. Then have the photographer focus on the closest glass rim, not the faces, for extra sparkle. Finally, capture a burst and ask the guests to hold their glasses steady for one breath between clinks.
Use uniform glassware if you can — mixed shapes create messy reflections.
Don’t shoot from too high — it flattens the glass sparkle and makes faces look small.
5. Bouquet Toss Catch Frame with a Clean Wall
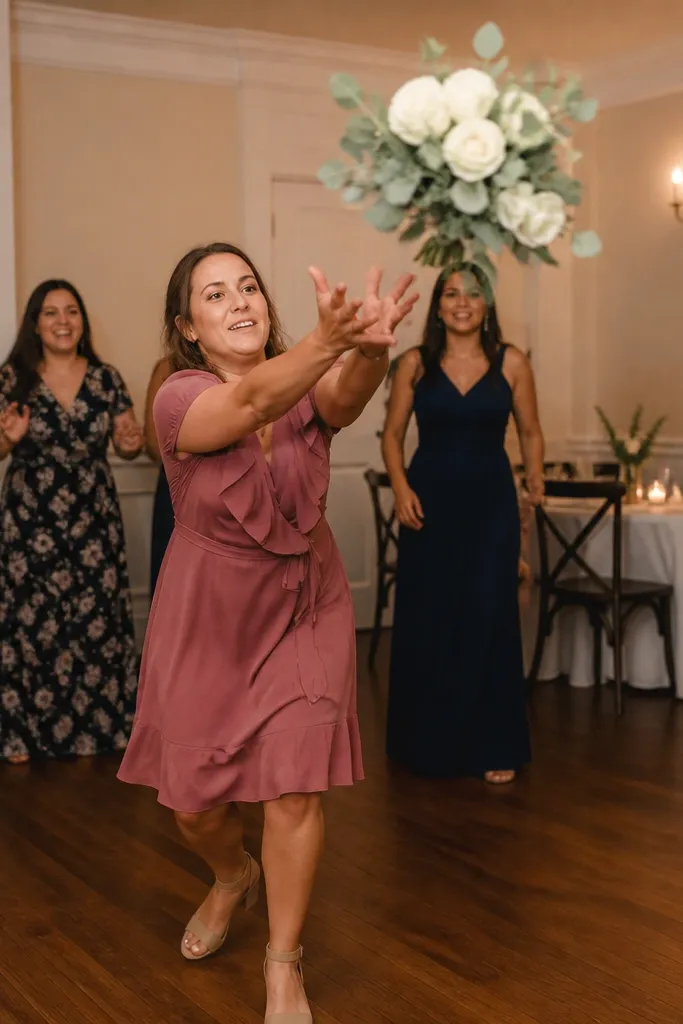
A bouquet toss is only photogenic when the background is controlled. If you can place it near a plain wall or a simple draped section, the action pops and the frame looks planned. The best version is the “catch moment” where the bouquet is suspended and someone’s hands are visible. You get movement and emotion without needing a second photographer.
Start by picking one side of the room with the least décor clutter, then set the toss area about 6-8 feet from that wall. Then have the photographer pre-focus on the expected catch zone and shoot in short bursts as the bouquet rises. Finally, do two tosses maximum so the first clean background shot is the one you keep.
Quick tipMark the spot on the floor with a small piece of painter’s tape so people don’t drift into the messy background.
Skip thisSkip fancy confetti — it makes the frame chaotic and kills clarity.
6. Table Number Close-Up with Hands and Rings
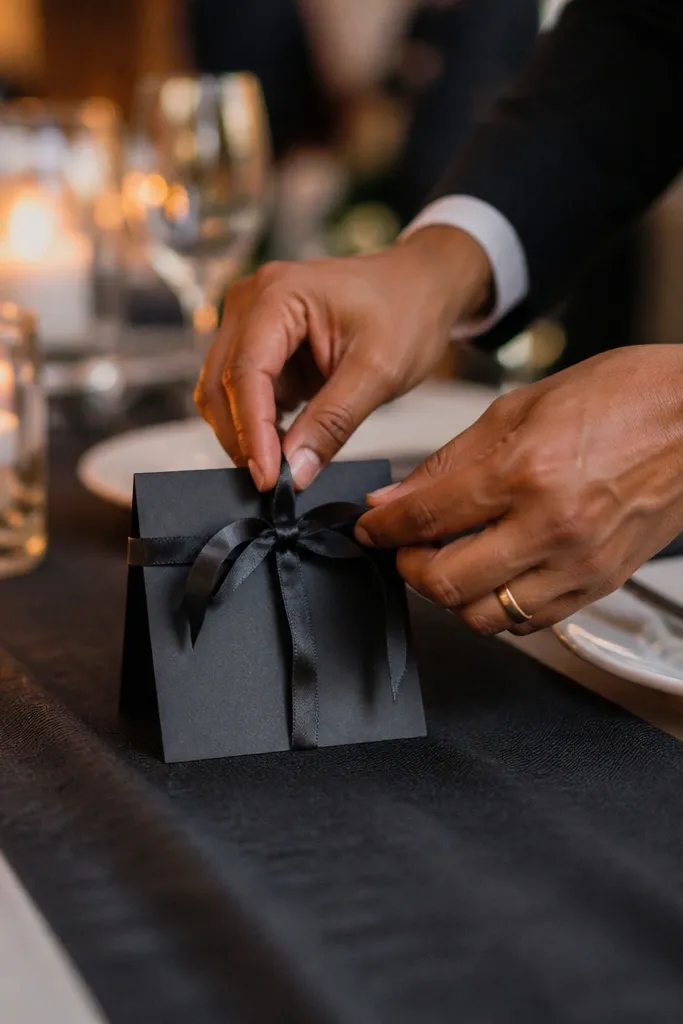
Details photos sell the story even when you’re on a tight budget, and close-ups can look high-end when they’re styled tightly. Table numbers are already on the tables, so you’re using what you have. The key is to include hands — rings, cufflinks, or a bouquet ribbon — so it looks like a moment, not a random object shot. This idea also gives your photographer a break from full-body posing.
Start by choosing one table number card with the cleanest font and background, then clear the surrounding clutter so only linens, place settings, and one floral element show. Then place the couple’s hands near the card — ring close to the lens without covering the number. Finally, shoot with the card slightly off-center and keep the background tables out of focus.
Quick tipIf your numbers are printed, take one extra card and place it on a spare runner for the cleanest look.
Skip thisDon’t include five different design elements in the same frame — one strong detail wins.
7. Ribbon Exit Line with Guests Framing the Couple
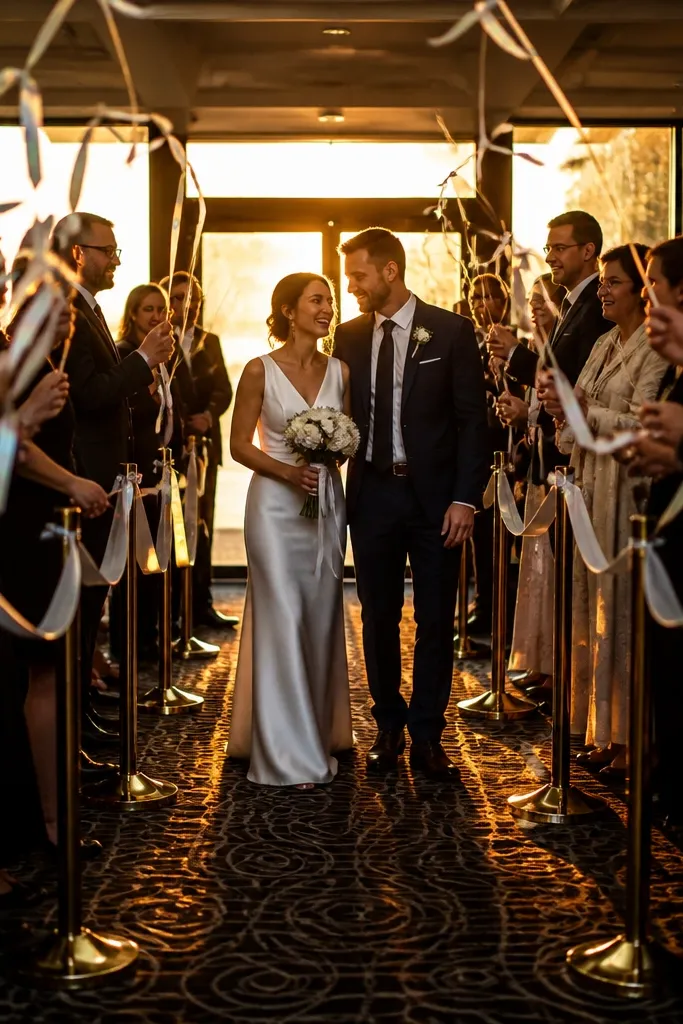
A ribbon exit turns a basic hallway into a “moment” photo because it frames the couple from both sides. Guests naturally form a corridor, so you get depth and direction without setting up a heavy installation. It also looks dreamy because ribbons catch light and create soft color streaks. Do this right after the last toast or right before the couple steps out for photos.
Start by giving each guest a small bundle of ribbons, then line them up along the hallway walls so the corridor is 6-10 feet wide. Then have the couple walk slowly through the center while the photographer shoots from chest height, slightly ahead of them. Finally, capture one slow-motion-style burst by asking the couple to lift the ribbon edge lightly as they pass.
Use ribbon lengths around 18-24 inches so they move visibly without tangling.
Don’t use long ribbons that drag — they tangle and ruin the frame.
8. Linen Napkin Fold Portrait on a Flat Lay Table
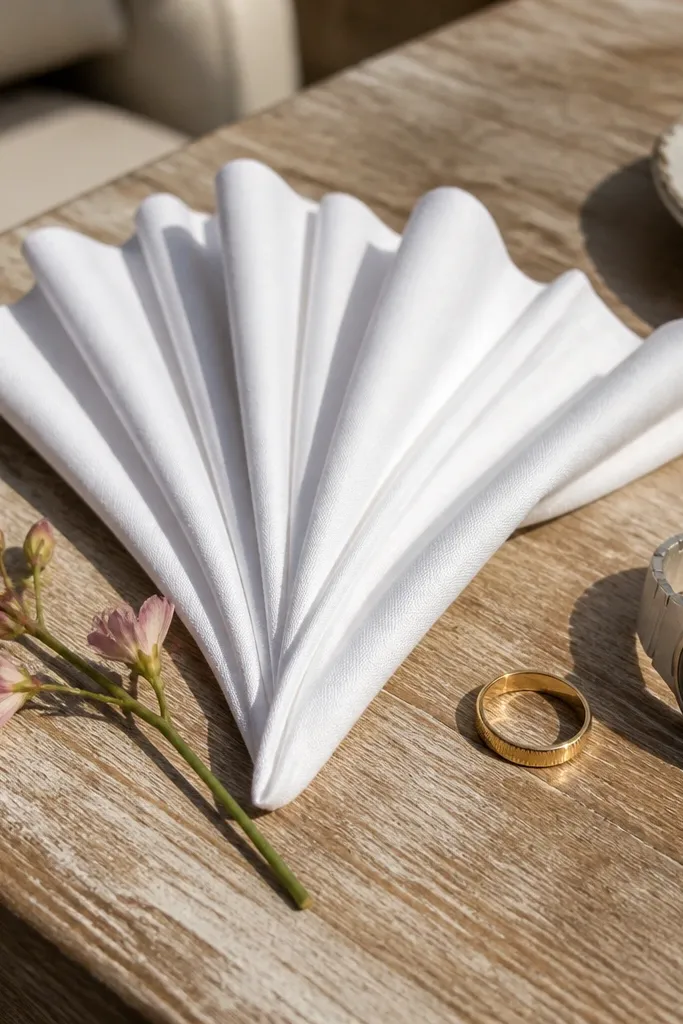
Flat-lay photos are one of the best ways to get styled, aesthetic images without extra travel. Linen napkins look expensive when they’re clean, neatly folded, and paired with one small floral accent. Add rings or a cuff detail to connect the photo to the couple, and use a consistent color palette to keep it cohesive. This works in any venue because the “background” is just your table.
Start by choosing one table with the cleanest linen and placing a single napkin fold as the base. Then add rings, a small piece of greenery, and one ribbon strip — keep it to three items max. Finally, shoot from directly above for a crisp look, then take one more from a slight angle for texture and depth.
Use a matte surface under the napkin if the table is shiny — glare kills flat-lay detail.
Don’t mix glossy satin with textured linen in the same frame — it looks messy fast.
9. Signage Reflection in a Mirror or Window
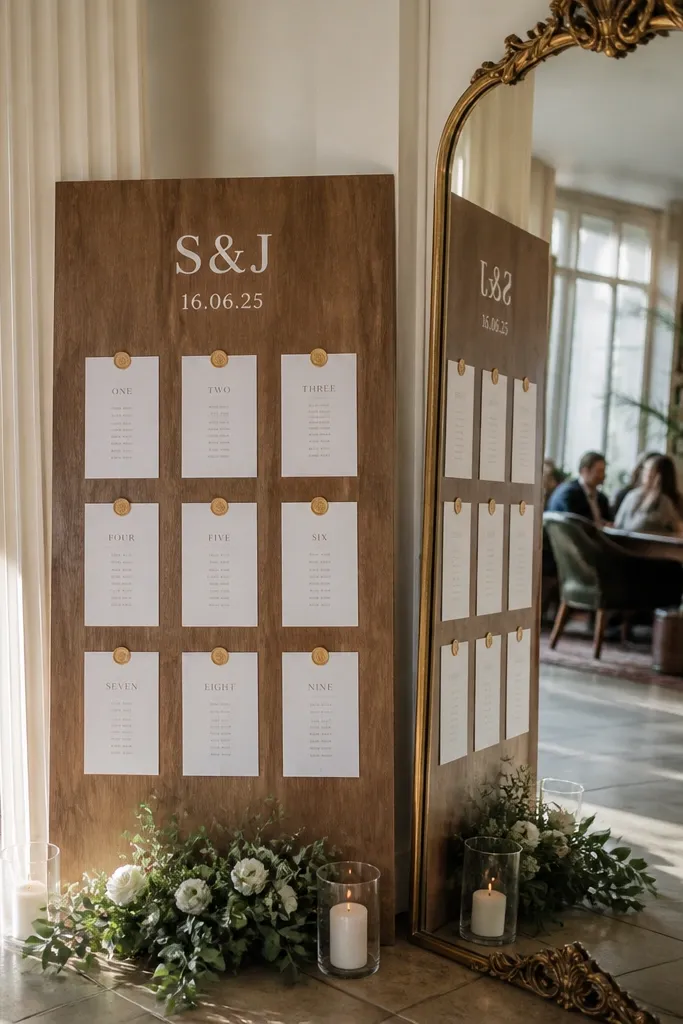
Reflections instantly make a room feel designed, even if the venue is plain. Wedding signage — like the couple’s names on a welcome board or a seating chart — becomes part of the composition instead of clutter. The mirror or window reflection gives you symmetry, which reads “aesthetic” in a way that’s hard to fake with normal angles. It’s especially good for indoor receptions where the lighting is warm and controlled.
Start by finding a mirror, glass door, or large window where the couple can be reflected with signage behind. Then position the camera at a slight angle so the reflection includes both faces and the sign. Finally, shoot two versions: straight-on symmetry and a slightly off-center angle for a more natural look.
Clean the glass right before portraits — fingerprints show up as ugly grey spots.
Skip chaotic signage backgrounds with too many fonts — reflections amplify clutter.
10. Garland-Wrapped Chair for Bride and Dad or Groom and Mom
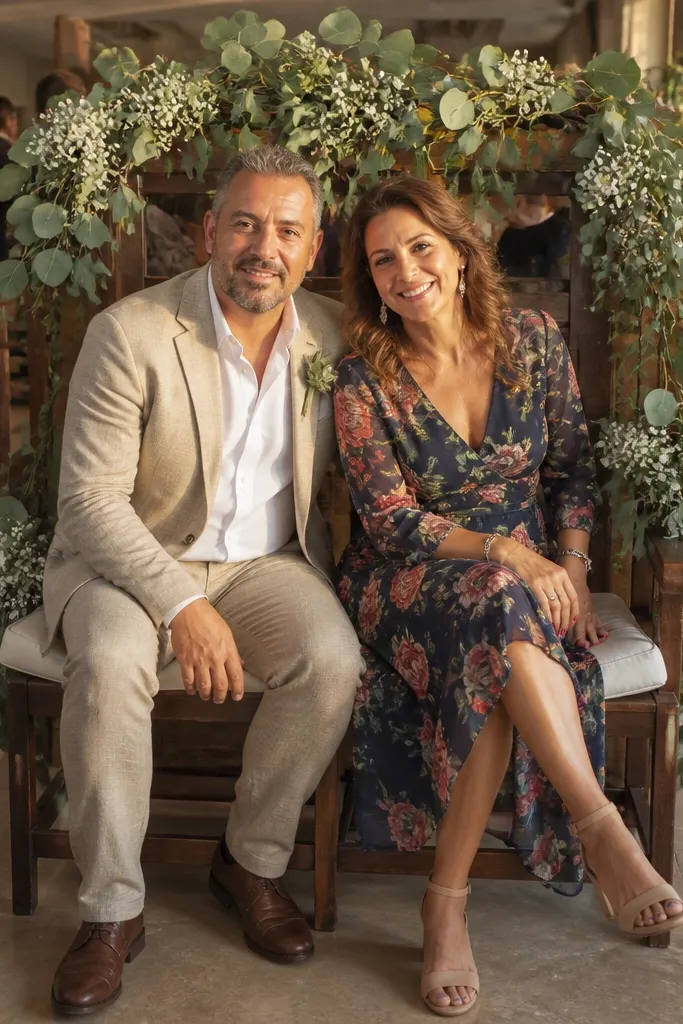
Family portraits can look gallery-level when you give the subject a simple, styled seat background. A garland-wrapped chair is cheap, fast, and photogenic because greenery frames faces and creates natural depth. It also reduces the need for a complex setup, since the chair becomes the “set.” This is great during cake cutting or right after dinner when you can pull people in for 10 minutes.
Start by wrapping one chair back with greenery or faux garland, then add one matching ribbon to tie it to the wedding color palette. Then seat one person on the chair and place the couple close enough for a shared frame without crowding. Finally, ask the photographer to shoot slightly from the side so the garland creates a soft halo behind hair.
Use a chair with a clean back — ornate chairs create distracting shapes in the background.
Don’t overcrowd the chair with flowers — greenery plus one ribbon looks cleaner.
11. Cake Cutting Foreground Fruit or Floral Frame
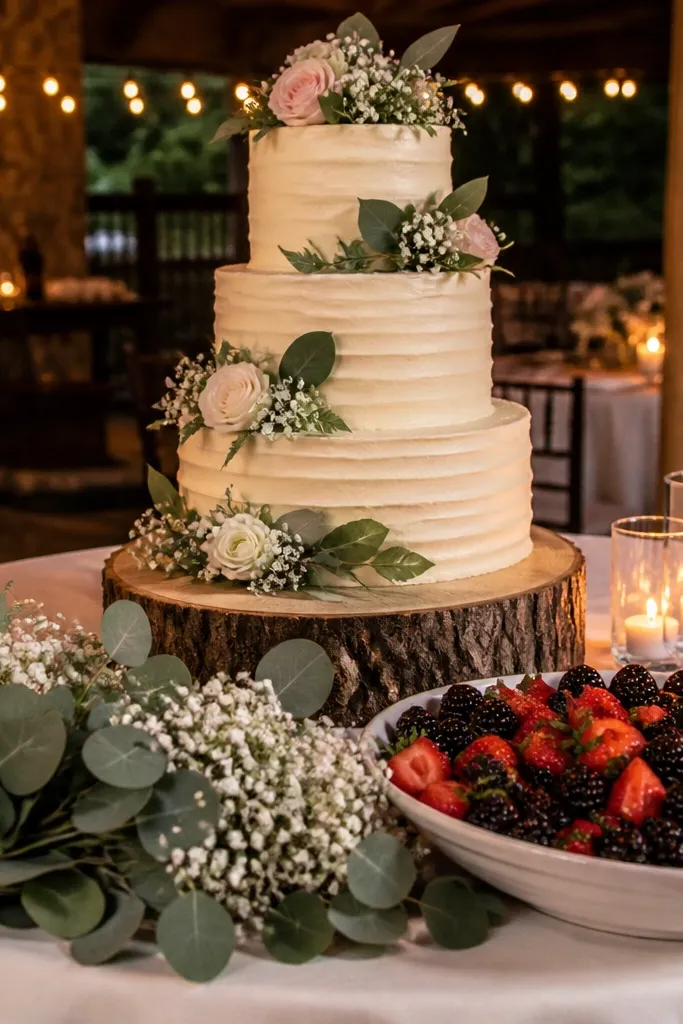
Cake cutting is a classic moment, but it gets boring when the frame is flat. Add a foreground frame using a small floral arrangement, fruit bowl, or even a ribbon-tied napkin so the cake looks like part of a styled scene. This gives you depth and makes the photo look like you planned a set. It’s ideal for receptions where the cake is near a wall or backdrop you can keep simple.
Start by moving one floral or fruit element closer to the camera position, keeping it in the corner of the frame. Then have the photographer focus on the cake knife or the couple’s hands while the foreground blooms stay soft. Finally, time it so the cutting happens under the same warm light source the room uses for table candles.
If your cake table has clutter, clear everything except cake, one floral piece, and one place setting.
Skip wide shots with busy tables — the cake detail gets lost.
12. After-Speeches Laughs at the Bar with One Color Backdrop
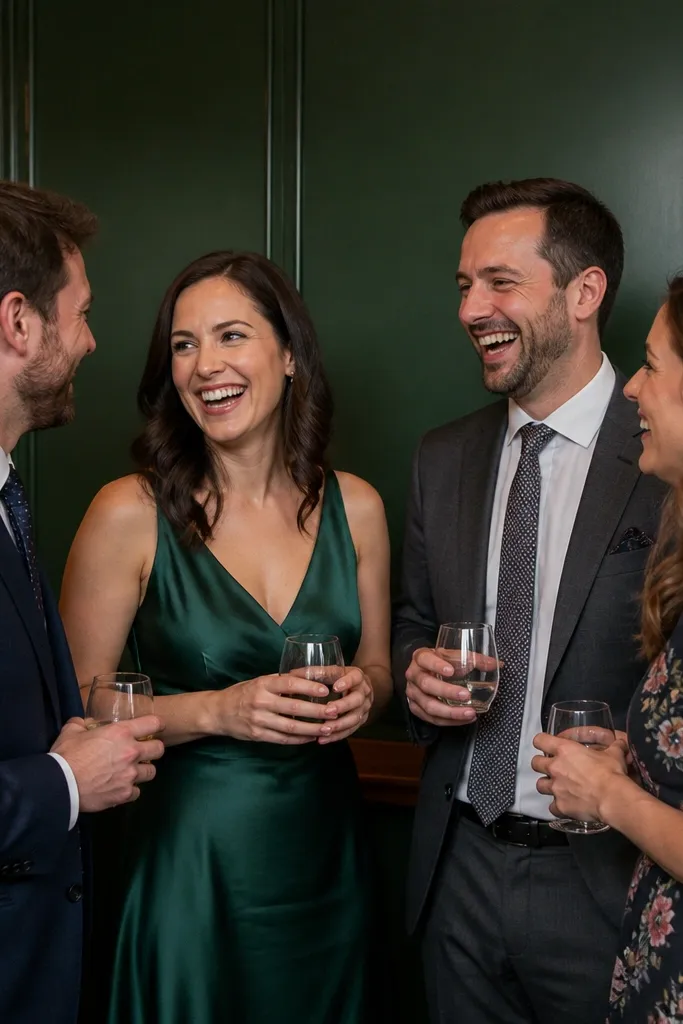
Candid laughter looks best when the background is consistent. Bars often have nice lighting, but the clutter can ruin photos unless you anchor the scene with one color wall or one clean section of décor. After speeches is perfect because people are relaxed and you catch real smiles without forced posing. This idea is about choosing a calm “photo patch” in a lively room.
Start by scouting the bar area and picking one spot where you can see a plain wall or a single color panel behind. Then position the couple side-by-side with drinks on the edge of the frame. Finally, have the photographer shoot at shoulder height and wait for one genuine laugh — one burst is enough.
Quick tipUse water glasses if the alcohol bar reflections look messy — they still catch light without glare.
Skip thisDon’t let the photographer include the whole bar — pick one patch and commit.
13. Hanging Paper Lanterns with Couple Standing Under One
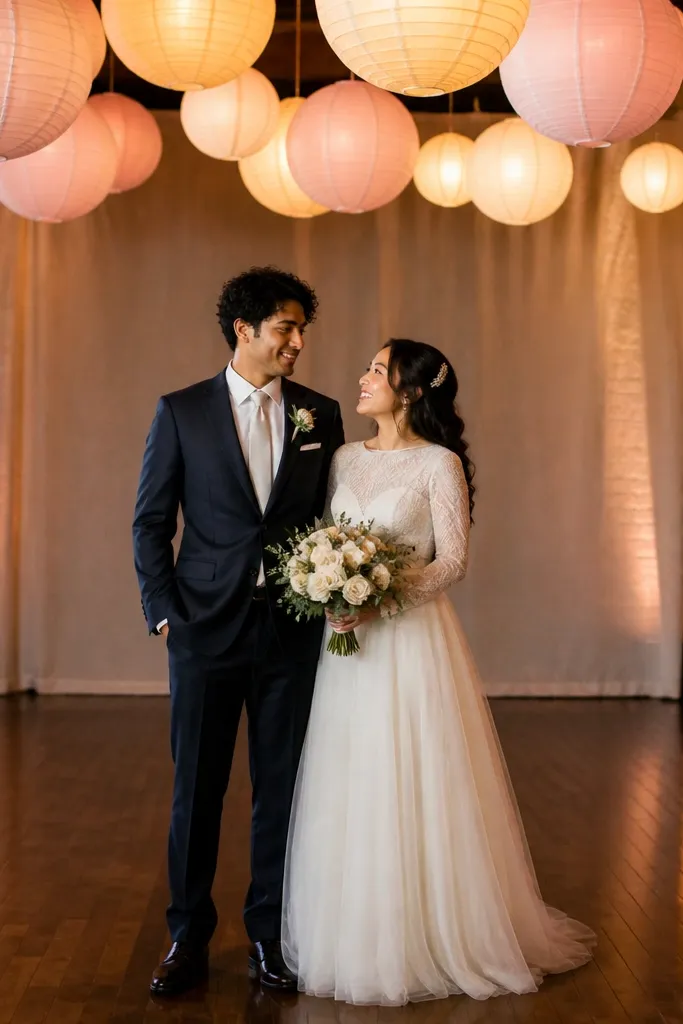
Paper lanterns make any reception feel intentional because they create soft, flattering light and a clear visual “ceiling.” Even if you’re not paying for a full lighting setup, you can often borrow or buy a few lanterns and hang them over a portrait spot. The look is cozy and dreamy, and it photographs beautifully because the lanterns create a repeating pattern in the background. This is strongest in rooms with higher ceilings.
Start by choosing one portrait area with enough headroom, then hang 3-5 lanterns in a line or cluster above where the couple will stand. Then ask the photographer to place the couple so one lantern sits near the top of the frame, not behind their heads. Finally, shoot right after sunset or when the room lighting is lowered so lanterns stay the brightest element.
Use warm white lanterns, not daylight — daylight looks flat on skin in evening venues.
Skip overcrowding the ceiling — too many lanterns turn the background into visual clutter.
14. Exit Portraits with a Single Floral Wall Panel
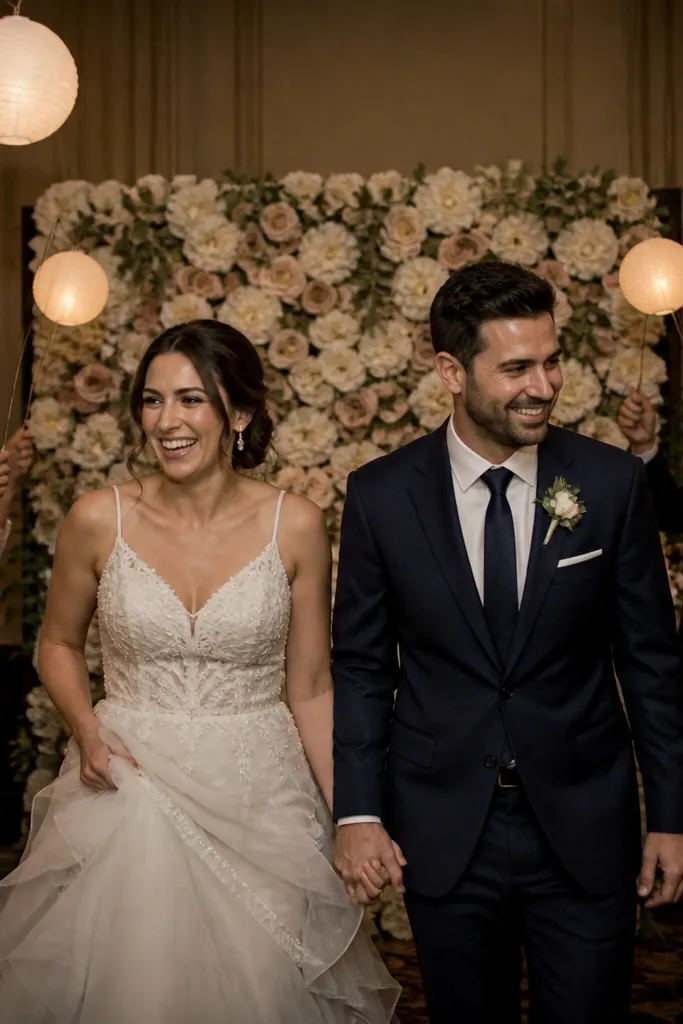
A floral wall panel gives you a magazine-style background without needing a full ceremony backdrop. For a budget version, you only need a section that frames the couple from waist-up and stays consistent across multiple shots. Exit portraits are also naturally cinematic because the couple is moving, guests are watching, and the light is usually softer. This is the easiest way to get a “dreamy celebration” look in one location.
Start by building or renting a single panel size around 4x6 feet that you can place at the exit or near the dance floor. Then take portraits as the couple walks out, keeping the camera position fixed so the panel stays aligned. Finally, do two angles: one straight-on and one at a slight side angle for depth from the florals.
Use zip ties and a board backing so the panel doesn’t sag when doors open and people pass.
Don’t use a panel with scattered pieces across the whole room — it won’t read as a clean background.
15. Shoes and Suit Detail with Dance Floor Lights
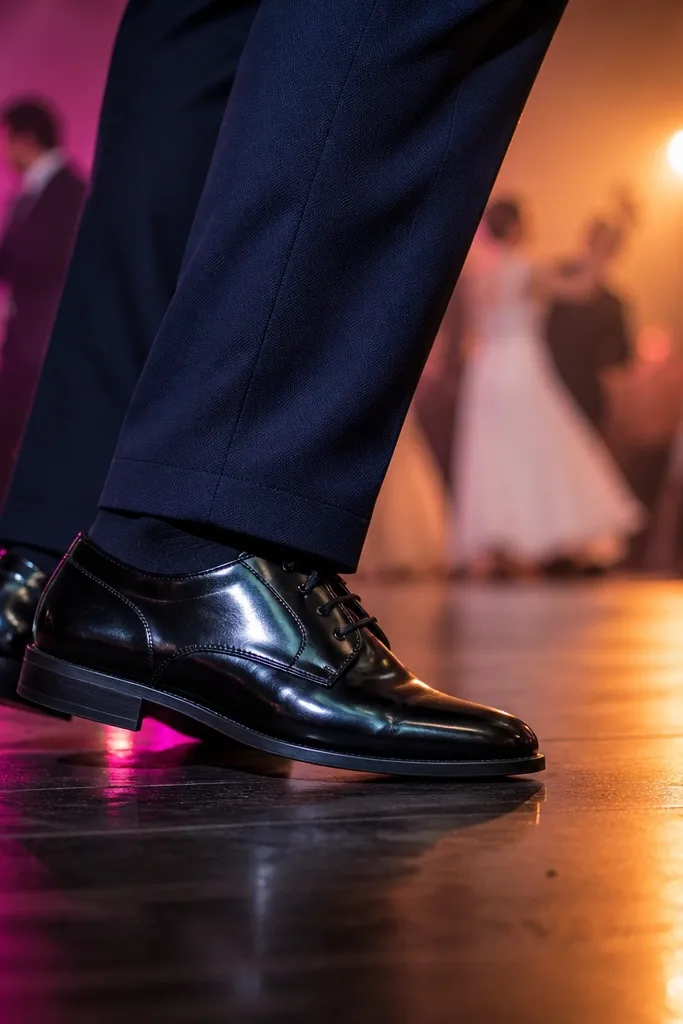
Close shoe and fabric shots look stylish because they’re tied to real movement and texture. Dance floors often have colored or warm floor lighting that adds mood, and shoes anchor the frame in the couple’s story. This idea works when you want something aesthetic but quick — 2 minutes is enough. It’s also a nice way to capture the groom’s outfit details without interrupting the party.
Start by clearing a small space near the dance floor edge so shoes sit on a clean patch of light. Then place the couple’s feet in a natural stance and photograph from low angle at ankle height. Finally, add one foreground detail like a ribbon edge or shirt cuff so the frame has layers.
Quick tipIf the dance floor is too bright, wait for a lighting change — one dimmer moment looks better than constant harsh light.
Skip thisSkip random clutter in the background — one trash can or cable shows up fast at low angles.
16. Wall of Photos or Polaroid-Style Cards with Couple Posing
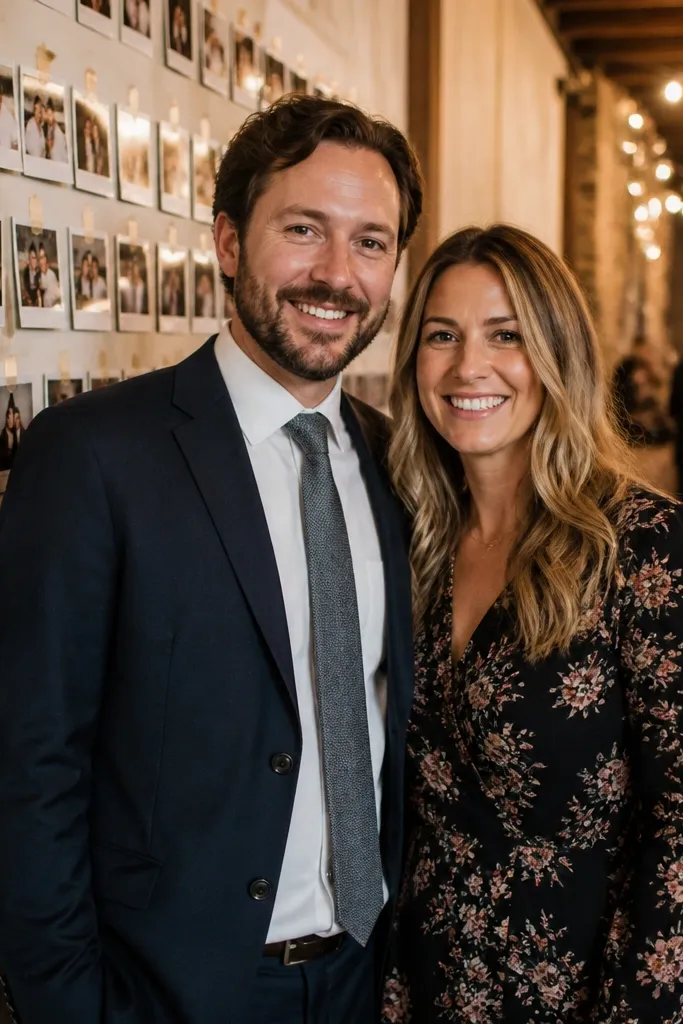
A photo wall gives you a ready-made background that looks curated, and it’s perfect for budget because you only need printed cards and tape. It also creates a playful, personal vibe that still photographs well. The key is to keep the couple positioned so the cards don’t clutter faces. This works best for receptions with a designated photo corner and enough space to step back.
Start by making sure the photo wall has one clean area at eye level for faces, even if the rest is busy. Then position the couple 3-6 feet away so the cards appear as a soft pattern behind them. Finally, shoot one portrait with the couple looking at the camera and one with them looking at each other for more emotion.
Use matte photo paper or matte card stock so tape reflections don’t flash in photos.
Don’t place the wall too close — it warps perspective and makes cards look messy.
17. Table Runner Color Pop with Couple Hands Holding a Napkin
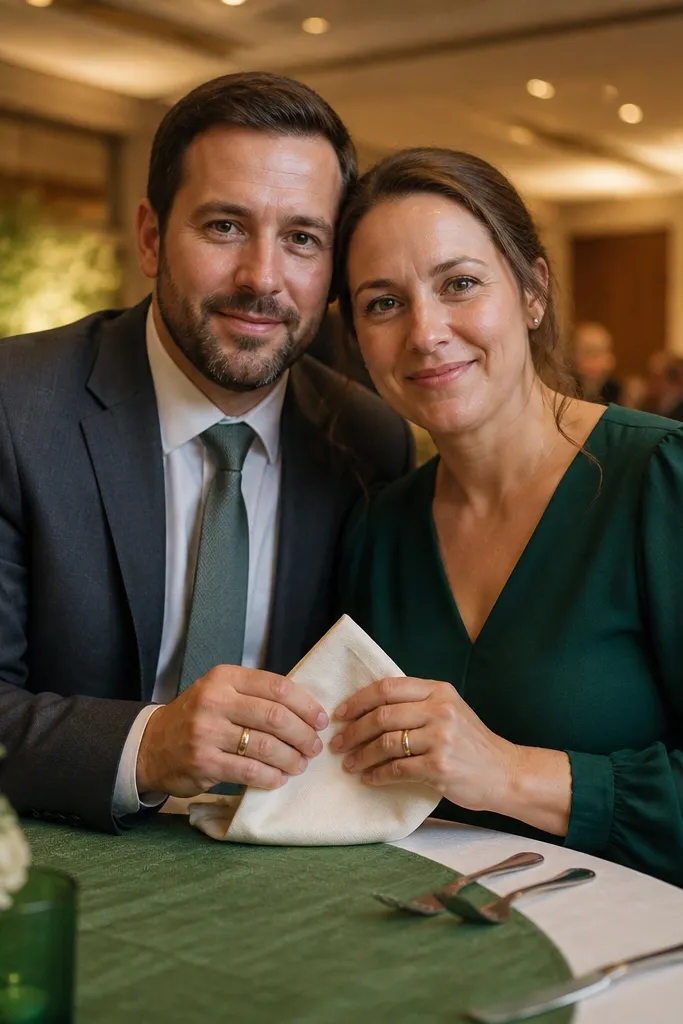
Color pop is what makes budget photos look intentional. If your reception linens are neutral, add one bold runner or cloth — even just one table used for portraits — and frame the couple’s hands around it. This makes the image look styled because the color works like a backdrop. It also gives you a simple portrait that fits inside any venue layout.
Start by picking one table runner color that matches your palette and placing it centered on the table. Then have the couple hold a napkin or ribbon over the runner so their hands create a natural shape. Finally, shoot from above at a slight angle for a clean, graphic look, then take a second frame at chest height.
Quick tipChoose a runner fabric that drapes — cotton-linen blends fold nicely and look expensive in photos.
Skip thisSkip shiny satin runners — they create glare and make the photo feel cheap.
18. Guest Conga Line Portrait with the Couple at the Front
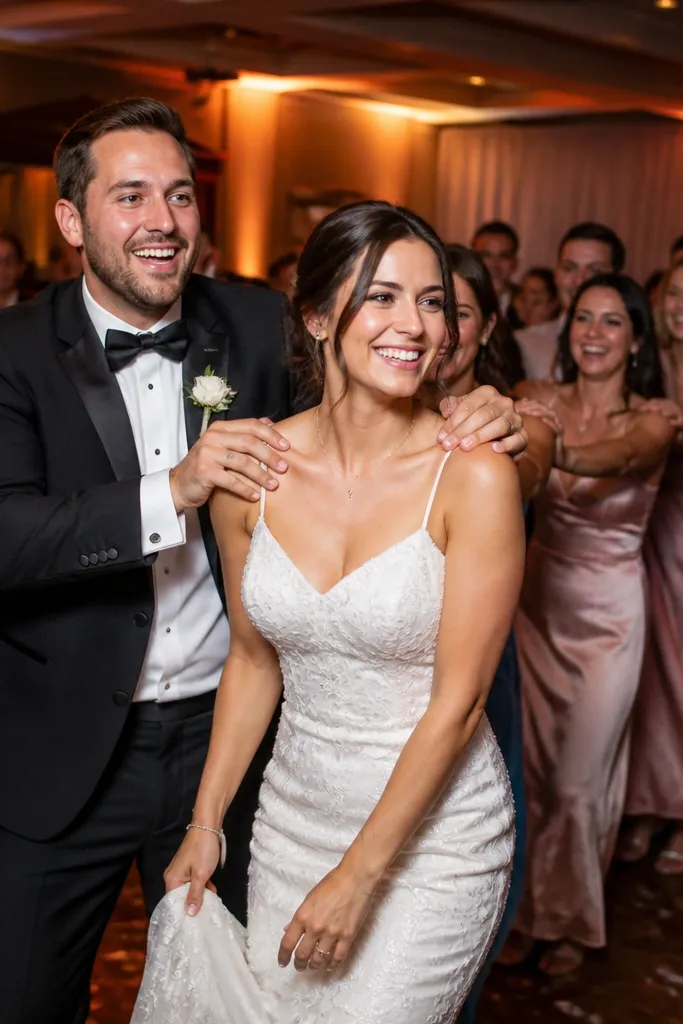
This gives you energy shots that still look composed. A conga line naturally creates a moving leading line, and if the couple is at the front, your eyes go there first. It’s photogenic because guests are smiling and mid-laugh, not stiff. Use it when the room has enough open space and you want a fun reception moment that also produces great photos for your album.
Start by choosing a hallway or open floor area with a clean wall behind, so the background stays consistent. Then have the DJ cue a song with a clear beat and ask the couple to lead at the front. Finally, the photographer should shoot from slightly behind and to one side so the line curves into the frame.
Pick a song that people know — it keeps the line tight and reduces wandering.
Don’t do this in a crowded seating area — you’ll get blocked faces and chopped bodies.
19. Ribbon-Wrapped Bouquet Toss Alternative with a Soft Net
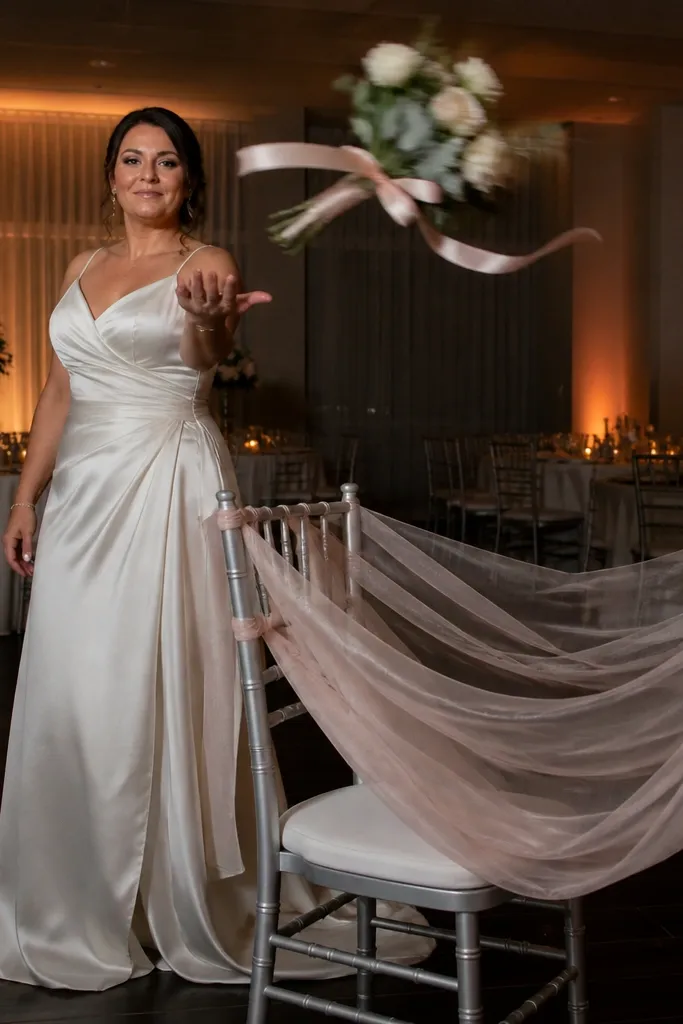
If a traditional toss feels chaotic, a suspended alternative looks just as dreamy but more controlled. A soft net or a draped fabric under the bouquet creates a gentle arc so you get a pretty shape in the frame. The visual payoff is motion plus softness, which reads romantic in wedding albums. This is ideal for indoor receptions where you can’t toss in a wide open space.
Start by setting up a simple draped net or sheer fabric area about 6 feet from a clean wall. Then wrap the bouquet with extra ribbon so movement shows clearly, and toss upward lightly or lift and release. Finally, shoot a burst at the highest point when the bouquet hangs above the fabric line.
Use a sheer fabric color that matches your palette — white looks airy, blush looks warm.
Skip heavy flower arrangements — they fall too fast and blur the top moment.
20. Table Candles + Bride's Dress Texture Close-Up
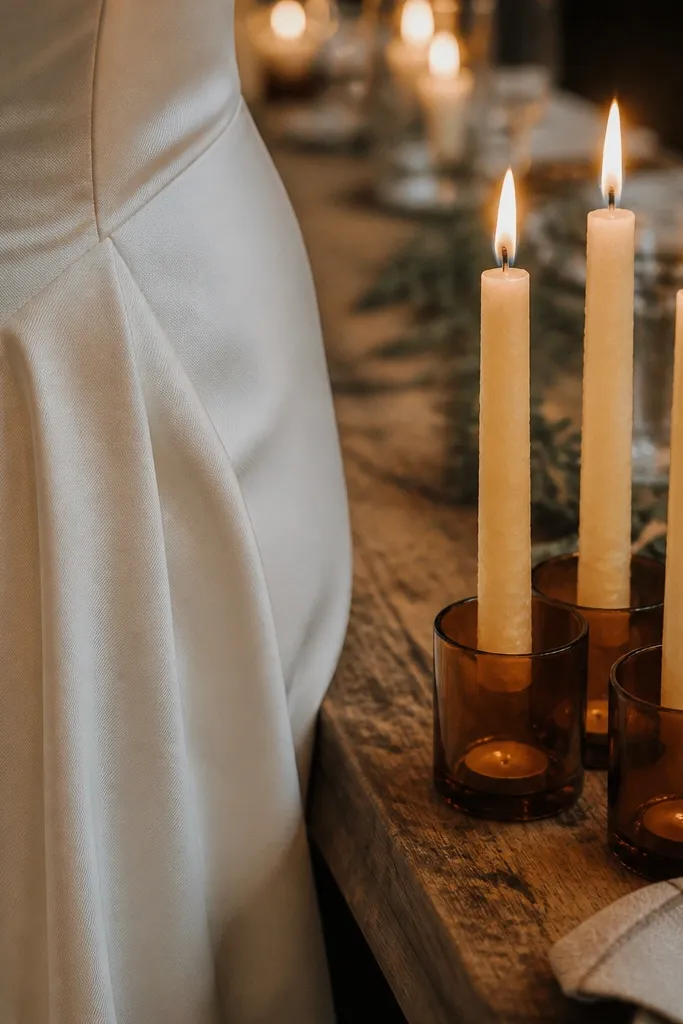
Dress texture close-ups are a cheat code for “dreamy” because fabric catches candle highlights and looks dimensional. Pair it with taper candles or small votives so the background becomes warm bokeh. This makes the photo feel romantic without needing a special location. It’s also one of the easiest ways to capture the bride’s look even if you can’t do long portrait sessions.
Start by placing the bride near a candle cluster so her dress can sit close to the light source. Then position the camera so the dress fabric fills the lower half of the frame and candles sit behind it. Finally, keep the focus on the dress texture while the candles blur — adjust until the fabric edges look crisp.
If your dress is satin, blot any static — it clings to lint and looks messy under warm lights.
Don’t shoot fabric too flat — angle the bride slightly so folds catch light.
21. Groom's Cufflinks and Bouquet Ribbon Flat Detail
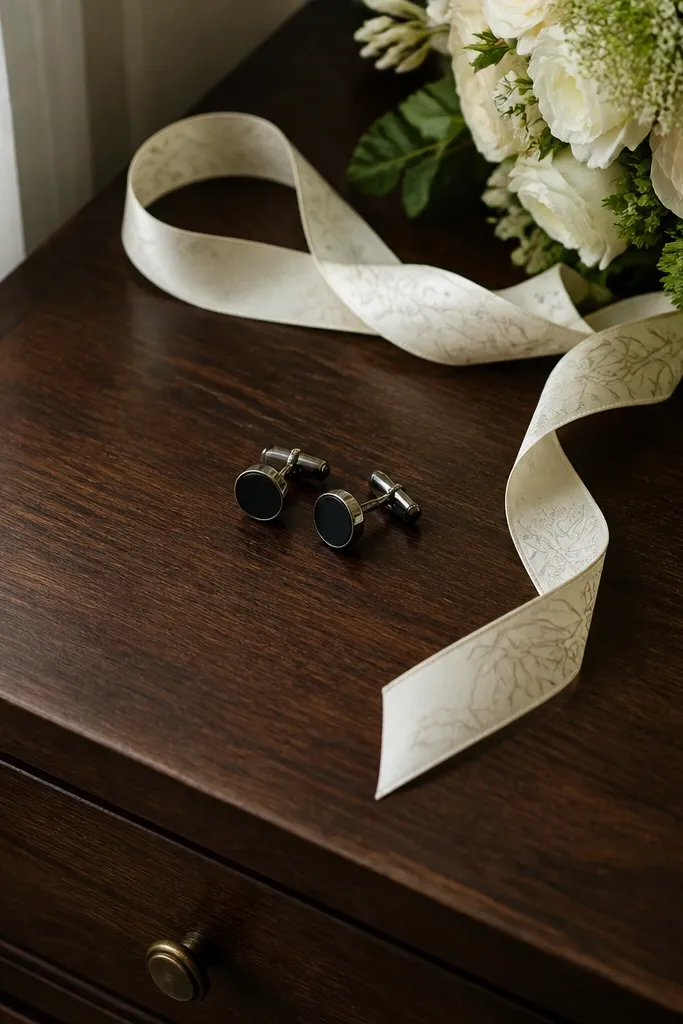
This is the kind of detail shot that makes a wedding album feel curated. Cufflinks look sharp against dark wood or a dark table surface, and a bouquet ribbon adds color and softness. It’s also a budget win because you’re using items you already have, not buying new props. The photo reads aesthetic because it’s graphic: one metallic element, one textile element, and a clean background.
Start by choosing a dark surface — the edge of a bar, a dark tablecloth, or a black panel — and wipe it clean. Then lay the bouquet ribbon in a curve and place the cufflinks so they catch a warm light reflection. Finally, shoot straight down for crisp metal detail, then one angled shot to show ribbon texture.
Use a small piece of tissue under the cufflinks if the surface is too glossy and they slide.
Don’t include extra jewelry — one metal detail is cleaner than a pile.
22. Seating Chart Corner Portrait with One Chair in Frame
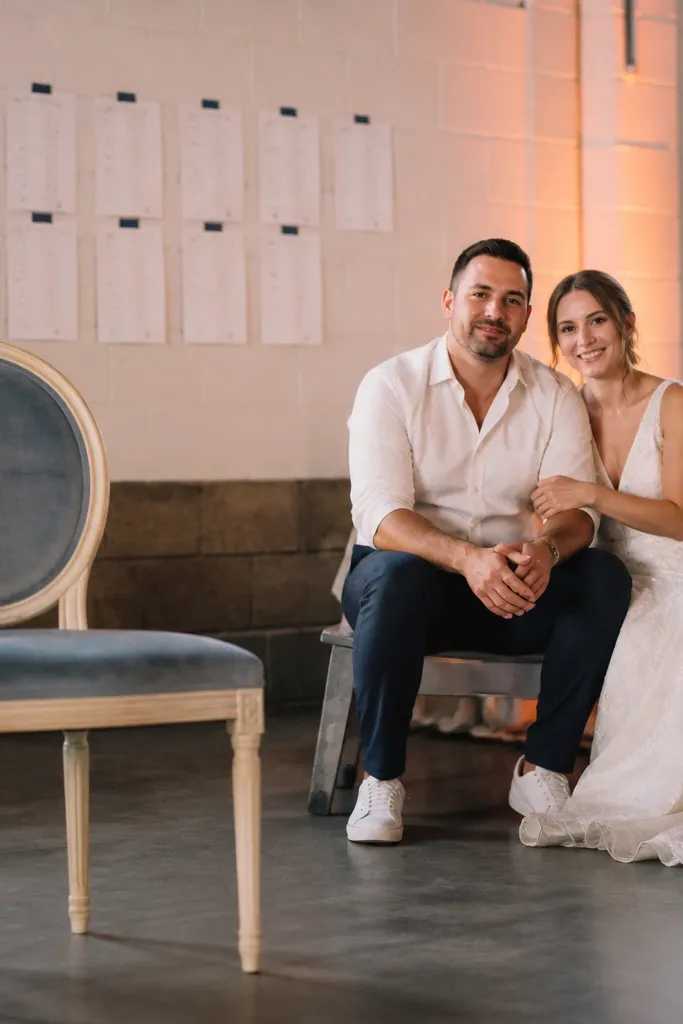
Seating chart corners can look messy in photos because they’re packed with names. The fix is to treat the chart as background texture and use one chair to anchor the couple. When the couple sits at the right distance, faces stay clear and the chart becomes a soft pattern. This idea is great for receptions where you want portraits that don’t require a special backdrop build.
Start by choosing the seating chart section with the cleanest typography and least clutter near eye level. Then place a single decorative chair in front of the chart and seat the couple so their shoulders cover the densest name areas. Finally, shoot at a slight side angle so the chart lines create rhythm behind them.
Quick tipPhotograph the seating chart before the room fills up — empty space makes the background read cleaner.
Skip thisSkip standing too close — it makes the seating chart text dominate and distract from faces.
23. Cake Table Monogram Candle Light Portrait
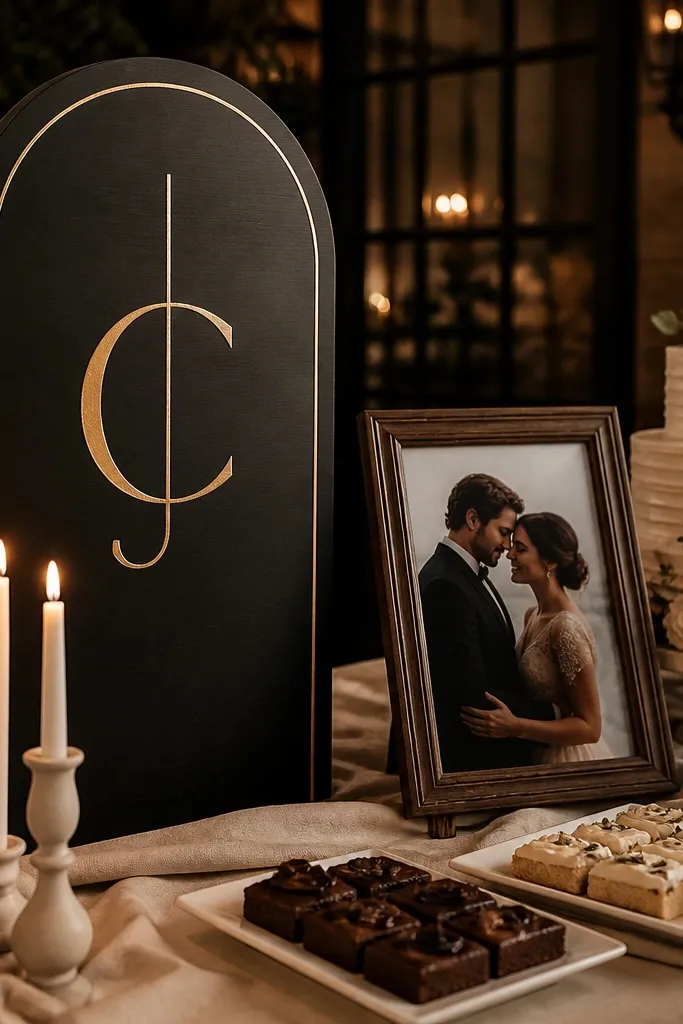
Monograms look expensive when they’re lit from the side or behind, and candle light gives you that warm glow without complicated equipment. Put a monogram sign near the cake table or dessert station and use it as your background shape. The couple portrait beside it feels cohesive because everything in the frame ties to the celebration theme. This works best when the dessert table has enough open space for the couple to stand without bumping chairs.
Start by positioning the monogram sign so it sits behind the couple at about shoulder height. Then place 3-5 taper candles or votives to the side of the sign so light wraps around edges. Finally, shoot during a quieter window between cake cutting and dessert lines, when people aren’t walking directly through the frame.
Turn off any harsh overhead light near the dessert table — candle glow looks better in photos than mixed lighting.
Don’t let the candles sit directly behind heads — it creates ugly halos.
24. Dance Floor Frame with Hanging Garlands and Slow Spin
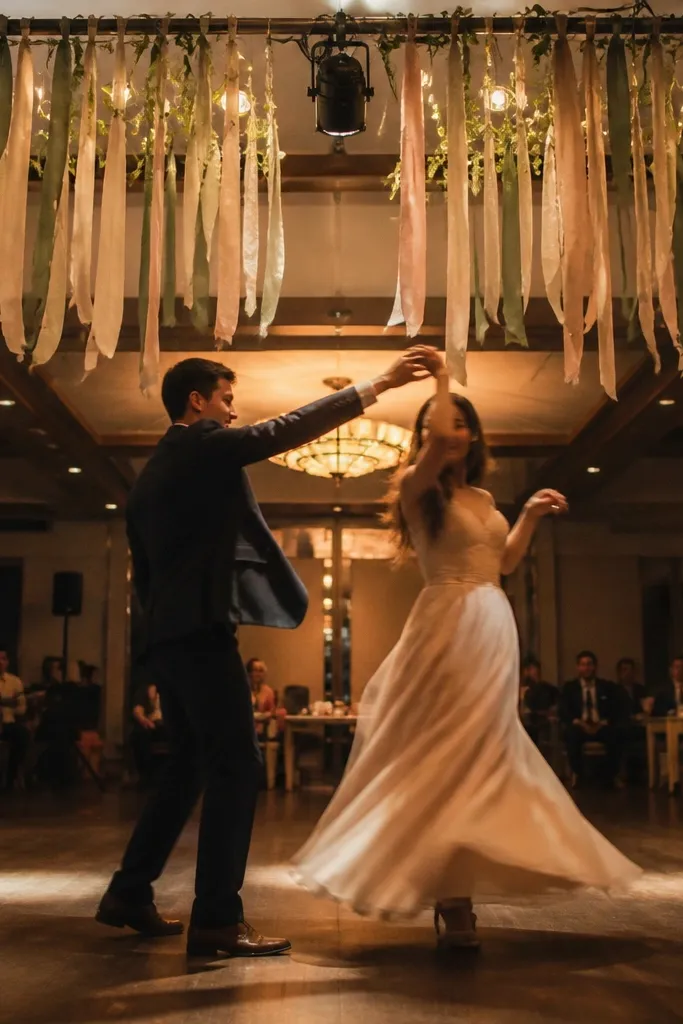
Hanging garlands create a top frame, and a slow spin gives you motion without looking chaotic. This is a strong “dreamy celebration” look because it feels like movement and romance at the same time. It also hides the fact that most reception spaces aren’t built for portraits — the garlands and spin become the design. Best for venues with a clear ceiling feature or even just a few hanging pieces over the dance area.
Start by setting your garlands or ribbons above the dance floor so they hang evenly and don’t twist. Then have the couple do one slow spin while the photographer shoots a burst from the front corner of the dance area. Finally, ask for one second pose right after the spin — that gives you one crisp portrait plus one motion frame.
Use a fabric that moves easily in photos, like chiffon ribbons or a light veil — heavy fabric spins blur too fast.
Don’t pick a spin spot with harsh overhead lights — it wipes out the garland glow.
25. Bouquet Ribbon Portrait with Guests Holding the Ends
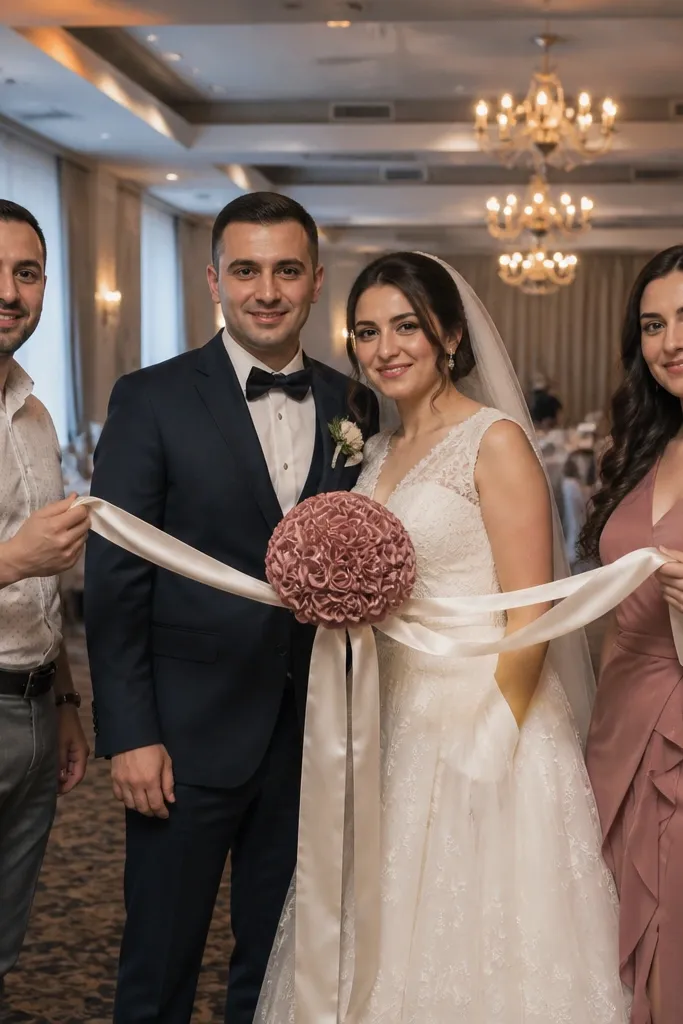
This looks styled because it creates a clean arc across the frame, even when the reception room is plain. Guests become part of the composition, so the couple isn’t alone against a blank wall. The bouquet ribbon adds color and softness, and the arc gives you depth and structure. Do it during a lull, like between dinner and speeches, so guests can pause without missing important moments.
Start by choosing 6-10 guests and assigning them to hold ribbon ends at chest height, forming a curve. Then place the couple near the center, with the bouquet ribbon connecting their hands to the line of guests. Finally, the photographer should shoot from slightly lower than eye level so the ribbon arc leads toward the couple.
Give guests ribbon lengths of about 4-6 feet so the arc looks smooth instead of bunched.
Skip too many guests — 10 makes a clean arc, 30 turns into a tangled mess.