1. One-Color Veil Flow on a Clean Wall
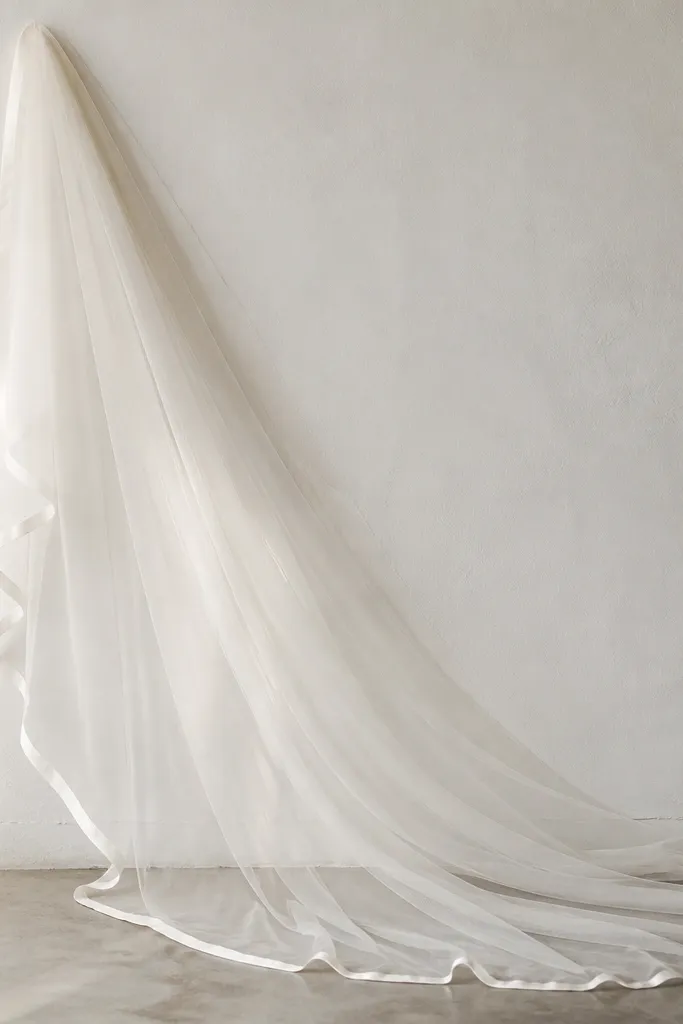
This setup looks editorial because the veil creates motion against a calm, solid background. You get a strong silhouette without needing a complex location, and the veil also adds a soft highlight that reads well in wedding album layouts. It’s perfect for quick and easy wedding photo ideas when you have limited time between ceremony and portraits. The look suits any season — spring and summer give airy fabric, while fall and winter make the veil feel dramatic and structured.
Start by picking a wall that’s light and even — off-white, cream, or soft gray — and keep the couple at least 6 feet away so there are no distracting shadows. Then have the person holding the veil step slightly sideways while another person gently lifts and releases the fabric so it ripples. Finally, shoot 20-30 frames from two angles: straight-on at chest height and a second angle from slightly lower, focused on the veil’s curve.
Quick tipIf the wall is too bright, shoot in shade or late afternoon so the veil stays detailed instead of blown out.
Skip thisAvoid busy murals or textured brick behind the veil — they steal attention from the fabric shape.
2. Bouquet Wrap Color Story on a Neutral Bench
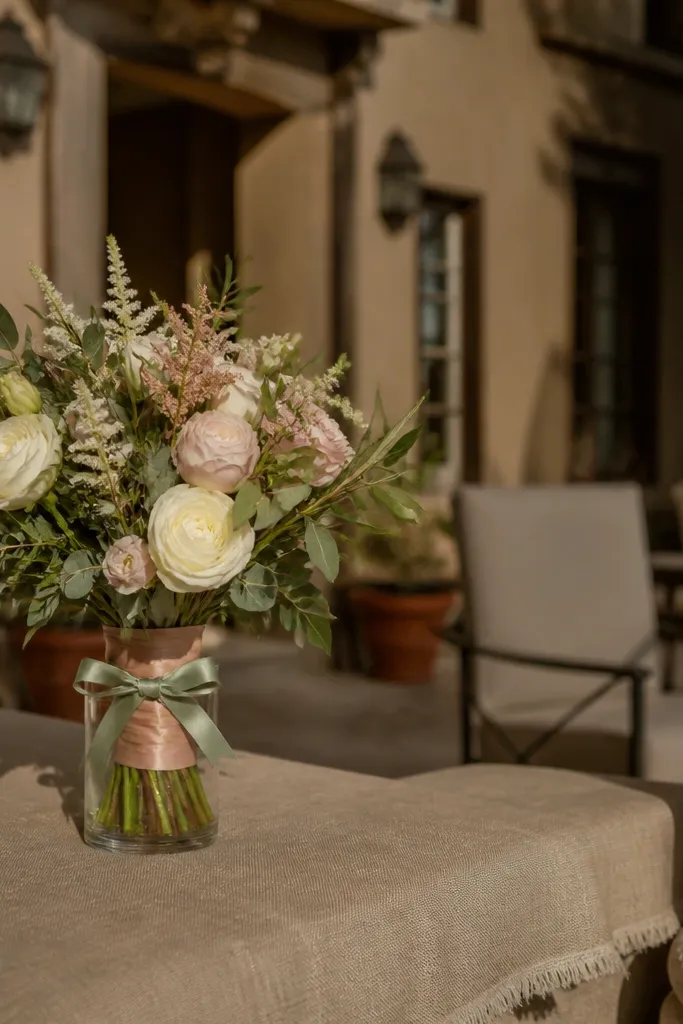
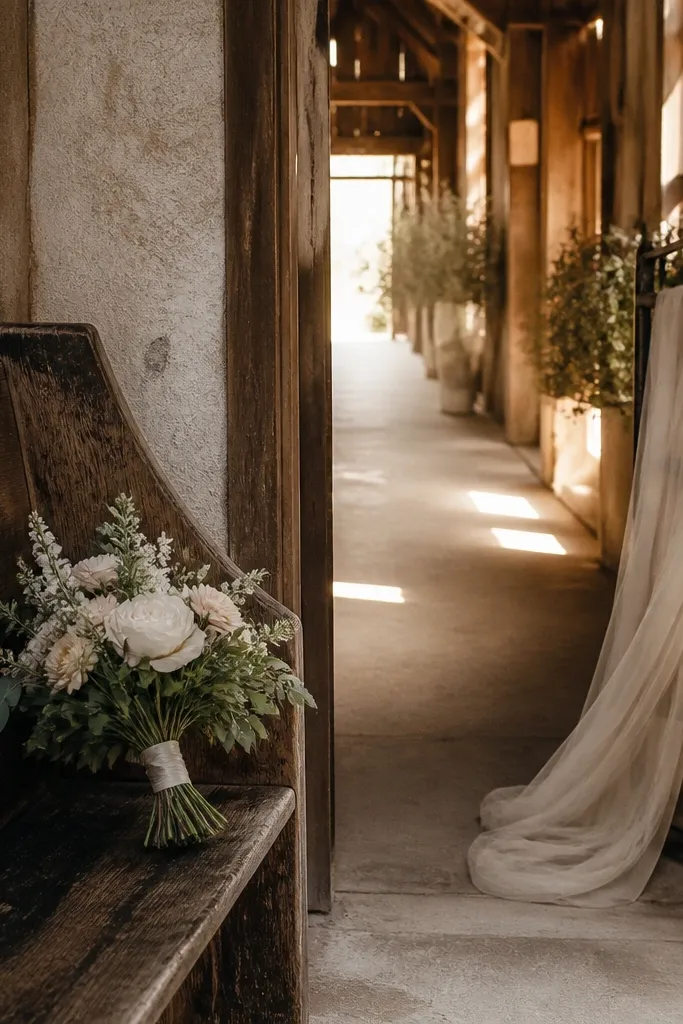
Color story shots make an album feel designed because they connect details to the couple’s palette. This one is fast because you’re not styling a whole table — you’re using the bouquet wrap, stems, and ribbon as the hero. A neutral bench or simple chair turns the bouquet into a clean graphic element, and it pairs beautifully with portraits on matching pages. It works best when the ribbon is visible — satin, organza, or even a thick twill — and when the background is quiet enough to let the bouquet colors lead.
Start by choosing a bench with a solid surface or simple slats and clear space around it. Then lay the bouquet so the ribbon tail drapes naturally over the edge, not bunched in the center, and add one small cue like a folded invitation card under the ribbon for scale. Finally, take three shots: ribbon close enough to show texture, a mid shot that includes the bench edge, and a top-down frame that shows the bow shape.
Quick tipBring a small lint roller or microfiber cloth; ribbon fibers show up in bright light.
Skip thisSkip patterned benches or cluttered planters — the bouquet wrap loses its “color block” effect.
3. Mirror-Edge Portraits in a Glass Entry
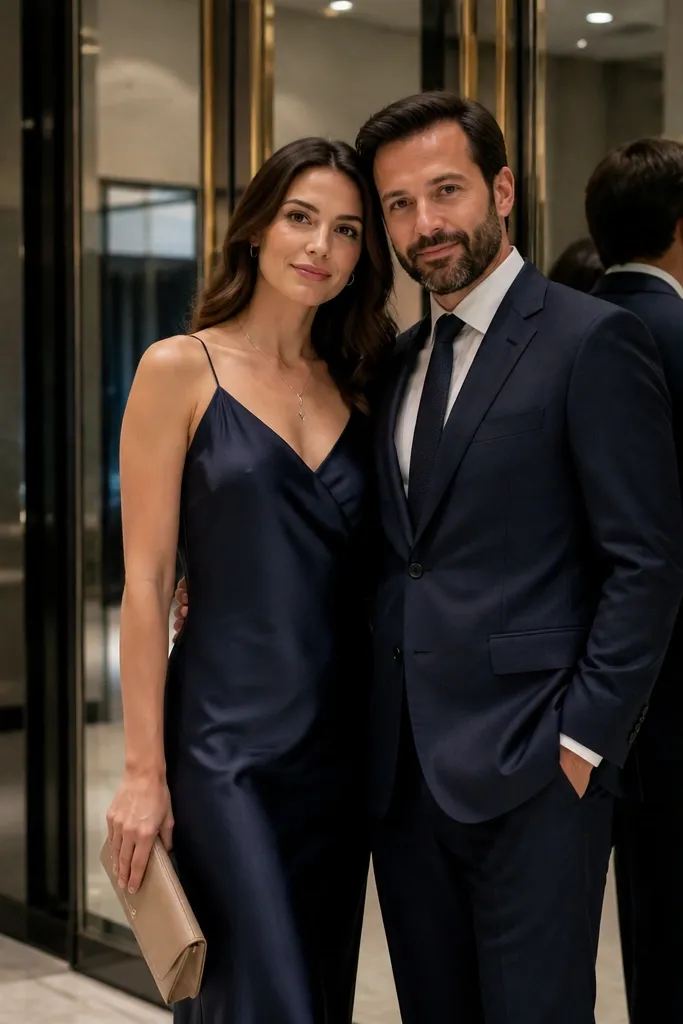
Glass entryways give you instant “designed” framing because reflections and light edges create depth without extra styling. You get a clean, modern look that feels intentional, and it’s quick because you can shoot multiple angles in the same spot. This is ideal for quick and easy wedding photo ideas at hotels, museums, or venues with covered lobbies. The best part is that the couple doesn’t have to move much — you’re using architecture to do the work.
Start by finding a glass door or window where the couple stands near the light edge, not in the dark interior. Then position the couple so one shoulder is closer to the glass, which creates a flattering reflection line and reduces flat-looking faces. Finally, shoot a sequence: one portrait where they look toward the camera, one where they look slightly off to the side, and one where the camera is lined up with the doorway frame for a symmetrical look.
Turn off any interior lights if they create ugly glare; daylight reflections look cleaner on wedding skin tones.
Don’t shoot with the couple directly under overhead fluorescents — the glass reflections turn faces gray.
4. Sun-Fan Couple Lean on a Courtyard Wall
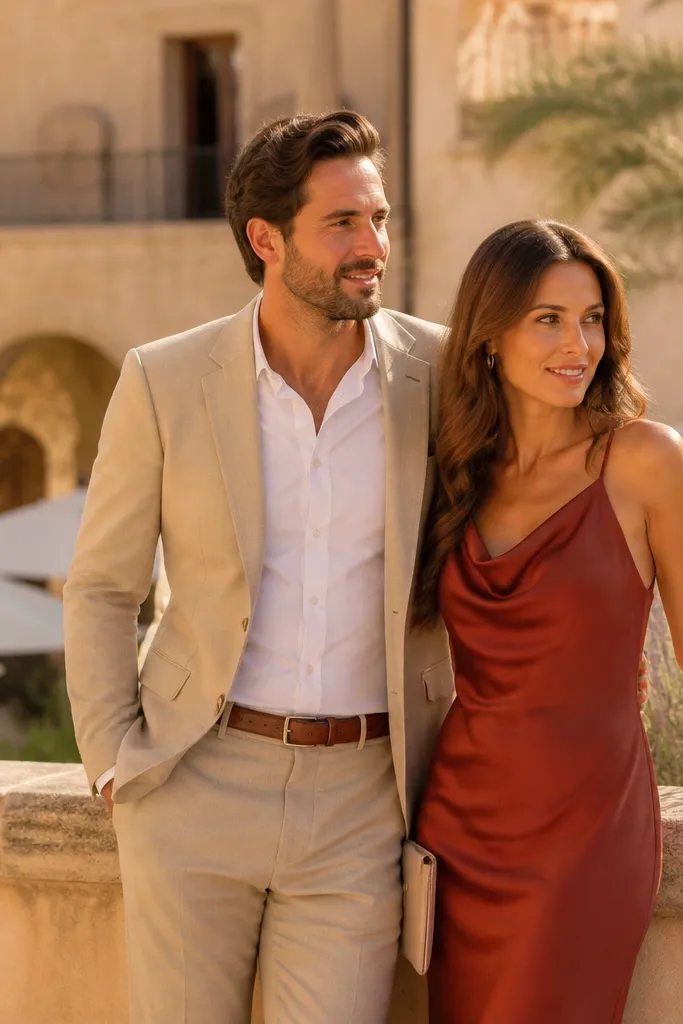
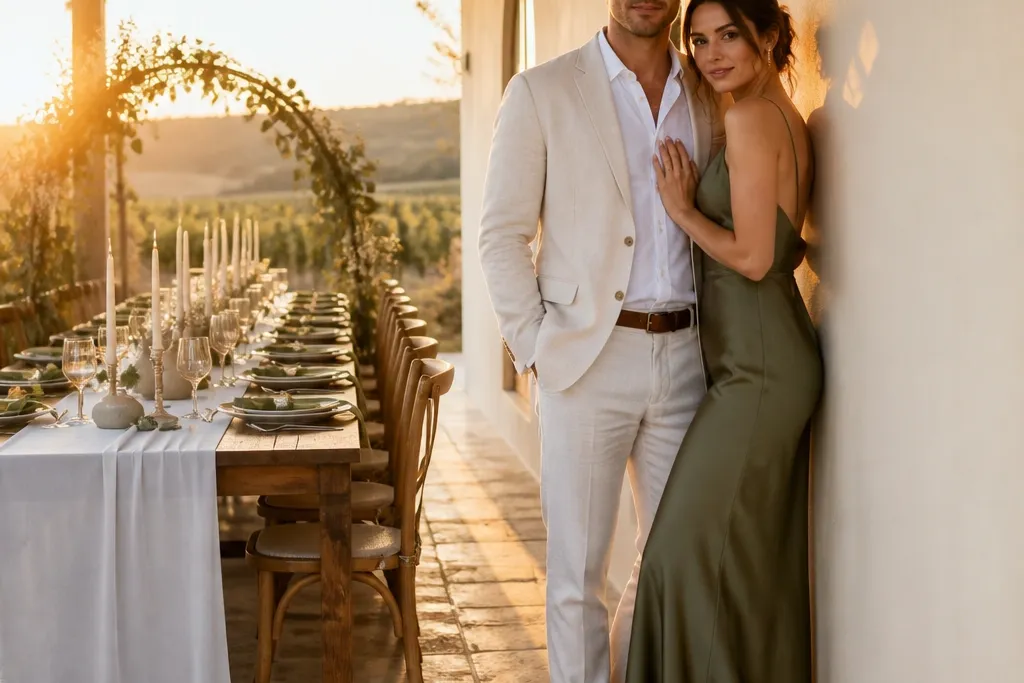
This one turns simple architecture into a flattering light pattern. The courtyard wall gives you a clean background, and the sunlight angle creates a soft gradient across the subjects, which looks great in both color and black-and-white. It’s a fast portrait setup because you’re working with one spot and one movement — the lean. It suits outdoor venues where you have a wall that catches late-day sun, and it’s especially good for quick edits that still look high-end.
Start by scouting for a wall that catches sun at your planned portrait time, ideally with a darker strip at the bottom for contrast. Then have the couple lean slightly — hips and shoulders at an angle — and keep hands visible: one on a waist, one lightly holding the other’s fingers. Finally, shoot 15-25 frames while they hold the lean, and switch only the gaze direction: toward each other, then toward the camera.
Quick tipAim for 30-45 minutes before sunset; you get warm light without the harsh midday glare.
Skip thisAvoid open shade under trees — the light flickers and turns the gradient into blotches.
5. First-Look Veil Lift with a Single Step Back
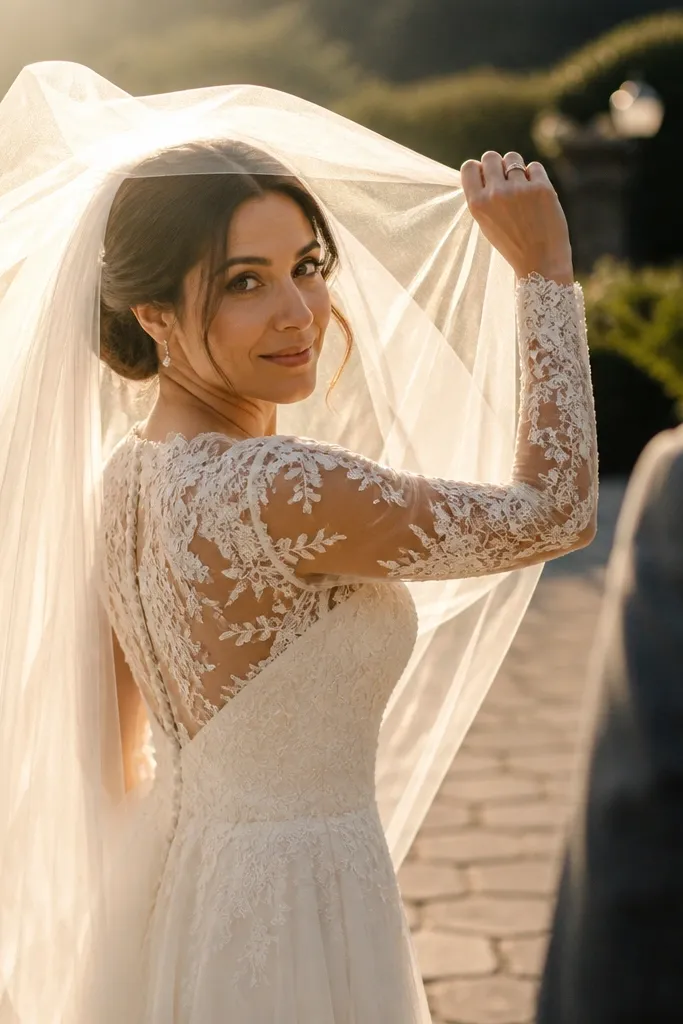
This idea gives you a dramatic reveal without needing a full “first look” moment timeline. The veil lift creates a clear visual action, and the step back keeps the composition from becoming cramped. It’s built for quick and easy wedding photo ideas because you can repeat it in 10-15 minutes, even if you’re not doing a full portrait session. The look is strongest when the veil is light enough to float and when the background is simple enough to keep focus on the hands and fabric.
Start by placing the couple 5-8 feet from a plain background and position the person lifting the veil slightly higher than the chin line. Then count to three: lift, pause for a half second, and step back so the veil spreads rather than collapses. Finally, shoot from two distances: one closer for the hands and veil texture, and one a few steps back to show the full silhouette and dress shape.
Quick tipAssign one person to manage the veil fabric; it keeps the action smooth and prevents tangles.
Skip thisSkip dark backgrounds — the veil turns into a gray blob unless the light is very strong.
6. Table Detail: Menus, Rings, and Wax Seals on One Surface
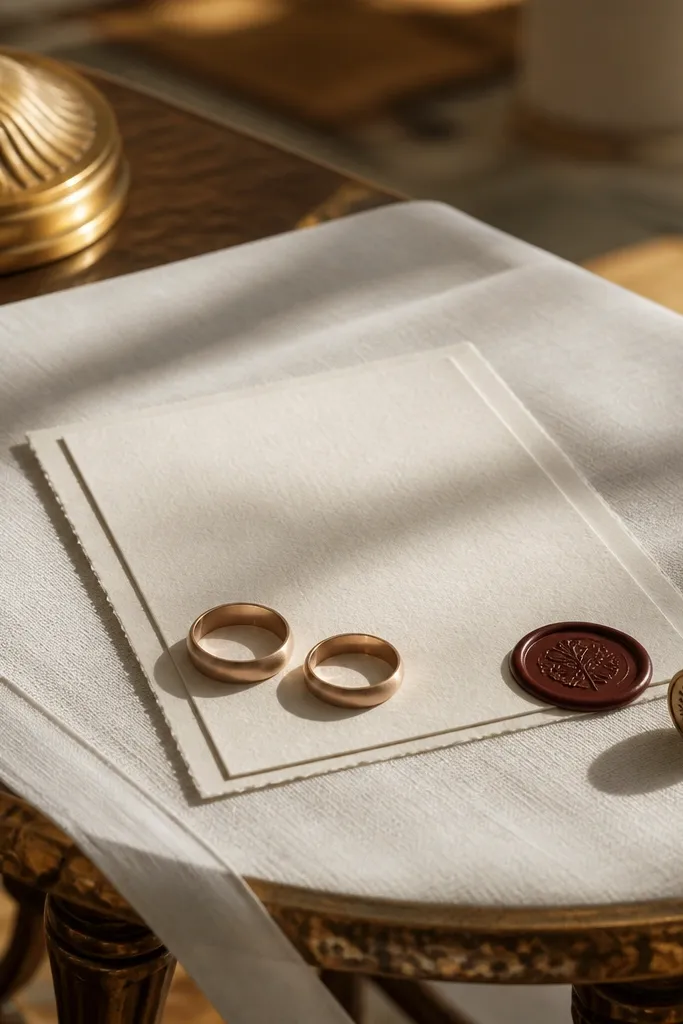
Album pages love detail clusters when they look like one designed still life. This setup uses three meaningful objects — menu card, rings, and one small wax seal or stamp — so the page tells a story without needing dozens of shots. It’s quick because you’re working on one table surface for the whole sequence. It also reads as “intentional” in photos because the arrangement has a clear structure and texture variety.
Start by clearing one table surface and choosing a wood tone or matte cloth background that matches the wedding colors. Then place the menu card flat, set the rings in a small arc with a single fold of ribbon or cloth, and add the wax seal near the edge so it catches light. Finally, photograph in three passes: overhead, 45-degree angle for depth, and a low angle that shows the table texture and ring shine.
Quick tipIf rings are reflective, wipe them with a lens cloth and shoot with the light coming from the side, not overhead.
Skip thisDon’t spread items randomly — messy spacing makes the shot look like a pile, not a keepsake.
7. Shoes + Fabric Texture Close-Up on the Steps
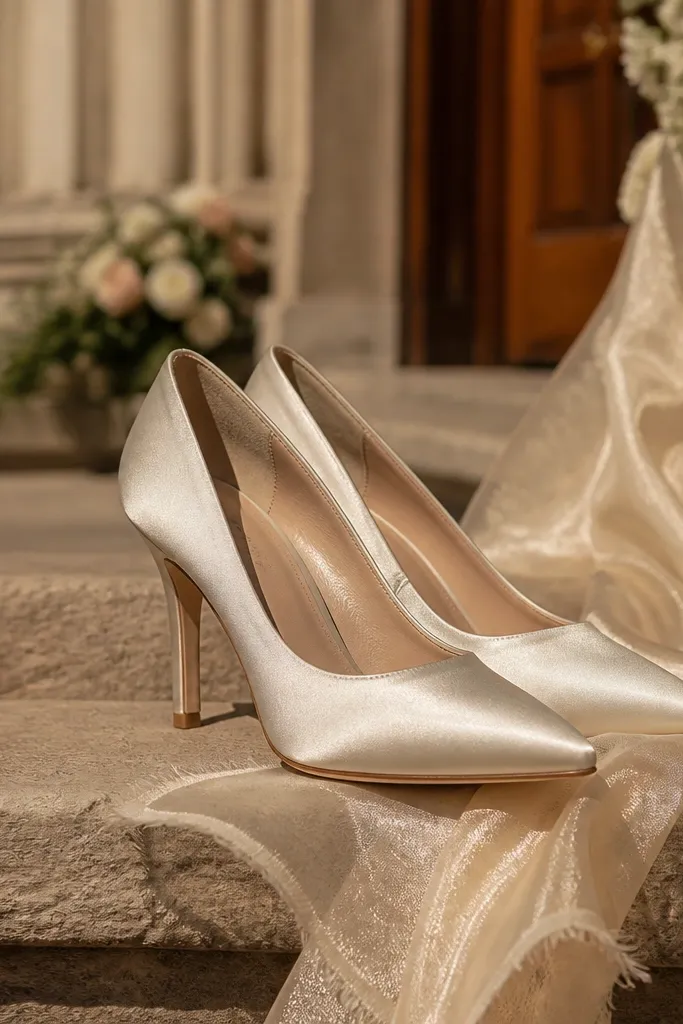
Shoes photos are the kind of detail people actually remember later, and they’re easy to set up because they don’t require a big location. Steps add texture and natural lines, so the image looks styled even with minimal effort. This is one of the best quick and easy wedding photo ideas for couples who want something graphic for the album spine or a full-page detail spread. It’s especially good when the shoes have clean lines — leather oxfords, satin flats, or classic heels — and when the outfit fabric catches light.
Start by finding a stair or step with a clean edge and no clutter, then ask the couple to stand naturally with weight on one foot. Then angle the camera low so the shoes and the hemline fabric are both visible, with the dress fabric forming a soft diagonal. Finally, shoot a short burst at three heights: near ground level, mid level, and slightly above for a “step line” framing.
Quick tipBring a small bottle of water or shoe wipe; dust on steps shows up fast in close-ups.
Skip thisAvoid stepping into uneven cracks — the frame looks accidental and the line breaks.
8. Backlit Bouquet with One Ribbon Tail
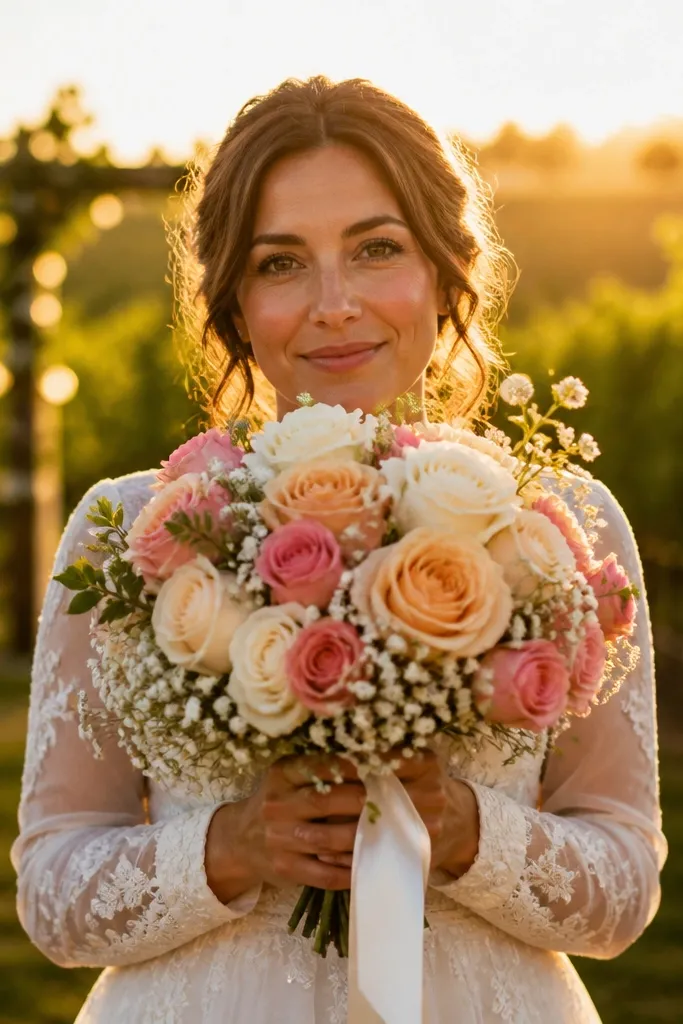
Backlighting makes flowers glow and turns a simple bouquet into a high-impact image. The ribbon tail adds a clean line that guides the eye, so the photo looks more composed than a random bouquet shot. This works great for quick and easy wedding photo ideas because you only need one direction of light and one background. It’s best on sunny days or near open doorways where you can control the light angle without chasing the sun across the property.
Start by placing the bouquet so the sun hits from behind at a slight angle, not directly through the lens. Then extend one ribbon tail across the frame with light tension, keeping it away from the flower mass so it reads as a separate shape. Finally, shoot three exposures: one for highlights, one for the bouquet detail, and one that leans into the glow for a softer album page.
If your lens flares, move the bouquet a few inches sideways instead of changing locations.
Skip dim indoor backlighting — it makes flowers look dull and turns ribbon into a gray blur.
9. Hand-Over-Heart Portrait with a Curtain Edge
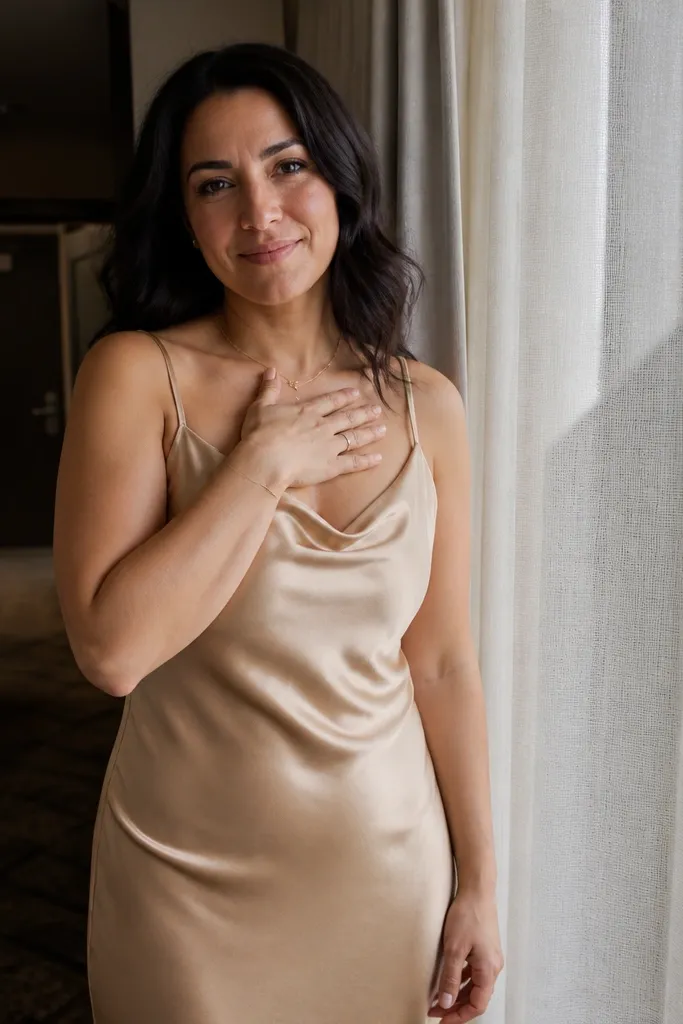
A curtain edge gives you a flattering gradient background that’s hard to replicate outside. The hand-over-heart pose is simple, romantic, and reads clearly even in a quick setup. This is a strong choice when the venue is bland but has fabric — hotel drapes, ceremony tents, or indoor partitions. It’s also a great “weather saver” because you can shoot indoors with consistent lighting and still get that soft, album-ready look.
Start by positioning the couple 1-2 feet from the curtain so the fabric falls behind them without tangling in the foreground. Then have them place one hand over the chest and keep the other hand relaxed at the side, with shoulders slightly angled toward the camera. Finally, shoot from waist height and then crop tighter by moving closer for a second version with more face and less background.
Use steam or a lint brush on the curtain edge if it looks wrinkled; the background texture matters in soft portraits.
Don’t stand too far from the curtain — the background turns patchy and looks like a random room.
10. Rings on a Linen Napkin with a Single Leaf
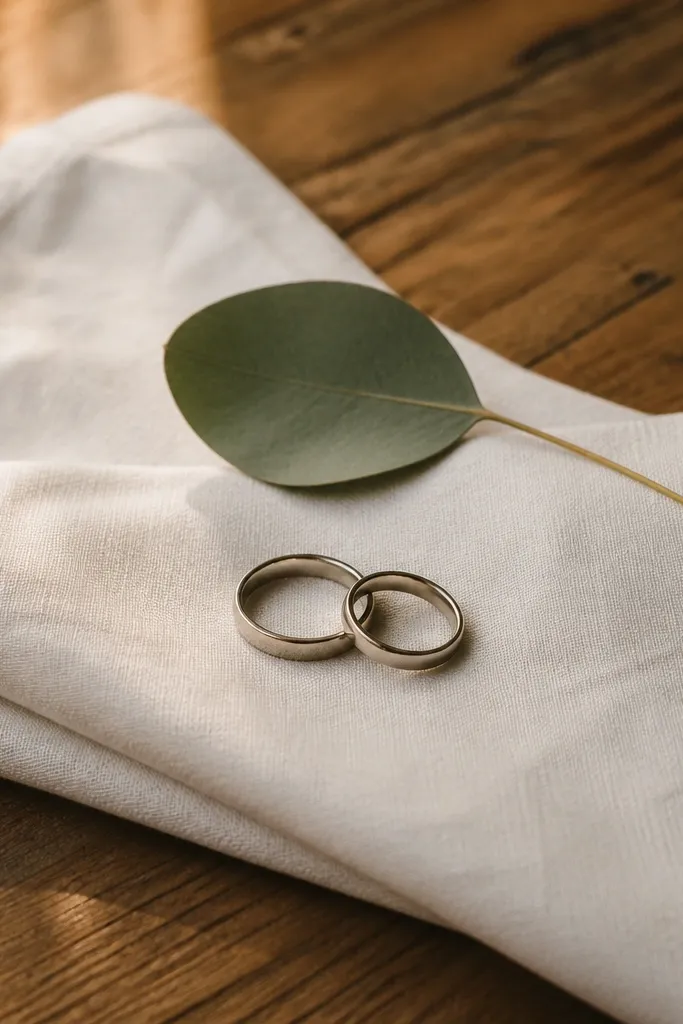
This is minimal, but it photographs like a styled editorial still life. Linen adds texture and warmth, and a single leaf gives a natural color accent without turning the shot into a messy nature collage. It’s one of the most reliable quick and easy wedding photo ideas because it works on almost any table and doesn’t require special props beyond what you can grab on-site. The result fits both rustic and modern weddings because linen sits in the middle — soft, neutral, and easy to match.
Start by folding a linen napkin or cloth into a shallow triangle so the rings sit on a flat surface. Then add one leaf — only one — and place it so its stem points toward the rings, creating a simple direction line. Finally, photograph from a 45-degree angle for depth and then do one overhead frame to show the napkin fold shape.
Quick tipPick a leaf with a smooth surface and no holes; damaged leaves look obvious in close-ups.
Skip thisSkip multiple leaves — more greenery makes the rings look like they’re floating in a garnish.
11. Bride-Groom Profile Walk Along a Hedge Line
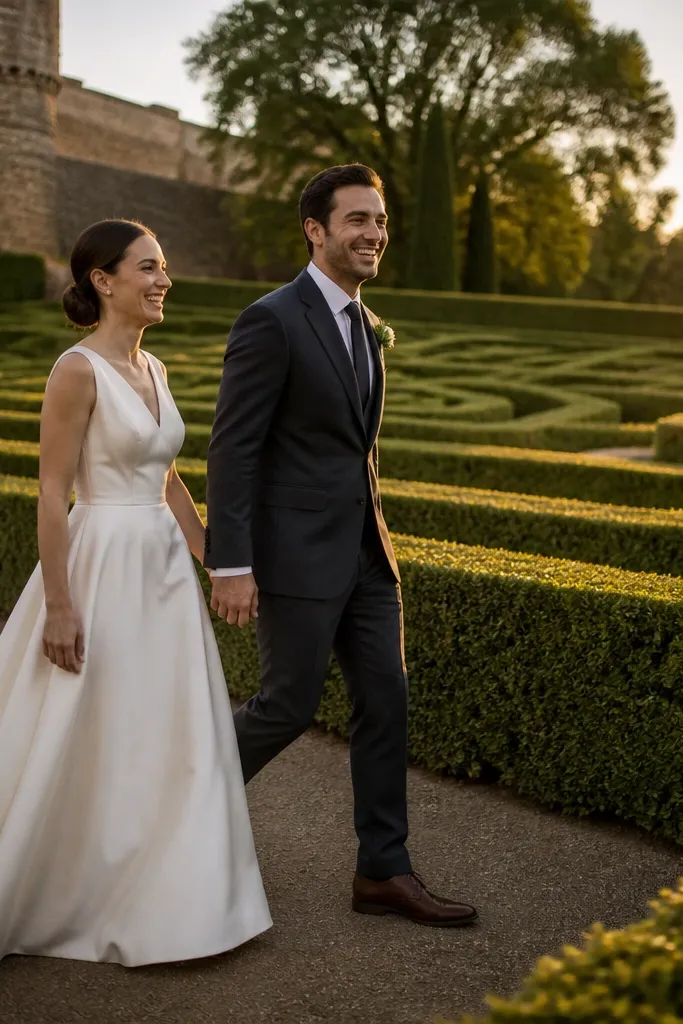
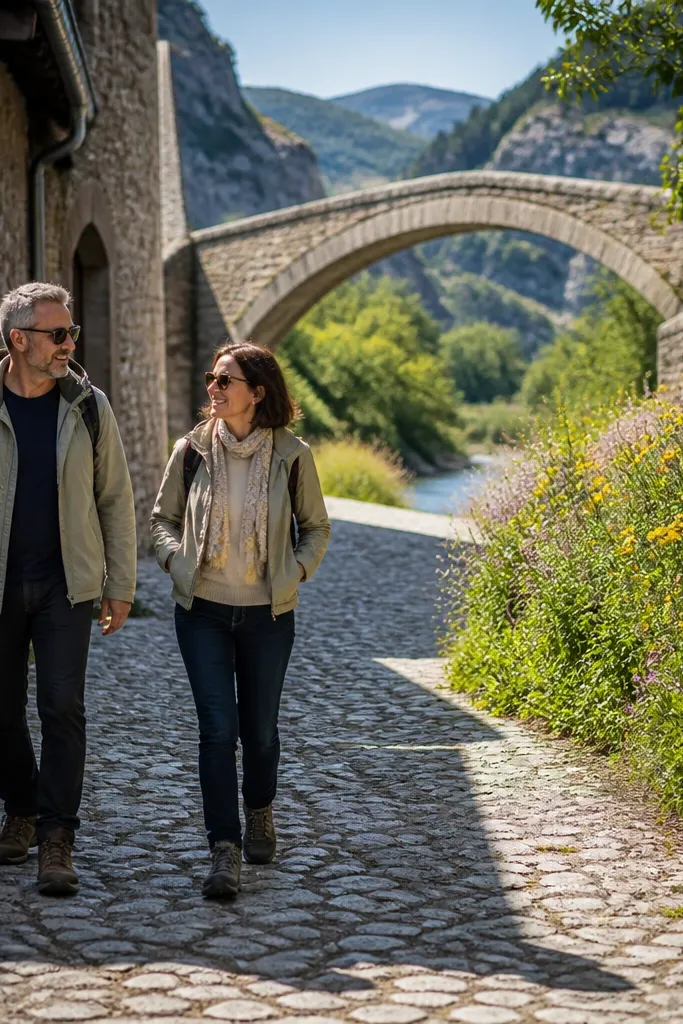
A hedge line creates a repeating pattern that looks polished in photos, and walking in profile is a simple way to get movement without awkward posing. This gives you a clean sense of direction for album spreads and it looks good even when the couple is laughing rather than “holding a smile.” It’s fast because you only need a straight path and you can shoot a short sequence as they walk. It works best with dense green hedges or tall planters that create separation from the background.
Start by finding a straight hedge stretch at least 12-15 feet long so you have room for a smooth walk. Then set the couple in profile, have them walk at an easy pace toward the camera’s side, and keep hands lightly linked or one hand on a waist. Finally, shoot continuously for 10-15 seconds, then repeat once from the opposite side of the path for a second angle variety.
Choose a time when the hedge is shaded but the couple isn’t — you want soft faces and clean green depth.
Don’t shoot from too high a viewpoint — it flattens the profile and makes the walk look stiff.
12. Champagne Pour in a Tight Frame with Bubbles

This is pure album energy. Tight framing on the pour lets you capture the action without needing a fancy backdrop, and the bubbles catch highlights that make the photo feel celebratory. It’s quick and easy because you can do it in one spot and get multiple keepsake options: the pour, the first sip, and the clink moment. This idea works best if you have a champagne tower, a small bar, or just a table with enough space for the glasses.
Start by placing two flutes on a dark or neutral cloth so reflections don’t blow out the highlights. Then pour slowly and keep the camera close enough that the bubbles fill part of the frame — you want motion, not a wide scene. Finally, shoot three moments: the stream mid-pour, the first bubble splash at the rim, and one clink frame with hands touching the glass stems.
Wipe water droplets from the outside of the glasses; they sparkle in a bad way in close-up.
Skip bright patterned tablecloths — they turn the background into visual noise.
13. Invitation Card Fan Backdrop for Couple Portraits
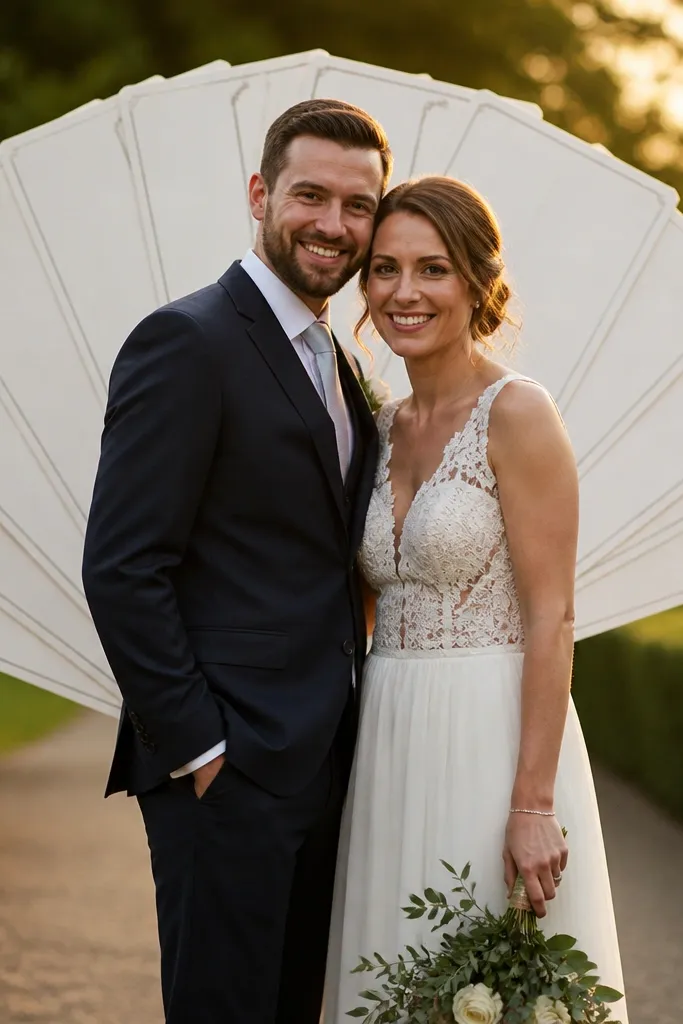
This turns paper you already have into a bold, graphic backdrop. The fan shape makes it feel intentional and helps the couple separate from the background, especially in outdoor spaces with boring walls or grass. It’s one of the best quick and easy wedding photo ideas because it’s lightweight, reusable, and quick to set up for a short portrait burst. It also gives you a built-in color palette since invitation fonts and paper tone match the wedding branding.
Start by laying out 10-20 invitation cards and trimming or folding them so they fan evenly without covering faces. Then have the couple stand close to a plain background and hold the fan behind their shoulders, with the center card aligned near head height. Finally, shoot from chest height and then repeat with the fan slightly lower so you get a second look for the album.
Quick tipUse matte cards if you can; glossy paper reflects faces and makes the text unreadable in photos.
Skip thisAvoid crooked fan angles — uneven spacing makes the image look like a last-minute prop.
14. Wedding Party Silhouette Between Two Doors
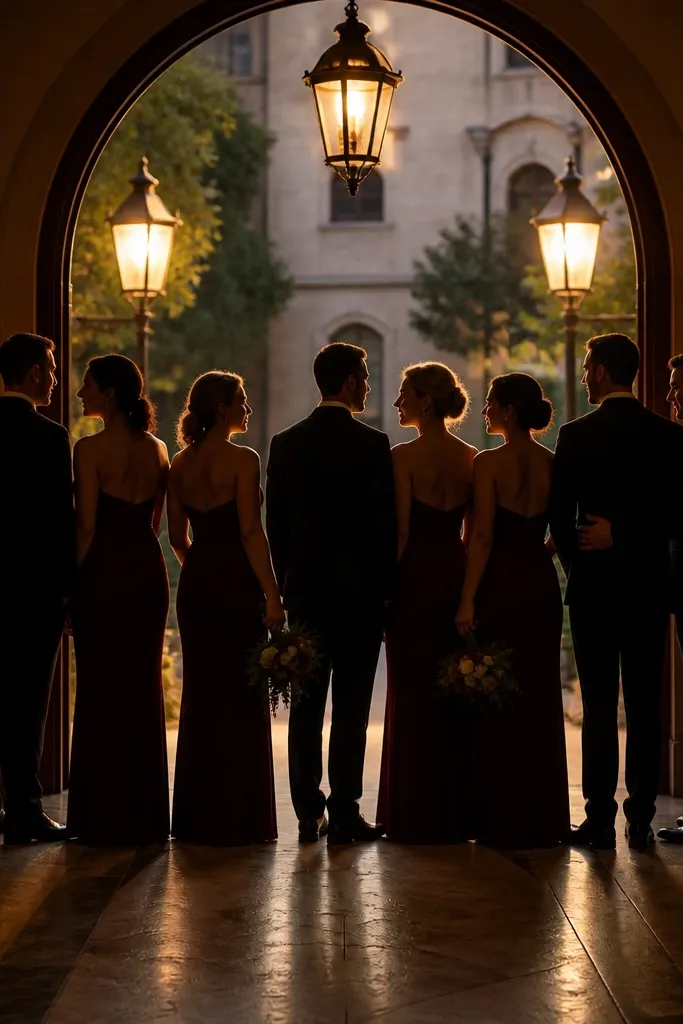
Doorways create instant composition. With backlight, you get clean silhouettes that look dramatic and cohesive, and you can include the full wedding party without complex posing. This idea is great for quick and easy wedding photo ideas because you can gather people fast and shoot a sequence of silhouettes as they adjust their stance. It also works for indoor venues where outdoor light is limited — you just need one strong light source behind the group.
Start by choosing two doorways or one doorway with a bright exterior behind it, and position the group so they face the light. Then ask everyone to stand shoulder to shoulder but leave a little spacing between the couple and the first row — it keeps the faces from blending. Finally, shoot two variations: one with everyone looking forward and one with the couple turning slightly toward each other for a romantic center point.
Quick tipIf faces are too dark, add a small bounce light from the side using a white poster board held just out of frame.
Skip thisDon’t use this in front of clutter — silhouettes make background objects look like floating shapes.
15. Rainy Day Umbrella Line-Up with Color Pops
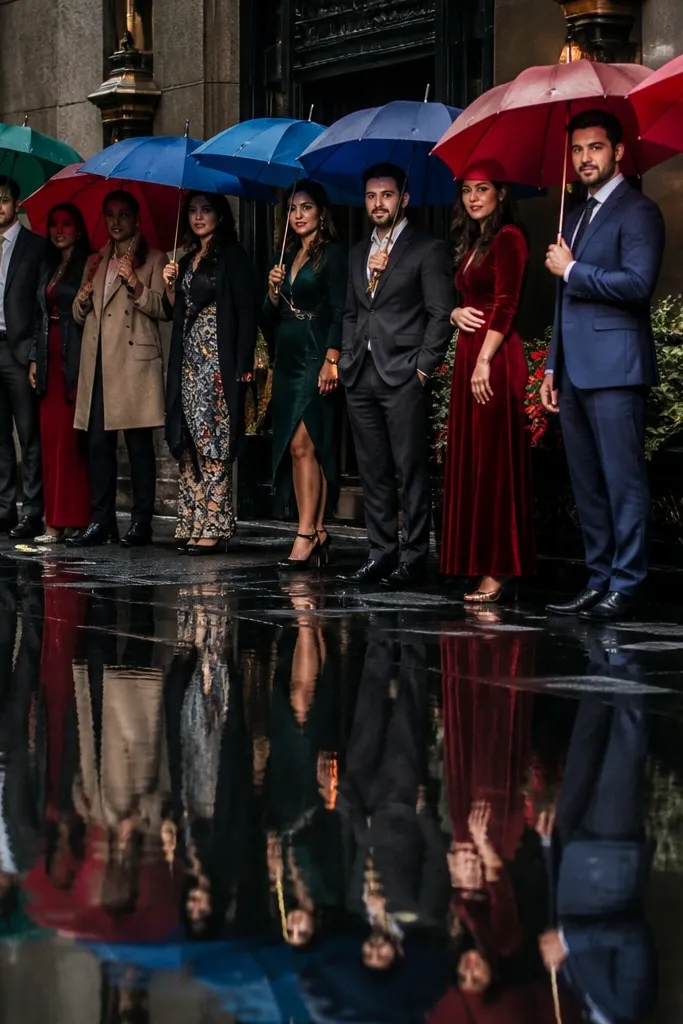
Rain becomes an aesthetic if you plan for it. Umbrellas create a strong shape, and the wet ground adds reflections that make the whole frame look cinematic. This is one of the most reliable quick and easy wedding photo ideas for bad weather because you don’t need to find perfect light — the environment does. The key is color coordination: choose umbrellas that match the wedding palette or add one accent color so the album pages feel intentional.
Start by bringing umbrellas that match your palette, or at least have a consistent base color so the group photos don’t look chaotic. Then position the couple under the umbrella and have them walk slowly so water trails and reflections show up naturally. Finally, shoot a sequence at two distances: a tighter frame for umbrella shape and a wider frame that includes wet pavement reflections and nearby architecture.
Quick tipDry your hands and phone lens quickly; smudges on rainy days ruin sharpness more than you’d think.
Skip thisAvoid completely clear “see-through” umbrellas — they blend into the background and disappear in photos.