1. Two-Row Wedding Party Height Ladder
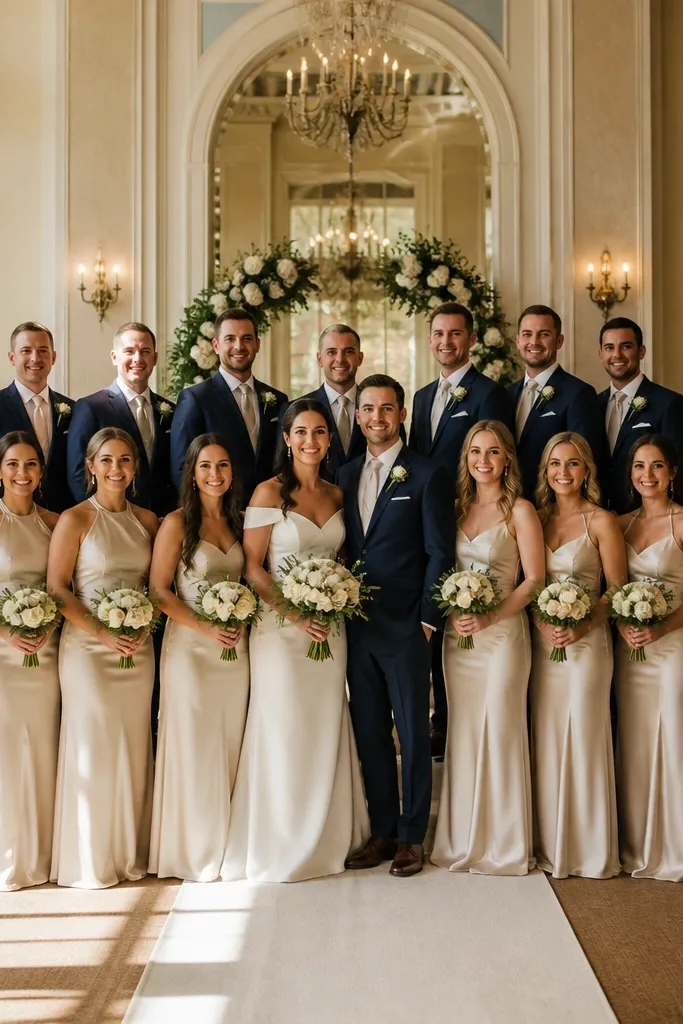
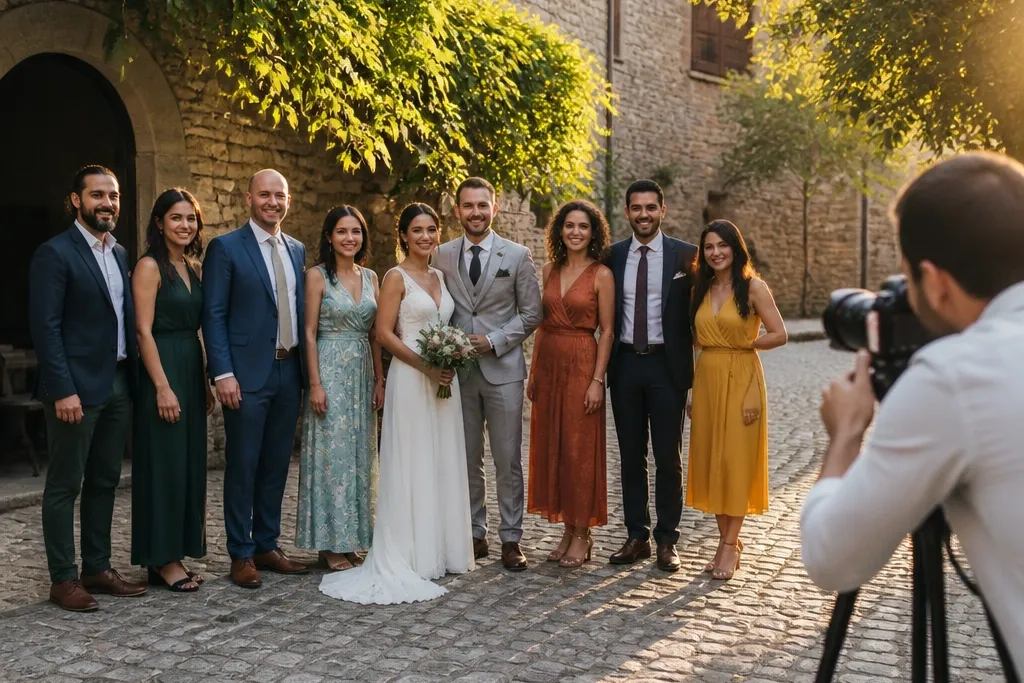
This is the group photo idea I recommend when you have a wedding party with very different heights. The two-row layout keeps faces visible and stops the classic problem where shorter people get hidden in front. It also gives the couple a clean focal point because everyone’s shoulders angle toward them. Use it indoors or outdoors as long as you can keep spacing between bodies; the layout is forgiving and easy to direct quickly.
Start by building a height ladder: tallest people go in the back row, shortest in the front row, and keep everyone facing the couple. Then have the photographer mark a simple line on the ground so feet placement stays consistent, and direct guests to “step together, then freeze.” Finally, do two variations: one with arms relaxed at sides and one with light hand placement toward the couple for better symmetry. If the group is big, split into two groups and shoot front-row/second-row versions back-to-back.
Bring a small roll of painter’s tape and mark two ground lines; it saves minutes and prevents drifting.
Avoid piling everyone into one row — it hides faces and creates uneven spacing.
2. Family Rings: Couple With Each Parent Pair
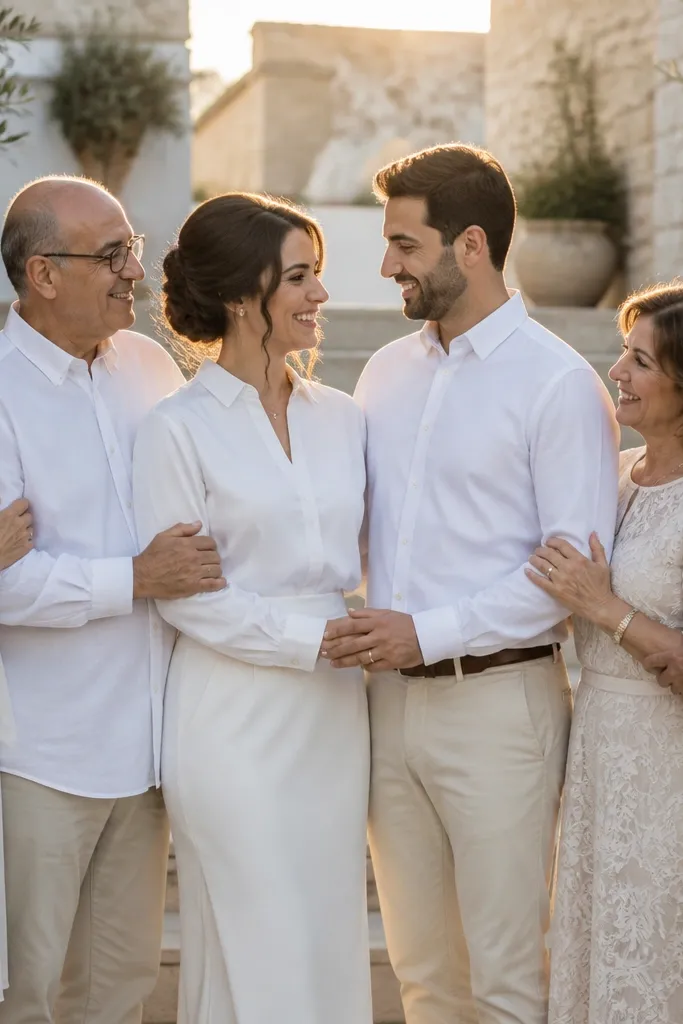
This one works because it keeps the emotional center tight without turning into a giant tangle of bodies. Instead of trying to fit every relative into one frame, you shoot the couple with each parent pair (or each family unit) in a compact semicircle. That gives you clear faces, natural body language, and photos that don’t look like an afterthought. It’s also a smart choice when families are large and you know you’ll need time for introductions and hugs.
Start with a list: couple + each set of parents, then couple + grandparents group, then siblings. Then arrange people so the couple stands slightly forward and the parents form a gentle arc — aim for 1.5 to 2 feet between shoulders so no one’s head blocks anyone else. Finally, shoot three quick frames: neutral smiles, a “look at me” moment, and one where everyone turns slightly toward the couple. This method creates variety without adding chaos.
Quick tipAsk the officiant or coordinator to cue families by name so you don’t lose time herding people across the room.
Skip thisSkip the giant “everyone in one circle” family photo — it almost always turns into blocked faces.
3. Grandparents Anchor Shot (Three-Generation Triangle)
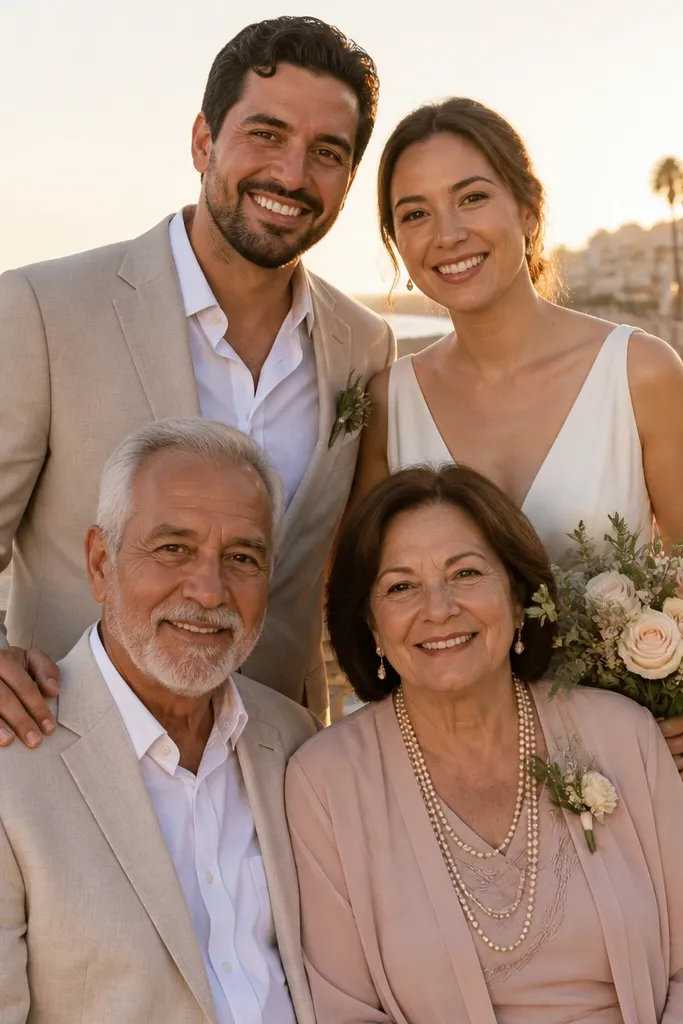
If you want group photos that feel intentional, anchor them with the people who bring the most meaning to the day. The three-generation triangle keeps grandparents centered and gives the couple breathing room so they don’t look crowded or rushed. It’s especially strong in bright outdoor light because the triangle shape prevents heads from stacking. This is also a great option when the venue has limited space because you’re not trying to fit everyone at once.
Start by placing grandparents in the center, with one parent standing slightly behind and one standing slightly to the side, all forming a triangle around the couple. Then have the couple take a small forward step so their faces are closest to the camera line. Finally, direct everyone to angle shoulders toward the couple, not straight into the lens, and shoot two frames with different head tilts to avoid dead-straight expressions.
Quick tipUse a slightly lower camera angle or ask people to lean in 2-3 inches; it reduces harsh jaw shadows.
Skip thisDon’t place grandparents at the very back of a big group — you’ll lose their faces and expressions.
4. Wedding Party + Couple in a Clean L-Shape
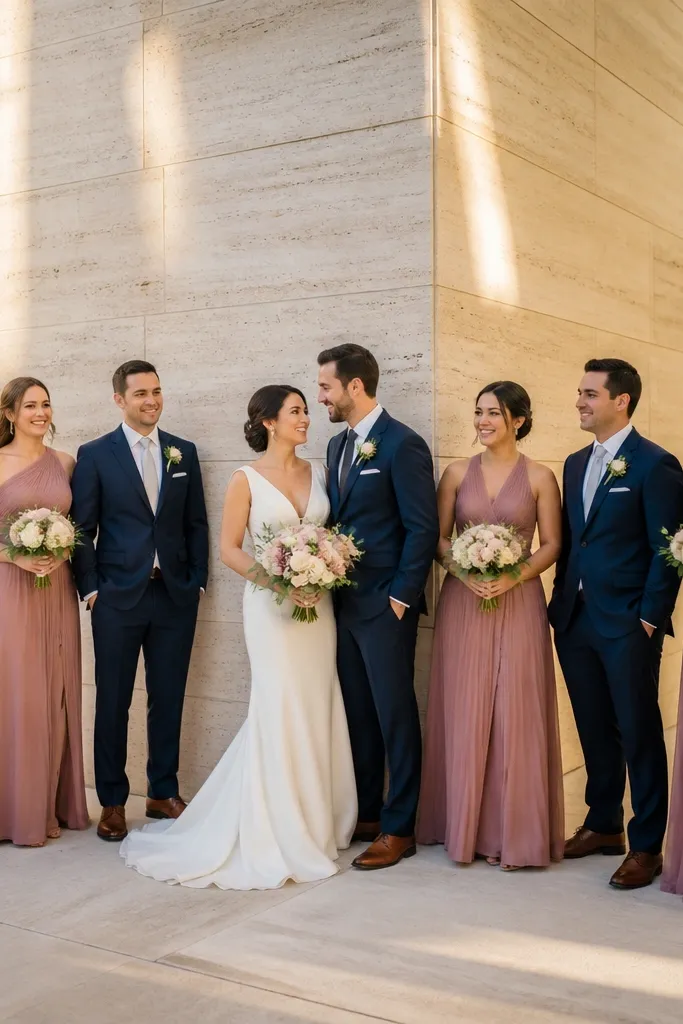
The L-shape is a lifesaver when you have a long wall, a hallway, or a venue edge that limits how wide people can stand. Instead of forcing everyone into a single line, you create a right-angle shape that keeps faces readable and gives the couple a strong, centered presence. It looks organized on camera because the gaps are intentional — you can actually see each person’s shoulders and heads. It also works well for indoor locations where depth matters.
Start by placing the couple at the corner of the L, then line the wedding party down one leg and down the other leg with consistent spacing (about one arm’s length between people). Then ask everyone to keep their torsos facing the camera while their feet angle slightly inward to the couple. Finally, shoot one frame straight-on and one frame with the photographer shifting position 2-3 steps to the side for a more flattering angle that still keeps faces visible.
If the hallway is narrow, shoot from the wider end so you don’t compress the L-shape and lose spacing.
Avoid crowding people against a wall — it flattens everyone and creates blocked faces.
5. Reception Wall Backdrop Group (One Step From the Lighting)
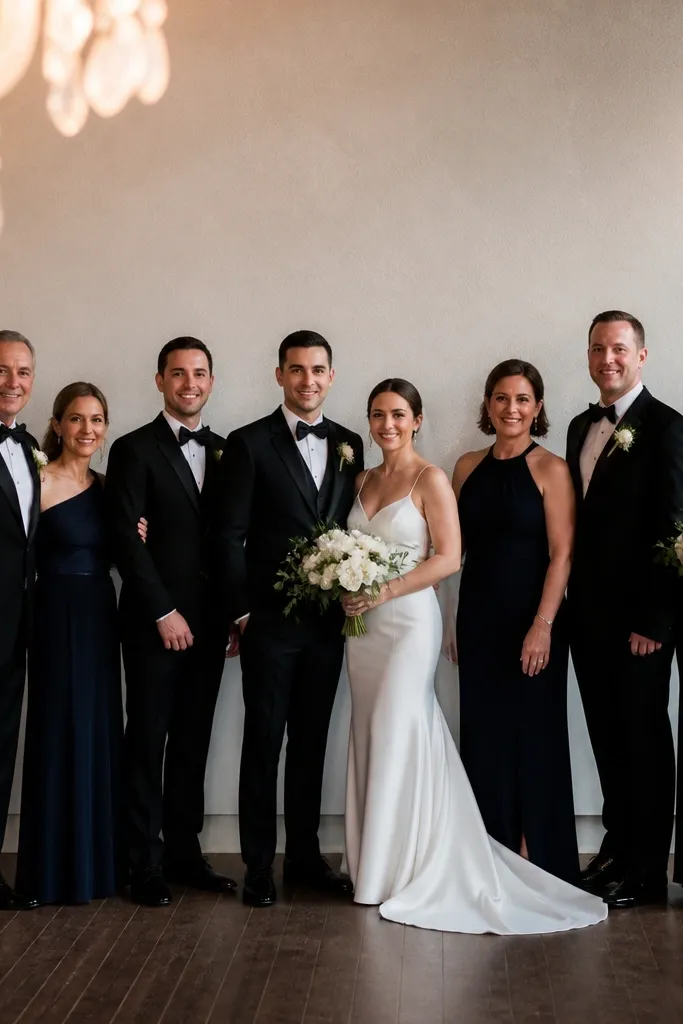
Indoor receptions often have cluttered backgrounds. This idea solves that by using a clean wall or plain corner and placing the group one step away from the brightest light source. The result is a group that pops without everyone looking overexposed or washed out. It’s also fast because you’re not relying on movement or props, just a well-chosen background and consistent spacing. It’s perfect for quick family rounds before dinner.
Start by walking the venue and picking a background with minimal patterns — a painted wall, a blank wall section, or a curtain that’s one solid shade. Then position the group so they stand about 2 feet from the wall and about 3-4 feet from each other in width for large groups, tightening only when space forces it. Finally, do two takes: neutral stance and a slight lean-in toward the couple so expressions look engaged.
Turn off or dim any bright uplights behind the group; they cause flare and blown highlights on faces.
Don’t stand the group directly under spotlights or face a bright window — it creates harsh squints.
6. Walking Line With a Real Prompt (Not a Staged Shuffle)
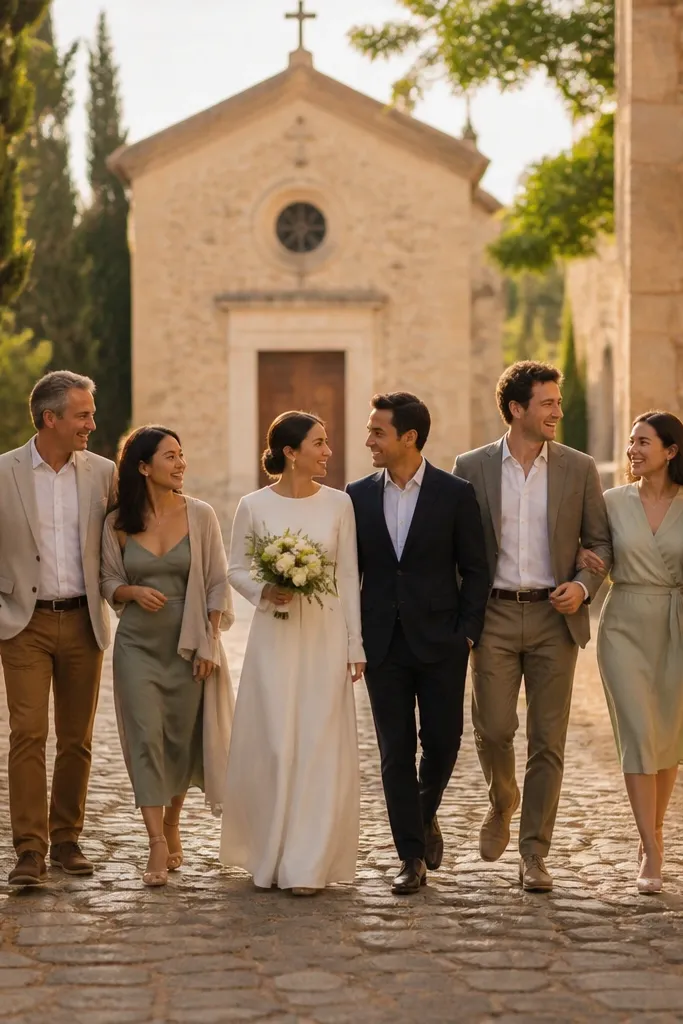
Movement photos look best when people know what to do with their hands and where to look. A walking line gives you natural energy and breaks the stiffness of standing poses. The trick is using a real direction prompt: “walk like you’re heading to the door” or “talk to each other like you’re meeting friends.” When the group moves together, you get consistent focus and fewer awkward static smiles. This works best in open outdoor spaces with controlled wind.
Start by choosing a path with clean edges — avoid tall grass or textured backgrounds that steal attention. Then line everyone in a single file or two staggered lanes behind the couple, keeping 2-3 feet between rows for focus. Finally, capture the moment in three short bursts: pause at 10 feet, walk 15 feet, and stop again — each burst gives you usable expressions without tiring people out.
Quick tipDo this 20-40 minutes before sunset so you get soft light without the ground going too dark.
Skip thisAvoid asking for “just walk” with no prompt — people shuffle, look down, and expressions go flat.
7. Stairs Shot With Face-Level Control (No Slouching)
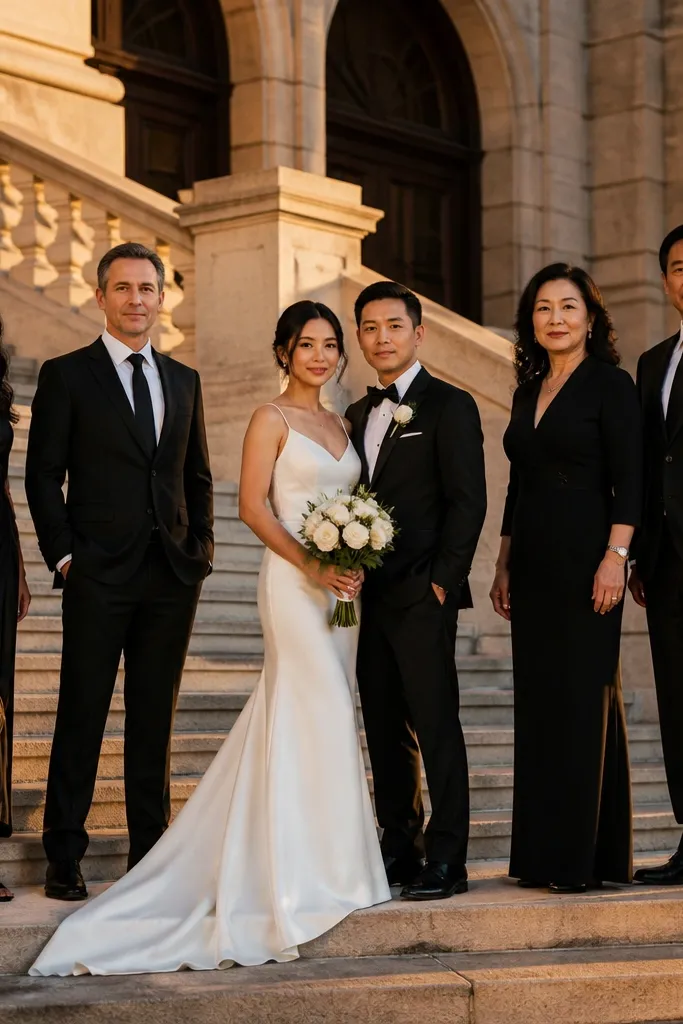
Stairs can produce a flattering, layered look, but only if you control posture. The common failure is when people slouch or step too close together and their heads overlap. With the right spacing and face-level alignment, stairs create depth and keep everyone visible. This is ideal for venues with broad steps and clear sightlines where you can position the group without them spilling onto each other’s space. It also gives you a built-in background that feels intentional in photos.
Start by placing the couple one step higher than the rest so their faces are the highest point in the frame. Then arrange the group with strict spacing: one person per step lane, and keep toes behind the edge so nobody feels unstable. Finally, shoot three frames: everyone upright, then one gentle “smile and look at the couple,” then a slightly angled turn to avoid dead-on flat expressions.
If the steps are narrow, reduce the group size and do two stair shots instead of one crowded one.
Skip stairs with uneven step heights — it makes people look awkwardly stacked.
8. Chair Stack Family Photo (Controlled Seating for Large Groups)
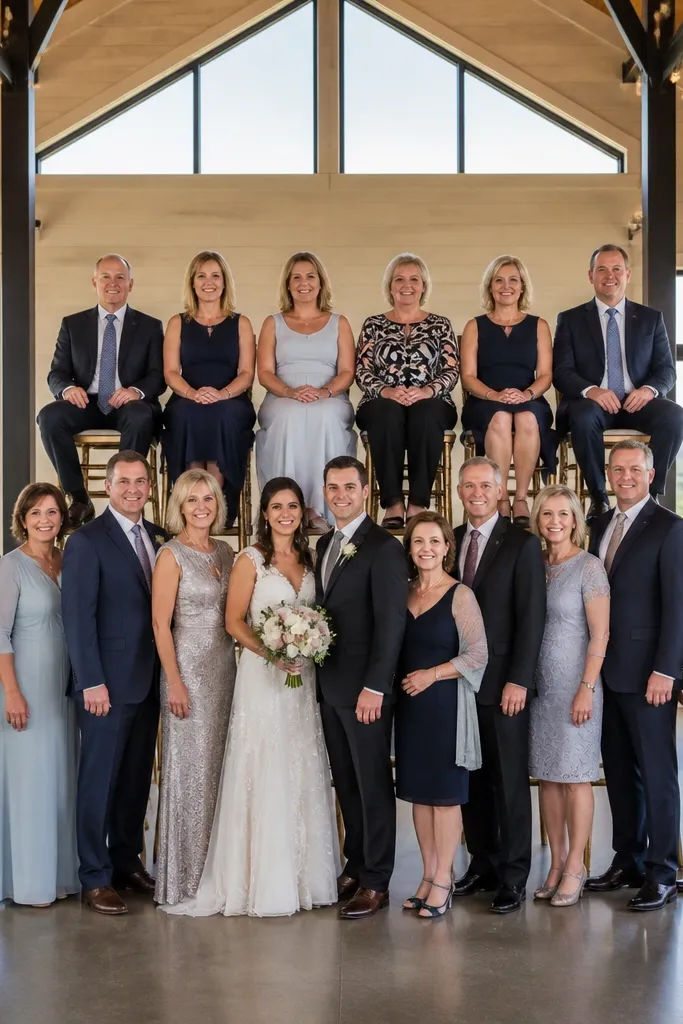
Seating is the fastest way to fix the “somebody is always behind someone else” problem. A chair stack with a few seated relatives and a few standing relatives creates an automatic height ladder that looks good on camera. It also keeps people comfortable, which matters for older family members and long photo blocks. This idea works best indoors or in shaded outdoor areas where you can set chairs without blocking entrances. The tiered arrangement gives you clean faces even with bigger groups.
Start by seating the shorter relatives in the front row and the taller relatives standing in the back row, keeping everyone facing the same direction. Then keep chairs in a straight line or slight arc so heads don’t block each other; measure spacing so there’s about one shoulder-width between people. Finally, shoot one frame with hands in laps or at sides, then a second frame where standing relatives lightly angle toward seated relatives for warmth.
Quick tipBring a small lint roller for chair fabric — it prevents distracting smudges in close frames.
Skip thisDon’t seat people randomly — you’ll recreate the same face-blocking problem at a different height.
9. Monochrome Accent Group (Same Color, Real Identity)
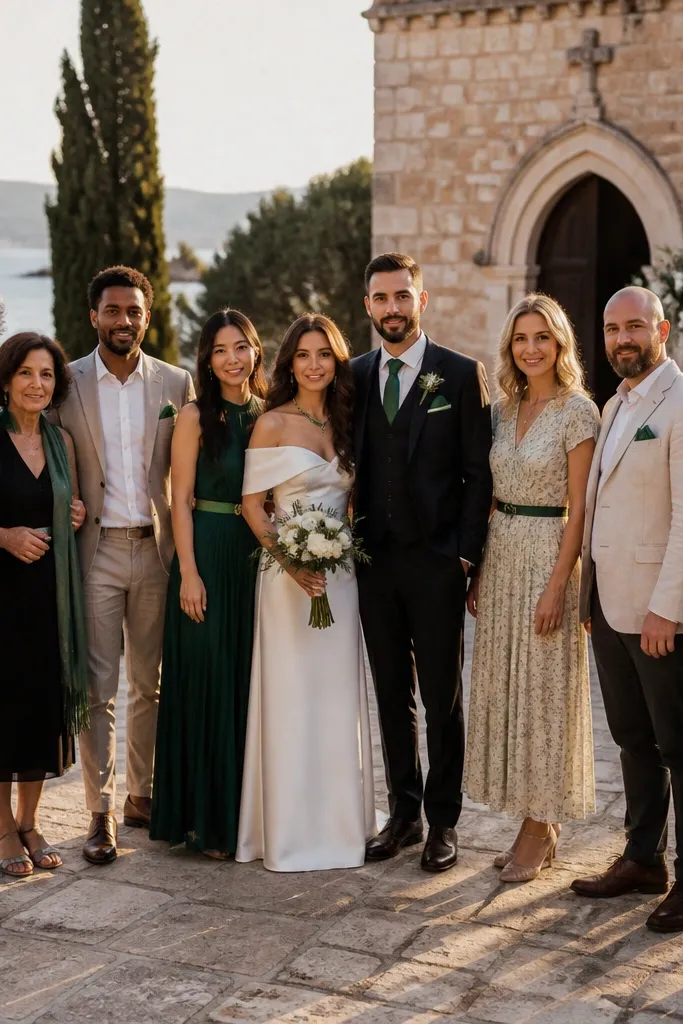
This idea works when you want group photos to look cohesive without forcing everyone into identical outfits. Pick one accent color that matches your wedding palette and ask guests to wear that color in small ways: a tie, a pocket square, a dress detail, a scarf. In photos, the matching accents pull the eye together and make the group feel styled even when everyone’s outfit is different. It’s strongest when the venue background is neutral — plain walls, stone, or soft greenery. It also gives you a repeatable template you can reuse for different family groups.
Start by choosing one accent color and setting a clear rule for what counts (example: navy accessories, not full navy outfits). Then create two lists: who you want in each group and who is likely to have the accent. Finally, shoot the main group first, then do a second accent group variation with parents or siblings so you get multiple frames that still feel consistent.
Quick tipPut the accent color request on the invitation wording so guests can plan ahead instead of scrambling on the day.
Skip thisAvoid asking for too many colors — it turns into a mess of mixed tones instead of a clean visual story.
10. Umbrella Weather-Safe Group (Only If It Matches the Mood)
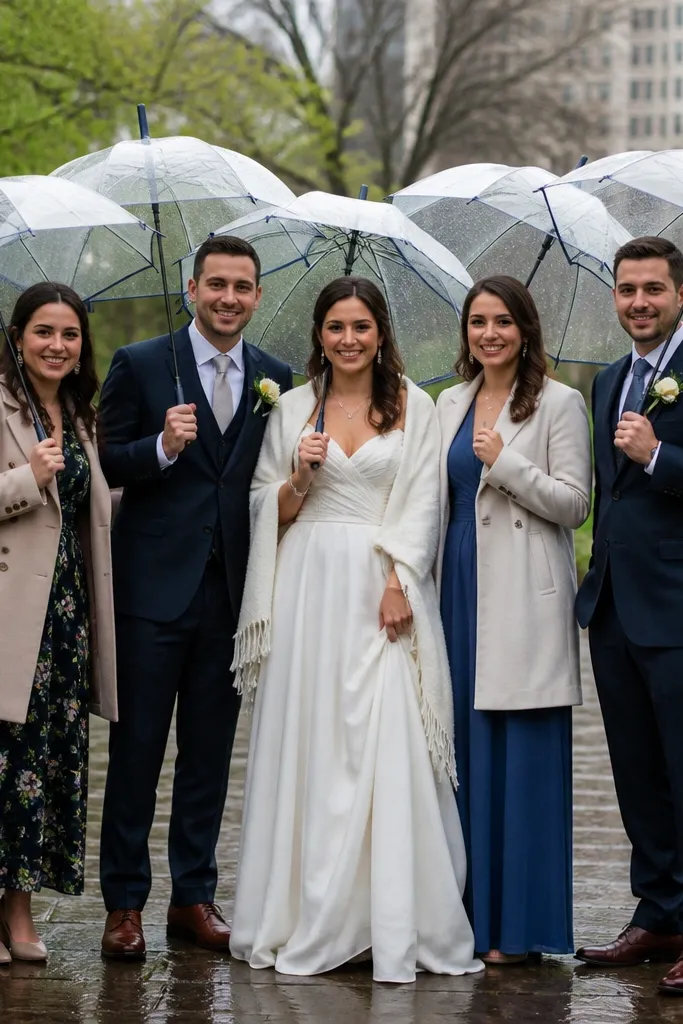
Bad weather can ruin hair, but it doesn’t have to ruin group photos. Umbrella group shots work when the umbrellas create a clear shape and don’t hide faces. The best versions use umbrellas for direction and framing, not for hiding people. It’s also an efficient backup when your timeline forces you to shoot outdoors even in light rain or wind. Keep it simple: one or two umbrella colors that match the wedding tone, and a group plan that controls spacing.
Start by choosing umbrella colors that blend with your palette and ensure every umbrella has a clear opening that doesn’t swing into faces. Then position the group so everyone stands far enough apart that umbrella edges don’t overlap heads; aim for about one arm’s length between people. Finally, shoot quick bursts: neutral smiles, then a prompt to look at the couple, then one where people slightly tilt umbrellas upward for even light on faces.
Bring a towel for everyone’s hands and one for umbrella handles; wet grips smear on fabric and show up in photos.
Skip umbrellas if most guests don’t have them — the uneven sizes create awkward hiding and inconsistent framing.
11. Couple + Wedding Party With Hands Guided by a 'Point and Clasp' Prompt
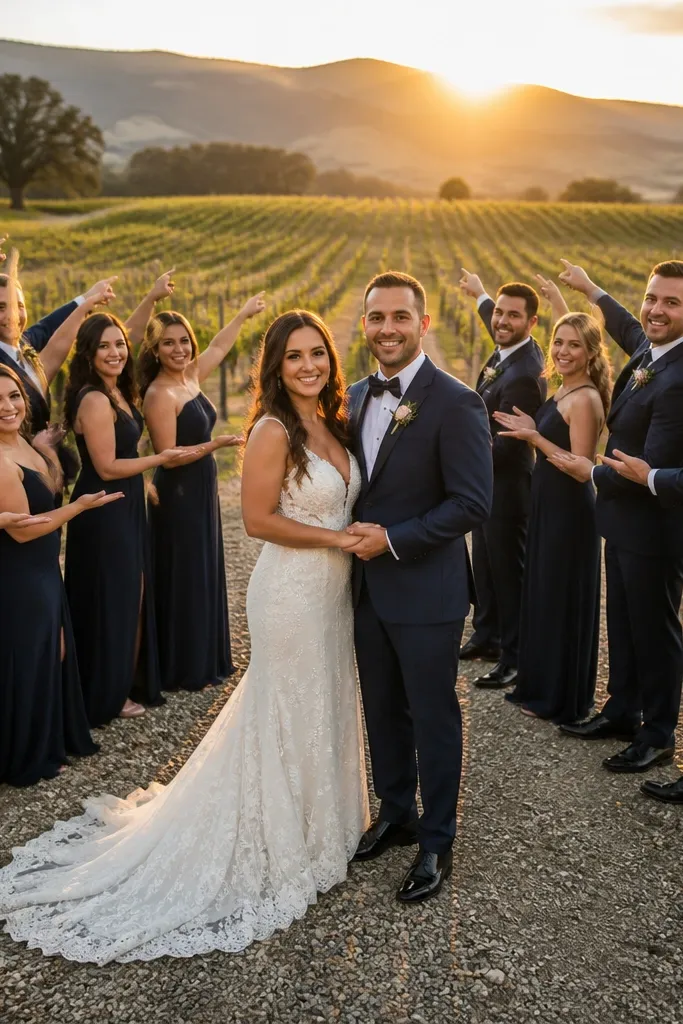
The fastest way to make group photos look natural is to give hands a job. The “point and clasp” prompt gives people something to do that reads well on camera and reduces the dead-arm problem. The couple stays centered, the wedding party stands in a semi-circle, and everyone’s hands move in a controlled way between frames. This is great for mixed personalities — shy guests stop worrying because the prompt tells them exactly what to do. It also creates variety without changing the entire layout.
Start by arranging the wedding party in a semi-circle around the couple with consistent spacing, keeping the closest people slightly shorter so faces stay visible. Then direct one frame where everyone “points toward the couple” with one hand while the other stays relaxed at the side. Finally, move into a second frame where everyone clasps hands lightly in front or rests hands on shoulders — quick, gentle contact, no heavy gripping. Shoot both frames back-to-back so expressions don’t reset.
Quick tipTell guests the hand prompt before you pose; it prevents awkward starts where people don’t know what to do.
Skip thisAvoid hands at random — you’ll get crossed arms, pocket stuffing, and faces that look tense.
12. Candid-Style 'After the Ceremony' Cluster (Small, Fast, Repeatable)
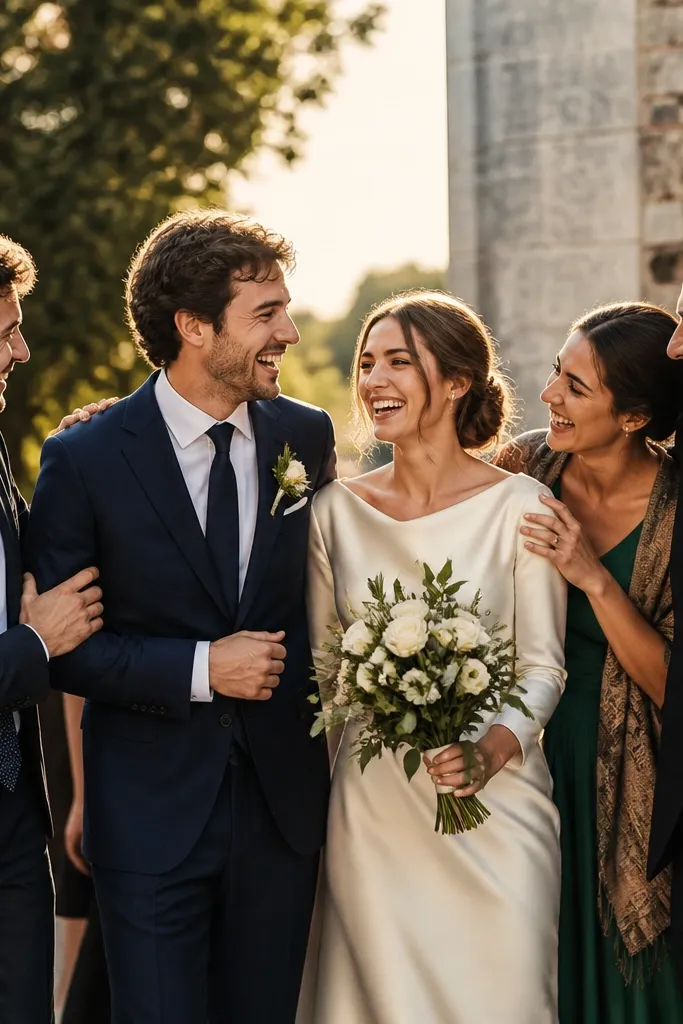
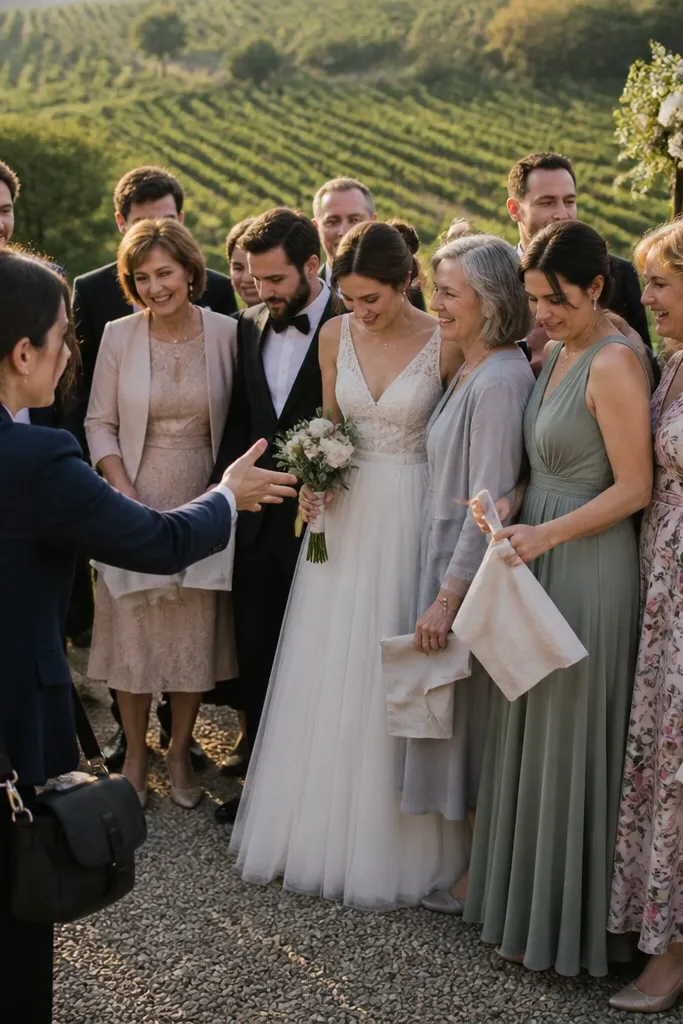
This is a group photo idea that prioritizes emotion over pose. Instead of a huge group lineup, you gather small clusters — couple with best friends, couple with siblings, couple with aunts and uncles — and shoot them while people are still warm and moving. The photos look natural because nobody is standing in place waiting for instructions. It also protects your timeline because you can keep each cluster under 5 minutes. This works best when you have a tight schedule and a venue with limited space.
Start by building clusters of 4-8 people based on relationships, not just roles. Then direct the group to stand close enough for faces to be clear, but not so close that shoulders overlap; keep about one foot between people in a tight cluster. Finally, shoot three frames in under a minute: neutral smile, laugh prompt, and a “look at the couple” moment. Repeat the same flow for each cluster so everyone gets the rhythm.
Quick tipUse a coordinator or playlist cue to keep clusters moving; silence causes people to wander and drift.
Skip thisSkip the long “big group lineup” right after the ceremony — people lose patience and expressions flatten.
13. Staggered Cousins Layout (Avoids the 'Spillover' Mess)
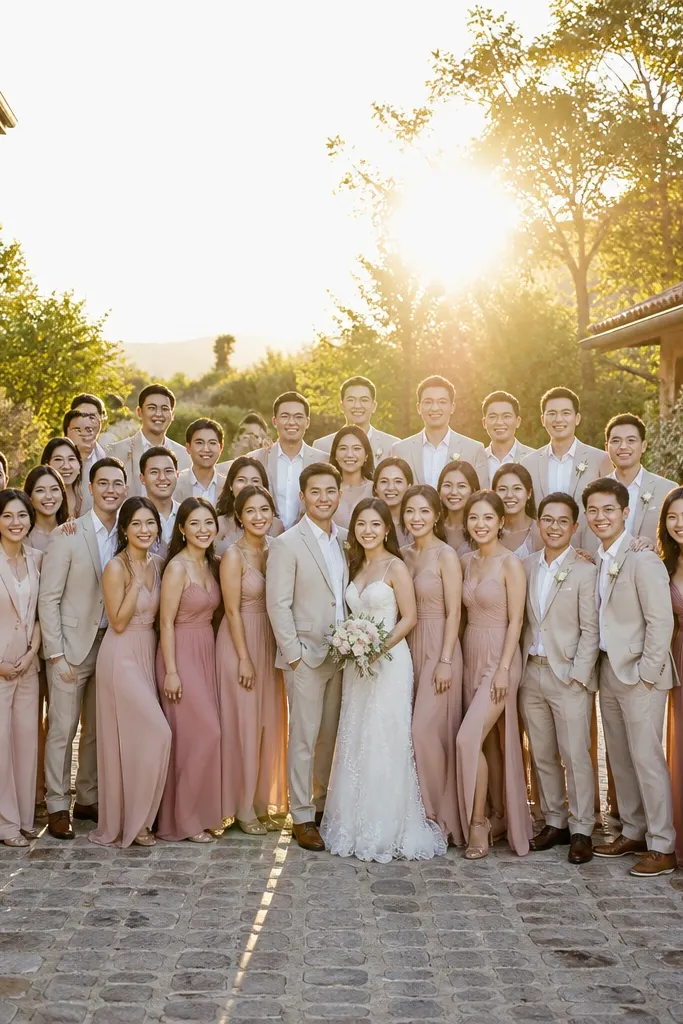
Cousins are where group photos go wrong fast because the group is big, the relationships are messy, and people don’t know where to stand. A staggered layout fixes it by adding a second layer that isn’t directly behind the first, so faces don’t stack. You still get the “big group” feeling, but it looks organized rather than accidental. This is best for outdoor spaces with even ground and enough width for two staggered rows. It’s also a strong choice when you need family photos without spending forever.
Start by splitting the cousin group into two rows, but offset the second row half a step to the side so heads don’t line up. Then keep the front row slightly forward and the back row slightly higher by having the back row stand on a small step or just a subtle distance change if terrain is flat. Finally, shoot two frames: one straight-on and one angled slightly so faces in the back row are still visible.
Assign one person per row to help you keep spacing; it stops the natural drift that happens when people chat.
Avoid lining cousins up shoulder-to-shoulder in one row — it creates crowding and blocked faces.
14. Couple + Single Family Group on a Clean Background 'Island'
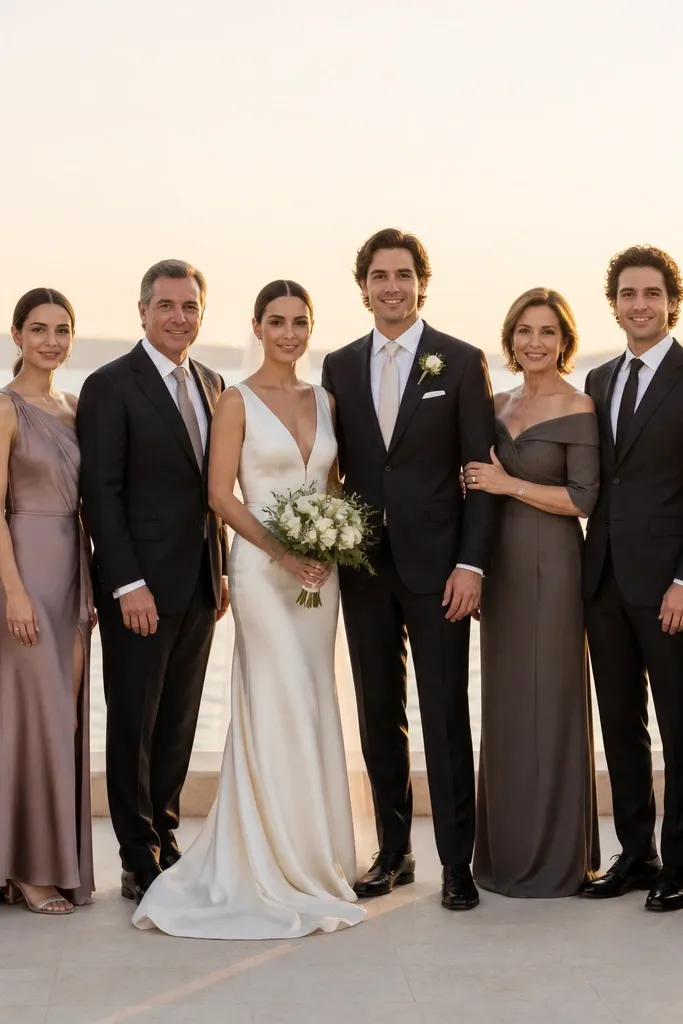
This idea is about separation. If your venue has a busy background — guests sitting, signage, bar carts, or lots of movement — you still want crisp group photos. The “island” approach chooses one clean patch behind the group and positions everyone so heads and shoulders sit on that clean area. It makes the photo feel polished even when the venue isn’t. It’s perfect for one family group at a time: parents, siblings, or grandparents, depending on your priorities.
Start by scouting the background and picking one area with minimal visual clutter, then place the couple and family group in front of it. Then keep the group tight enough for faces but spaced enough to avoid overlapping heads, usually 1-2 feet between the outer people and about a shoulder’s width within the group. Finally, shoot two angles: one straight-on and one slightly from the side to confirm the background stays clean and doesn’t creep into faces.
Quick tipIf the background is cluttered, move the group 6-10 feet instead of changing poses; background cleanup is faster than re-staging people.
Skip thisSkip posing in front of busy décor — you’ll end up with photos where half the frame pulls attention away from faces.
15. Wedding Party + Couple With 'Turn Toward the Light' Direction
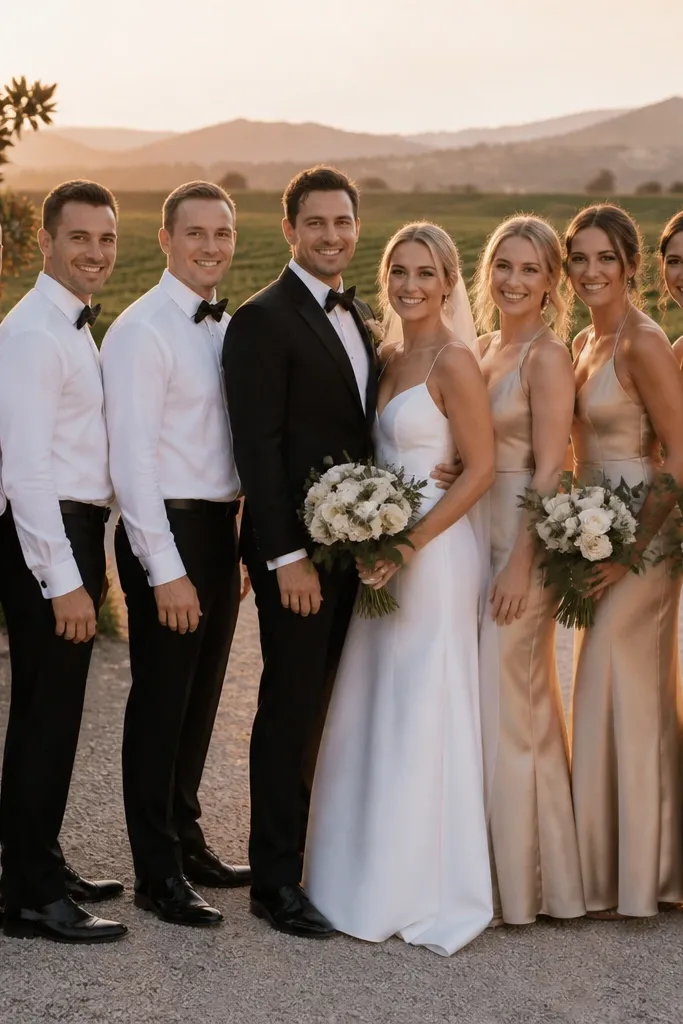
This is my favorite correction for group photos that look flat or uneven. Instead of telling people “face the camera,” you direct them to turn their bodies slightly toward the light source. It creates better facial lighting, reduces harsh shadows under chins, and helps expressions look more natural because people aren’t locked into one awkward posture. This works in open shade, golden hour, or any outdoor situation where you can identify where the light is coming from. The group looks coordinated without forcing matching outfits.
Start by figuring out your light direction — step around and watch where faces look bright and where they look shadowed. Then pose the couple first, and build the group around them with everyone turned slightly toward that light while still keeping faces toward the photographer. Finally, shoot two frames: one with everyone fully turned toward the light and one with a smaller turn so it doesn’t feel over-posed. This gives you options if someone looks awkward in the first frame.
Quick tipUse open shade for group photos; it keeps everyone’s skin tone consistent across the frame.
Skip thisAvoid letting the group face away from the light — it creates shadow bands across faces and makes smiles look tired.