1. Golden Hour Walk-By Closeness
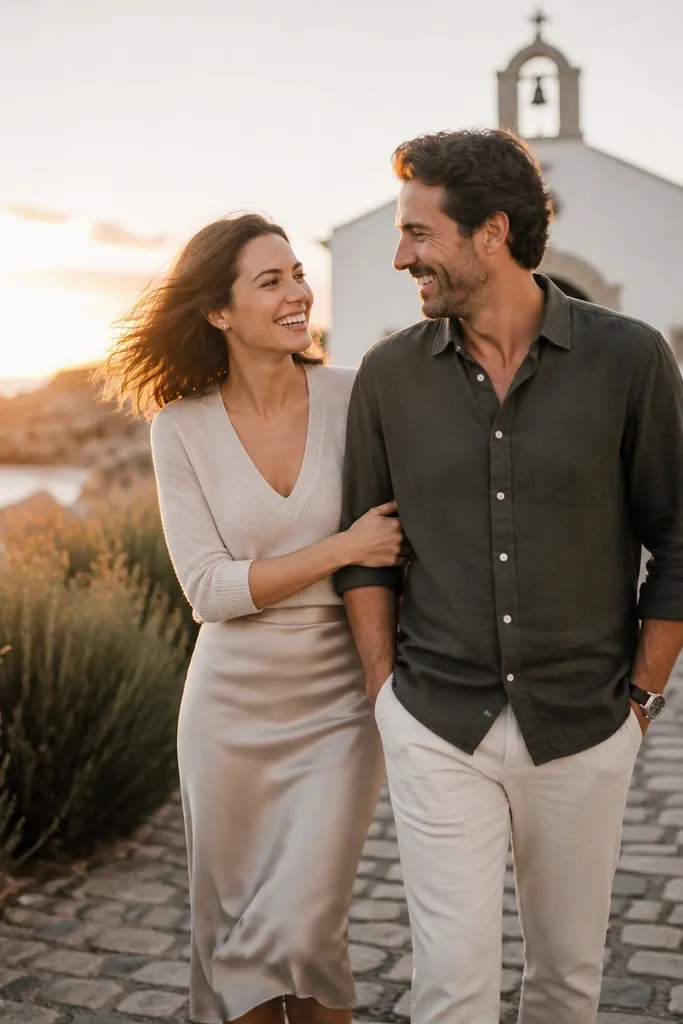
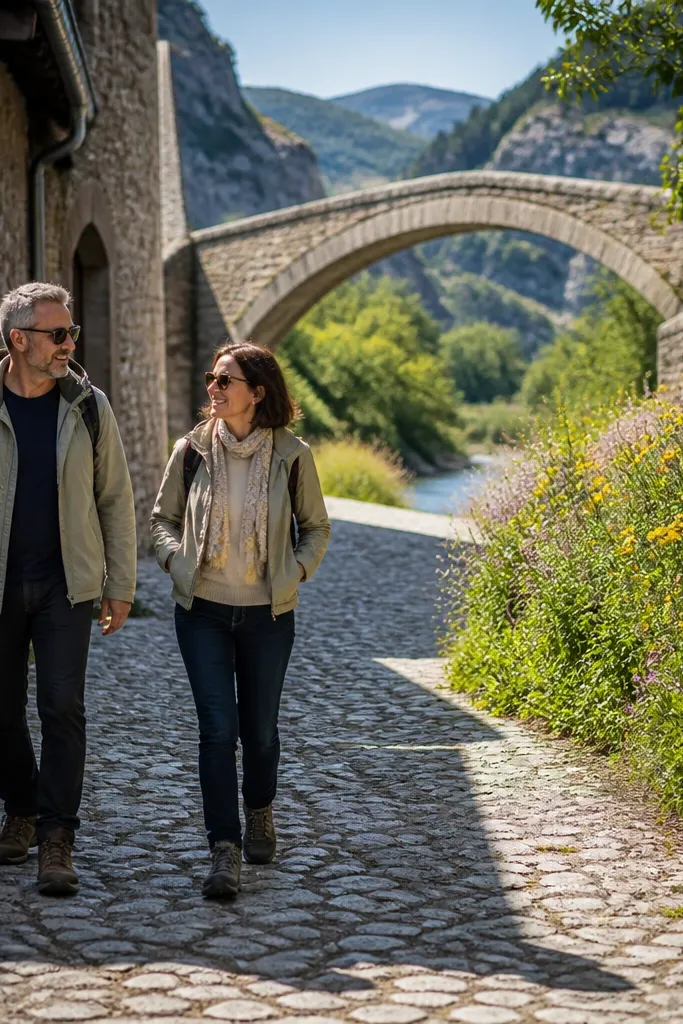
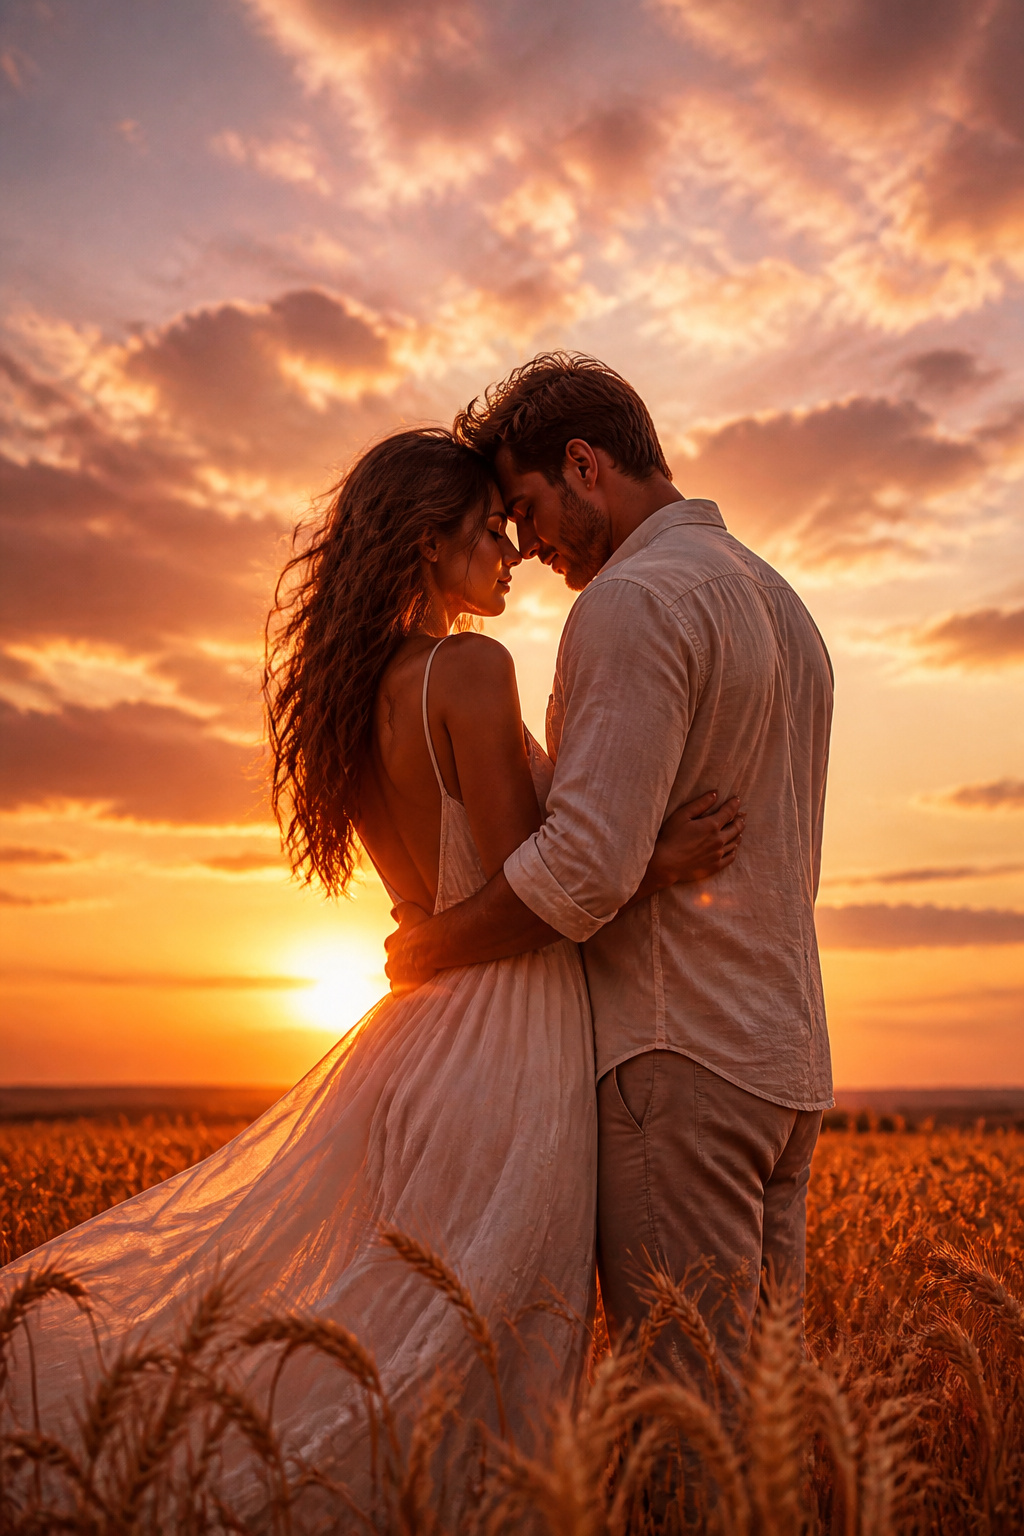
This pose looks stunning because it creates natural motion blur in the background while your faces stay readable. The best version is a side-by-side walk with a small change of angle — one partner turns just enough to be caught mid-laugh. It flatters most outfits because you’re not frozen like a portrait; skirts and sleeves move and catch the light. Choose a wide path with a clear horizon line so the sun hits your hair and shoulders without turning you into silhouettes.
Start by picking a location with open space — a beach path, riverside walkway, or park trail edge. Arrive 30-45 minutes before sunset so you can test angles as the light warms up. Then pose by walking for 10 seconds at a calm pace and pausing for 2 seconds when you’re in the sun’s sweet spot. Finally, keep hands simple: one hand holds the other lightly, the other stays relaxed at your side or lightly touches a belt or bag strap.
Quick tipPack anti-chafe balm and blister patches. You’ll walk more than you think, and it shows in your posture.
Skip thisDon’t sprint to the “perfect spot” — rushing makes your shoulders tense and your faces look forced.
2. Linen Scarf Wind Lean
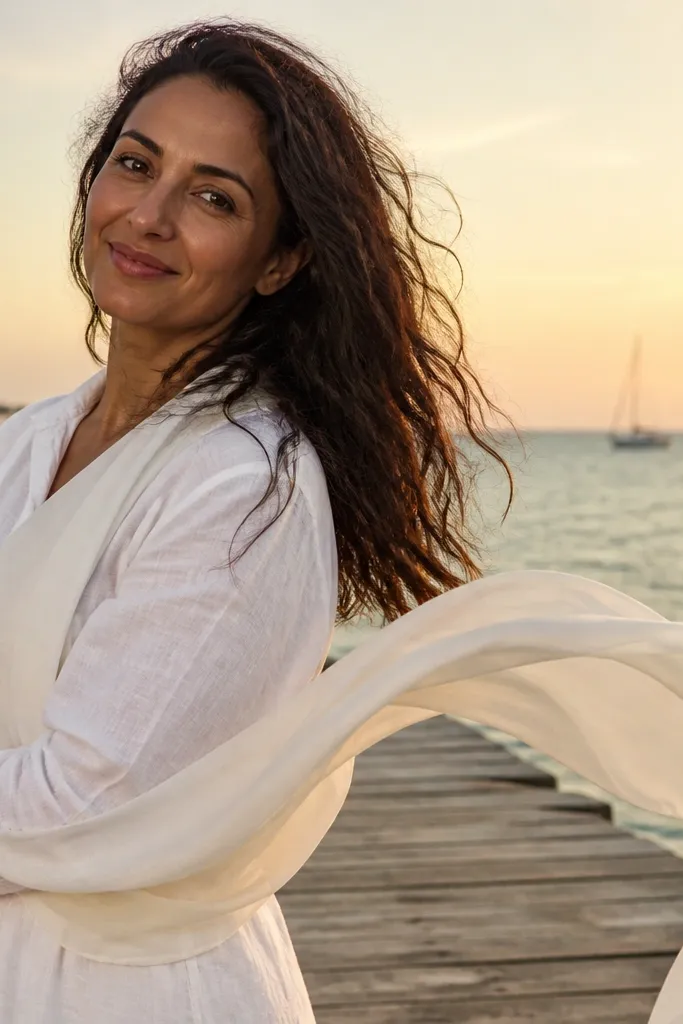
Wind is the secret ingredient for pre wedding photos because it adds motion without you doing anything complicated. This pose works best with lighter fabrics like linen shirts, cotton dresses, or a chiffon scarf that actually moves. Stand slightly angled to the camera and lean in just enough that your bodies form one clean line. The scarf becomes a visual guide that draws the eye from your hands to your faces.
Bring a lightweight scarf (or a second one if it’s breezy). Start by finding a spot with open air — the edge of a field, a balcony with airflow, or a promenade. Then stand with feet shoulder-width, lean toward each other, and lift the scarf ends so they flutter forward. Finally, have one person gently hold the other’s wrist or waist — not gripping — while you watch the scarf direction and adjust your angle every few frames.
If there’s no wind, don’t fake it. Use a slow arm flick to create movement for 1-2 seconds, then reset.
Don’t pick a thick scarf — it hangs heavy and kills the airy look.
3. Doorway Frame Cross-Body
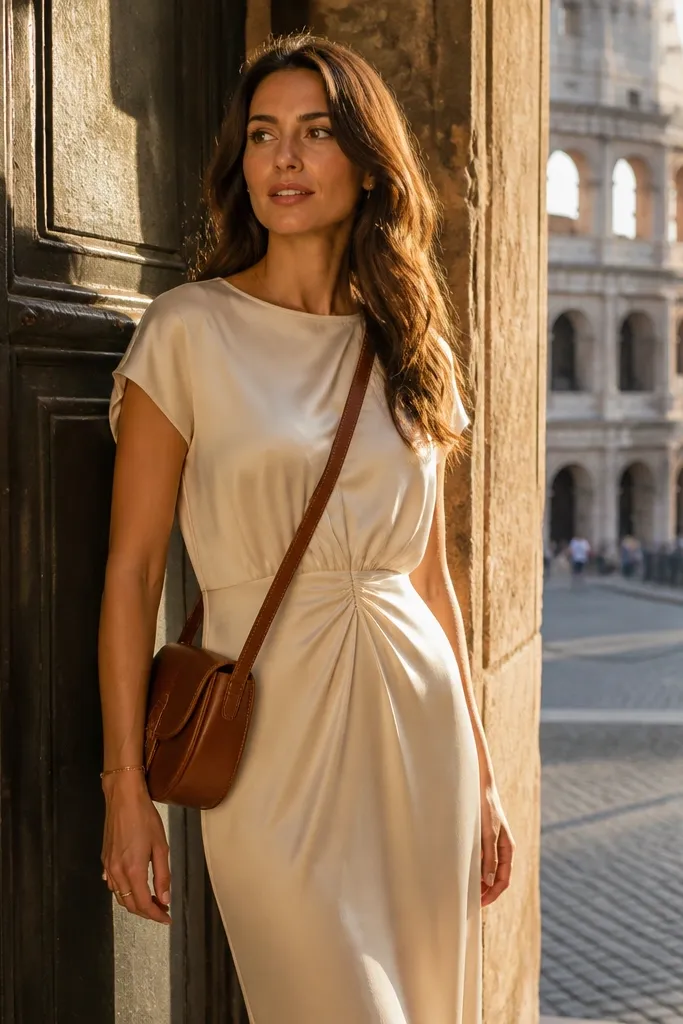
Doorways make photos look intentional because they create a built-in border and a clear background shape. This pose is flattering for both formal and casual outfits: dresses look polished, and button-downs look crisp when you keep the waist slightly cinched. Stand close enough that your shoulders overlap, then angle your bodies so one partner is slightly turned while the other faces more directly. That contrast gives depth and keeps the image from feeling flat.
Find a doorway with clean lines and minimal clutter. Step back until there’s enough space for your full bodies, then position yourselves so your heads sit near the top third of the frame. Next, do a cross-body hold: one partner’s arm rests across the other’s upper arm or shoulder, while the other’s hand lightly touches the belt or waist. Finally, keep your chin direction consistent — if you’re both turning away, the faces lose clarity.
Quick tipPack a lint roller. Doorway photos pick up every thread and it’s much easier to fix before you shoot.
Skip thisSkip busy interiors with posters or patterned walls — your eye goes there instead of your faces.
4. Staircase Landing Hand-to-Heart
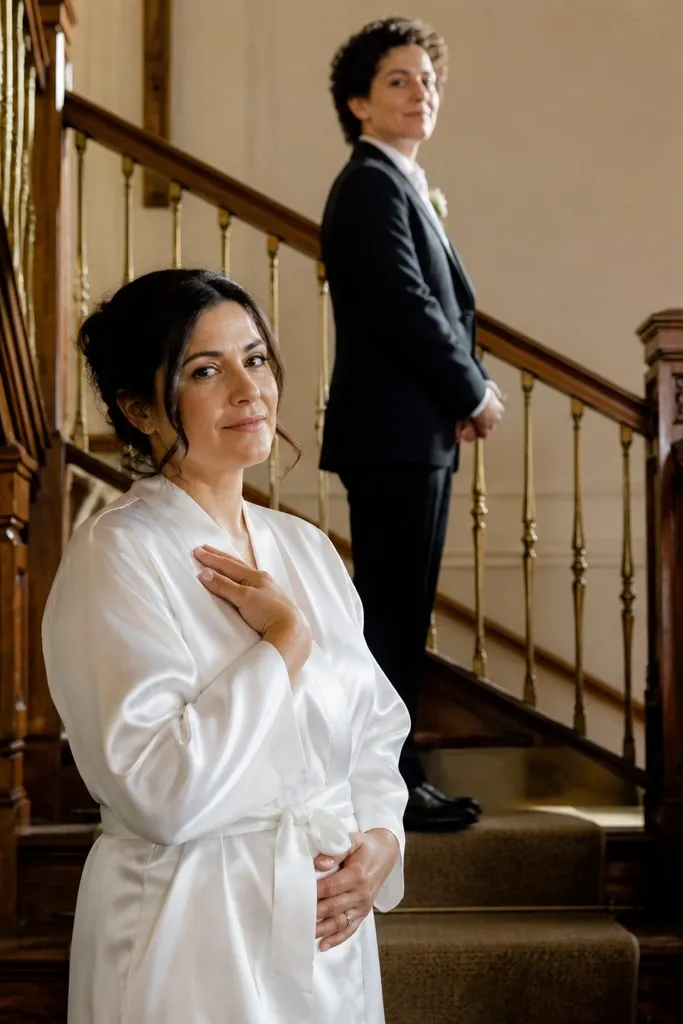
Stairs add height and rhythm, which makes pre wedding shots look styled without needing a fancy set. The hand-to-heart placement makes it feel romantic and composed, not like a random standing pose. Keep your bodies on different steps so you get natural variation in height, and let the staircase lines lead toward you. This works especially well for evening shoots because indoor light can be soft and flattering.
Bring comfortable shoes you can stand in for 20 minutes. Start by choosing a staircase with even lighting and a clear view of the landing — avoid dark corners. Then stand one step apart, angle your knees slightly outward, and rest one hand near the chest while the other hand holds your partner’s forearm. Finally, have both faces turn toward each other for a 2-3 second moment, then relax into the hold and breathe out.
If the staircase is echo-y, use a quick countdown cue for your photographer so you don’t rush your breathing.
Don’t climb mid-pose. Set your feet first, then move hands and faces.
5. Forest Edge Side Profile with Jacket Sweep
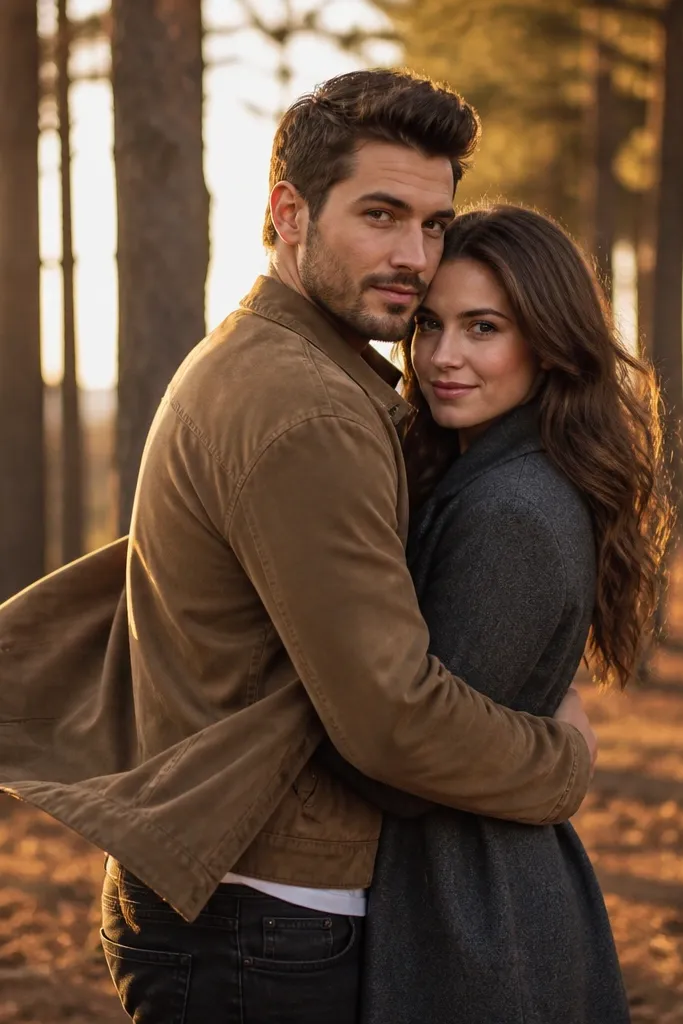
Side profile reads classy because it emphasizes clean lines and jaw/neck angles. The jacket sweep adds movement that looks editorial without looking like a dance. This pose is great for couples who want a less cutesy vibe — it feels romantic but controlled. Place yourselves at the forest edge or between trees so the background turns into soft texture instead of distracting objects.
Pack a lightweight jacket or overshirt you can sweep without wrinkling. Start at the edge of trees where there’s a darker background — it makes your faces stand out. Then do a side profile stance: one foot slightly forward, shoulders angled, and one partner’s arm extended to sweep the jacket sleeve across the body. Finally, keep your gaze off-camera for one frame, then turn back to each other for two frames.
Quick tipUse a small fabric steamer or hang the jacket in the bathroom before you go — steam beats ironing on travel days.
Skip thisDon’t face the camera straight-on in a forest with clutter. You’ll look lost in the background.
6. City Street Reflection Window Hold
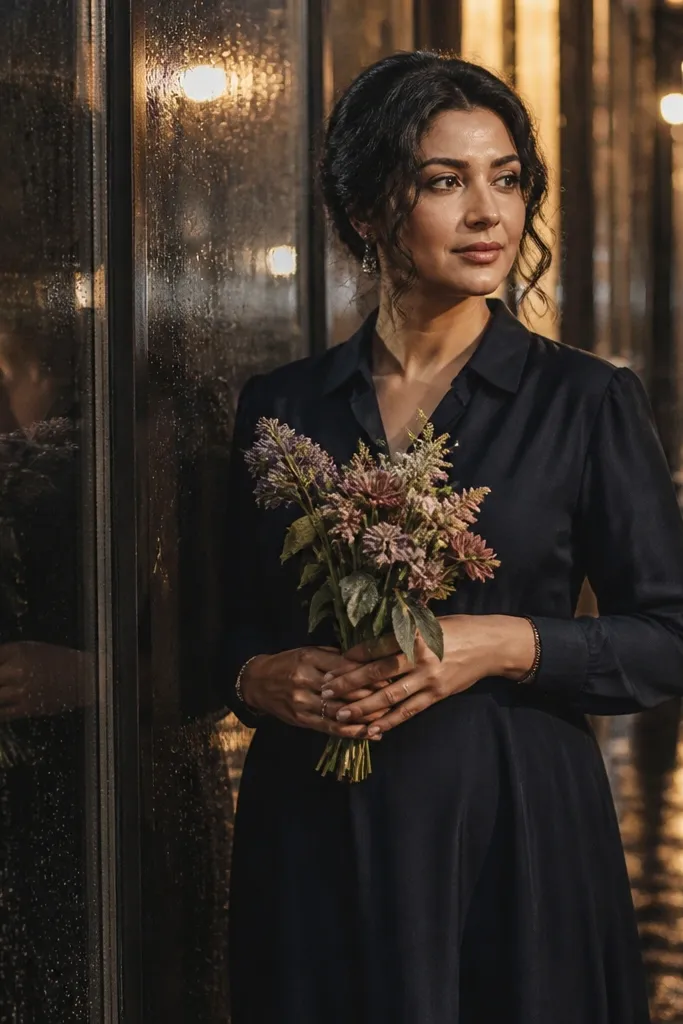
Reflections make photos look modern and expensive because they add layers: glass, street light, and your silhouettes. This pose is also a lifesaver when the weather is bad — you still get a styled look with minimal walking. Stand close to the window so your reflections are visible, but keep your bodies angled so the reflection doesn’t flatten your faces. It’s especially good for evening shoots with storefront lights.
Plan for a 30-minute indoor/outdoor mix so you don’t freeze. Start by finding a window with clean glass and visible reflections, not smudged doors or heavy signage. Then stand shoulder-to-shoulder, turn both torsos slightly toward the window, and do a gentle hand hold at waist height. Finally, take frames at two distances: one where your faces fill the glass, and one where your full outfits reflect for styling impact.
Quick tipBring a small microfiber cloth. Wipe the area you stand near so you don’t get fingerprints in the frame.
Skip thisSkip windows with heavy glare across your faces — you’ll get a bright white blob instead of a reflection.
7. Bridge Rail Lean with Over-Shoulder Look
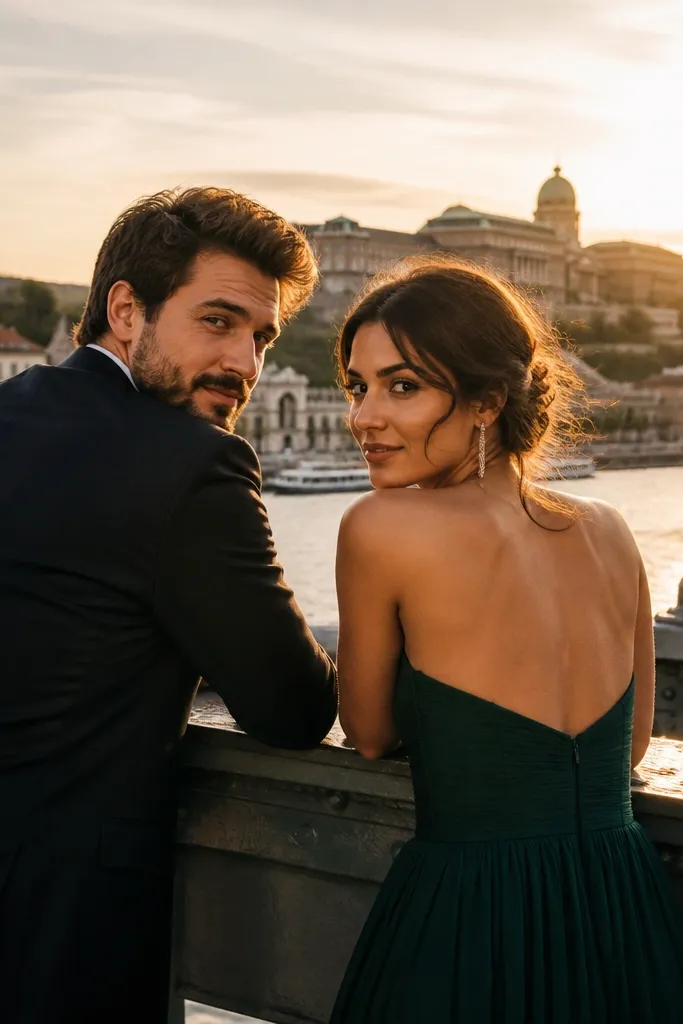
Bridges give you instant depth and leading lines, which is why this pose looks cinematic. The over-shoulder look brings emotion without needing big gestures. It flatters photographers' favorite trick: you get foreground (rail), midground (you), and background (water or city) in one frame. It’s also ideal for couples who want to look a little serious — the mood reads “pre wedding story,” not just smiling.
Pack a belt or waist tie you can adjust quickly. Start by choosing a bridge segment with a clear view and no construction barriers. Then lean on the rail with one elbow bent and your bodies angled 30-45 degrees from the camera. Next, have one partner look back over the shoulder while the other gazes slightly past the camera. Finally, take a burst of frames while you hold steady — this pose rewards stillness.
Quick tipWear shoes with good grip. Bridge surfaces can be slick and tense posture ruins the look.
Skip thisDon’t lean too far. If your spine collapses, you lose the clean silhouette.
8. Thrift-Vibe Bench Sit with Leg Cross
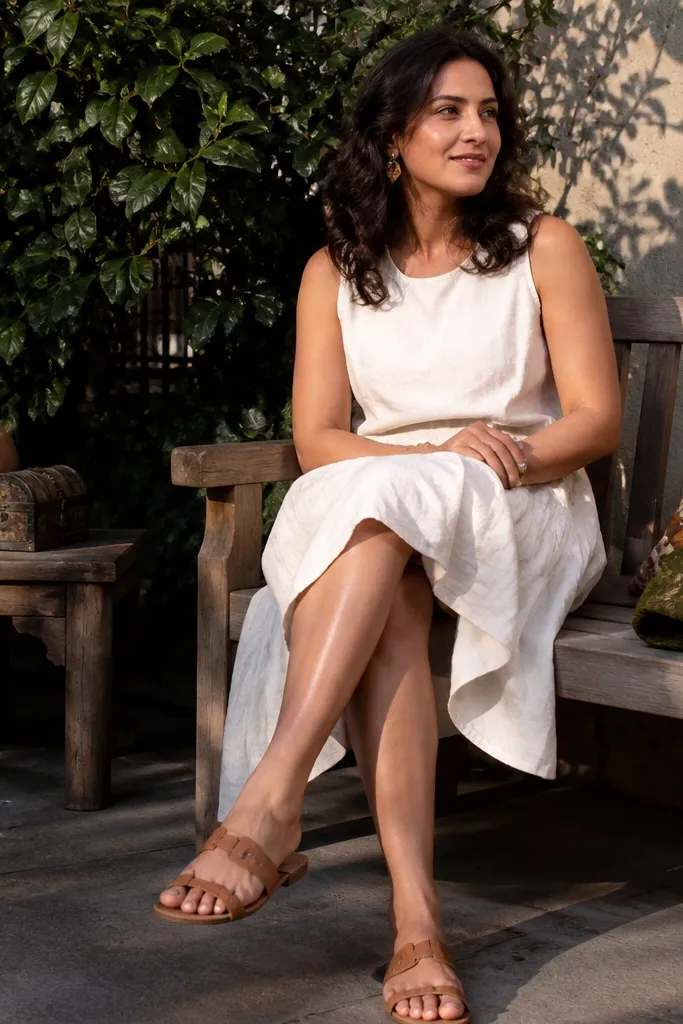
Benches are underrated because they let your outfit look intentional and your hands look natural. The leg cross creates shape and makes your legs look longer on camera. Pair this pose with a clean background like a wall, hedge, or simple sidewalk and you’ll get that “editorial travel” vibe. It’s also easy to do when you’re tired — you can shoot for 20 minutes without your body fighting gravity.
Bring a small shawl or light layer for your lap so fabric doesn’t cling. Start by scouting benches with simple surroundings and enough space for both of you to sit without crowding. Then sit close but not touching shoulder-to-shoulder — keep a small gap where the light hits your faces. Finally, do the leg cross: one partner crosses one knee over the other and the other partner sits slightly angled toward them, with hands clasped at mid-thigh.
Quick tipPack a mini lint roller for benches and outdoor seating — dust shows on light fabrics.
Skip thisAvoid sitting too far back on the bench. You’ll look smaller and lose the face-to-camera connection.
9. Hands in Hair, Soft Laugh Close
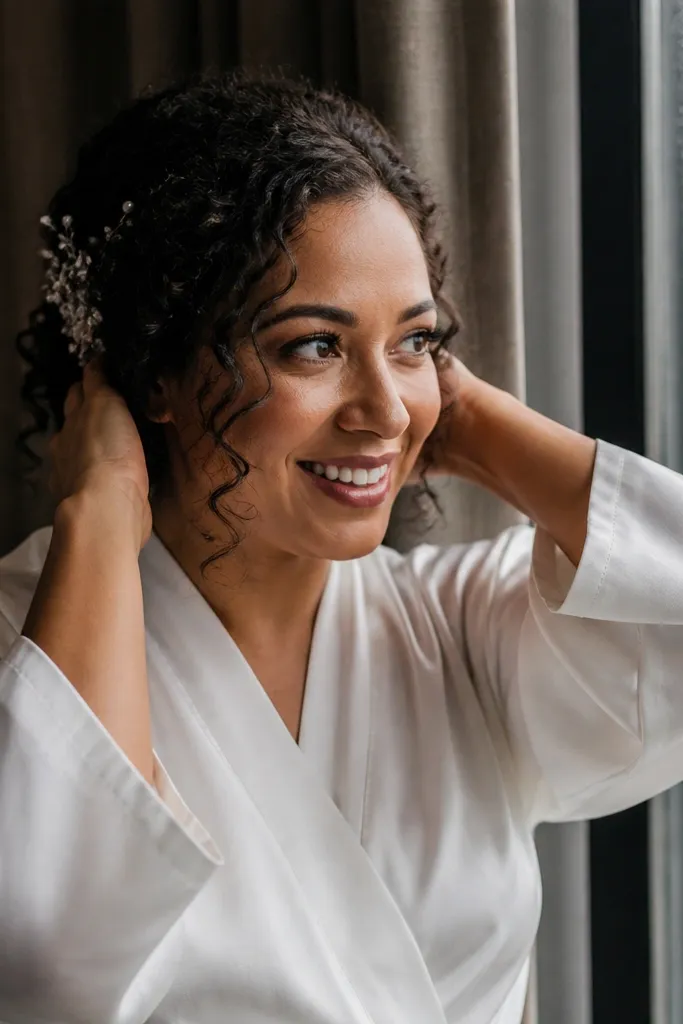
This is the “real emotion” pose that still looks polished if you control the hand placement. Hands in hair feels intimate and natural, and the soft laugh keeps it from looking stiff. Use it when you want frames that feel like a memory, not a fashion ad. It also works with almost any location because it’s mostly about your faces and hands, not the background.
Pack hair ties and a travel comb. Start by choosing a spot with even light — shade under a tree or near a window indoors. Then bring your foreheads close and do a gentle hand touch: one partner adjusts hair near the temple, the other rests a hand on the waist or upper arm. Finally, ask for a tiny moment of laughter, then freeze for 1-2 seconds when you see the smile peak.
Quick tipBring a small bottle of hair spray or anti-humidity mist if your hair frizzes easily.
Skip thisSkip frantic hair fixing. Do one slow adjustment, then hold.
10. Satin Robe Side Hug with Belt Cinch

This pose looks expensive because satin catches light and the side hug keeps the frame cohesive. The belt cinch matters — it creates a defined waist shape and stops the robe from looking shapeless. It’s perfect for hotel rooms, rental villas, or any place with clean walls and soft curtains. If you’re doing an early-morning shoot, this pose also handles low light better because satin highlights create contrast.
Pack a robe or a matching satin scarf set if you’re not wearing satin outfits already. Start by finding a wall with no clutter and a curtain nearby for soft light. Then do a side hug: stand at slight angle, cinch the belt tight enough to show waist shape, and rest one hand over your partner’s shoulder or upper arm. Finally, turn your faces slightly toward the light source and keep your bodies still for 5-6 frames.
Quick tipBring a lint brush for satin. It shows every speck under indoor light.
Skip thisDon’t let the belt hang loose. Loose fabric makes the whole photo look sloppy.
11. Beach Sand Footprints Turn and Hold
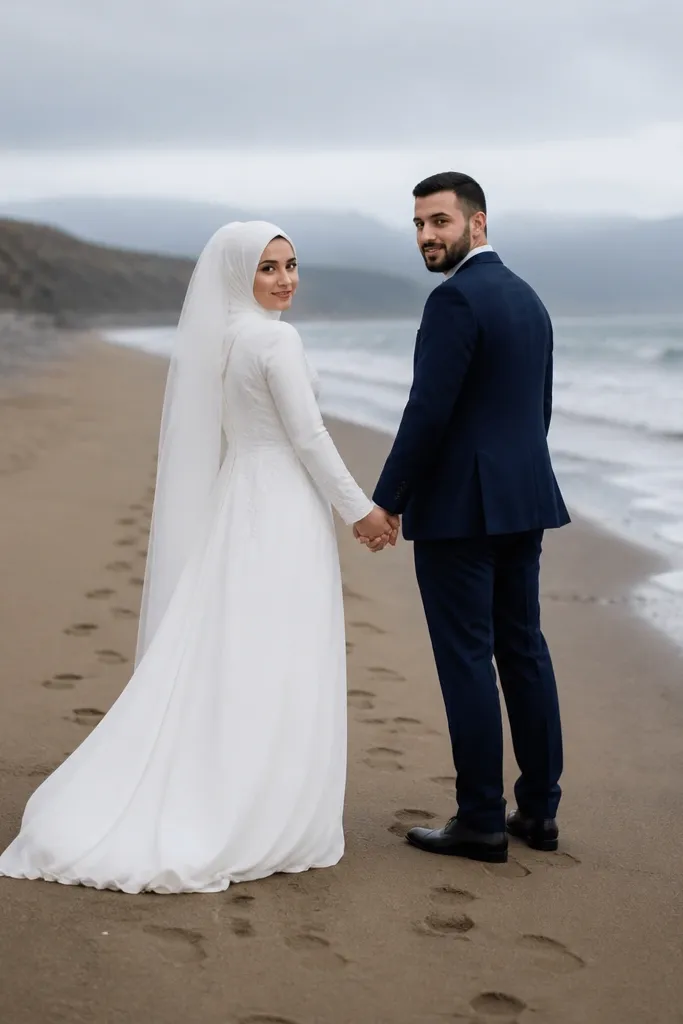
Footprints add storytelling. This pose looks good because it creates a natural leading line — the path of steps behind you — while your bodies stay connected in the foreground. It’s also a flattering way to show footwear and hems without doing full walking shots. If you want a soft romantic mood, choose overcast mornings or late afternoon when the sand isn’t blazing hot.
Pack a small towel or a sand-proof mat for quick resets. Start by walking 10-15 steps into the sand and stopping when your footprints form a clean arc. Then pose by turning toward each other over your shoulder and holding hands at waist height. Finally, take frames while you stay mostly still, then do one second turn toward the camera so the background path changes.
Bring a zip bag for shoes. Wet sand in your bag ruins the rest of your packing.
Skip heavy makeup touch-ups mid-shoot. Wait for a break and do one clean reset.
12. Cliffside Profile with Hand at Chin
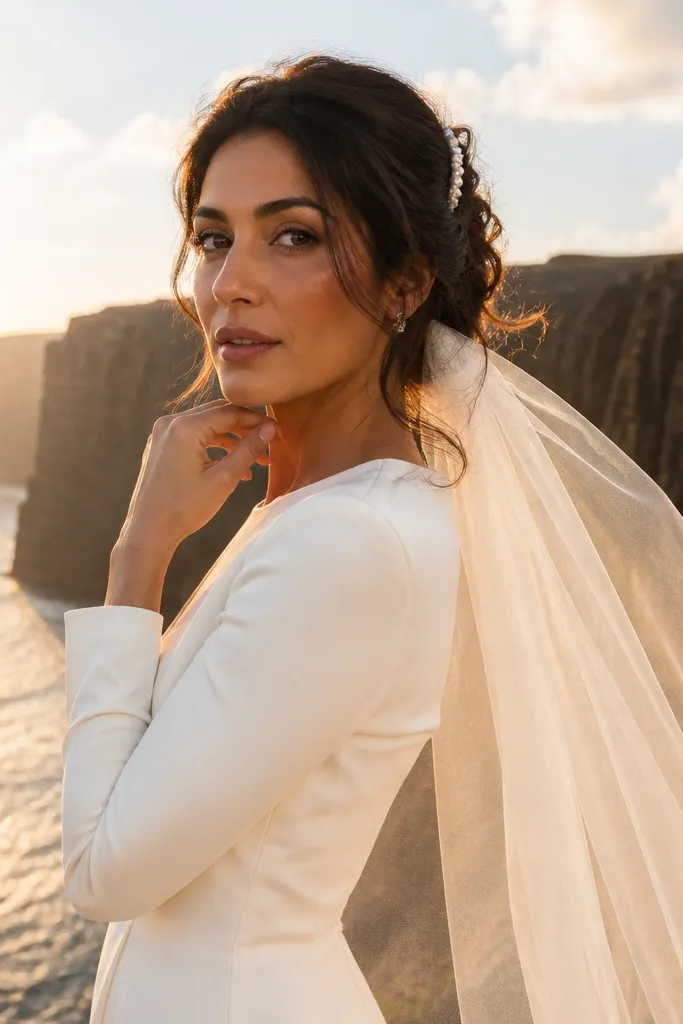
Cliffside and overlook locations look dramatic, but only if you keep body lines clean. This pose uses a chin-hand placement to create a composed shape and keeps your faces from disappearing into the background. It’s also a good choice for couples who don’t want to hold props or do big movement — you get drama from the setting and polish from your posture. Use it where the background is wide and uncluttered.
Pack a small scarf or shawl if wind is strong. Start by standing at a safe distance from the edge and choosing a spot with a clear horizon behind you. Then do a profile stance: shoulders angled, one hand resting near the chin or collarbone, and the other hand lightly touching your partner’s forearm. Finally, have both look out first for 2 seconds, then turn toward each other for a quick emotional frame.
Quick tipWear sunglasses only if it matches your outfit and you’re ready for squinting. Better: shoot in one window of time when light is softer.
Skip thisDon’t hunch forward. It makes you look shorter and ruins the elegant profile line.
13. City Rooftop Wall Lean with Back-to-Back Angles

Rooftops give you skyline lines and that clean, modern look you can’t get in a park. This pose works because it creates geometry: one partner leans with shoulders square, the other turns slightly, and your heads don’t overlap. It also handles higher contrast lighting better than you’d think if you keep your faces angled and avoid staring straight into bright sun. It’s great for couples who want stylish, not overly sweet.
Bring a light layer for wind and a lint roller for outdoor dust. Start by finding a rooftop wall with a simple surface and minimal signage. Then do a wall lean: one partner stands closer to the wall and the other stands half a step forward, creating separation. Finally, angle both faces — one looking at the camera, the other looking over the shoulder — and keep hands either at the waist or lightly holding fabric at the side.
Shoot early evening. Rooftops get harsh sun late afternoon and it flattens faces.
Skip cluttered rooftop edges with railings in the way — it distracts from your silhouettes.
14. Museum Hallway Mirror Two-Step
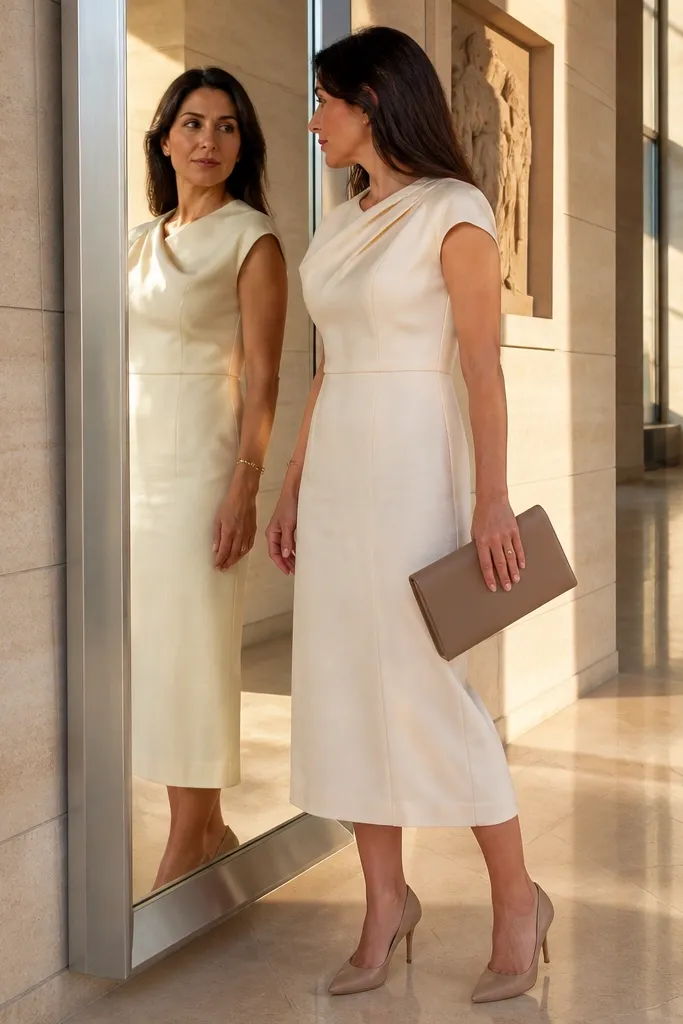
Mirrors in hallways create a clean, symmetrical look that feels polished and intentional. This pose is perfect when you want aesthetic photos but your travel plan has limited outdoor time. It also gives you a different angle without needing an extra location — your reflection adds depth and keeps the frame interesting. Keep your movements small and your expressions soft so the symmetry stays calm.
Wear shoes you can walk in quietly — hallways are strict and you don’t want to fumble. Start by finding a hallway mirror with clean edges and no heavy glare. Then do a two-step: stand close to the mirror, turn your bodies slightly toward it, and place hands at waist height (one hand on belt, one on forearm). Finally, glance at the reflection for one set of frames, then turn your faces toward your partner and hold the same pose for a second burst.
Quick tipBring a small handheld fan if it’s warm. It keeps hair from sticking to faces in indoor AC.
Skip thisDon’t use this pose in a mirror with warped glass. Your faces will look off and you’ll notice it immediately.
15. Garden Path Sitting with Bouquet Cradle
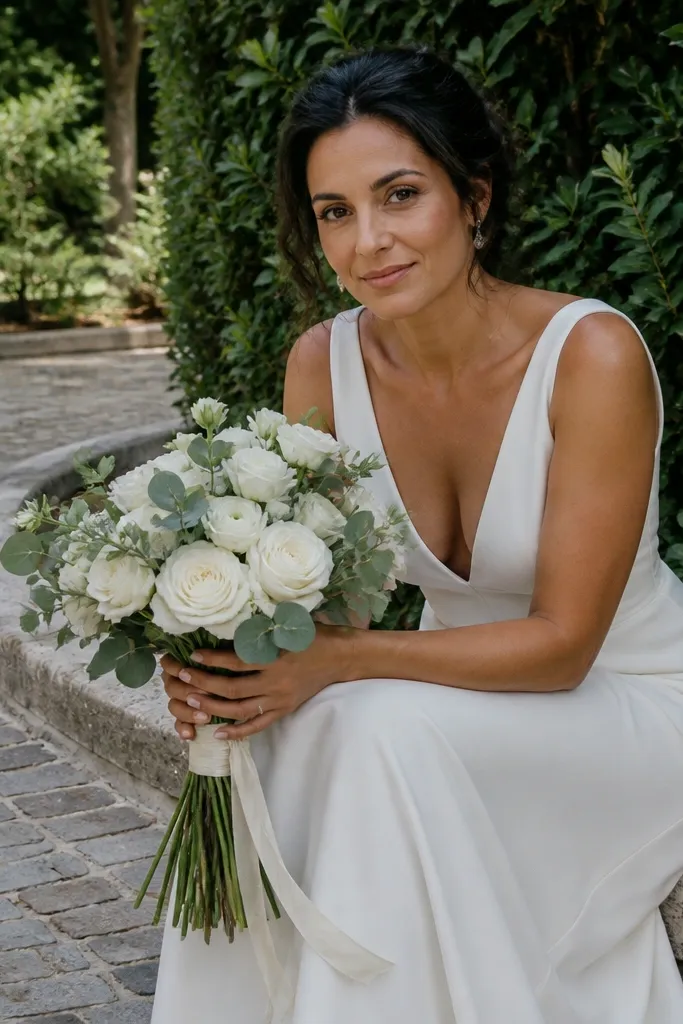
Sitting poses look romantic when the bouquet has a job. Cradling flowers between you creates a natural focal point and makes your hands look styled without feeling forced. Garden paths also add depth and lead lines, so your bodies don’t look lost against a wall. This pose works for daytime shoots when you have soft natural light and can keep the background slightly blurred.
Pack a small, travel-friendly bouquet or a bouquet substitute like eucalyptus and a ribbon tied to a handle. Start by choosing a path with greenery on both sides so the background frames you. Then sit slightly off-center, with one partner’s legs angled and the other partner sitting closer to the flowers. Finally, cradle the bouquet between hands at mid-torso and lean in so your shoulders create a gentle curve toward each other.
Quick tipBring floral tape or a ribbon tie. It prevents stems from poking through and ruining the look.
Skip thisDon’t let the bouquet block your faces. Hold it low enough that your eyes stay clear.