
1. Brass pillar candleholders with smoked glass sleeves
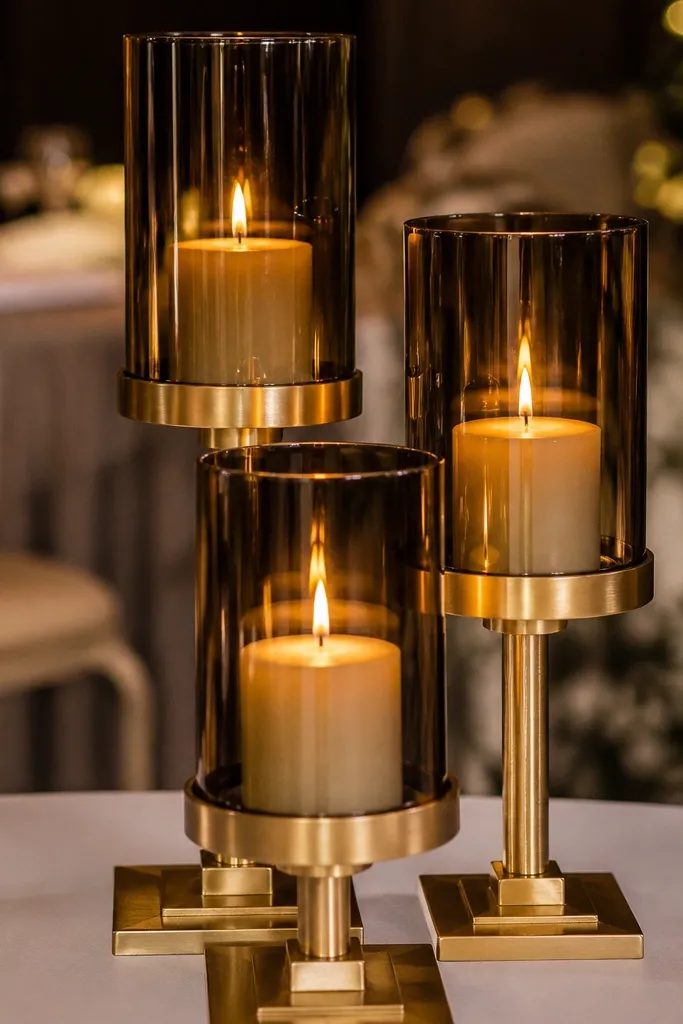
This is worth it because it creates height without looking busy. Brass gives you that warm reflection in photos, and smoked glass keeps the candle glow moody instead of harsh. Put them in a staggered line so the silhouettes don’t blur into one block. It suits evening receptions, ballroom lighting, and any venue where the gift table needs to feel “designed,” not “decorated.” If your table is long, this works because you can place two clusters and still read as one look.
Start by choosing 3 to 5 candleholders that are within one height range so the line looks intentional. Then set them on a tray or along the runner edge so the placement doesn’t look random. Finally, use flameless candles if you’re worried about dripping wax, but pick warm white light so the brass looks golden. Budget tip: buy one higher-quality set of candleholders instead of multiple cheap ones that wobble and look off-camera.
Use warm white candles and keep wicks trimmed on any real candles so the glow stays clean.
Skip clear glass sleeves if your venue has bright overhead lights — they can look washed out in photos.
2. Ivory linen runner with a subtle frayed edge
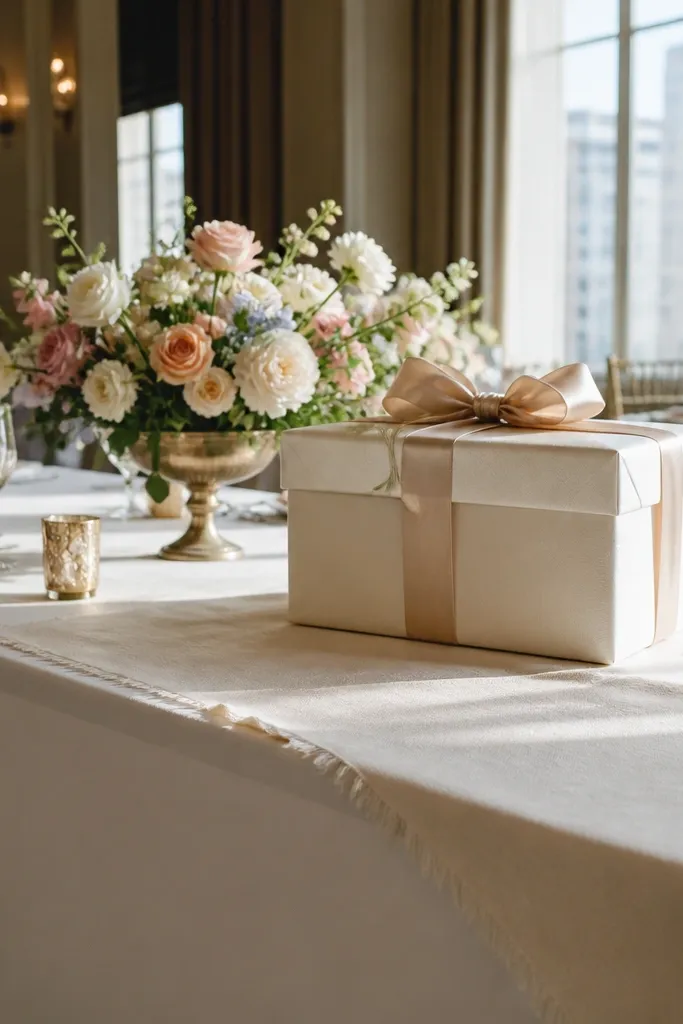
A linen runner is best when you want the whole table to look softer and more expensive. The frayed edge adds texture that shows up even in wide shots, and ivory keeps it forgiving with any floral palette. This piece also fixes the most common problem: gift tables look empty because the center has no “base layer.” Linen works for rustic, garden, and modern styles because it doesn’t fight your centerpieces. It’s especially good for daytime ceremonies because linen looks natural in sunlight.
Measure your table first — you want the runner to hang 6-10 inches on each side for a styled look. Then press or steam the linen so creases don’t read as wrinkles on camera. Finally, anchor the runner with two small items at the corners (like a mini tray or candle) so it doesn’t shift during setup. If you’re renting a table, bring a clip-on steamer or ask for one at the venue.
Steam the linen right before you place the decor; dried linen holds creases that show up fast in flash photos.
Avoid synthetic “linen look” runners that shine — they look plasticky under event lighting.
3. White ceramic bud vases in a staggered line
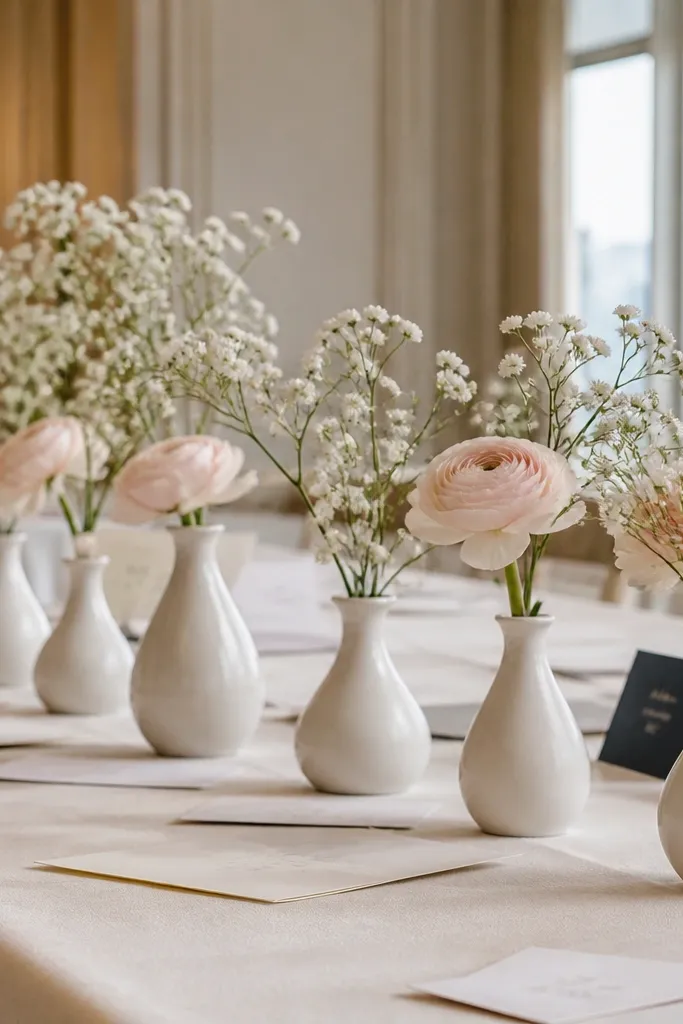
Small bud vases are a best choice when you want a clean, gift-table-friendly look that doesn’t block traffic. Ceramic reads upscale because it has weight and a matte finish, and the staggered heights keep it from looking like a row of identical containers. This works with almost any flower palette, but it’s especially good for ivory, blush, and soft greens. It also photographs well because the vases create repeating shapes. Put flowers only in some vases if you want a more editorial, airy feel.
Start with 7 to 11 bud vases so you get a rhythm across the table. Then group them by height: a few tall ones in the middle and shorter ones toward the ends. Finally, use the same flower type in micro-bunches, like mini white roses or ranunculus, and keep stems trimmed to 2-4 inches above the rim. This makes the look cohesive even if you’re using seasonal blooms.
Quick tipChoose one flower and one filler max; more than that turns it into a generic bouquet spread.
Skip thisSkip tall stems that reach eye level — they block guests and ruin the clean lines.
4. Acrylic welcome card holder with gold base
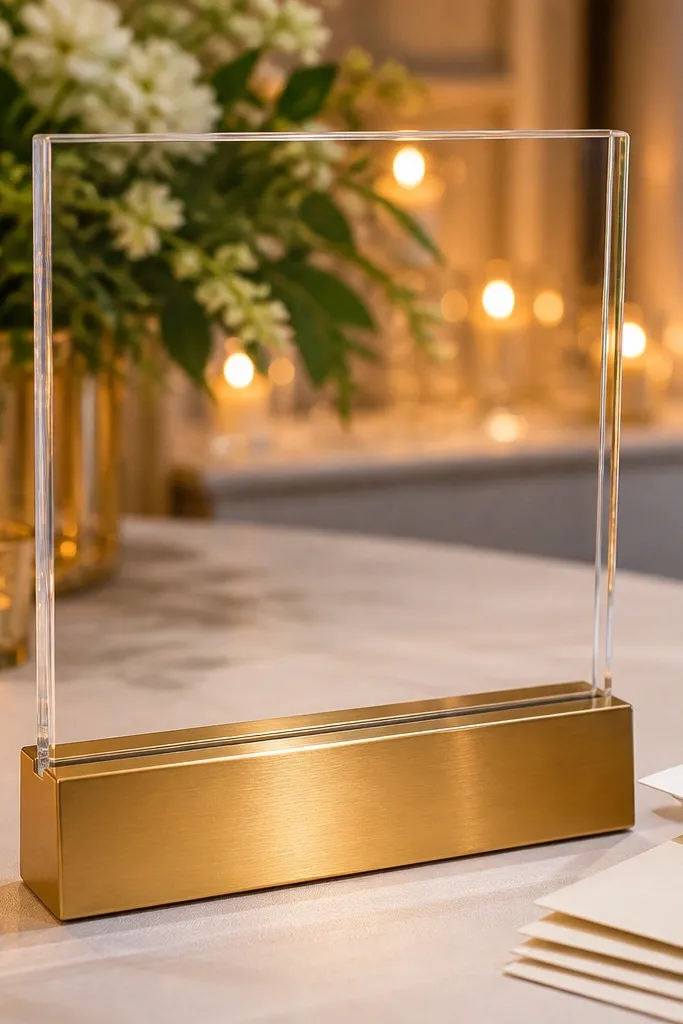
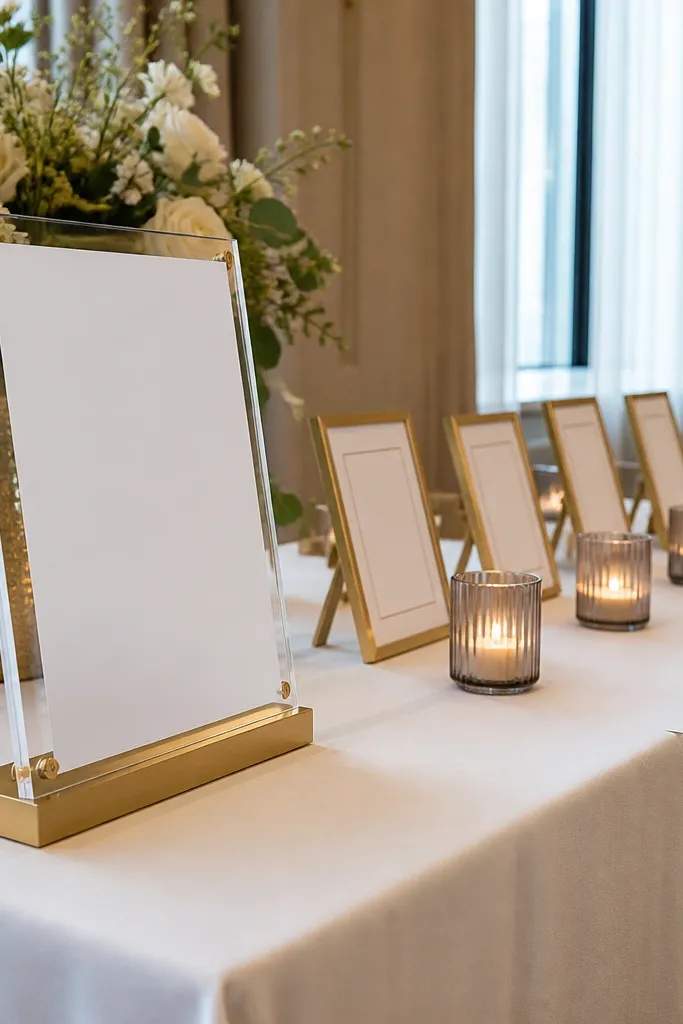
This is a simple, best-in-class way to make the gift table feel organized and styled. Acrylic is clean in photos, and the gold base ties it into candleholders, frames, or tray accents. It’s also functional, which matters because gift tables get cluttered fast with cards, pens, and envelopes. Use it for a small sign that directs guests to the gift area or for a card message. It suits modern venues, beach weddings, and any setup where you want transparency and lightness.
Start by picking the card holder size that matches your sign — you want the sign to sit centered with at least 1 inch of border visible. Then place it at the front corner of the gift table where guests naturally look. Finally, wipe acrylic with a microfiber cloth so fingerprints don’t show under flash. If you’re printing a sign, use matte paper so it doesn’t glare.
Quick tipAngle the holder slightly toward the room, not straight at the camera, so glare doesn’t wash out the text.
Skip thisAvoid glossy laminated signs behind acrylic — glare makes the text unreadable.
5. Mirror tray centerpiece for gift-table stacking
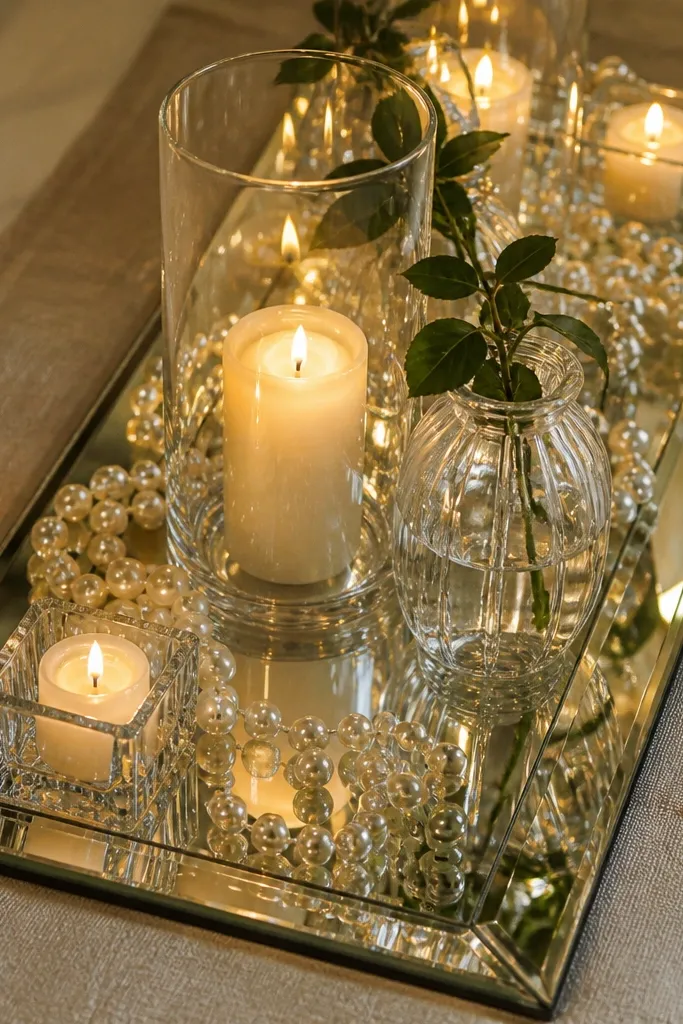
Mirror trays are worth it because they multiply light and make small decor look intentional. The reflective surface adds depth, so even minimal items look styled. This works best when your gift table has a plain cloth or a simple runner — the tray becomes the focal “stage.” Use it with clear glass, pearl beads, or ivory florals so reflections stay soft. It also helps if your venue is dim; reflections brighten the station without adding more objects.
Start with a tray that’s about 2/3 the width of your gift table’s center space. Then build on it: one candle or bud vase in the middle, two smaller pieces on the sides, and a thin decorative layer like faux pearls or crystal stones. Finally, keep the height under 12 inches so the tray stays readable in photos. Budget: buy one good tray rather than multiple small ones that look mismatched.
Quick tipUse a non-slip pad under the tray so it doesn’t slide when guests bump the table.
Skip thisSkip heavily distressed mirrors — the texture can look dirty in close-up photos.
6. Pearl garland draped over a gift-table edge
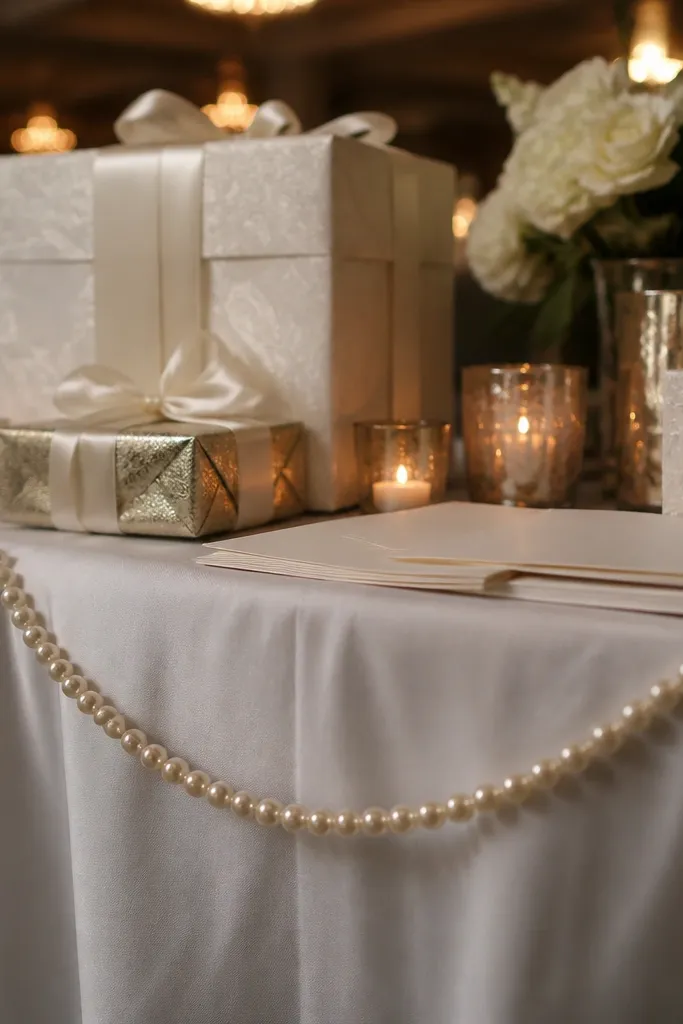
A pearl garland is best when you want instant polish without building a full centerpiece. It reads as bridal and clean, and the gentle curve makes photos look softer. Drape it along the front edge or around the corner of the gift station so it frames the cards and gift area. It suits classic weddings, winter events, and any palette with ivory or blush. The look also photographs well in both warm candlelight and daylight because pearls catch light without being flashy.
Start by choosing a garland length that matches your table — measure the front edge and add 6 inches for overlap. Then attach with clear tape or hidden zip ties under the table so it doesn’t shift. Finally, place two anchors where it’s most visible (left and right corners) and let the center fall naturally. If you’re using real pearls, consider steaming the string lightly before setup to remove kinks.
Quick tipKeep the garland 2-3 inches above the table surface so it doesn’t look like it’s lying flat.
Skip thisAvoid chunky pearls if your table is small — they overpower the gift area and clutter photos.
7. Mini framed table numbers in matching metal frames
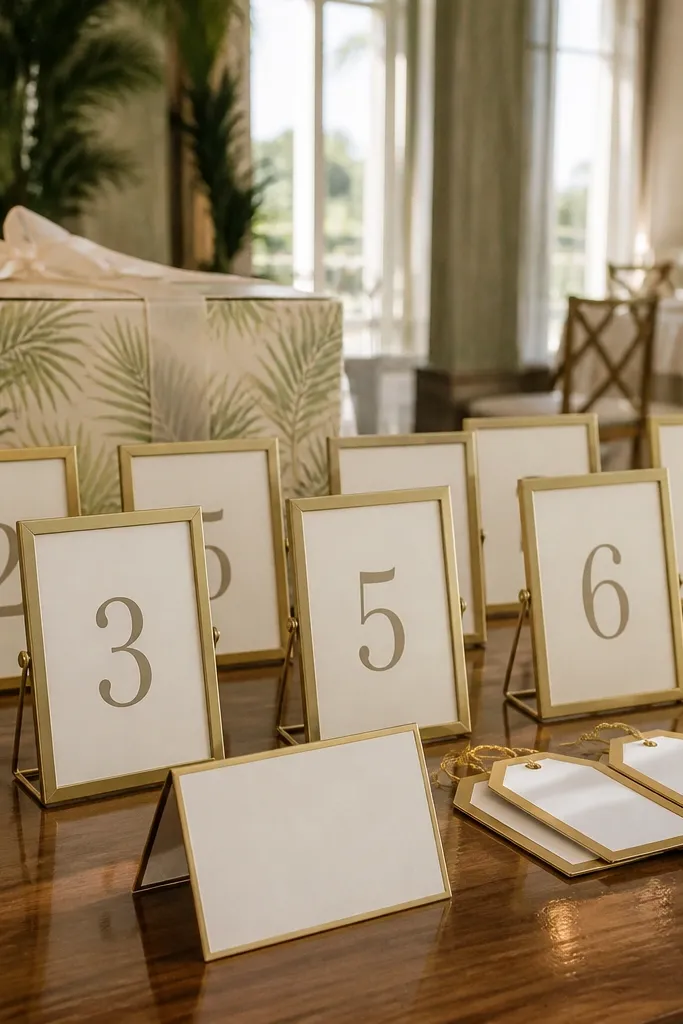
Framed numbers are worth it because they make the gift table feel like part of the wedding design, not a random side area. Matching metal frames create a consistent look, and you can use them for gift-table rules, a card message, or a tasteful “to our home” number. They’re also practical because guests like clear cues. This works in modern, classic, and even rustic settings when you choose the right metal tone. Keep the frames small so they don’t block the gift table items.
Start with 2 to 3 frames in the same finish and roughly the same size. Then mount them on stands or on a slanted tray so they angle slightly toward guests. Finally, use matte paper inserts in ivory or soft blush and keep text large enough to read from 6-8 feet. Print inserts on thick paper so the edges don’t look flimsy in close-ups.
Quick tipUse the same font style across frames and signs so the whole station looks designed.
Skip thisSkip mismatched frame colors — the station looks like a collection instead of a set.
8. Glass cloche with faux greenery and micro lights
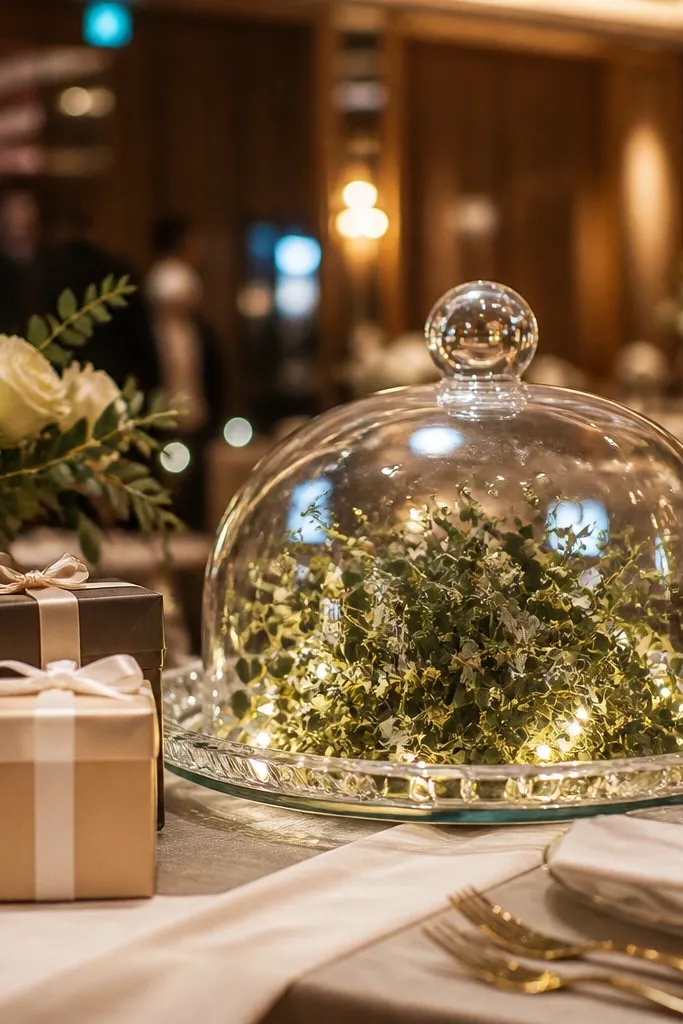
A cloche is a best choice when you want that “wow” moment without a big floral bill. The glass dome creates a contained scene, and micro warm lights make it glow in evening photos. Faux greenery inside keeps it looking full, even if setup time is tight. This style suits winter weddings, boho-meets-classic, and any venue with darker corners. It also works for gift tables because it keeps decor from spreading all over the table.
Start by picking a cloche size that fits your table scale — aim for 8-12 inches wide for most gift tables. Then add faux greenery and a small focal piece (like a white mini rose or a pine sprig) and nestle LED fairy lights around it. Finally, keep the lid clean and place the cloche on a small base plate so it doesn’t slide. If you’re using real greenery, plan for wilting — faux is more forgiving.
Test the lights at home and bring extra batteries; cloches hide issues until it’s too late.
Avoid cool blue lights — they make florals look sickly under warm venues.
9. Peony-like silk blooms in a tall cylinder vase
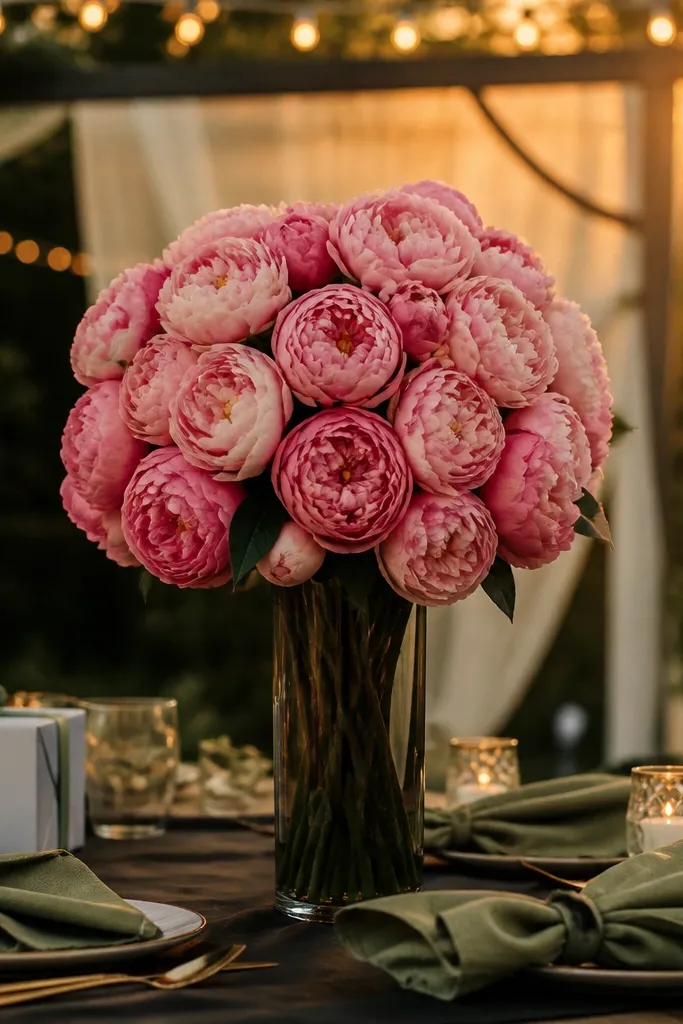
Silk blooms in a tall cylinder vase are worth it when you want controlled color and zero droop. The cylinder shape keeps the silhouette clean and the flowers read as a single mass from a distance. Choose peony-like textures for a soft, petal-forward look that photographs like fresh florals. This is great for outdoor heat, venues with strict timing, or anyone who wants the gift table to look perfect for hours. It also pairs well with neutral linens and brass accents.
Start with a vase height around 14-20 inches so it’s visible above the card area. Then pack the blooms tightly so you don’t see gaps; cylinder vases magnify empty space. Finally, keep the color palette to one main flower color and one secondary shade max. If you’re adding greenery, use only minimal leaves to avoid a “craft store” look.
Dust silk flowers with a soft cloth before setup so they don’t catch flash as gray.
Skip mixed flower types in one vase — it looks like a grab bag.
10. Row of votive candles in smoked hurricane glasses
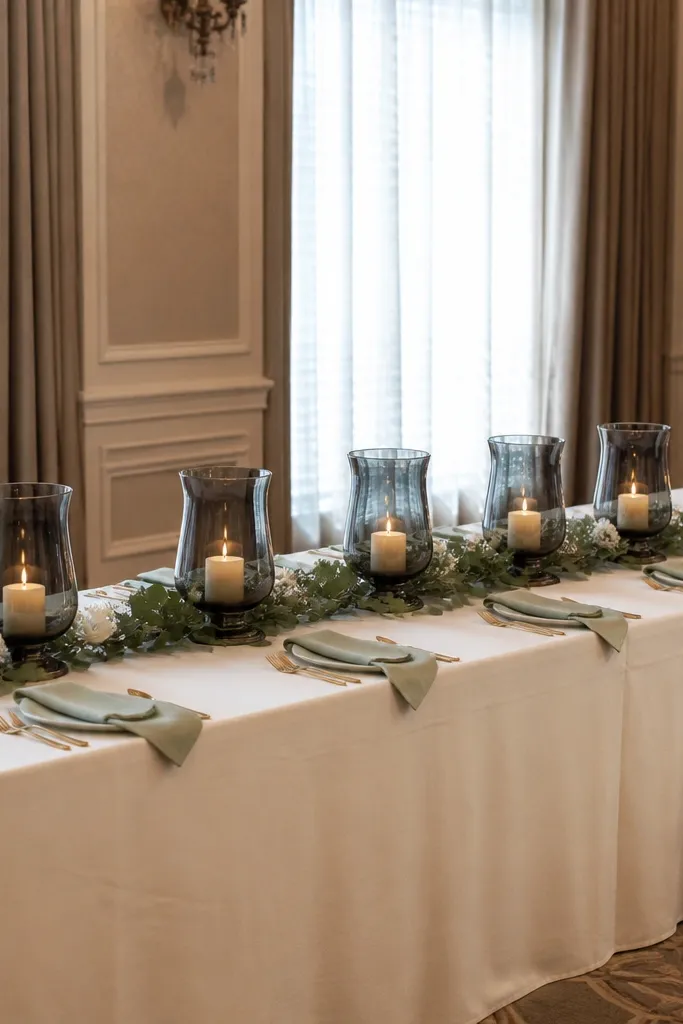
Hurricane glasses make votives look intentional and elevated. Smoked glass keeps the glow warm without turning your table into a bright, yellow strip in photos. This is a best option when you want a steady, camera-friendly light source across the gift table. Place them evenly so the rhythm feels designed. It works in black-tie weddings, moody receptions, and any palette with charcoal, ivory, or gold.
Start by counting how many votives fit your table width — plan for 5-9 glasses depending on size. Then line them across the center on a runner or tray so the base looks tidy. Finally, use the same candle type in every glass and keep wicks centered. If you’re using real candles, place a small drip guard or use flameless if kids or wind are an issue.
Quick tipSet candles during golden hour so you get full warm glow for photos without rushing later.
Skip thisAvoid mixing candle colors (like white and cream) — the line reads uneven.
11. Macrame runner with ivory tassels
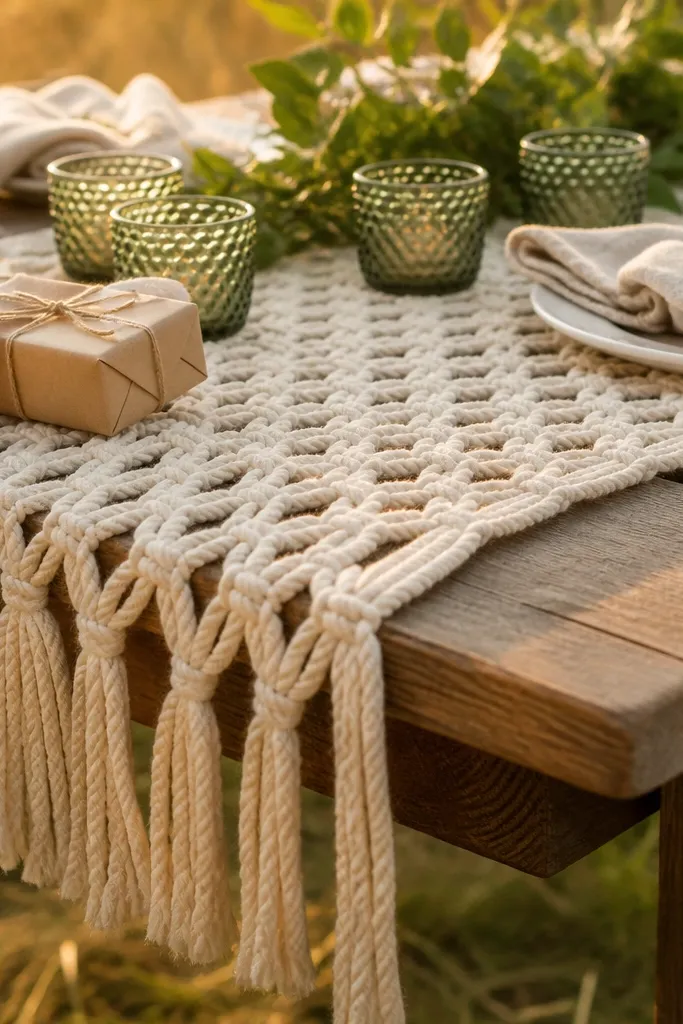
Macrame adds texture that looks great in daylight and in close-up detail shots. The tassels create movement, and the open weave keeps the table from feeling heavy. This is worth it if you want a boho-romantic feel without using a ton of flowers. It suits garden weddings, desert venues, and casual receptions. Use it as the base layer so your candles and card station look “framed” by the weave.
Start by choosing a runner length that covers most of the table surface but leaves clear space for the gift items. Then anchor it at the edges using double-sided tape on the underside or hidden weights. Finally, place one tall element in the middle and keep smaller pieces on the left and right so the tassels don’t compete. Wash or refresh the runner before the event so it doesn’t look dusty under flash.
Quick tipBring a small lint roller; macrame holds lint like crazy after travel.
Skip thisSkip super-dark macrame if your venue is already dim — it can swallow the whole station.
12. Ceramic bud vase set with sage-green glaze variation
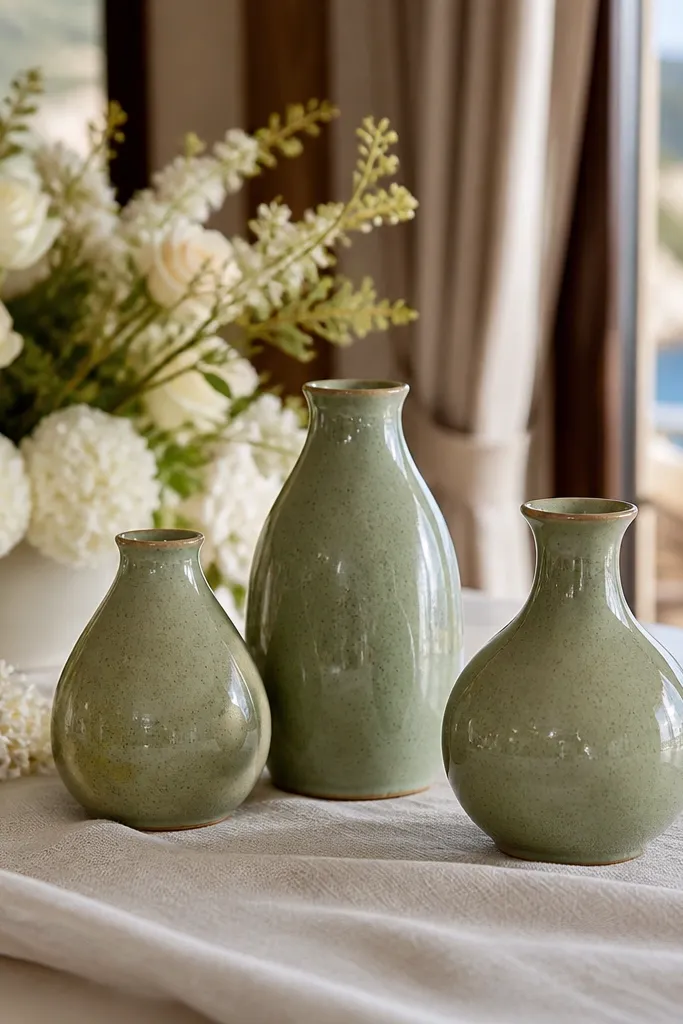
Glazed ceramics look expensive because the finish has depth, not just color. A sage-green set with slight variation gives you an organic look that still feels cohesive. This is best for couples who want a fresh, modern palette without bright florals. It also works well for travel weddings because you can use faux greenery and it still looks natural. Place these vases around the card area and along the runner — the color ties the station together even if the rest of the decor is minimal.
Start with 6-10 vases in one glaze family, not random greens. Then place them in a gentle curve across the table so your eye moves along the station. Finally, use matching stems in each vase and keep the top height consistent (around 3-5 inches above the rim). If you add flowers, choose soft whites and pale pinks so the sage stays the star.
Quick tipPack vases in individual tissue sleeves so glaze doesn’t chip during transport.
Skip thisAvoid matte ceramics in a bright venue — they can look flat compared to glossy accents.
13. Champagne-gold balloon arch table backdrop (small scale)
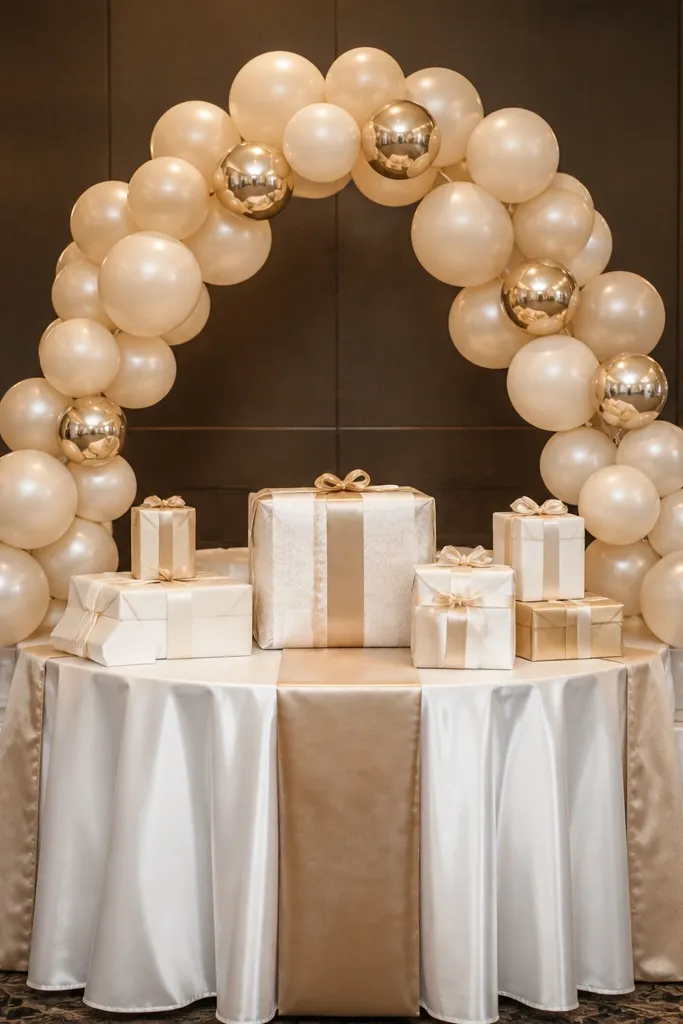
A small balloon backdrop is worth it when your gift table needs a clear photo area behind it. The gold tones reflect light and give instant “event energy,” and the small scale keeps it from overwhelming the station. It’s best for indoor receptions, photo booths, and venues where the table is against a blank wall. Choose a tight color palette: champagne, pale ivory, and a thin gold accent. Then keep the table decor simple so the backdrop does the heavy lifting.
Start by building a backdrop that’s slightly wider than your gift table, usually 4-6 feet for most setups. Then use balloon clusters with a mix of matte and glossy so it reads dimensional in photos. Finally, secure it to a stand or weighted base so it stays stable and doesn’t drift. For longevity, inflate and set it close to ceremony time so it doesn’t sag in bright rooms.
Quick tipTake a test photo from where guests stand; adjust the height so the balloon line sits above head level.
Skip thisSkip a rainbow mix — it looks like a party backdrop instead of wedding decor.
14. White rose garland draped on the card table side
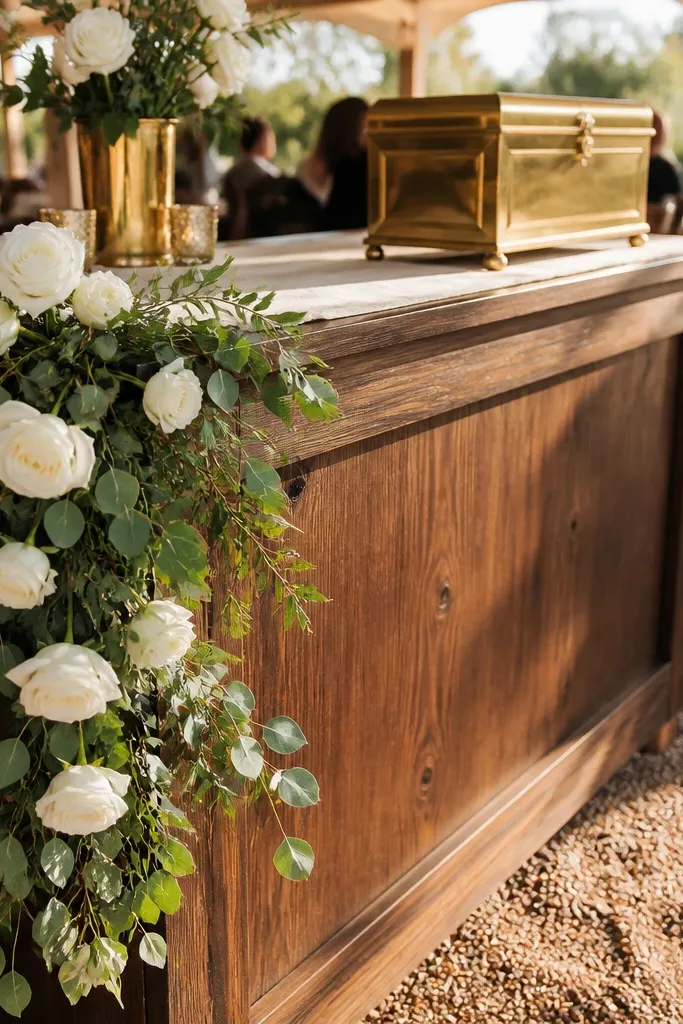
A rose garland is best when you want a soft, romantic frame without a full centerpiece. Draping along the side keeps the front clear for gifts while still giving you that “styled wall” feeling. Choose white roses with a mix of buds and open blooms so the texture reads in close-ups. This is great for both day and night weddings because white florals stay crisp under different lighting. It also makes the gift table look complete even if you’re not doing elaborate centerpieces elsewhere.
Start by measuring the side length and planning for 1.5 times coverage so it doesn’t look sparse. Then attach with clear fishing line to the table edge or stand so it looks like it’s hanging naturally. Finally, tuck the ends under small objects like candleholders to hide attachment points. If you’re using faux, pick garlands with real-looking leaf texture so it doesn’t look plastic.
Quick tipUse a slightly uneven drape — straight lines look staged and less natural.
Skip thisAvoid garlands that only have open blooms; they look flat compared to mixed bud-and-bloom sets.
15. Beaded charger plate under a single statement vase
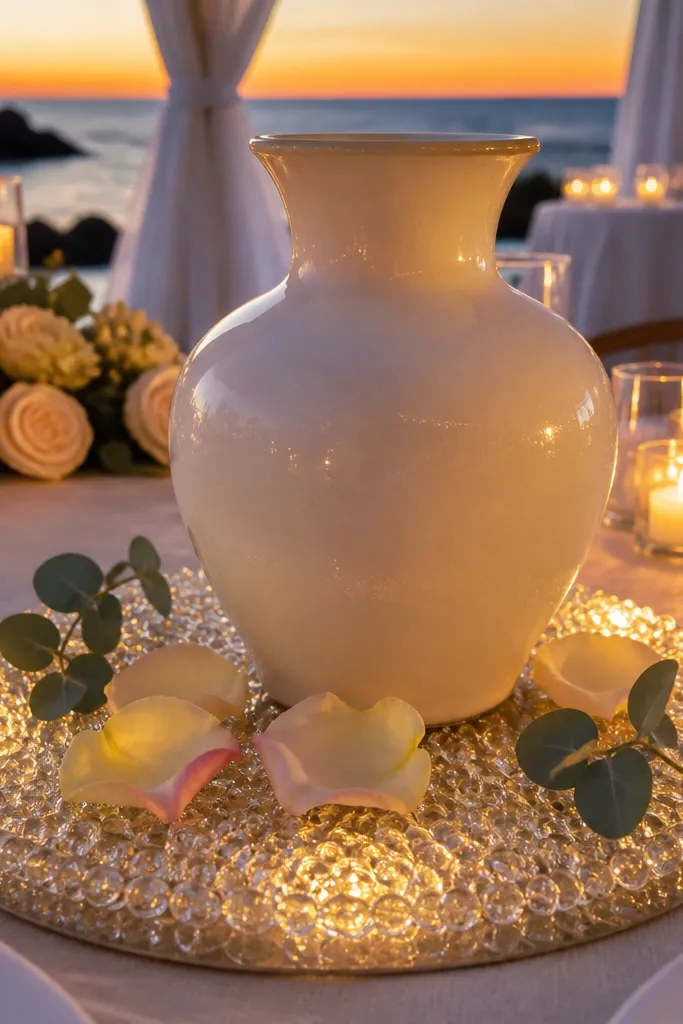
A beaded charger plate is worth it because it turns one vase into a centerpiece without adding more items. The bead texture catches light and creates a halo effect under candles and florals. Keep it simple: one statement vase on top, a few small fillers around the base, and let the plate do the sparkle. This is a strong choice for weddings with ivory, champagne, and gold accents. It also photographs well because the plate adds texture even when the background is plain.
Start by selecting a charger plate size that fits your statement vase base — you want 1-2 inches of bead visible around the edges. Then place it on a tray or directly on the runner and keep the vase centered. Finally, add one supporting element like a mini candle or a small card stand so the composition feels balanced. If you’re worried about stability, use museum gel dots under the vase base.
Quick tipPhotograph from the side before the event; bead patterns look different depending on angle.
Skip thisSkip oversized chargers on small tables — they eat space and make the gift area feel cramped.
16. Mini herb potted favors arranged as a gift-table border
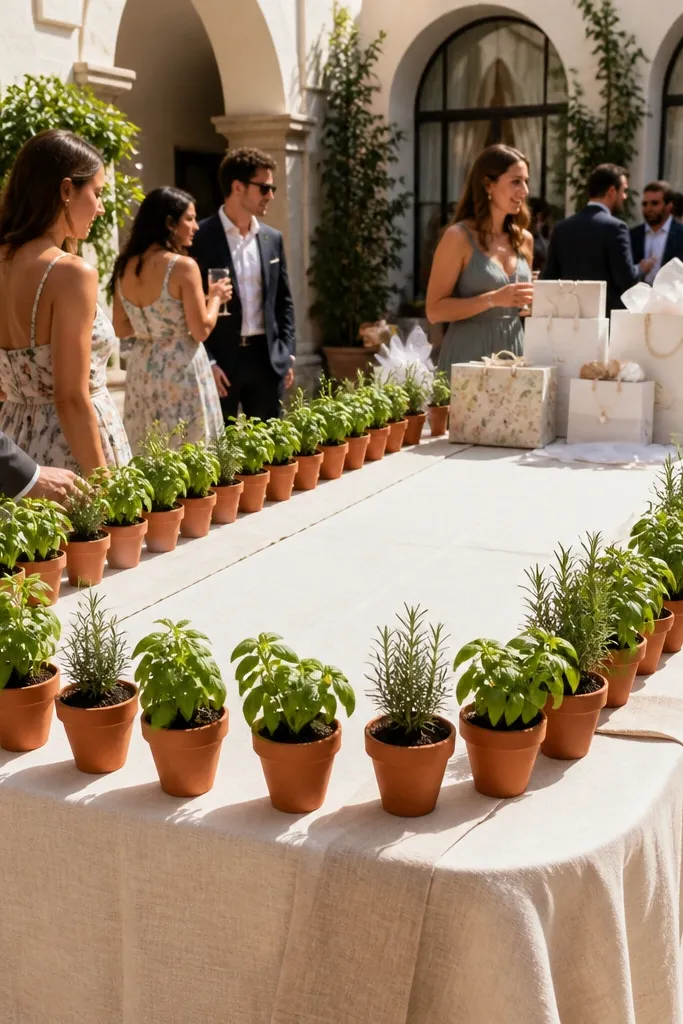
Edible-looking favors are best when you want the gift table to feel personal and still look clean. Small potted herbs like basil or rosemary create height variation and a lived-in texture that looks great in daylight. Arrange them as a border so the center stays clear for cards and gift bags. This is worth it if you’re doing a destination wedding or you want decor that guests can take home immediately after. It also pairs naturally with linen, kraft paper, and simple metal accents.
Start by buying enough pots to line the table edges — plan for 10-20 depending on length. Then group them in sets of three so the border looks intentional, not like random plants. Finally, label each pot with a small tag tied with twine so it reads as part of the design. Keep pots watered before setup so leaves look fresh in photos.
Cover pot soil with decorative moss or paper so the surface looks neat even if leaves move.
Avoid tall pots that block cards; keep the herb height under 10 inches.
17. Gold-rimmed glass vase with floating candles
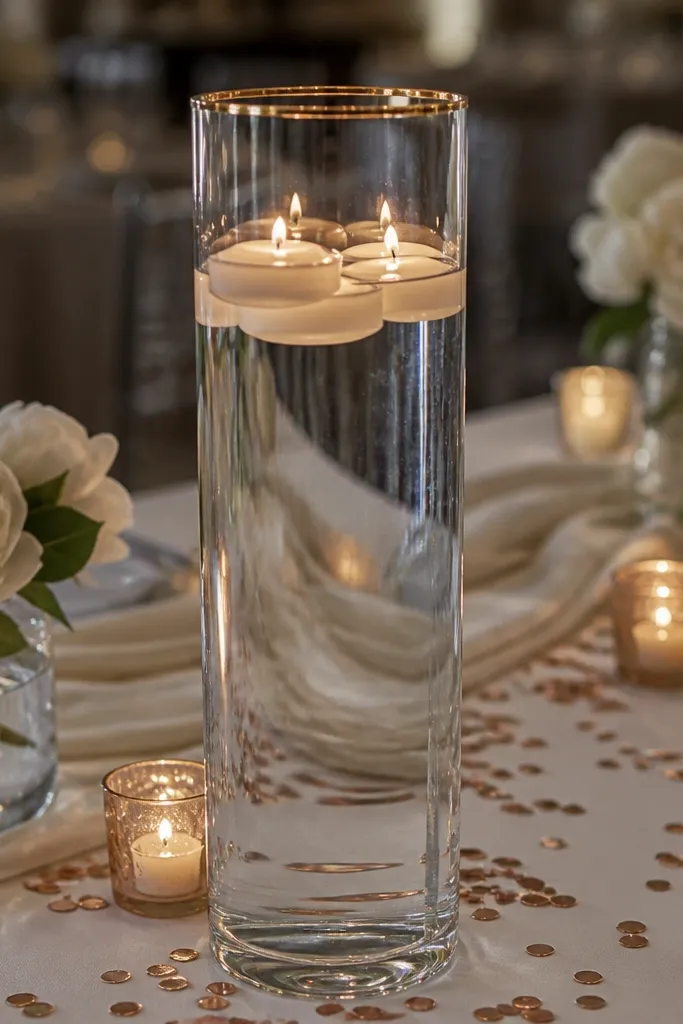
Floating candles in a gold-rimmed vase look like a high-end event trick, but they’re straightforward and photogenic. The water surface adds movement and sparkle, and the gold rim keeps the piece wedding-appropriate instead of spa-like. Use this when you want a statement item that still fits a gift table without taking over. It works best for evening receptions and venues with a reflective surface nearby. Keep the vase centered so the focus stays on the gift area.
Start with a vase wide enough for 3-6 floating candles — too narrow looks crowded. Then fill with clean water and add floating candles that match your palette (warm white is the safest). Finally, place the vase on a tray or waterproof mat to protect the table. If you’re transporting, seal the water container and set up close to the event so nothing sloshes.
Quick tipUse distilled water if you can; it reduces mineral spots that show up in flash photos.
Skip thisSkip colored water additives — they turn into weird tones under mixed lighting.
18. Pearl and ivory ribbon tied around a tall mirror stand
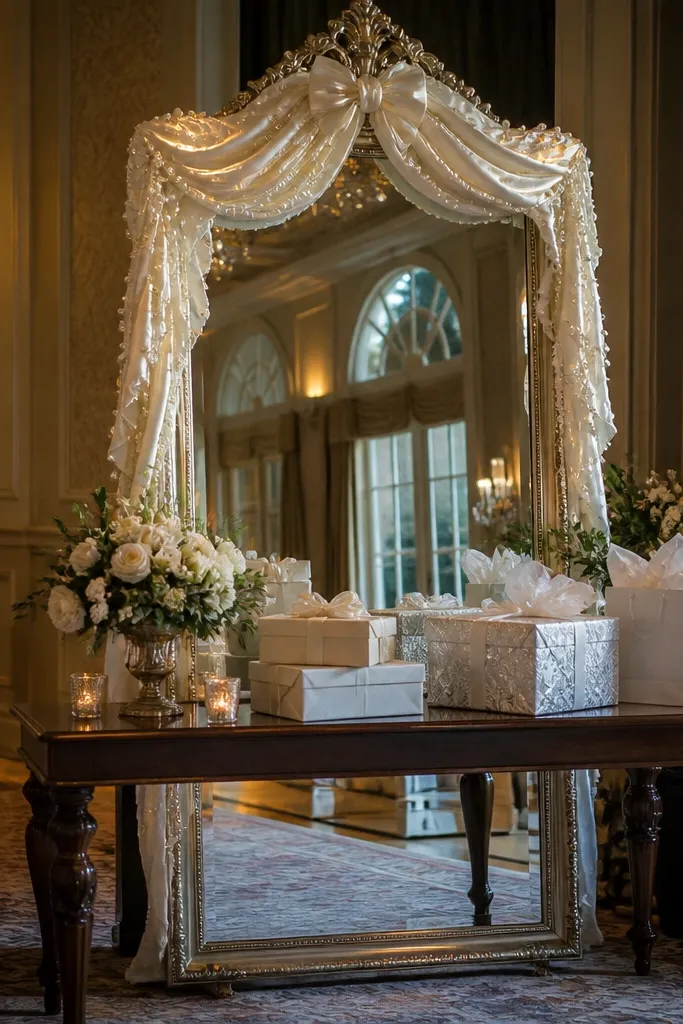
A tall mirror stand gives you depth and a “designed corner” behind the gift table. Ribbon and pearls soften the mirror so it feels bridal, not like event signage. This is best for venues with blank walls where guests will take photos near the gift area. The mirror also reflects the room light, which helps your decor look brighter in pictures. It’s worth it when you want one strong background element instead of five small ones that don’t read.
Start by picking a mirror stand height around 4-6 feet so it shows above the table without blocking views. Then tie ivory ribbon in two vertical bands and add a small pearl strand at the center for a focal line. Finally, anchor the ribbon so it doesn’t sway — use clear ties on the back. Place the stand slightly behind the table edge so the gift items stay in front of the reflection.
Quick tipWipe the mirror with glass cleaner right before photos; fingerprints show instantly.
Skip thisAvoid heavy metallic ribbons that look like costume fabric under flash.
19. Monogrammed acrylic cutout sign for gift instructions
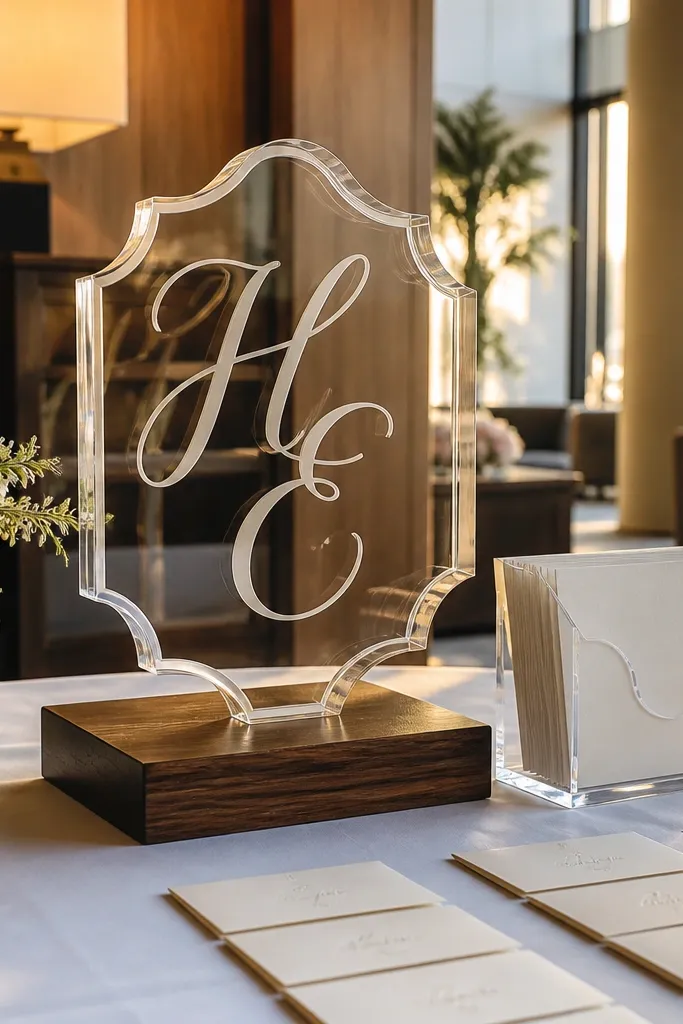
Monogram acrylic is best when you want the gift table to feel personal and modern without adding clutter. The cutout shape reads cleanly in photos, and it works with both minimal and full decor setups. Use it for instructions like where to place cards or how to submit gift contributions. It suits contemporary weddings, courthouse ceremonies, and destination setups where you want fewer physical items. Pick one monogram style and stick to it across table cards so the look feels intentional.
Start with an acrylic sign size that stays within the visual frame of the table — around 8-12 inches tall for most gift tables. Then mount it on a small stand or clear riser so it doesn’t sit flat and glare. Finally, print instructions in matte ink on a matching paper insert or use printed vinyl that won’t reflect. Bring a microfiber cloth so you can wipe it before the first photos.
Quick tipChoose a frosted acrylic or matte finish if your venue has strong overhead lighting.
Skip thisSkip glossy acrylic with bright LEDs overhead — it can blow out text.
20. Single-stem orchids in a tall matte vase
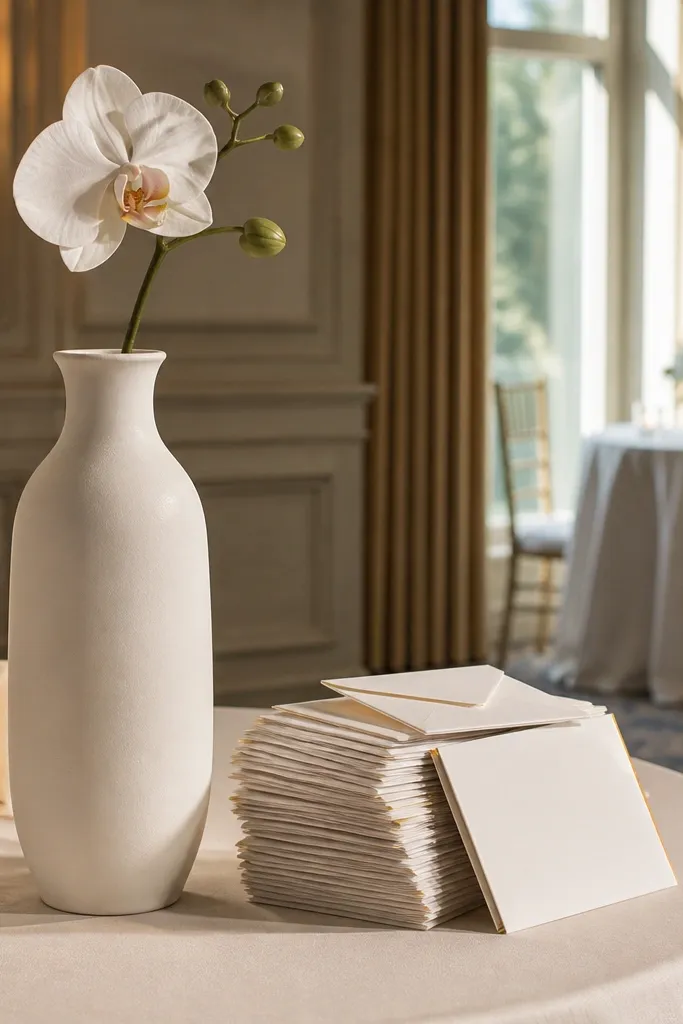
Single-stem orchids are worth it when you want a high-end, minimal look that still looks like wedding decor. The tall, clean vase plus one or two orchid stems creates a strong silhouette. It’s a smart choice for gift tables because it doesn’t crowd the card area and it stays photogenic from multiple angles. Orchids also photograph well because the petals hold shape and show texture. This works across seasons and is especially good for indoor receptions with controlled lighting.
Start with a matte vase in ivory, taupe, or soft gray and keep it tall enough to reach above the card station. Then place 1-3 orchid stems per vase depending on size and keep stems straight for a clean line. Finally, use only minimal greenery around the base so the focus stays on the blooms. If you’re worried about droop, choose sturdy orchid varieties and set them in water right before setup.
Quick tipKeep orchids away from direct AC vents; they can dry out faster than other florals.
Skip thisAvoid mixing orchids with lots of different flower types — it looks unfocused.



