
1. Oversized arch welcome sign with an evergreen base
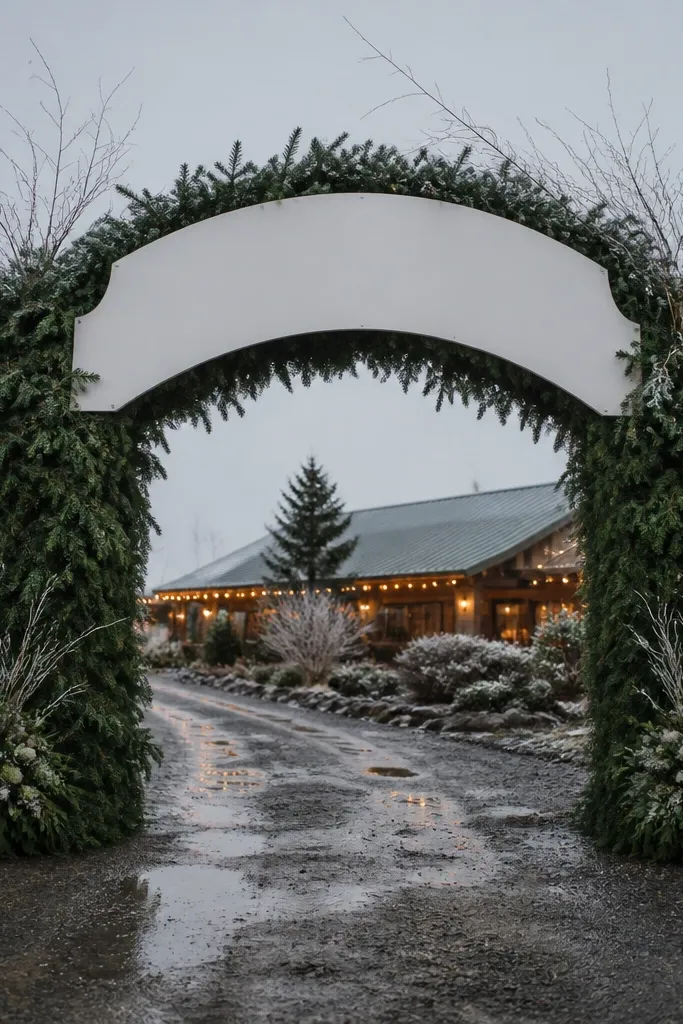
This is the entrance look that reads instantly in wide venue photos. An arch shape gives you a natural frame, and the evergreen base holds structure even if the weather shifts. Keep the sign panel matte and light-colored so the text stays legible against dark foliage. This works best for fall, winter, and early spring receptions where you want a grounded, slightly dramatic vibe.
Step 1: Choose an arch stand with a flat panel area at least 24x36 inches so the message stays readable from the driveway. Step 2: Build the evergreen base with pre-made garland sections and secure with zip ties, then add 3-5 clusters of white flowers for contrast. Step 3: Place the arch where guests first step off the car — usually the path edge — and anchor the legs with water-filled weights for wind.
If the venue has strong sun angles, rotate the arch 10-20 degrees so glare doesn’t hit the sign face.
Don’t crowd the panel with extra greenery — leave a clean text window.
2. Chalkboard welcome on a light stone slab with rope border
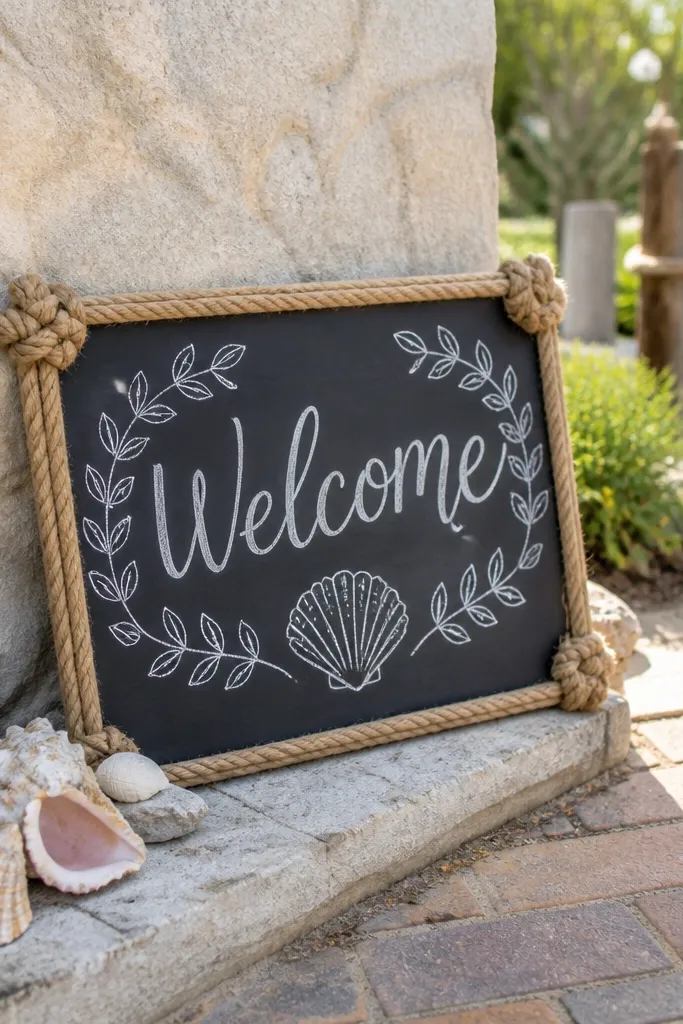
Chalkboard style looks cozy and handmade, but the key is the contrast. A chalkboard on a pale stone or concrete slab pops in photos and gives the sign a real sense of place. Rope border details add a nautical-meets-rustic texture that looks good near beaches, docks, or garden paths. This entrance is perfect for late summer and early fall when you want warmth without heavy florals.
Step 1: Use a chalkboard panel around 18x24 inches and frame it with thin rope wrapped around posts or a freestanding stand. Step 2: Write the welcome message in thick chalk strokes with a clear hierarchy: big “WELCOME” and smaller names beneath. Step 3: Put the slab on stable ground and add a non-slip mat under the stand legs so it doesn’t creep as people pass.
Quick tipUse pastel chalk or white chalk with a matte finish for easier reading in bright daylight.
Skip thisSkip thin, decorative scripts that disappear when the sun hits.
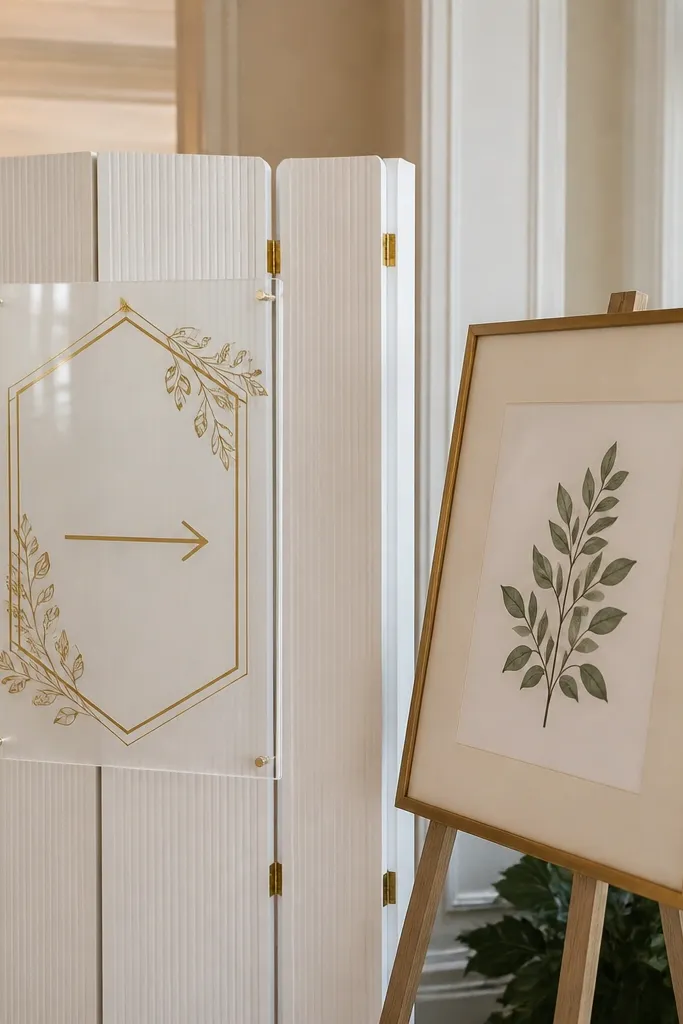
3. Acrylic welcome sign with gold vinyl on a white folding screen
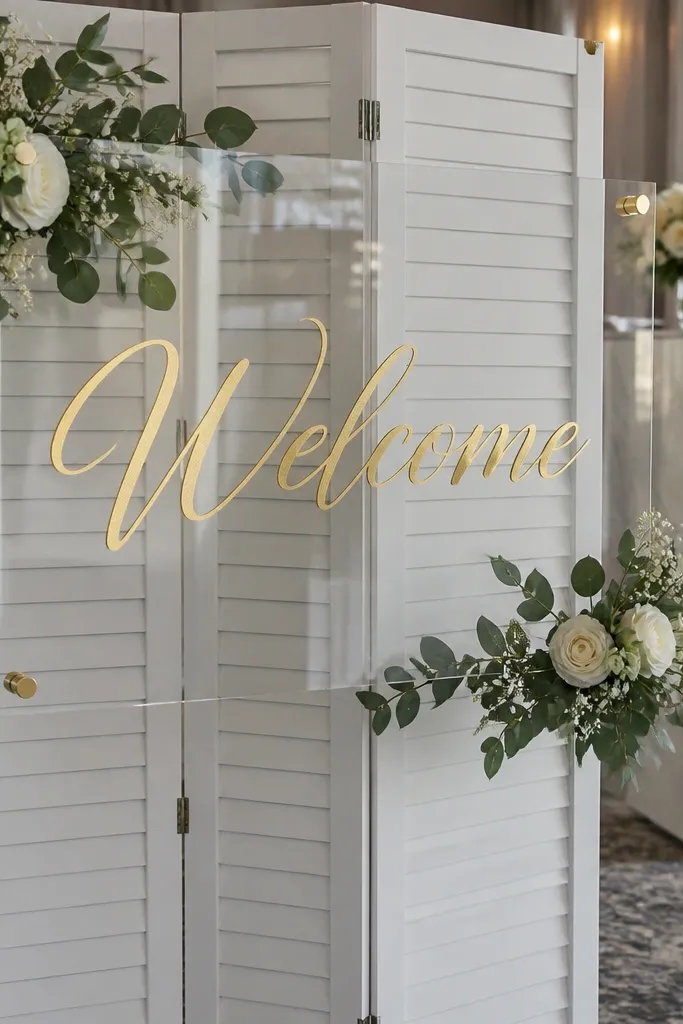
This is clean, modern, and photo-friendly because it reads like signage, not decoration. Clear acrylic gives a sleek edge, and gold vinyl adds shine without looking messy. A white folding screen behind it softens the background so the text stays crisp in every camera angle. Best for modern venues, indoor receptions, and spring weddings where you want light and airy.
Step 1: Mount the acrylic sign to a white folding screen or install it on a clear stand with a backing panel so it doesn’t flex. Step 2: Cut gold vinyl lettering with high contrast spacing, and keep the design to one headline plus a short line like dates or location. Step 3: Set it by a wall or near the bar so the background stays simple, and keep the acrylic face clean with a microfiber cloth before guests arrive.
Quick tipMatte or frosted acrylic reduces reflections better than glossy clear.
Skip thisDon’t use dark backgrounds behind acrylic — they turn the text into a glare mess.
4. Framed botanical welcome sign with a linen mat
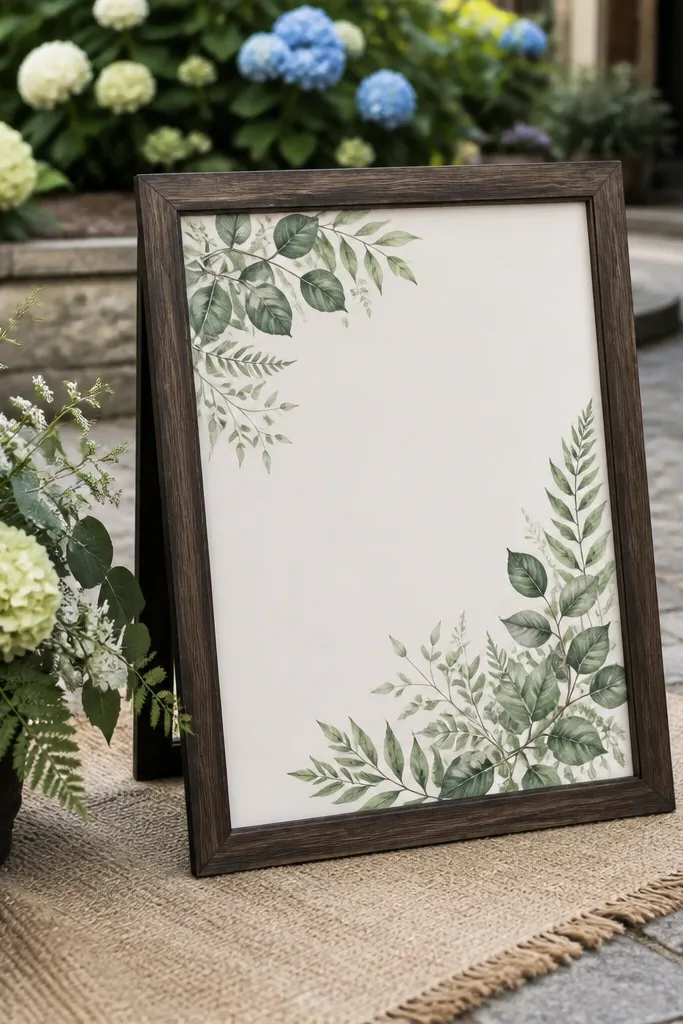
A framed print gives you a polished entrance that looks good even when it’s not surrounded by flowers. Linen as a mat adds texture that reads warm in photos, and botanical art keeps the vibe soft without clutter. This works especially well for garden venues and brides who want romance without heavy installations. It’s also easy to reuse because the frame can move to a photo backdrop later.
Step 1: Pick a frame color that matches your palette — black for crisp contrast, white for airy softness, or natural wood for warmth. Step 2: Use a linen-textured mat board and place a botanical welcome print inside with bold “WELCOME” at the top. Step 3: Set it on an easel with a wide base and place it near a hedge or fence so the frame edges don’t blend into the background.
Use UV-resistant glass or acrylic if the venue is outdoors for long stretches.
Skip busy patterns behind the frame — you want the frame to own the shot.
5. Vintage window welcome sign with layered signage panels
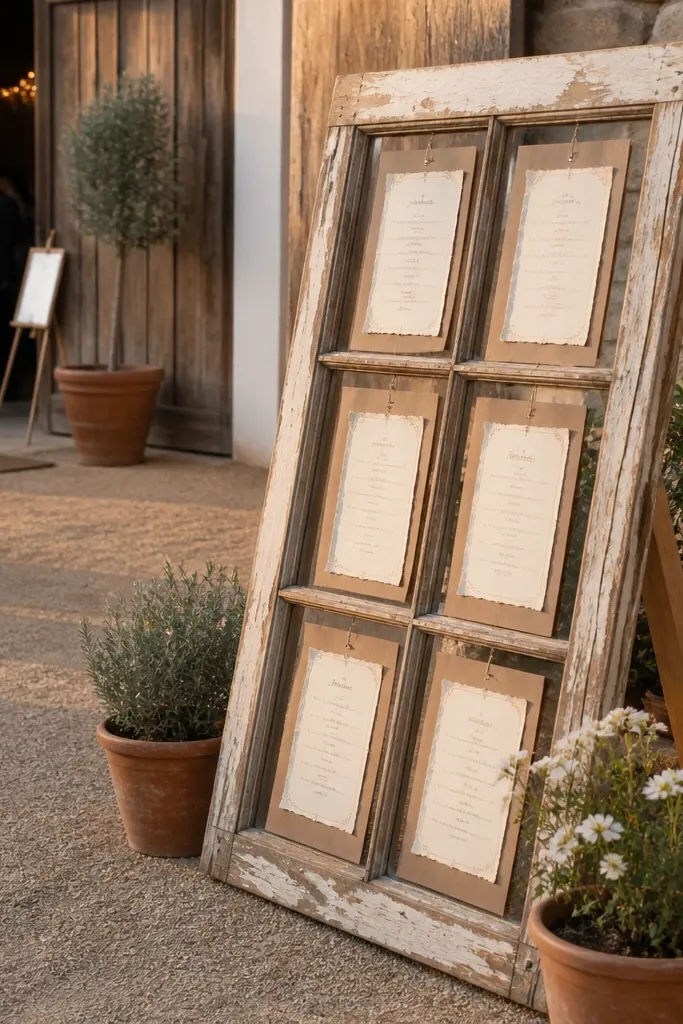
A vintage window instantly signals “this is the entrance,” and it creates depth in photos. Layered panels inside the window let you add itinerary-style details without cramming them onto one sign face. The weathered frame gives you texture even if you keep the florals minimal. This idea is perfect for outdoor receptions in courtyards, barns, and historic buildings where you want old-world charm.
Step 1: Use a window frame that’s sturdy and has at least two panes or panel areas so you can separate the message and names/dates. Step 2: Print or paint the welcome text on matte cardstock, then seal lightly with a clear matte spray for outdoor durability. Step 3: Add a small line of greenery at the bottom sill and anchor the window frame using stakes or weighted blocks.
Quick tipPlace it slightly angled toward the path so guests see it as they walk in.
Skip thisDon’t use glossy paper inside the window — it catches light and looks washed out.
6. Lightbox welcome sign with date and custom arrow
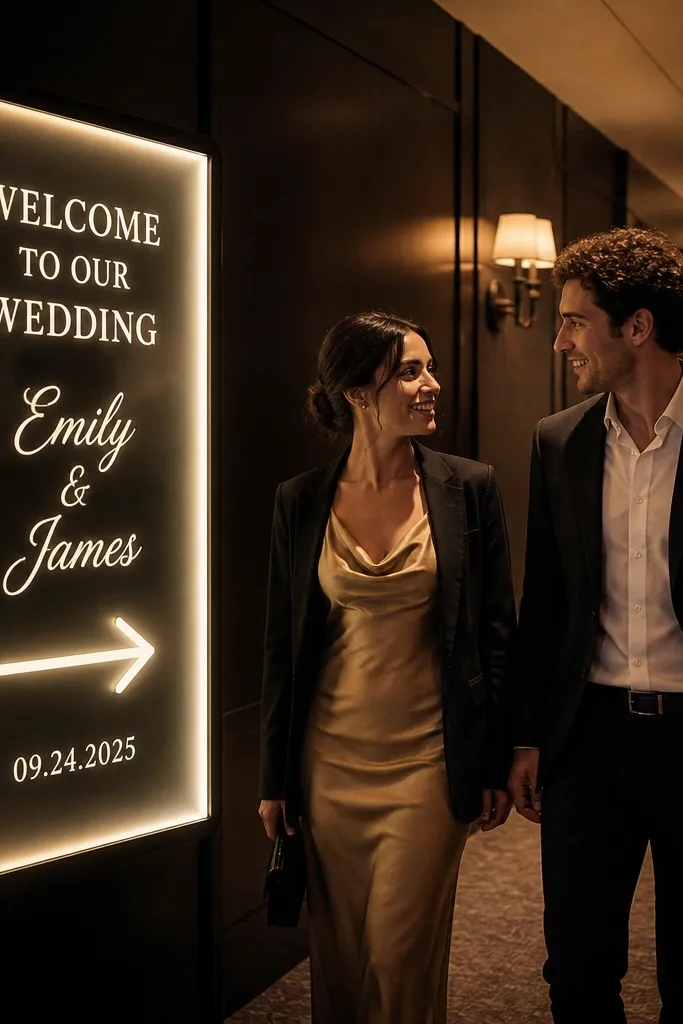
Lightboxes look expensive because the glow makes the design the focal point, even in shade. A custom arrow or simple directional graphic is also practical — guests understand where to go next. Keep the message short so the typography looks intentional. This is strongest for evening receptions, indoor venues with dim lighting, and venues with trees that block daylight.
Step 1: Choose a lightbox size around 16x20 inches or larger, then plan a layout with one big “WELCOME” and a second line for names and date. Step 2: Add a directional arrow graphic like “DINNER” or “RECEPTION” with high-contrast lettering. Step 3: Put it on a stable table or stand, and route the power cable discreetly with tape so nobody trips.
Quick tipUse warm white bulbs for a softer look than blue-white LED lighting.
Skip thisSkip tiny fonts — glowing small text turns into a blur.
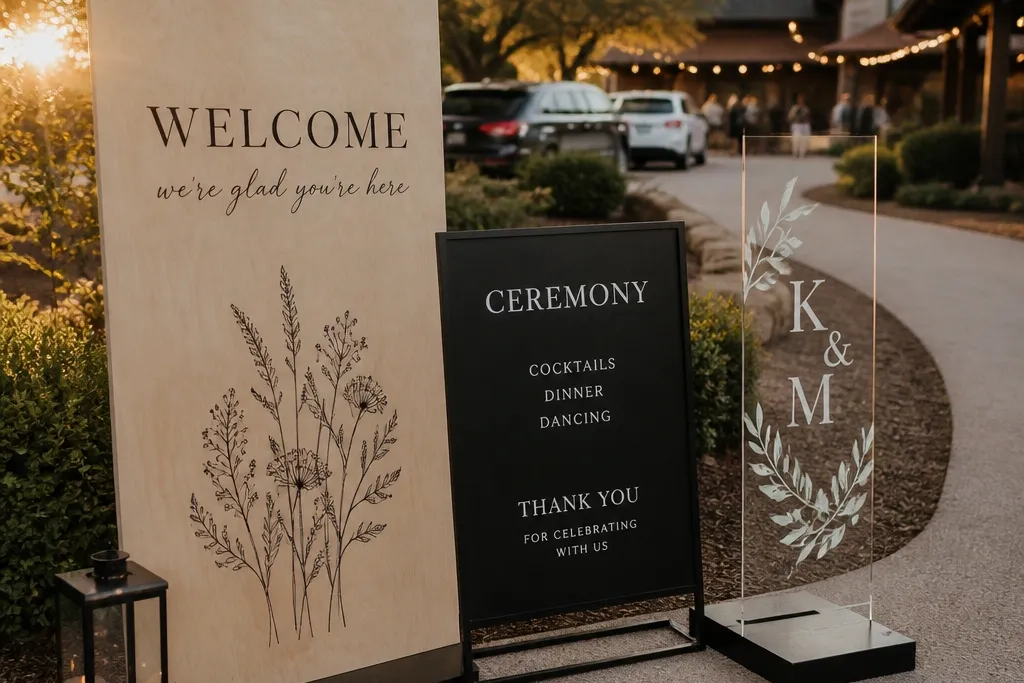
7. Monogram welcome sign on a pedestal with greenery drape
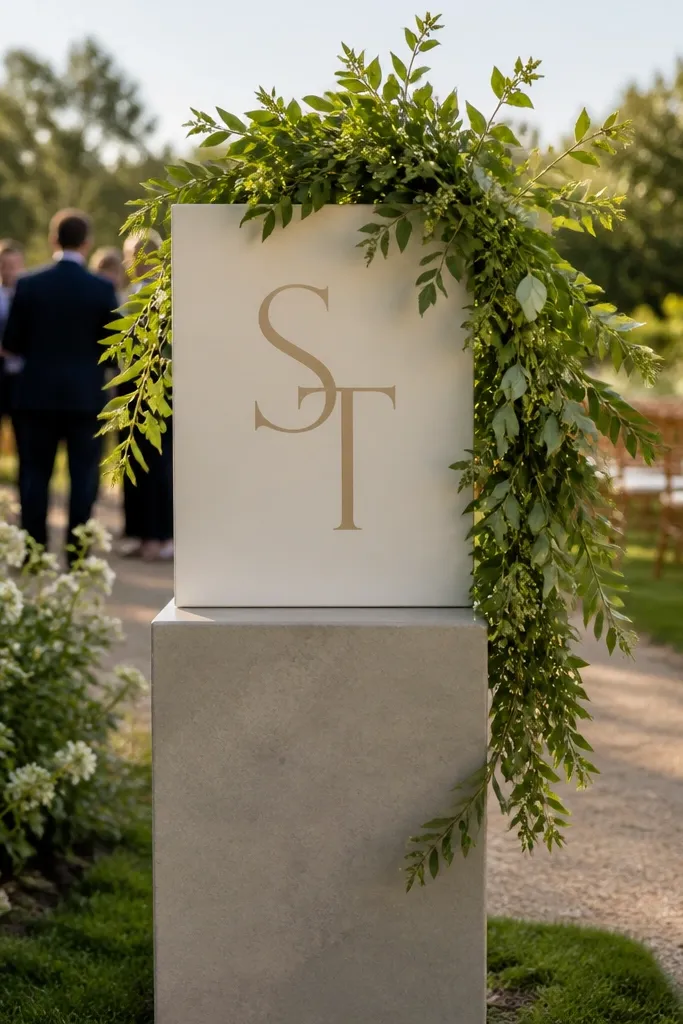
If you want an aesthetic wedding welcome sign entrance that looks like a brand moment, a monogram does that job. The pedestal elevates the sign so it reads in group photos where people stand behind it. A trailing greenery drape adds movement and softness without covering the letterforms. This suits classy, photo-forward weddings and works year-round with the right greenery choice.
Step 1: Pick a pedestal height between 30-40 inches and a sign panel size around 18x30 inches so the monogram is dominant. Step 2: Attach greenery along the sides with floral wire and keep it lower than the text to avoid visual clutter. Step 3: Place it at the first turn in the path — near the driveway curve or gate — and use a non-slip pad under the pedestal base.
Choose one greenery type for the drape, like eucalyptus or boxwood, for a cleaner look.
Don’t add a second competing floral arrangement on the same side of the pedestal.
8. Watercolor welcome sign on textured watercolor paper with gold frame
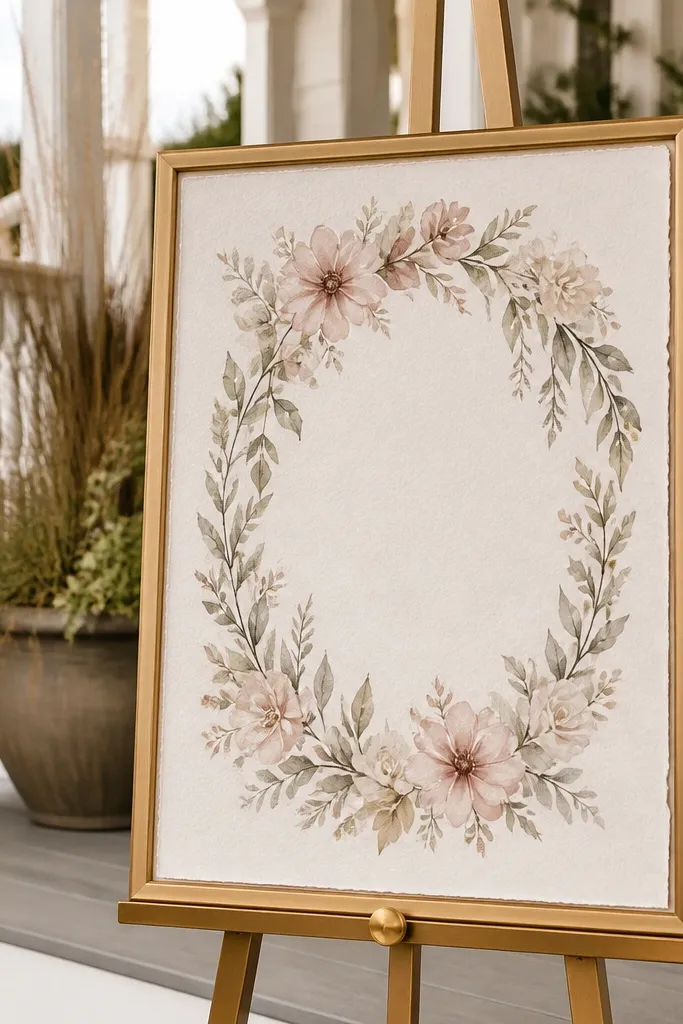
Watercolor designs look romantic and soft, and they also photograph well when you use textured paper. The texture catches light gently, so the sign doesn’t flatten into a printed sticker look. A gold frame adds a refined border, and it pairs beautifully with warm venues and neutral palettes. This entrance is great for spring and summer when you want lightness and movement.
Step 1: Print the watercolor design on real watercolor-style paper or use a textured print stock, then mount it on foam board for rigidity. Step 2: Frame it in a gold tone and keep the mat simple so the art remains the hero. Step 3: Put it on an easel near a neutral wall or curtain so the background doesn’t clash with the watercolor colors.
Quick tipIf it’s outdoors, protect the frame with clear acrylic instead of standard glass to reduce glare.
Skip thisSkip bright neon watercolor palettes — they look harsh in daylight.
9. Floor-to-ceiling welcome banner on a fabric stand
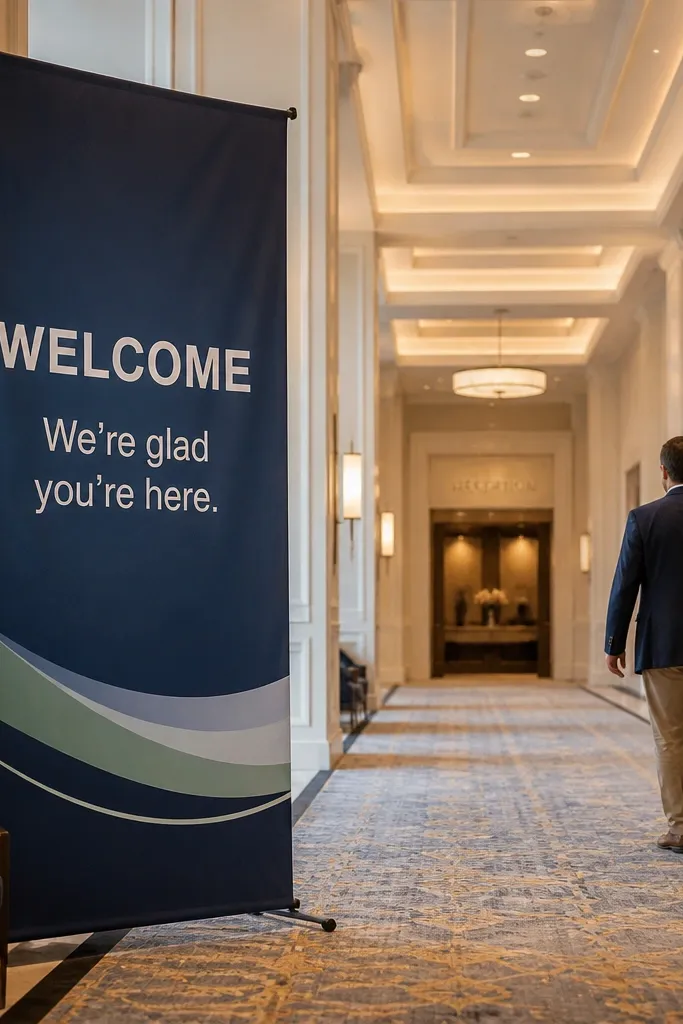
A tall fabric banner creates instant scale, which is what makes an entrance feel “done.” It’s especially good when your venue has high ceilings, a long hallway, or a covered outdoor walkway. Fabric also hides small imperfections in installation better than rigid boards. Choose a clean typography layout so the banner reads as signage, not wall decor.
Step 1: Order or make a banner that’s at least 60 inches tall and 24-30 inches wide, with big “WELCOME” at the top. Step 2: Use a dye-sublimation style print or a matte fabric paint so it doesn’t shine under lights. Step 3: Install it on a fabric stand or two-foot base stand and weight the legs so it doesn’t shift when people pass.
Keep your design to two fonts max; too many styles make it look busy in photos.
Don’t place it against patterned walls — the banner will fight for attention.
10. Wood pallet welcome sign with engraved-looking typography
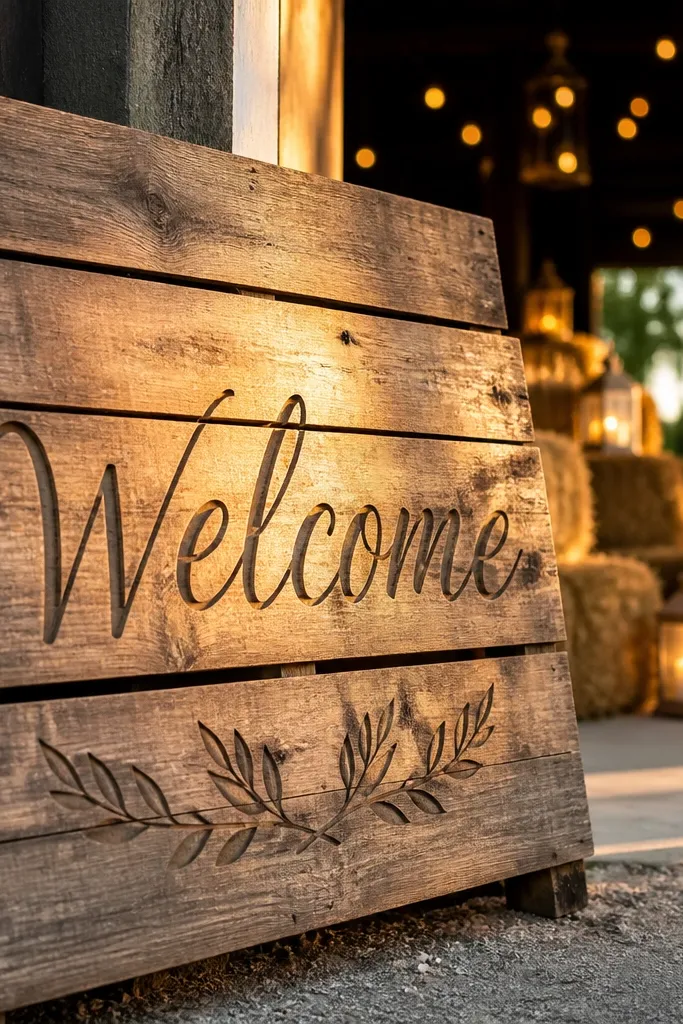
Wood pallet style looks rustic, but you can keep it aesthetic by controlling the typography and finish. Engraved-looking lettering adds texture without needing complicated art. This entrance works when you want a warm, grounded feel and your venue already has wood tones. It’s especially good for fall, barn weddings, and receptions with string lights.
Step 1: Choose a pallet or reclaimed wood panel and sand it smooth enough that letters won’t look patchy. Step 2: Add engraved-style vinyl or painted stencil lettering in a single dark color like charcoal or espresso. Step 3: Seal with a matte clear coat and place the sign near a string-light line or wooden fence so the warm tones match.
Quick tipUse matte sealer so the wood doesn’t reflect camera flash.
Skip thisSkip overly distressed lettering — it turns into unreadable scrawl from a distance.
11. Terracotta and olive welcome sign with stencil dates
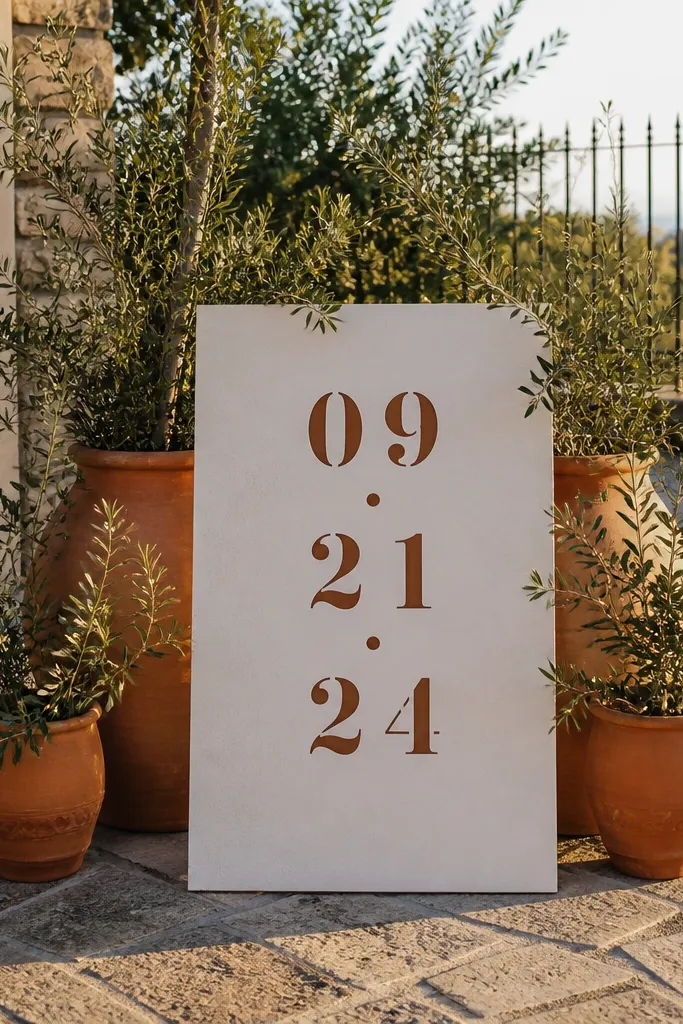
Terracotta pots create a natural border and make the entrance feel like part of the landscape. Olive greenery stays elegant and doesn’t look “cheap filler” in photos. Stencil dates keep the design clean and readable, and the warm earth tones look great in golden hour. This is a strong choice for outdoor venues, courtyard receptions, and Mediterranean-style aesthetics.
Step 1: Use a sign panel around 18x24 inches in cream or terracotta-toned cardstock, then stencil “WELCOME” and dates with thick, even strokes. Step 2: Arrange 2-4 terracotta pots on either side of the sign with olive branches or small olive trees, keeping them symmetrical. Step 3: Place it at the main walkway entry and secure any loose branches with wire so they don’t sway.
Quick tipAnchor pots with sand or weight plates so they don’t tip when guests brush by.
Skip thisDon’t add too many flower types — olive and terracotta already do the heavy lifting.
12. Neon-style welcome sign on a black metal frame
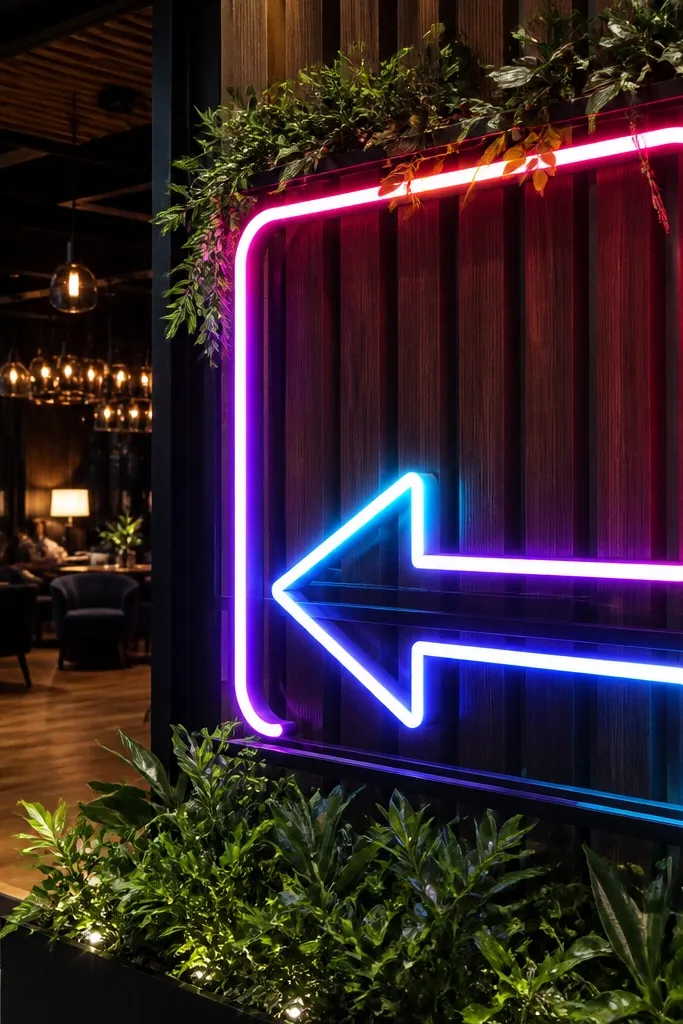
Neon-style signage is a magnet for photos because it has that modern, nightlife energy. The black metal frame gives it structure, and neon-like colors pop against greenery or dark walls. Keep the message simple and large so it reads in every camera shot. This looks best for evening receptions, indoor lounges, and venues with dark greenery or brick backdrops.
Step 1: Choose a black metal frame and a sign face sized at least 20x30 inches so the glow stays readable. Step 2: Use neon-style lettering colors like warm white with a soft pink accent, then add a thin outline around the word “WELCOME.” Step 3: Position it near a bar, dance floor entrance, or photo corner where people naturally stop, and keep the power cord managed with gaffer tape.
Quick tipWarm white glow looks more flattering than icy blue for skin tones in photos.
Skip thisAvoid busy backgrounds — neon signage gets lost in patterned walls.
13. Gallery wall welcome sign using a grid of small prints
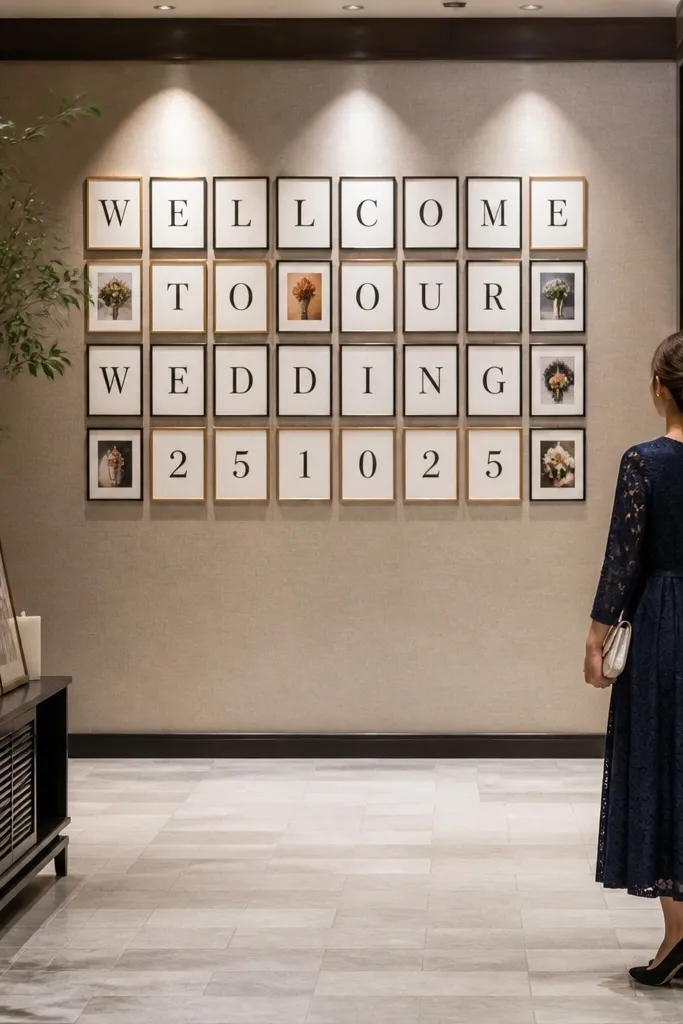
This one is for couples who want an aesthetic wedding welcome sign entrance that feels like art. Instead of one big sign, you create a grid of small framed panels that spell out the message and add dates in a clean typographic block. It works brilliantly when you have a wall, fence, or large frame area to hang from. Best for indoor receptions, covered patios, and venues with consistent lighting.
Step 1: Plan a 3x3 or 3x4 grid using frames that are all the same size, then print letter tiles and date tiles on matte paper. Step 2: Arrange the grid so “WELCOME” sits in the center row for instant recognition. Step 3: Hang it at about 5-6 feet high so cameras capture it above guests' heads, and use picture hooks rated for the frame weight.
Quick tipUse matching frame colors and a matte paper finish to prevent glare and reflections.
Skip thisDon’t mix frame sizes — the uneven grid makes the entrance look accidental.
14. Classic chalk script welcome on a whitewashed wood board
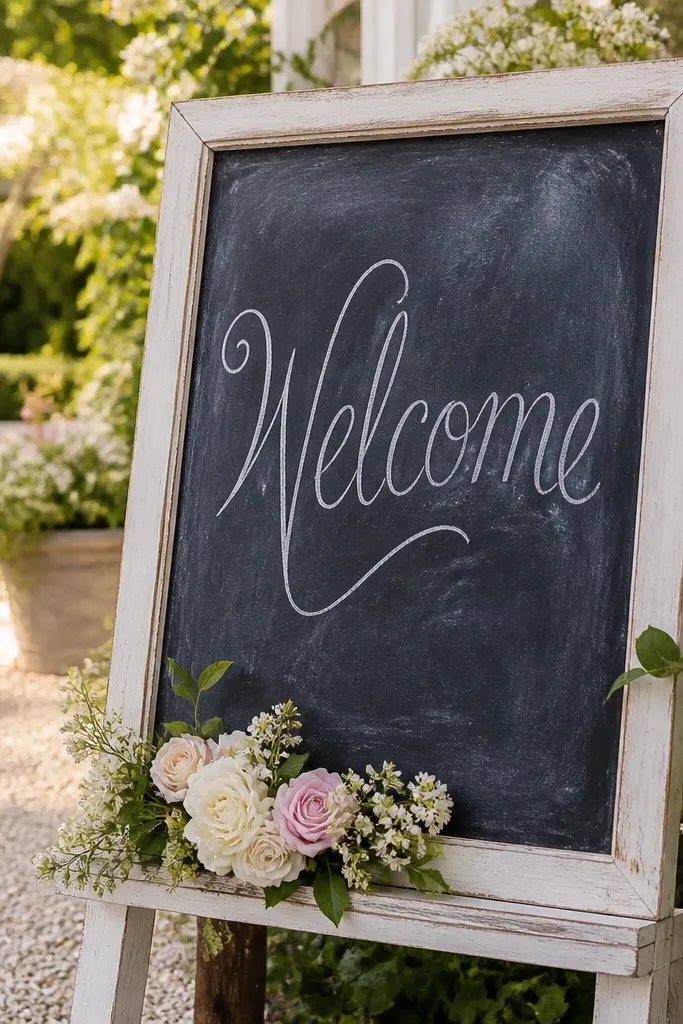
Whitewashed wood calms the look of chalk script and makes the entrance feel bright, even in shade. Chalk script gives romance, but the board color keeps the text readable. Add a small floral accent at the bottom edge so the sign doesn’t look like it’s floating. This is a great fit for spring weddings, outdoor garden receptions, and venues with white trim or light-colored walls.
Step 1: Choose a whitewashed board around 24x36 inches and sand it lightly so the chalk takes evenly. Step 2: Write a bold “WELCOME” in larger script, then add names and date with smaller, consistent spacing. Step 3: Secure the board to a sturdy easel and place it against a light wall or hedge so the contrast stays strong.
Quick tipUse a chalk marker for the names line; it stays crisp for photos.
Skip thisSkip extra doodles — too many elements clutter the entrance message.
15. Matte black metal sign with gold lettering and a minimal floral line
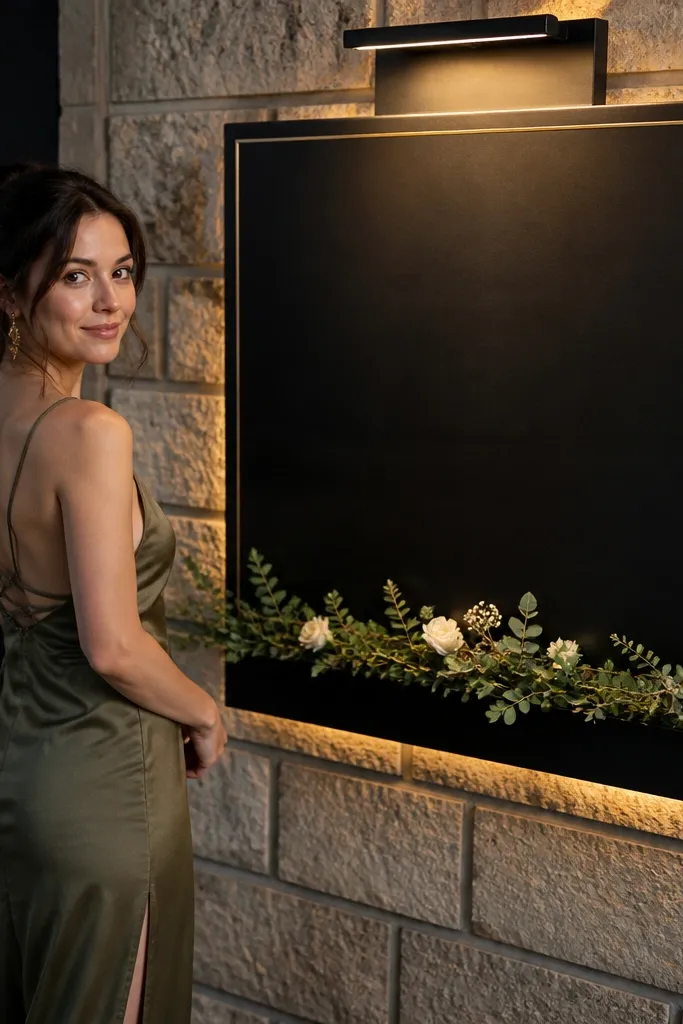
Matte black reads modern and expensive, and gold lettering gives you that “designed” feel without needing a lot of decor. A minimal floral line — one strip of greenery and a few blooms — frames the sign without covering the text. This is ideal for couples who want a sleek entrance and a clean palette. It also handles outdoor conditions better than paper signs because the surface is durable.
Step 1: Use a matte black metal or acrylic panel around 20x30 inches and apply gold vinyl lettering or etched-style decals. Step 2: Add a thin floral line along the bottom using wire-backed greenery and keep it under 6 inches tall. Step 3: Mount the sign on a weighted stand and position it near a dark fence, black railing, or a simple wall to keep contrast consistent.
Quick tipBring a small lint roller — matte black shows dust in close-up photos.
Skip thisDon’t go heavy on floral volume — the whole point is clean typography.



