
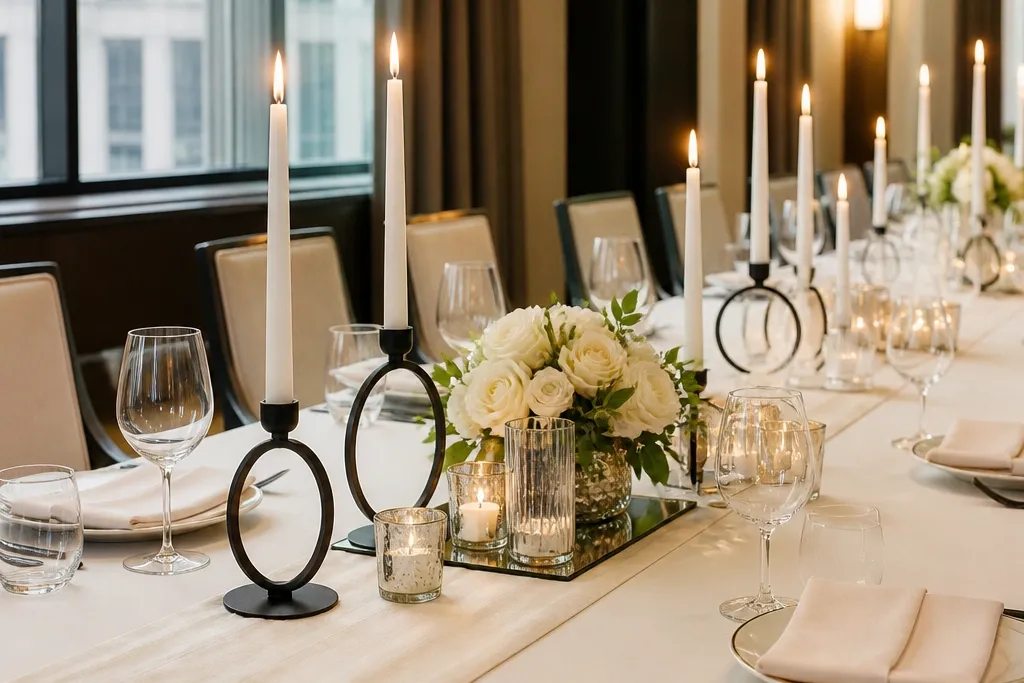
1. Mirrored votive cluster with taper candles
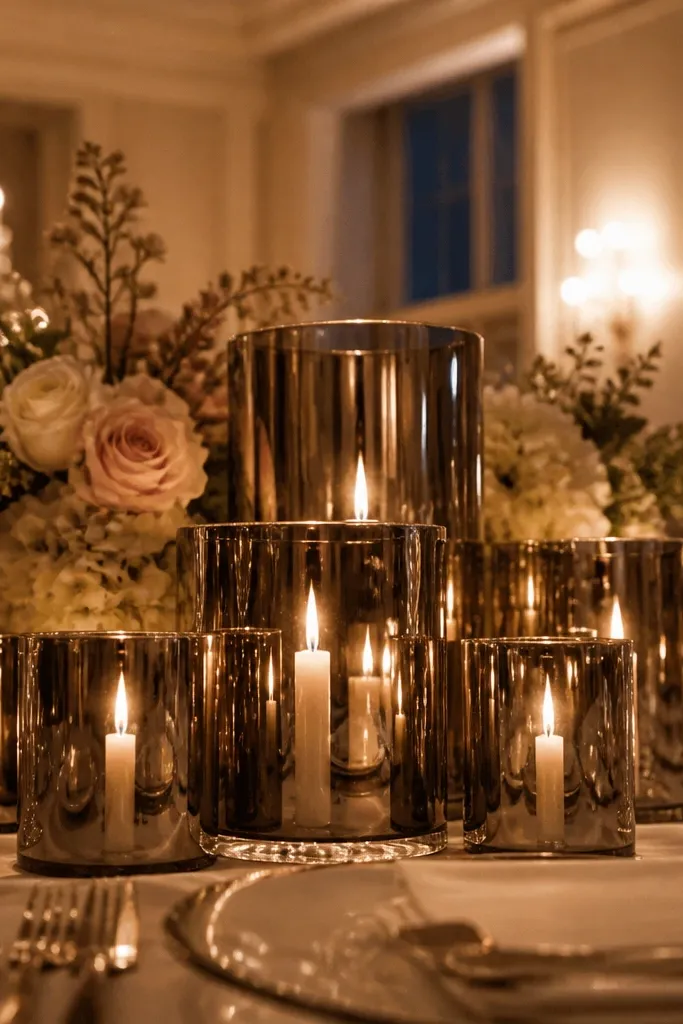
Mirrored votives turn plain tables into “event tables” because they bounce the room’s candlelight back toward guests. The look is clean and modern, and it works whether your centerpieces are floral-forward or minimalist. For a stylish result, keep the candle color consistent — warm white (not cool blue) reads best under reception lighting. This option suits evening weddings, venues with low overhead lights, and couples who want a polished glow without heavy flower volume.
Start by packing votive holders in a padded box with dividers so corners don’t chip. Then pack taper candles in rigid sleeves and label left/right if you’re mixing lengths. At the venue, group 3-5 votives per table in a loose triangle, with the tallest candle in the back row. Finally, space them so each guest can see the candle reflection without the cluster touching the centerpiece.
Bring a small microfiber cloth for quick mirror wipe-down right before setup.
Don’t mix candle colors (ivory, white, and warm white) across the same table.
2. Long linen runner with a single dried floral stripe
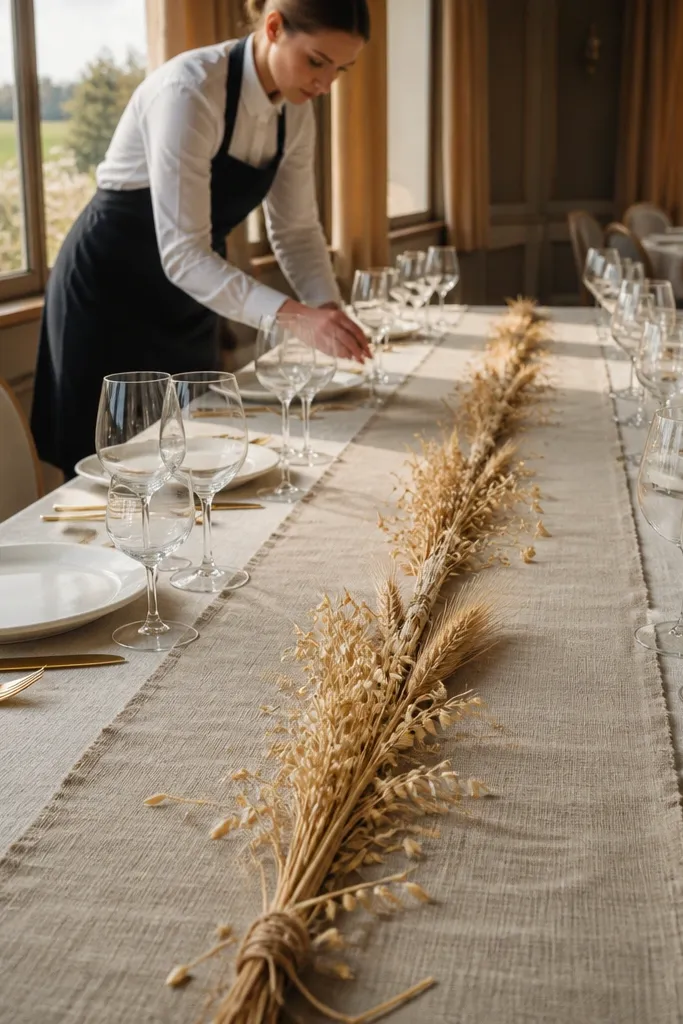
A long linen runner makes the whole table look dressed because it creates a continuous line from one side of the room to the other. Add a single dried floral stripe instead of a bulky centerpiece and the table still photographs sharp. Dried flowers are travel-friendly when you use a straight arrangement — they don’t need constant hydration and they keep shape. This is a great pick for outdoor receptions with wind risk or venues where you want decor that won’t droop by dinner time.
Start by ironing or steaming the runner flat at home and folding it lengthwise so it stays wrinkle-resistant. Then build your floral stripe on the ground using a straight guide (a book spine works) so the stems line up. At the venue, secure the stripe with floral tape to a thin ribbon or foam-free mesh strip, then place it centered on the runner. Finally, add two or three small anchoring elements at the ends so the stripe doesn’t drift when guests move plates.
Use clothespins or binder clips to hold the runner edges while you set dishes — it prevents shifting.
Skip loose, random dried bouquets on a runner; they look messy fast in photos.
3. Tall bud vases on a staggered tray

Tall bud vases give you vertical interest without needing a large centerpiece. The staggered heights make the arrangement look designed, even if each vase holds only one or two stems. Choose bud vases with a consistent silhouette (clear glass or matte ceramic) so the table reads cohesive. This works especially well for head tables, sweetheart tables, and any table that needs height without blocking guest sightlines.
Start by packing bud vases in a hard-sided container with bubble wrap around each base. Then bring a tray that’s easy to carry and won’t bend — a 12-18 inch metal tray is ideal. At the venue, place the tallest vase at the back edge of the tray and the shorter vases in front. Finally, fill with water only at the last moment, then top off stems to match the height you want from guest seating.
Pre-measure vase heights with a ruler at home so you hit the exact 4-8 inch lift range.
Don’t build the tray too close to the table edge; candles and plates need clear space.
4. Acrylic place-card stands with mini florals
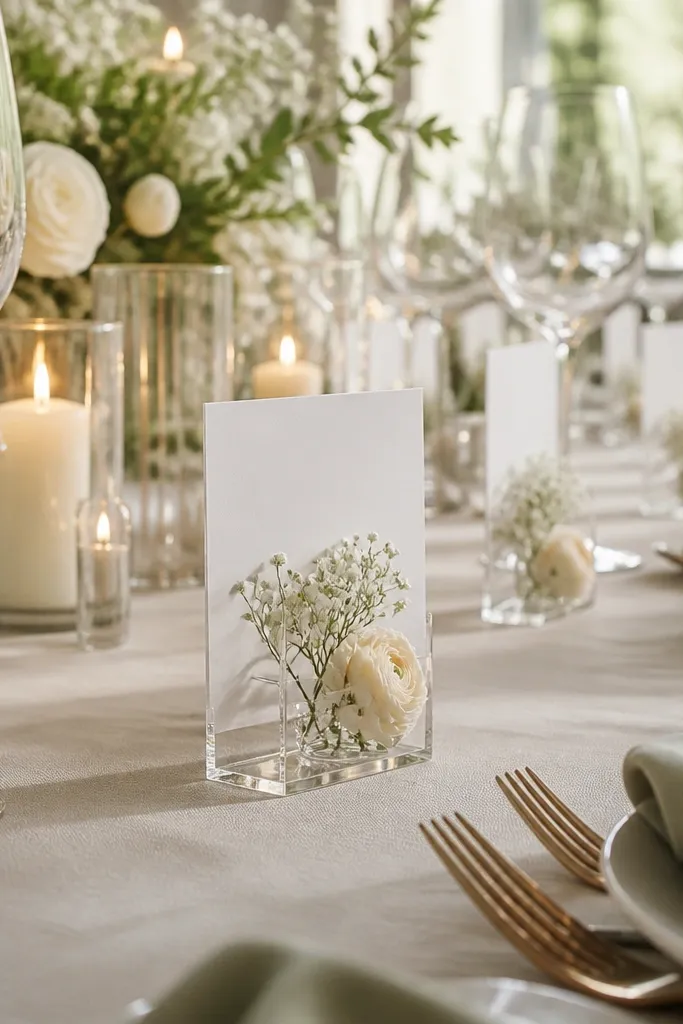
Place cards are already part of the table story. Acrylic stands make them look intentional and modern, and mini florals add softness without turning every setting into a heavy centerpiece. This option is great for weddings with assigned seating because it ties the name card to the decor theme. It also photographs cleanly because acrylic edges catch light and your flowers stay compact.
Start by packing acrylic stands flat in a sleeve or bubble wrap so they don’t scratch. Then pack place cards separately in a rigid folder to keep corners crisp. At the venue, set one stand per guest within the same zone across the table so your rows look straight. Finally, add a mini floral cluster (1 bud vase insert or 2-3 stems) only after the card is placed so you can adjust height quickly.
Use a single stem type (like waxflower or eucalyptus) for every setting to keep the table consistent.
Skip wide, bushy florals on acrylic stands; they block the card and look cluttered.
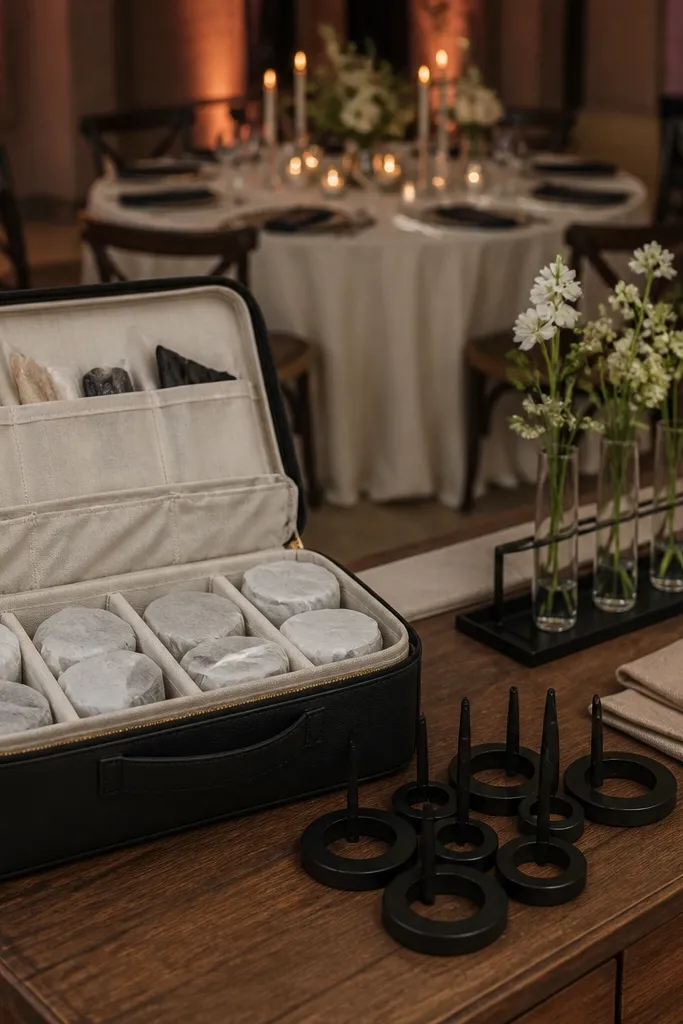
5. Taper candle ring holders in matte black
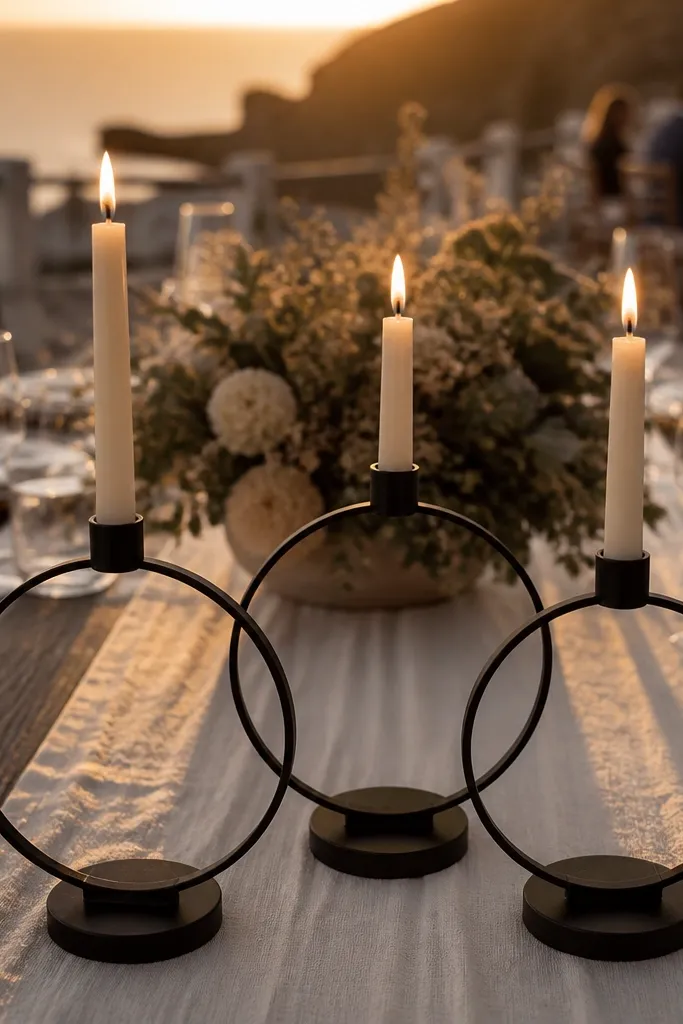
Start by choosing ring holders that fit standard taper candles (so you don’t fight with sizing at the venue). Pack candles in rigid sleeves and ring holders in a box with padding to prevent scuffs. At the table, place rings around your main centerpiece zone instead of scattering them randomly. Finally, light them after all plates and centerpieces are finalized so nothing gets knocked during setup.
Matte black candle ring holders look sharp under warm lighting and instantly frame the candle flame. They also make the decor feel designed even when your table is otherwise simple. Keep the rest of the styling minimal — one runner and a small centerpiece — and the black rings do the heavy lifting visually. This suits modern weddings, black-tie vibes, and venues with neutral linens where you want contrast.
Skip thisDon’t mix black candle holders with shiny gold everywhere; pick one metal direction per table.
Quick tipBring an extra pack of matches or a lighter with a long nozzle — venues sometimes run out.
6. Low floating candle bowls with greenery tips
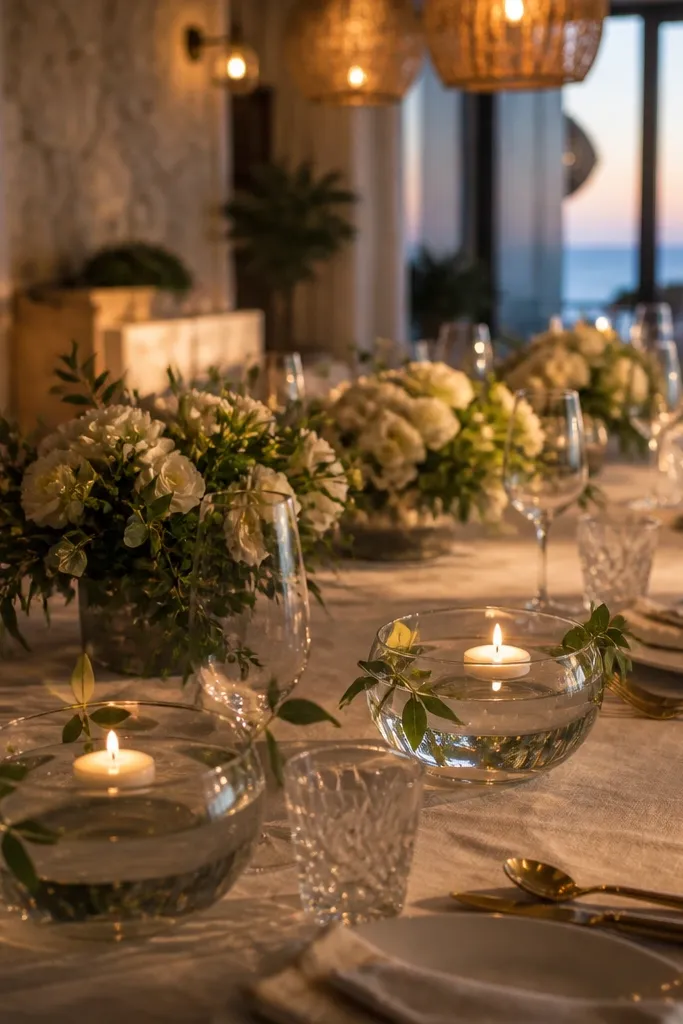
Start by packing each glass bowl with a towel wrap and placing them upright in a box to reduce movement. Bring water-free until you’re ready to set — pour water at the venue. Add floating candles right before lighting so they don’t shift. Then tuck 3-5 greenery tips around the rim, using tape on the underside so they hold position while you pour and light.
Floating candle bowls create a soft, romantic glow without blocking faces because they stay low. The look is especially photogenic from across the table — the flame appears layered above the water line. Add a few greenery tips around the rim for a natural frame, not a full wreath. This is a strong choice for dinner tables, outdoor patios, and any reception where you want candlelight but don’t want tall obstructions.
Skip thisSkip overfilling the bowls; too much water makes the candles drift and look uneven.
Quick tipUse distilled water in hard-water areas; it keeps the glass from looking cloudy in photos.
7. Silk ribbon napkin ties with a single pearl pin
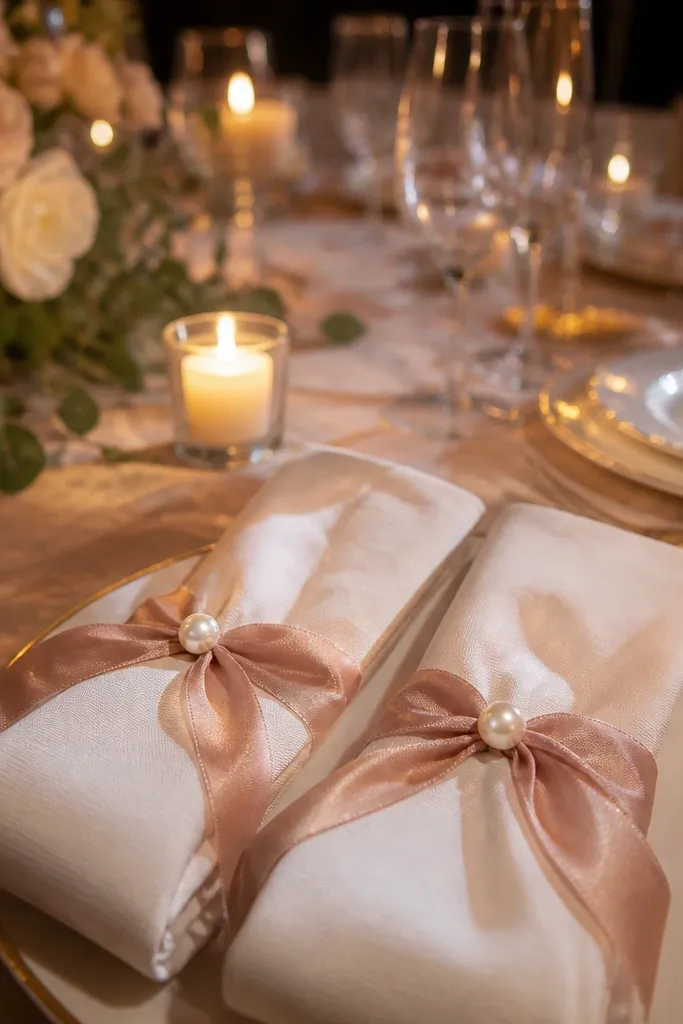
Start by buying ribbon widths around 3/8 to 1/2 inch so the knot looks neat. Pack napkins in garment bags or flat boxes so folds stay crisp. At the venue, tie ribbon after plates are set but before guests arrive so nothing gets knocked. Finally, pin only one pearl per napkin and keep the pin placement consistent across the table for a clean photo line.
Napkin styling is the easiest place to add “elegant” to a table without hauling fragile centerpieces. Silk ribbon ties look intentional, and a single pearl pin reads upscale without turning your table into craft night. Pick ribbon in a matte finish and keep the pearl small so it doesn’t look costume-y. This works well for indoor receptions, winter weddings, and couples who want a cohesive look across many tables.
Skip thisDon’t use shiny satin ribbon; it flashes and can overpower softer colors.
Quick tipPre-cut ribbon lengths at home so every napkin tie matches — uneven knots look messy on camera.
8. Glass bud vases with floating rose heads
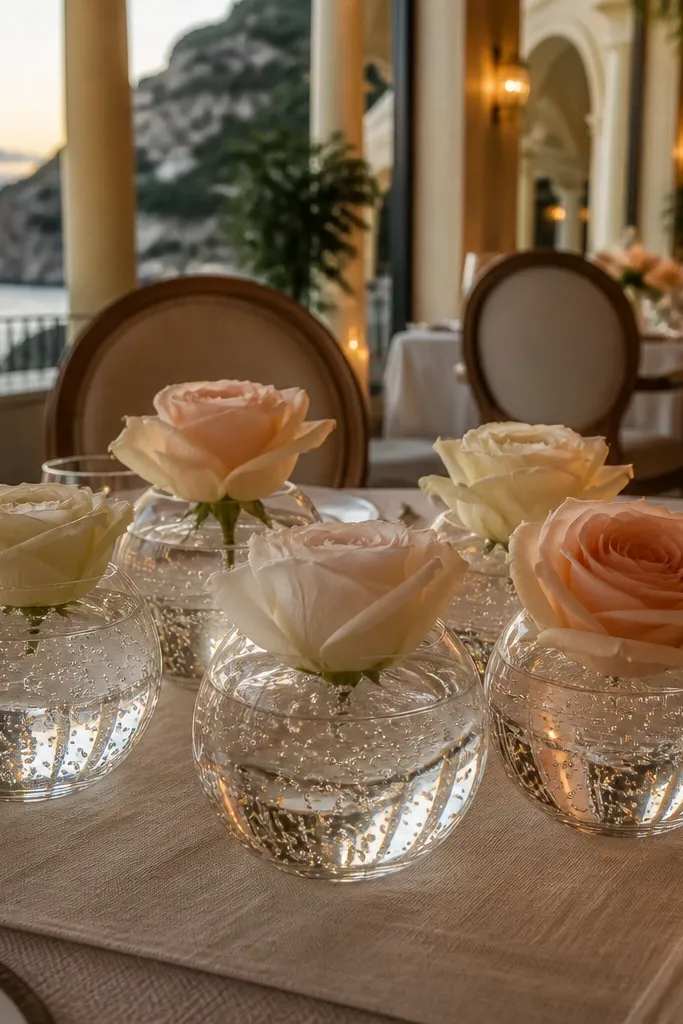
This is one of those table looks that reads expensive because it creates height and movement with almost no bulk. Floating rose heads sit above the water line and catch light, so your centerpiece looks dimensional even in close shots. It works best with small glass bud vases and a tight color palette, like blush or ivory. This option suits spring and summer weddings, especially when you want romance without a full floral arrangement.
Start by packing empty bud vases in a rigid container with cushioning so they stay spotless. Then pack rose heads separately in breathable bags so petals don’t stick together. At the venue, pour water right before styling and float the rose heads at the center of each vase. Finally, add 1-2 tiny leaves or sprigs around the base so the arrangement looks anchored rather than floating by accident.
Keep a small spray bottle for petals — a light mist helps them look fresh in photos.
Avoid mixing too many flower colors in the same row; it looks busy fast.
9. Tiered tray with macaron-height florals
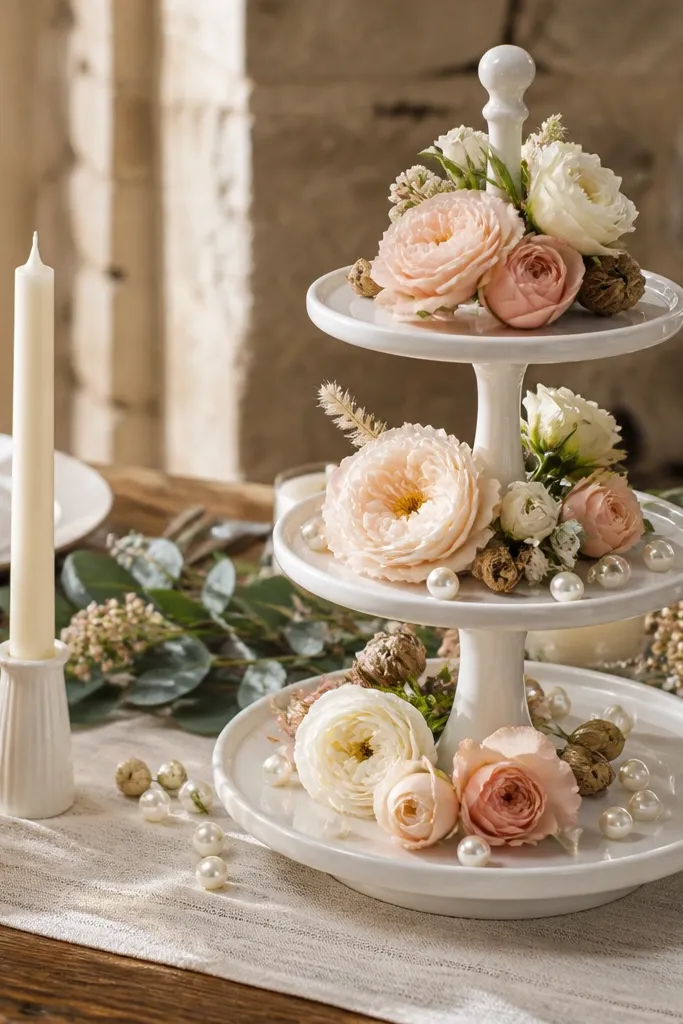
Start by choosing a tray that packs well — metal or acrylic trays travel better than ceramic. Pack each level separately if possible, and wrap contact surfaces to prevent scratches. At the venue, place the tray on a clear table spot and build from the bottom up: heavier items first, then the florals. Finally, keep the tallest item on top so the tiered silhouette stays crisp in photos.
A tiered tray makes even simple decor look styled because it creates levels. The key is to keep the top layer light — small florals, one candle, and a few texture pieces like pearls or seed pods. This look photographs like a flat-lay centerpiece, even when guests are seated close. It’s a great match for dessert tables, charge tables, and reception tables where you want a focal point that doesn’t block conversations.
Skip thisSkip bulky centerpieces on tiered trays; they kill the layered look.
Quick tipBring a lint roller — tiered trays show dust and tiny fibers under flash.
10. Monogram acrylic cake-topper style centerpiece
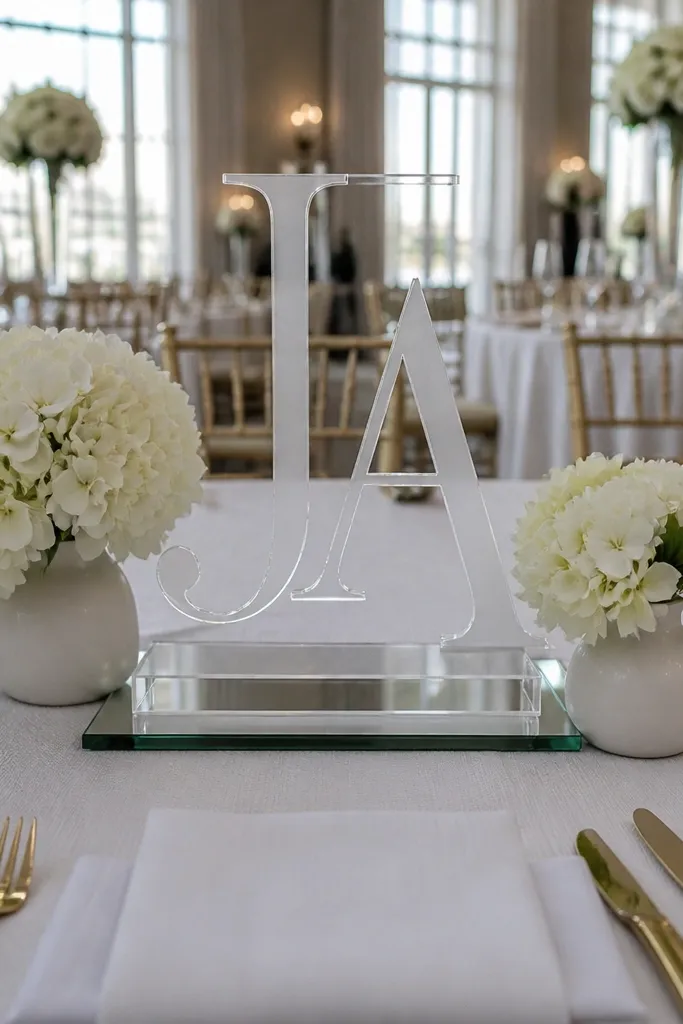
A monogram acrylic centerpiece adds instant identity and keeps the table visually “finished” even when florals are minimal. You get a clean focal point that reads well from a distance, and the acrylic edges catch light without looking heavy. This works for couples who want personalization but don’t want to haul a full floral sculpture. Choose a monogram that matches your stationery and keep surrounding decor neutral so the letter stays the star.
Start by packing the acrylic in a protective sleeve and keep it flat to avoid permanent micro-scratches. Then pack the base items separately: a small tray, a candle, and a few stems. At the venue, place the monogram upright on the tray and build a small “frame” around it using 2-3 flower clusters. Finally, adjust the height so the top of the acrylic sits above the napkin line but below eye level for seated guests.
Use white or cream florals around the monogram for maximum contrast under warm lighting.
Don’t crowd the monogram with too many objects; the acrylic should stay readable.
11. Dried citrus slices with sage on slim votives
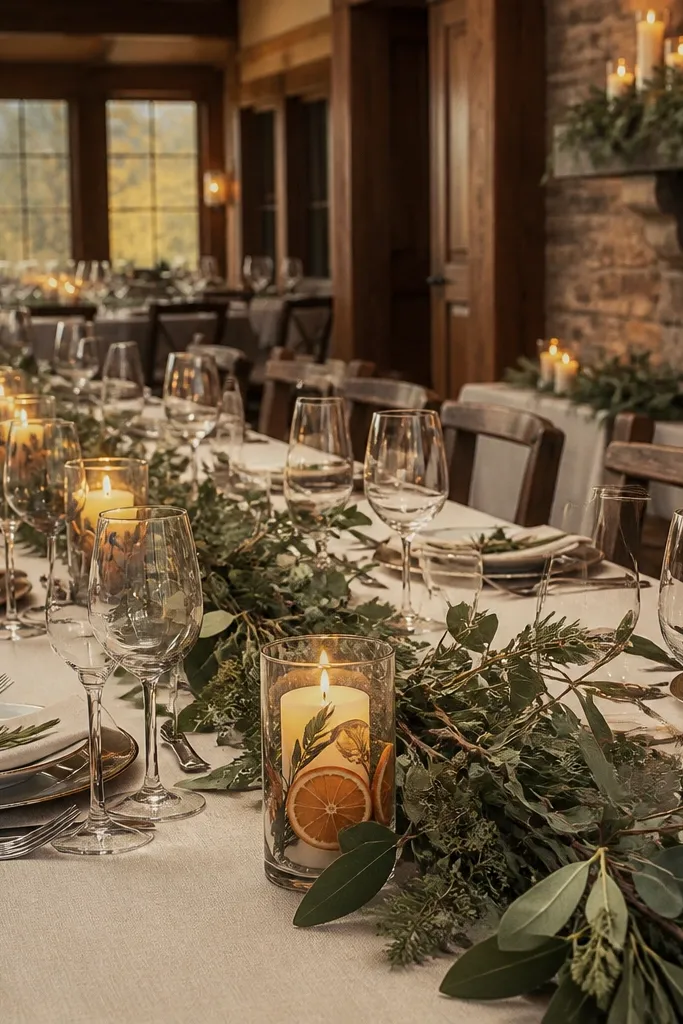
Dried citrus gives you color that looks natural under indoor lighting. Sage adds a muted green that plays well with almost any neutral linen — ivory, cream, or oatmeal. Slim votives keep the look low and clean, while the citrus adds texture you can see even from across the table. This option is perfect for fall weddings, destination venues with limited setup time, and couples who want decor that looks like it belongs to the season without heavy florals.
Start by packing dried citrus slices in a sealed container so they don’t crumble from transit. Then pack slim votives and their holders in separate padded sections. At the venue, place the votives first, then tuck sage sprigs at the base edges of the citrus cluster. Finally, distribute citrus slices evenly across the table so your photos show consistent color density rather than one overloaded spot.
Handle citrus with gloves — skin oils make slices look darker and uneven.
Skip fresh herbs; they wilt fast and smear water stains near candles.
12. Paper fan pom-poms in the table's color palette
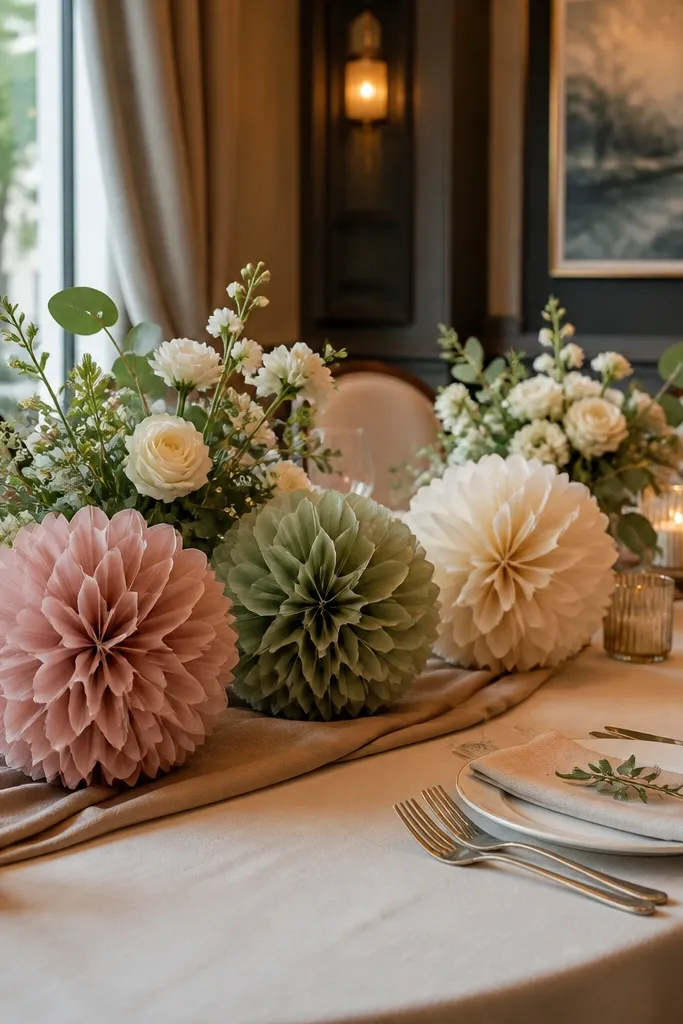
Start by using pre-made paper fan pom-poms or folding your own fans so they collapse flat. Pack them in a small box with tissue between layers so they don’t crease permanently. At the venue, position 2-4 pom-poms per table along the runner edge, alternating colors if your palette has two accents. Finally, keep them away from candle heat and place them where guests won’t bump them during dinner.
Paper fan pom-poms are underrated for table styling because they add playful texture without adding weight. They look especially good when you’re working with a mostly neutral table and want a “styled” feel for photos. Place them low and controlled — not as big overhead decorations — so they frame centerpieces instead of competing with them. This suits destination weddings, indoor receptions with lots of natural light, and couples who want an airy aesthetic.
Skip thisDon’t place pom-poms directly under tall centerpieces; they’ll look buried in photos.
Quick tipAdd double-sided tape to the base before you leave home so setup takes minutes, not a half hour.
13. White ceramic bud vases with black micro-accents
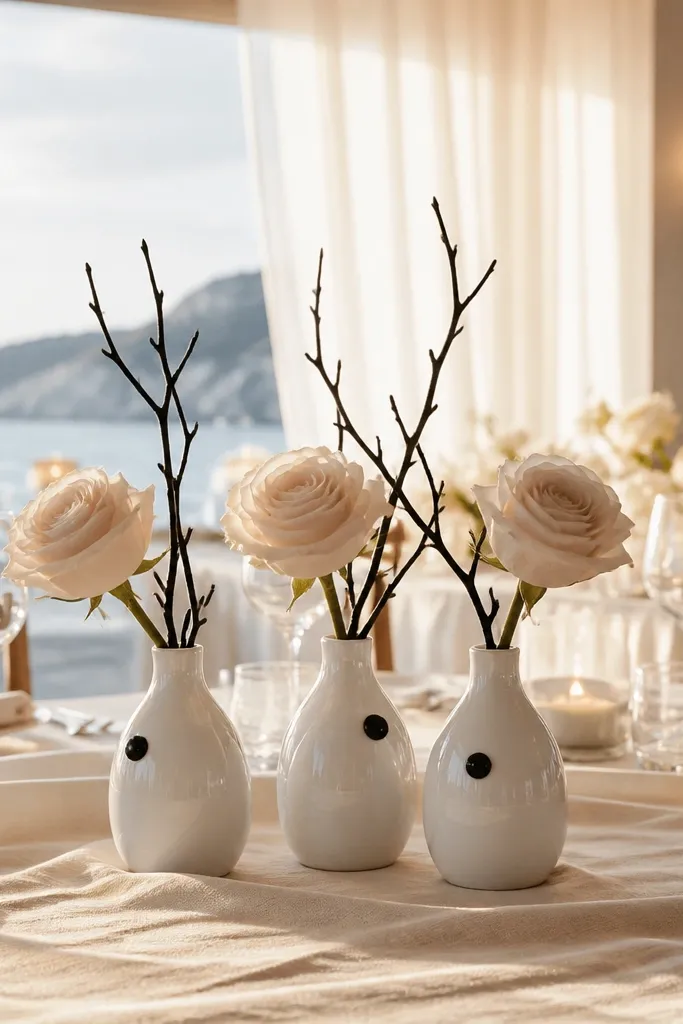
Start by picking a consistent vase size — mixing tall and short vases works, but keep the silhouette the same. Pack vases in a rigid box with separators and wrap the rims. At the venue, place vases in a straight row down the table center to keep photos tidy. Then add greenery first, and place black micro-stems only at the edges so they frame, not crowd.
A white ceramic bud vase set looks clean and expensive, and the secret is the micro-accents. Add a few black stems or black-painted twigs to each arrangement so the table has contrast and definition. This makes the decor look intentional even with minimal flowers because the black details read as “design.” It’s great for modern, monochrome, and winter weddings where you want crisp visuals under warm lighting.
Skip thisAvoid mixing multiple dark shades (navy, charcoal, black) in the same table; pick one.
Quick tipKeep stems trimmed to the same height before you travel so you’re not cutting at the venue with limited tools.
14. Floating candle + faux flower jar centerpiece
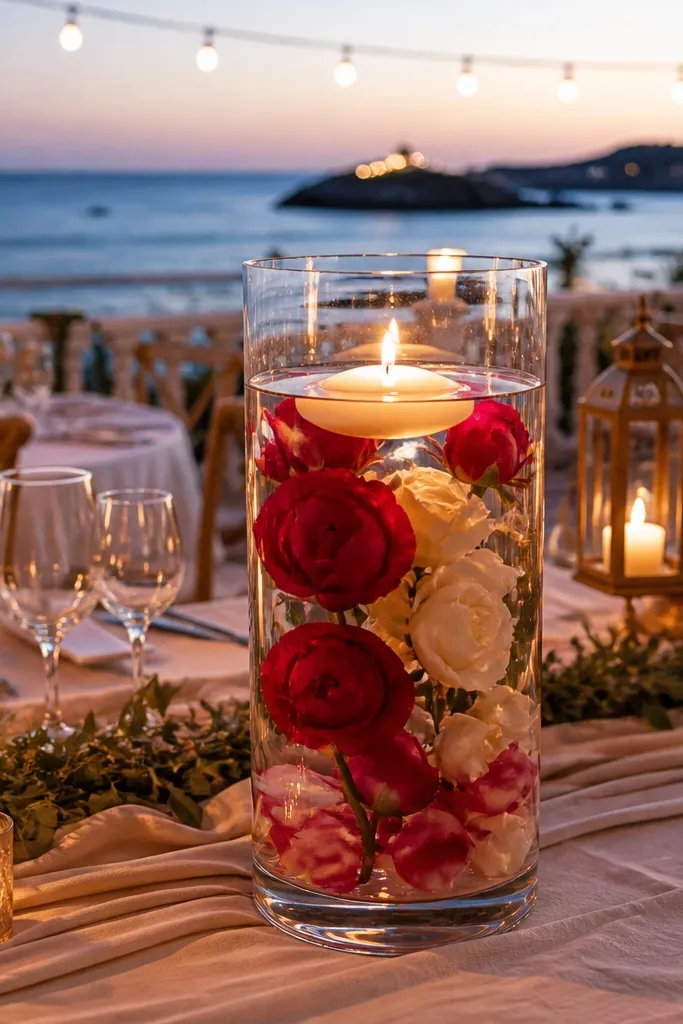
A glass jar centerpiece is a travel-friendly way to get a full look without fragile florals. Put a small faux flower spray inside, then add one floating candle so the jar looks alive under lighting. The jar shape gives you containment, which means petals don’t scatter and decor stays neat all night. This suits outdoor venues, destination weddings, and any reception where you want something photogenic that won’t wilt.
Start by packing jars in a protective box and keep lids separate so you don’t trap moisture or scratch glass. Then pack faux flower stems in individual sleeves so they stay aligned. At the venue, add the faux stems to the jar and top with water for the floating candle only when you’re ready. Finally, place one jar per table cluster and keep the rest of the table simpler so the jar stays the focal point.
Use a jar size around 6-8 inches tall for the best balance between height and sightlines.
Don’t overfill faux flowers; leave negative space so the jar looks airy in photos.
15. Personalized mini lanterns with battery candles
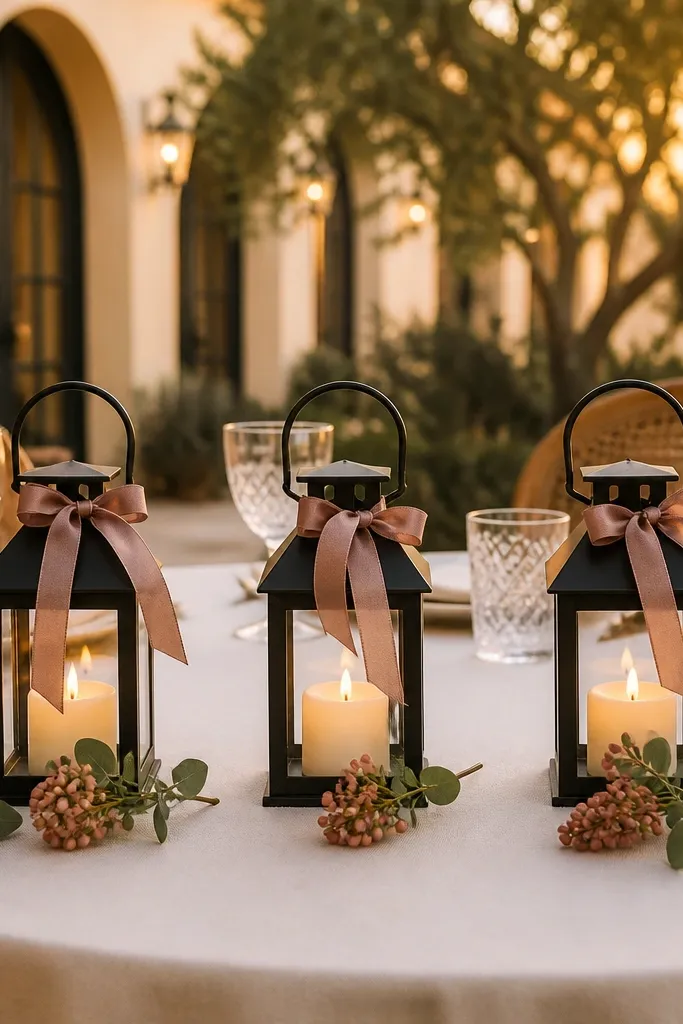
Start by choosing lanterns that open from one side so you can swap battery candles quickly. Pack lanterns in padded boxes and keep battery candles in their original packaging or a rigid sleeve. At the venue, place lanterns at the table corners or evenly spaced along the runner to create rhythm. Finally, add greenery right before guests arrive and check that the lantern handles and labels face the camera side.
Mini lanterns create a warm, storybook look without the risk of open flames. Battery candles are consistent for photos and safer for venues that restrict real fire. Personalize the lanterns with a small label or ribbon in your palette, then keep the lantern styling tight: a few stems and maybe a single berry spray. This works for evening receptions, windy outdoor settings, and couples who want cozy atmosphere without the mess of melted wax.
Skip thisSkip tall lanterns on guest tables; they block faces and look top-heavy.
Quick tipTest battery candles in advance — a weak flicker looks flat in flash photos.



