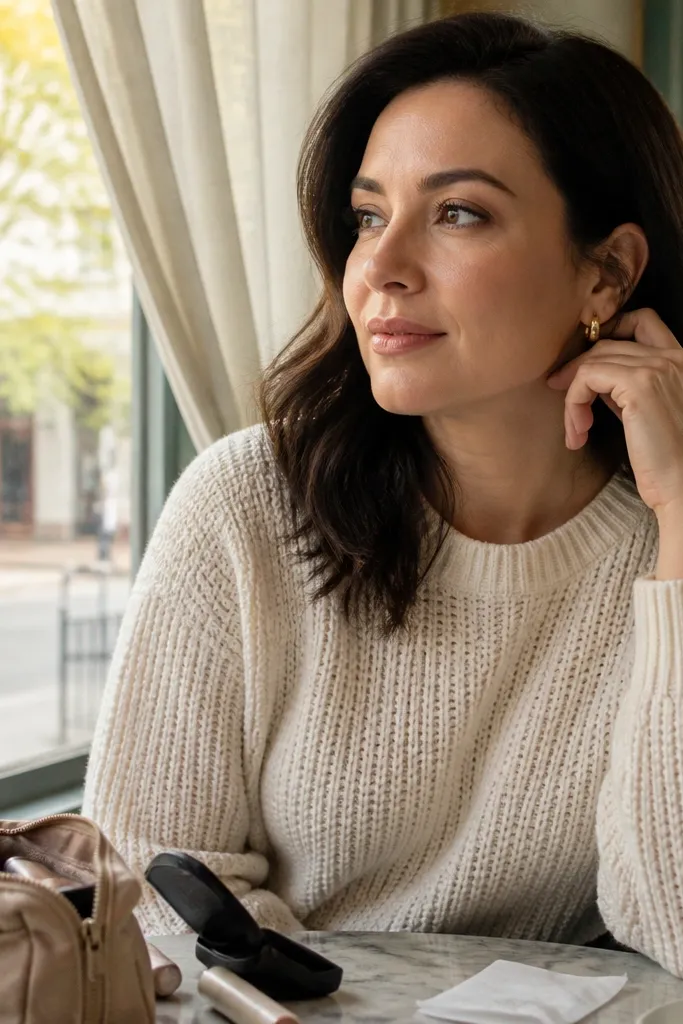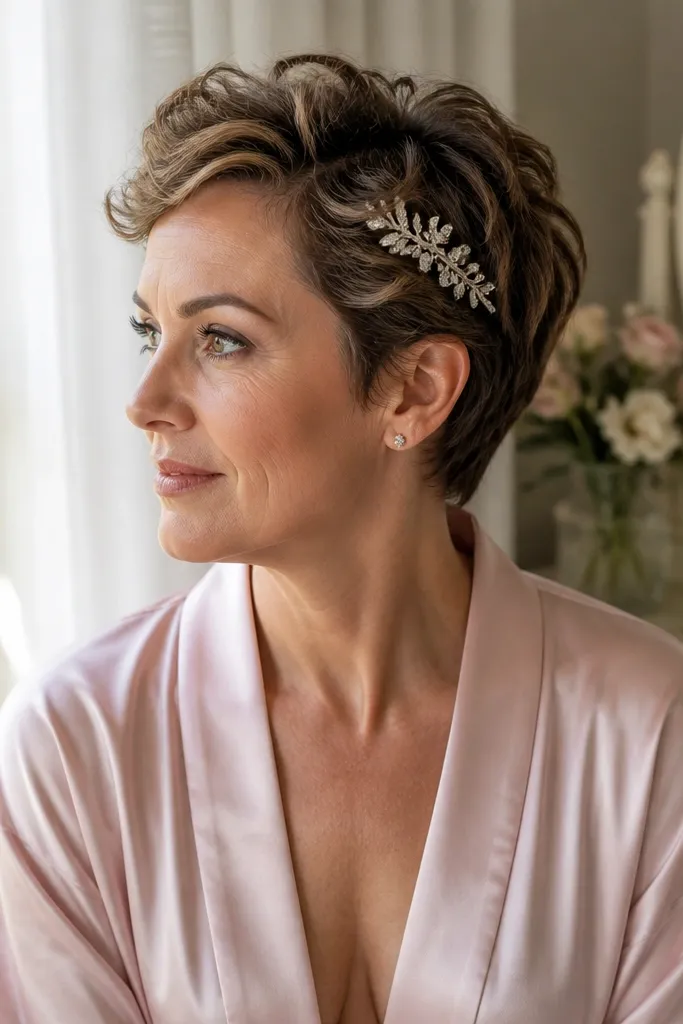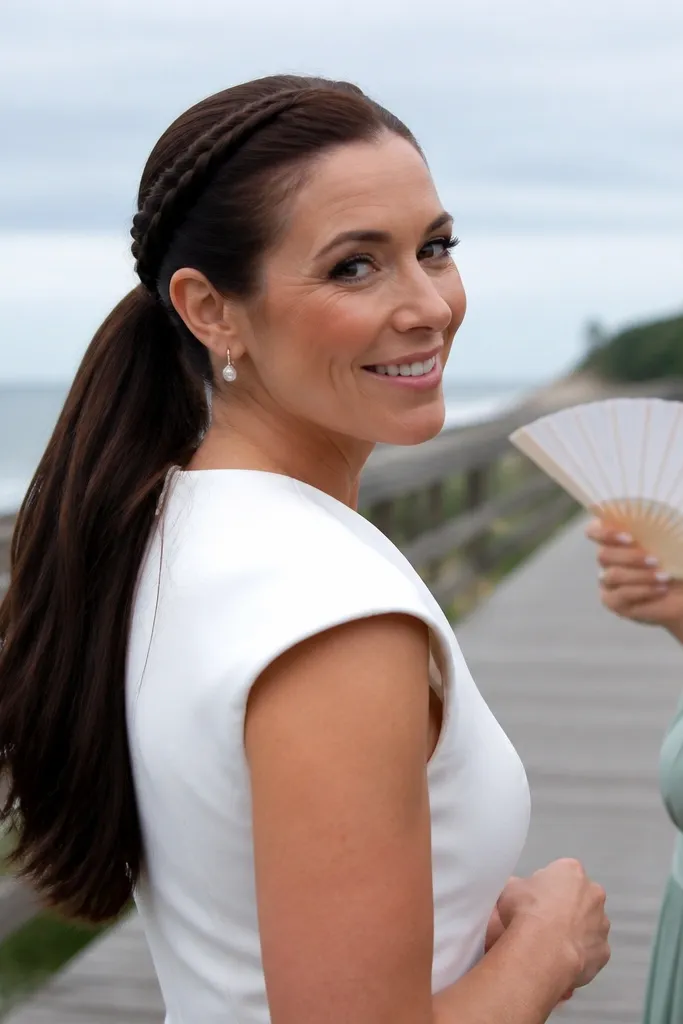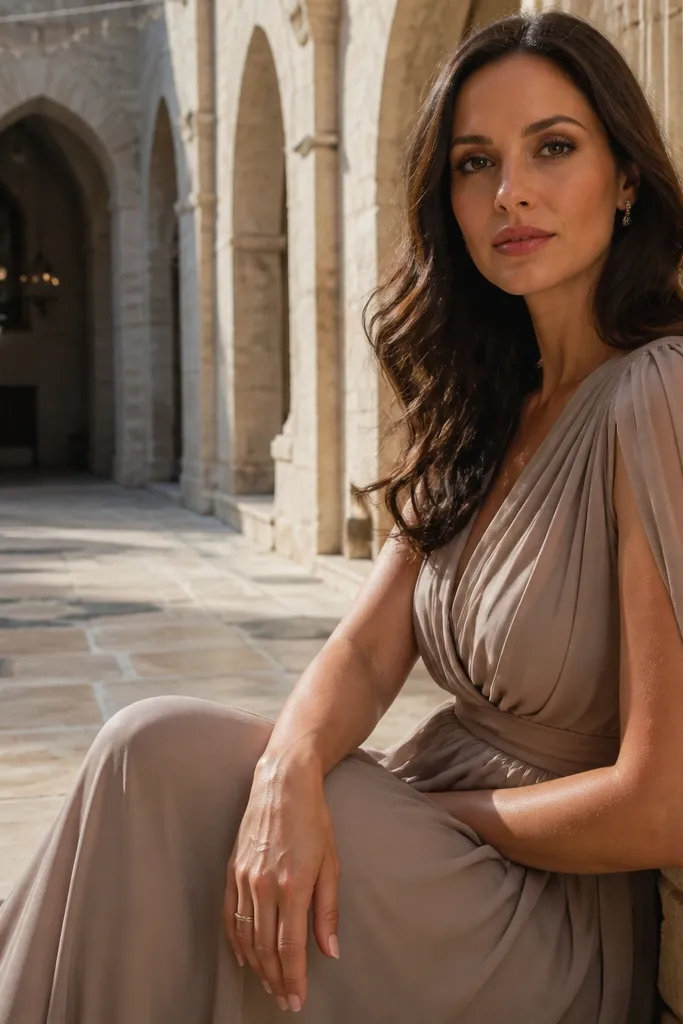
1. Side-Part Low Chignon with Hidden Pin Line
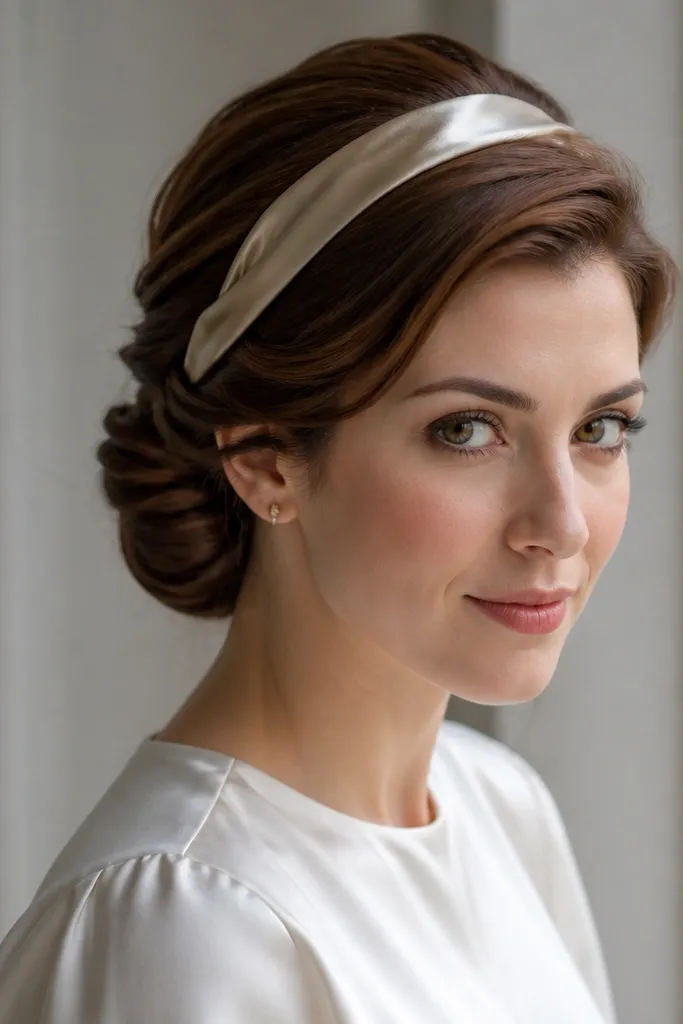
This is the “clean and expensive” budget wedding hairstyle because it reads like a single sculpted shape. The deep side part gives instant lift, and the low chignon keeps the silhouette classy for photos without feeling tight or heavy. It also hides most clip placement under the bun, so you don’t get random bumps at the front. If your hair is medium to thick, this style looks polished with minimal effort. It’s especially good for indoor ceremonies, portraits, and people wearing a veil that covers the mid-head area.
Quick tipIf wind is part of your day, add two pins through the side closest to the part — that’s where movement shows first.
Start by creating a deep side part, then mist dry texture spray on the roots and brush just enough to smooth the top. Gather hair at the nape into a low pony, twist it into a rope, and wrap it into a flat chignon. Pin the chignon with bobby pins in a straight line along the underside, then tuck any loose ends under the wrap. Finish with a light hold spray and press the front with your palms so it looks intentionally sleek. For travel planning, pack 10-15 extra bobby pins and a mini hairspray for touch-ups between ceremony and photos.
Skip thisDon’t make the bun too high; it reads messy in side photos and can fight a veil comb.
2. Twisted Half-Up with Crown Lift
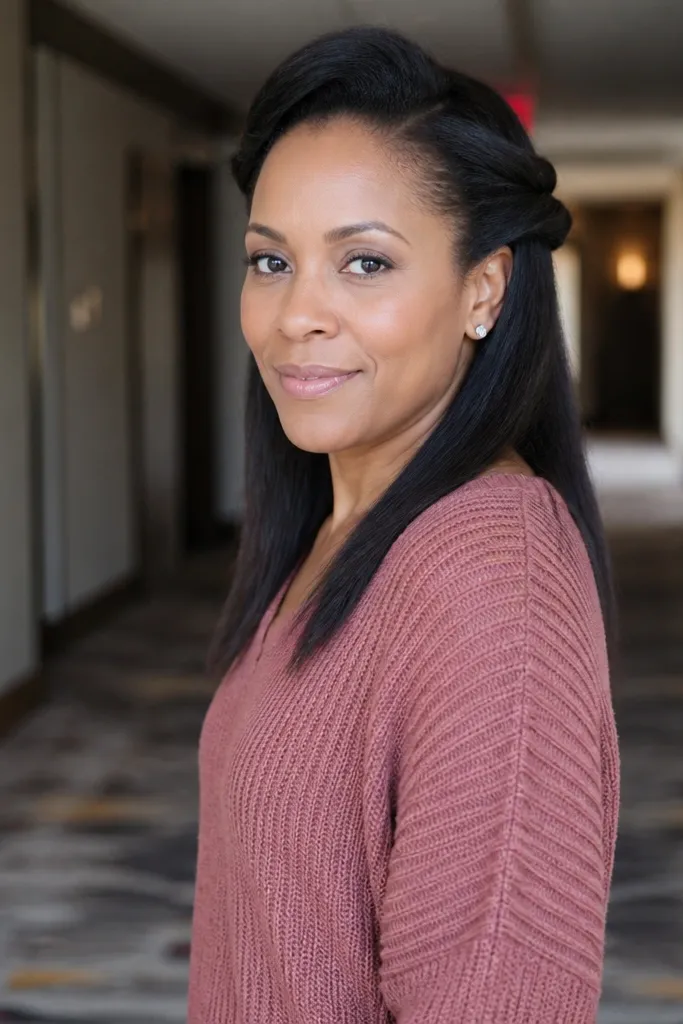
This look gives you the best of both worlds: face-framing detail up top and length for romantic photos. The crown lift makes your hair look fuller even if it’s fine, and the twist pattern keeps the front from falling flat. It photographs well because the twists create a clear line from temple to crown. This style suits people who want a softer wedding vibe but still need hold through hugs, photos, and dancing. It’s great for spring and fall when outdoor breezes show up.
Quick tipPlace the first pin lower than you think; it gives more lift and keeps the twist from sliding.
Start with brushed waves or blowout-style texture; add dry shampoo or texture spray at the roots if your hair goes limp. Take two small sections from each temple, twist them backward, and pin them together about 2-3 inches behind your hairline. Loosen the twist slightly with your fingers so it looks intentionally full, not tight. Then smooth the remaining hair with a light serum on the outer layer only. Bring a travel comb and a mini hairspray to re-set the twist if it loosens during photos.
Skip thisSkip tiny twists that vanish — use sections thick enough to show a clear twist line in pictures.
3. Bubble Braid Half-Up
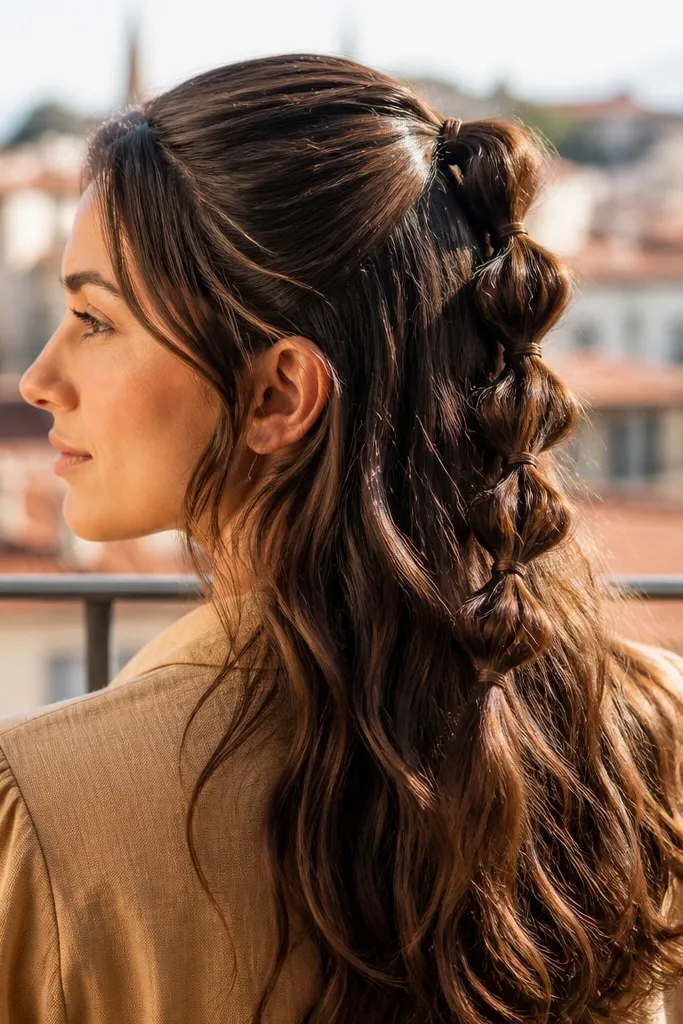
A bubble braid looks playful and polished at the same time, and it’s one of the easiest ways to make budget wedding hairstyles look styled. The “bubbles” create texture without needing fancy braiding skills. It’s also forgiving: if a bubble isn’t perfectly even, it still looks intentional in photos. This style works best with hair that holds a slight wave or has enough length to form loops cleanly. It’s perfect for garden ceremonies, beach weddings, and anyone wearing minimal jewelry who wants hair to do the talking.
Start by sectioning hair into a top half and bottom half. Braid the top half into a loose three-strand braid, then secure with small clear elastics at regular intervals. Use your fingers to gently pull each section outward to create the bubble effect, keeping the braid line smooth. Leave the bottom hair wavy or blow-dried for contrast. For travel logistics, keep small elastics in your kit and pack a detangling brush so you can fix any snag before photos.
Use clear elastics for the bubbles so the look stays clean in bright daylight.
Don’t pull the bubbles too far — extreme stretching makes the braid look thin and uneven.
4. Rope Twist Crown Pin
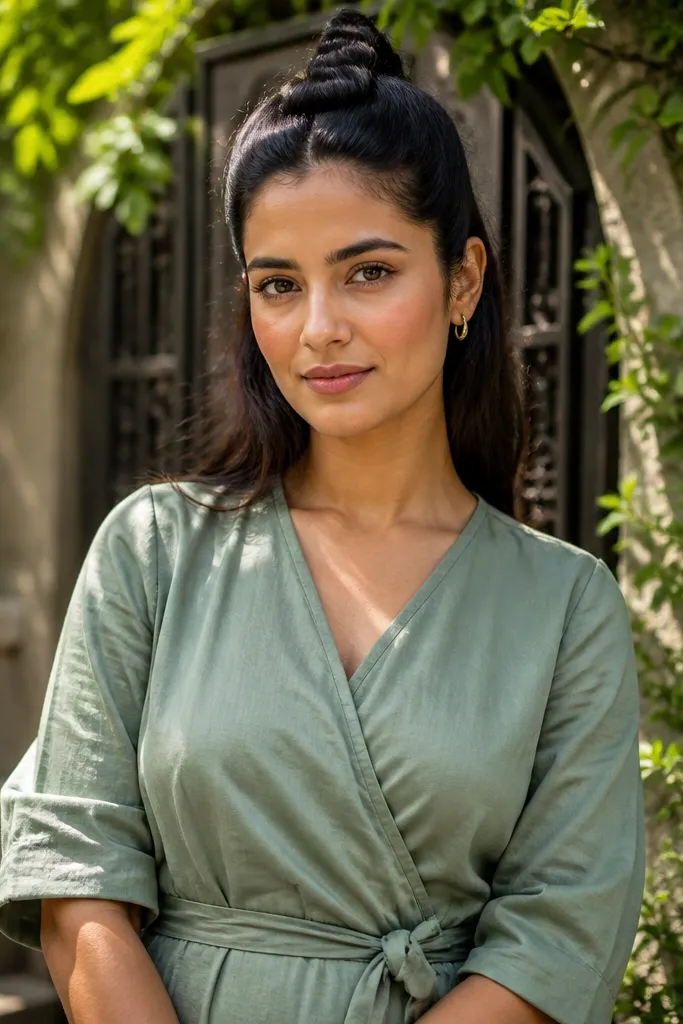
This style is a sneaky upgrade for simple wedding hair: it looks custom because the twist creates a raised crown detail. You get a lifted top without needing a full updo. The rope twist also controls flyaways since it’s pinned along the same path hair naturally wants to fall. It suits medium hair lengths and works well with soft waves for a romantic finish. It’s a strong pick for ceremonies with lots of photos because the crown detail shows clearly from the front.
Quick tipIf your hair is slippery, use a tiny bit of dry shampoo at the crown before twisting so it grips the pins.
Start by adding texture spray to the crown and sides, then brush hair into a low pony or gather it loosely at the back. Take a thick front section, twist it into a rope, and wrap it across the crown in a gentle curve. Pin the rope twist down with bobby pins in two spots: one near the front and one near the back. Smooth any edges with a tiny amount of styling cream on your fingertips only. Pack a small pin holder and extra bobby pins for quick adjustments before the ceremony.
Skip thisDon’t twist too tight; tight rope twists can kink and look uneven when pinned.
5. Classic French Twist with Side Sweep
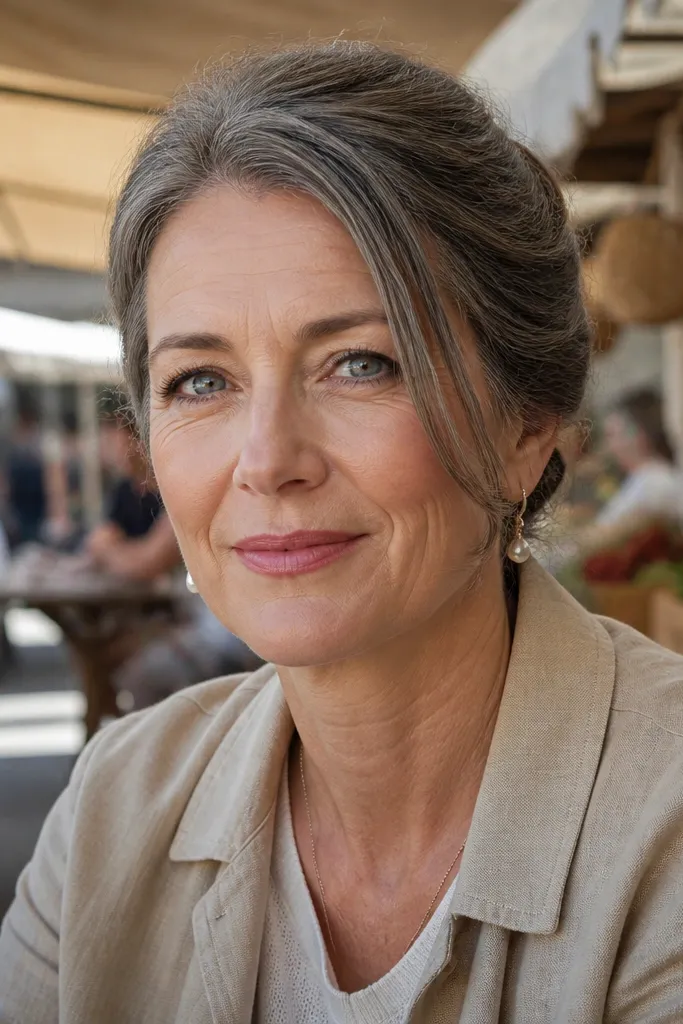
A French twist reads elegant in photos, but you can keep it budget-friendly by using a simple pin structure and your existing hair texture. The side sweep softens the face and stops the twist from looking severe. This works especially well if your hair is shoulder length to longer and can be tucked without falling out. It also pairs beautifully with earrings and a clean neckline because your hair is up and out of the way. Choose this when you want a polished look that holds through long indoor events.
Start with hair that has some grip: blow-dry roots and add texture spray. Sweep hair to one side, then tuck ends under as you roll the hair upward into a twist. Secure the twist with bobby pins in an X pattern so it doesn’t shift. Smooth the top with a brush and finish with a firm hold spray around the pin area. Travel tip: bring a hair tie in case you need to re-gather if pins loosen during getting ready.
Pin the twist first, then smooth — smoothing before pinning makes it harder to hide bumps.
Skip wet hair; French twists slip when hair is too damp.
6. Soft Low Knot with Two Face-Framing Pieces
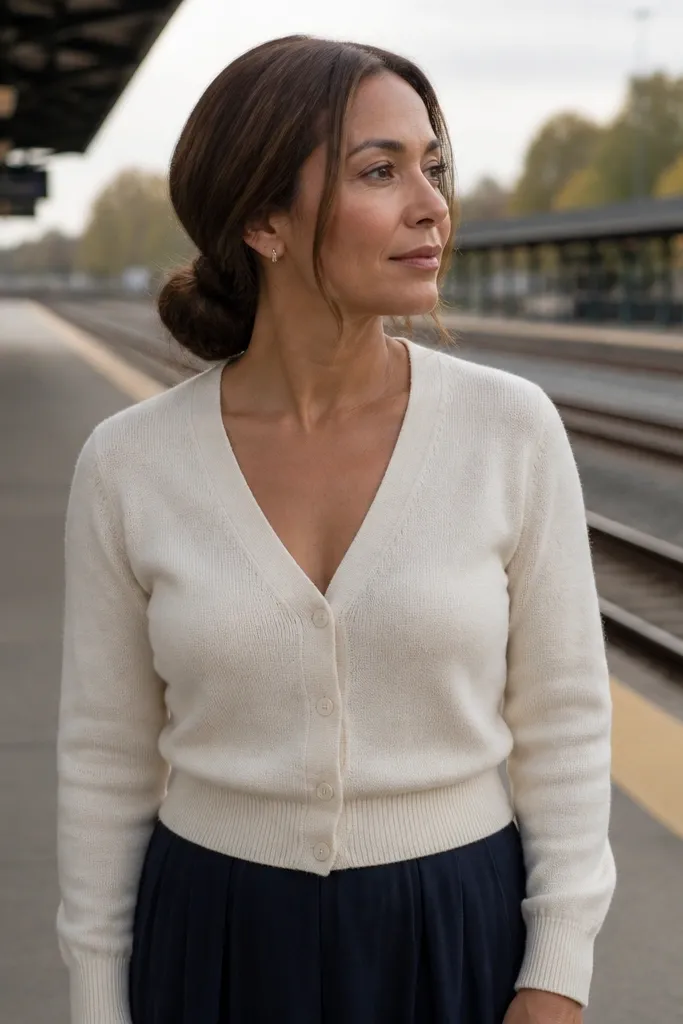
This hairstyle is simple but looks intentional because the face-framing pieces create a finished frame. The low knot gives an easy updo vibe without the tightness of a full bun, so it stays comfortable for long wedding days. It’s also forgiving for hair that isn’t perfectly even length since the knot hides irregular ends. This is a great pick for casual venues or outdoor photos where you want relaxed, pretty hair that still photographs clean. It works best with medium to long hair.
Quick tipKeep face pieces a little thicker than you think — thin strands disappear in daylight photos.
Start by parting slightly off-center and applying dry texture spray to the mid-lengths. Gather hair into a low pony, twist it, and wrap into a knot, then pin from underside to hide the hardware. Pull out two thin pieces in front and lightly curl them or wave them so they sit near cheekbone length. Set with light spray and brush the knot surface so it looks smooth, not lumpy. For travel, pack a small flat sectioning comb and smoothing brush so you can reset the front pieces quickly.
Skip thisDon’t skip pinning the knot’s underside; surface pins alone make it slide.
7. Mini Braided Crown with Sleek Back
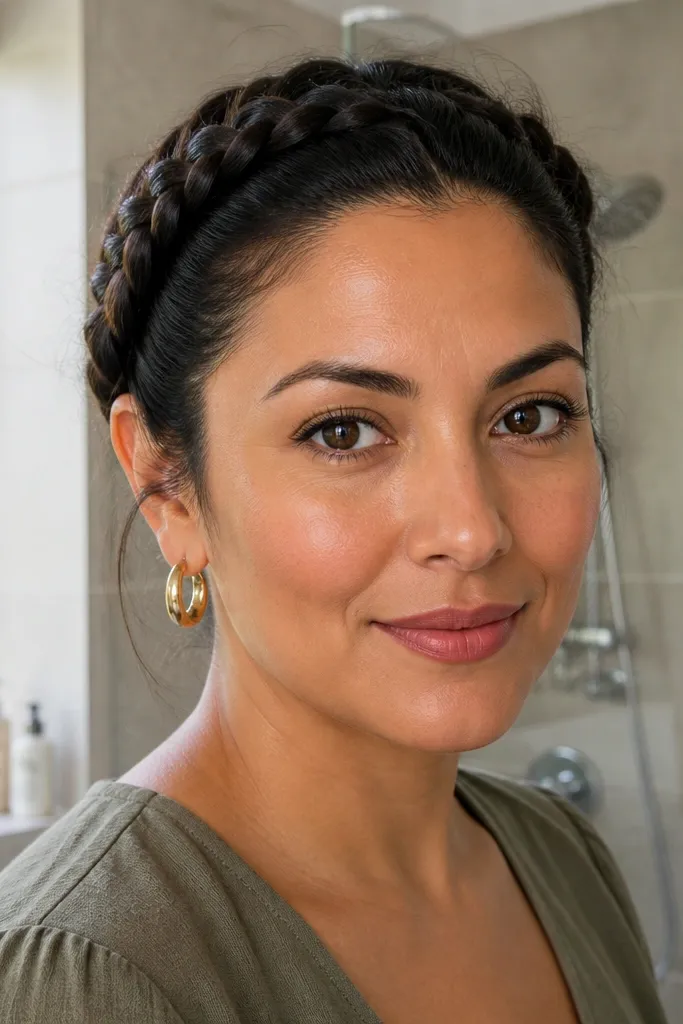
A mini braided crown looks intricate without being complicated, and it photographs like you spent real time on hair. The sleek back keeps the style modern and prevents the braid from blending into loose hair. This is ideal for budget wedding hairstyles because you can do it with small sections and basic three-strand braids. It suits a wide range of hair types, especially if your hair holds a straight blowout or sleek finish. Choose this for ceremonies where you want a polished look but still want a bit of texture up front.
Start with either straight hair or brushed-out waves; add anti-frizz serum to the top layer only. Create a side part and take a small section from one temple to braid backward in three strands. Secure the braid with a small elastic, then pin it across the head to meet the other side. Repeat on the other side, then smooth the remaining hair into a low pony or tuck it behind the crown. Bring a travel hairspray and extra pins so the sleek back stays tight in wind.
Use the same pin color as your hair — it matters in bright photos.
Don’t make the crown braid too wide; it can look heavy and shrink your face in pictures.
8. Satin-Smooth Twist-and-Pin Updo
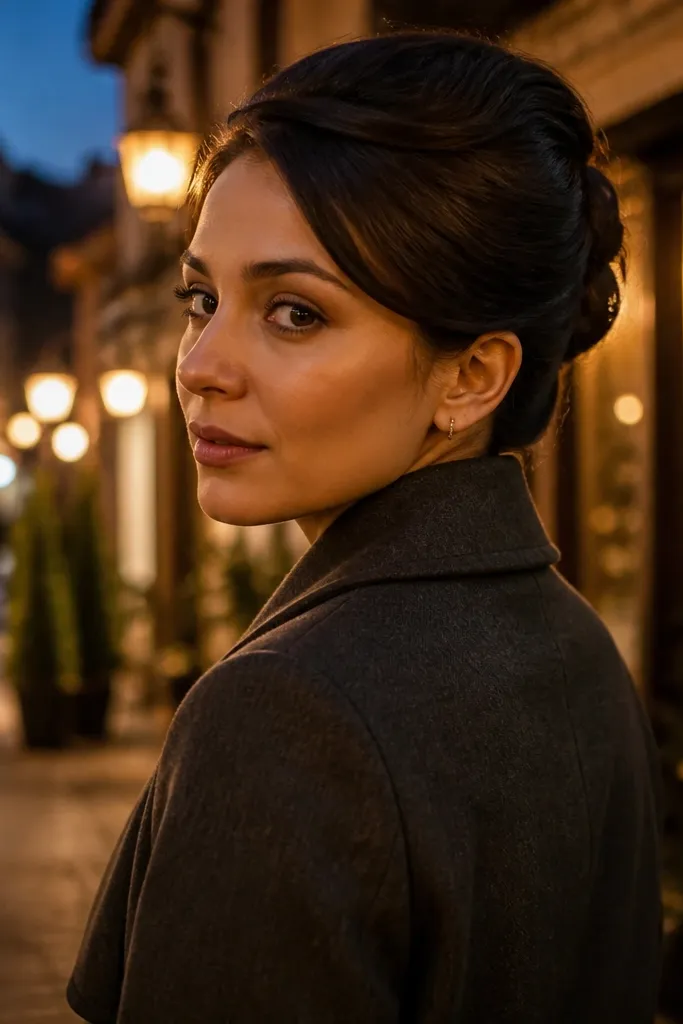
This style is built for a “sleek finish” photo requirement. The twist-and-pin method creates a clean, structured look without needing a full braid or complicated placement. It’s great for people with straight hair that tends to fall flat, because the twists give shape and dimension. You also get a polished shine that reads wedding-appropriate without looking overdone. It’s especially good for evening ceremonies and indoor receptions where lighting highlights smooth hair.
Quick tipPin the twists slightly off-center so the silhouette looks intentional, not symmetrical and stiff.
Start by blow-drying roots and adding a lightweight shine spray or serum to the top layer. Split hair into two sections, twist each section toward the back, and pin the ends under as you go. Secure with bobby pins in a cross pattern so the twists don’t pop loose. Smooth the outer layer with a brush, then mist with flexible hold spray. Travel tip: pack a mini serum — a tiny amount fixes flyaways and shine after a few hours.
Skip thisDon’t use heavy oil; it can flatten your twists and show on camera.
9. Half-Up Chignon with Pearl Pin Detail
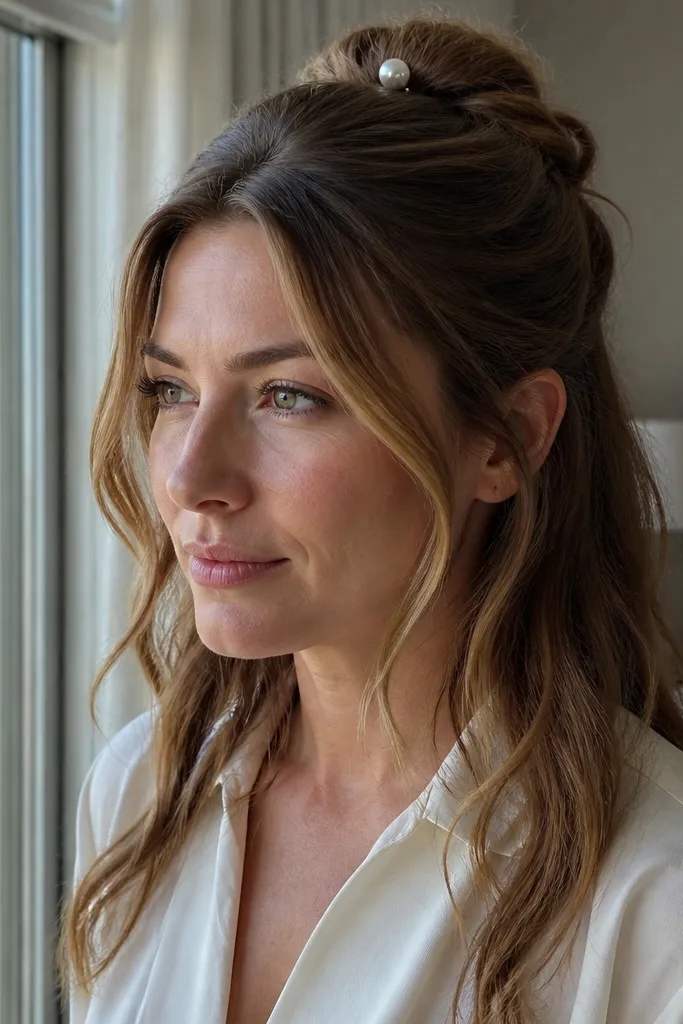
This is a budget wedding hairstyle that looks like a planned accessory moment. The half-up chignon lifts the face and keeps your length for romantic photos, while the pearl pin detail adds sparkle without buying a full headpiece. It’s flattering on most face shapes because the bun sits where your eyes naturally focus. If you want something bridal but not overly formal, this is a strong choice. It also works well for summer weddings where you want hair up but not too hot.
Start with a loose wave or use a curling iron on mid-lengths only, leaving the roots smoother. Gather the top half into a small pony at crown height and twist into a mini chignon. Pin it firmly and place pearl pins along the side seam where the bun meets your hairline. Mist with flexible hold spray, then gently brush the waves so they look soft, not frizzy. Travel tip: keep pearl pins in a separate small pouch so they don’t tangle with bobby pins.
If you’re wearing a veil, skip pearl pins on the veil side and let the veil comb do the job.
Don’t over-tighten the half-up section; pulling too hard shows in photos as tension lines.
10. Twisted Rope Ponytail with Crown Volume
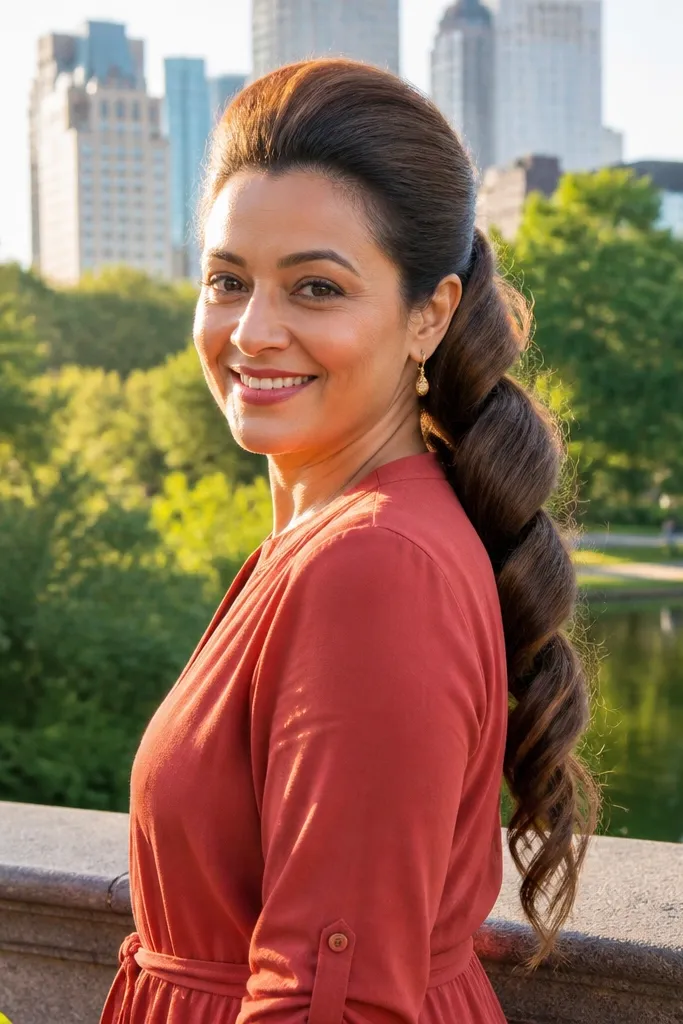
A ponytail can look bridal when it has lift and a twist detail, not when it’s just a basic elastic. The rope twist makes the ponytail look finished, and crown volume helps the style photograph like an updo from the front. This works well for hair that’s long enough to wrap and hide the elastic. It’s a great option if you’re worried about updos feeling uncomfortable or too hot. Choose it for outdoor weddings and dance-heavy receptions because it stays put when pinned correctly.
Quick tipTie the pony slightly higher than comfort; wedding photos show pony height better than real life feels.
Start by teasing the crown lightly or using a root-lifting spray, then smooth the top layer so it looks sleek. Tie hair into a mid-high pony with an elastic. Wrap a small strand around the elastic and pin it down. Twist the pony into a rope and secure the end with a second elastic or a hidden pin. Travel tip: bring a small travel mirror and hair spray — ponytails need quick edge touch-ups.
Skip thisSkip leaving the elastic visible; it ruins the polished look.
11. Waterfall Twist Half-Up
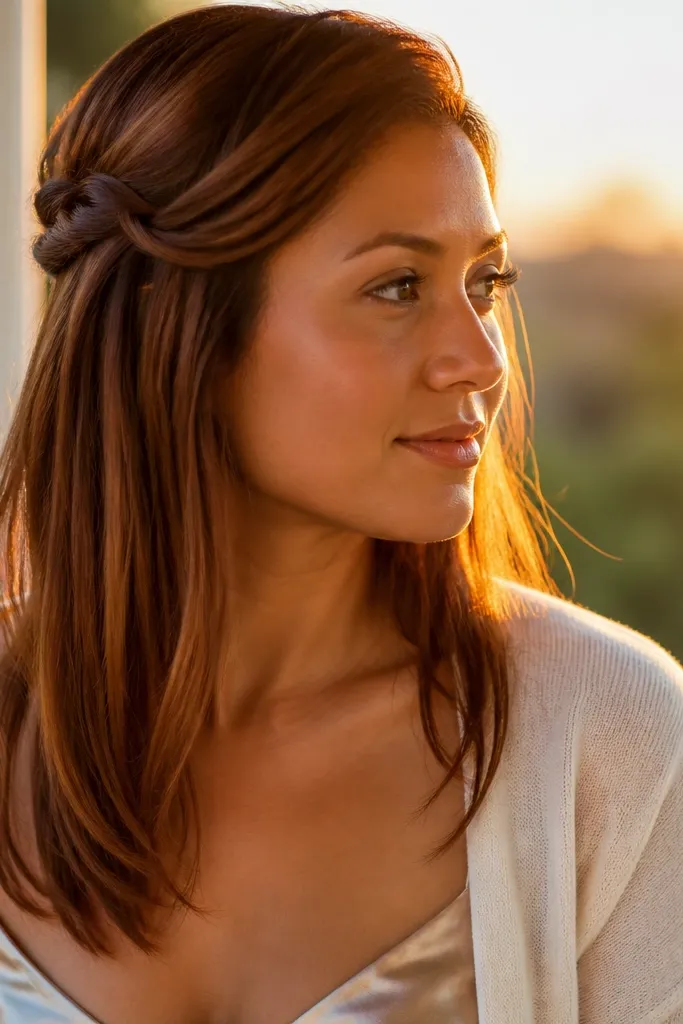
A waterfall twist half-up looks romantic and expensive because it creates a “cascading” effect without a heavy braid. The pinned twist holds the upper section while the strands fall over your shoulder like delicate ribbons. It photographs beautifully because you get movement and shape at the front while keeping your length. This style is best for medium to long hair with enough length to create visible cascades. It’s a strong pick for spring weddings, especially with soft makeup and a flowy dress.
Quick tipKeep the “falling” strands consistent in thickness so the waterfall reads cleanly.
Start with slightly textured hair and part it where you like best. Take a small section near the temple, twist it back, and pin it lightly. Add a new strand to the twist, let it fall forward, then twist again with the next section. Repeat until you reach the other side, then pin the end securely. Travel tip: use small clear elastics or bobby pins at the waterfall pin points so they disappear in photos.
Skip thisDon’t pin the waterfall too high; it can look like the style is floating instead of cascading.
12. Braided Side Swept Updo
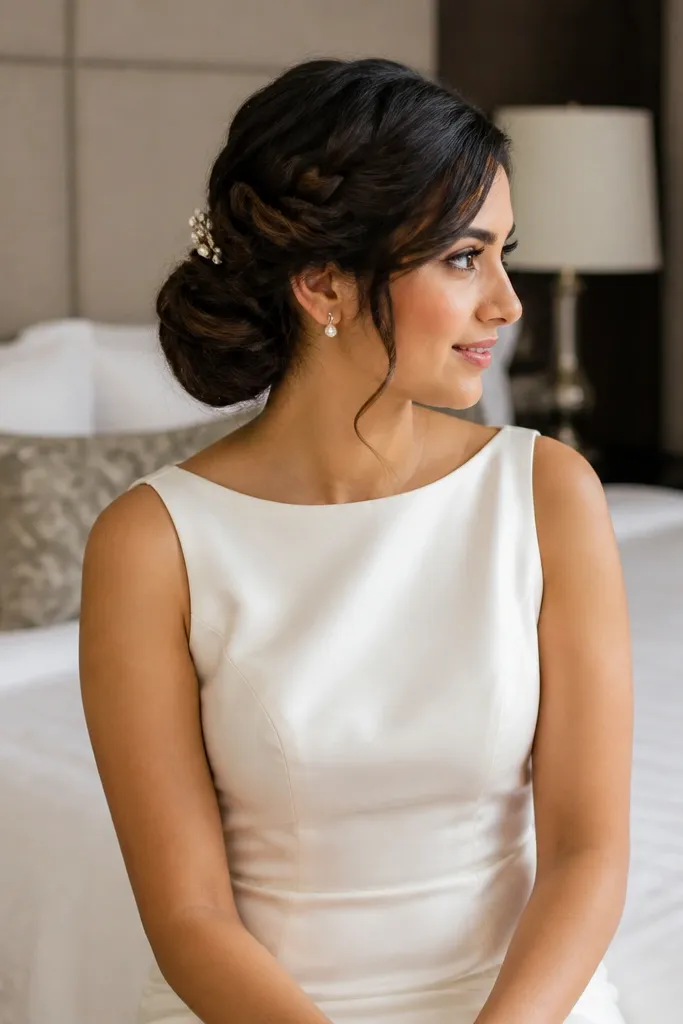
This is a great budget wedding hairstyle when you want a strong shape and a clear braid detail without a complicated full braid. The side sweep creates drama in photos, and the braid adds texture that hides minor unevenness in hair. It’s also helpful for people with bangs or shorter layers because the braid can incorporate them. Choose this for outdoor photos where you want your hair to look styled from every angle, not just front-on.
Start by sweeping hair to one side and braiding it loosely from the front. Incorporate any face layers into the braid so nothing sticks out. Once you reach the mid-length, continue the braid to the end, then wrap it into a side bun at the nape. Pin the bun firmly and use hairspray on the braid surface so it stays defined. Travel tip: pack a few hair donuts or pads only if you need extra height — otherwise skip for a lighter finish.
Use a slightly looser braid for a softer wedding look; tight braids look too harsh in bridal lighting.
Don’t make the side bun too low; it can get lost against your dress neckline in photos.
13. Sleek Low Pony with Braided Wrap
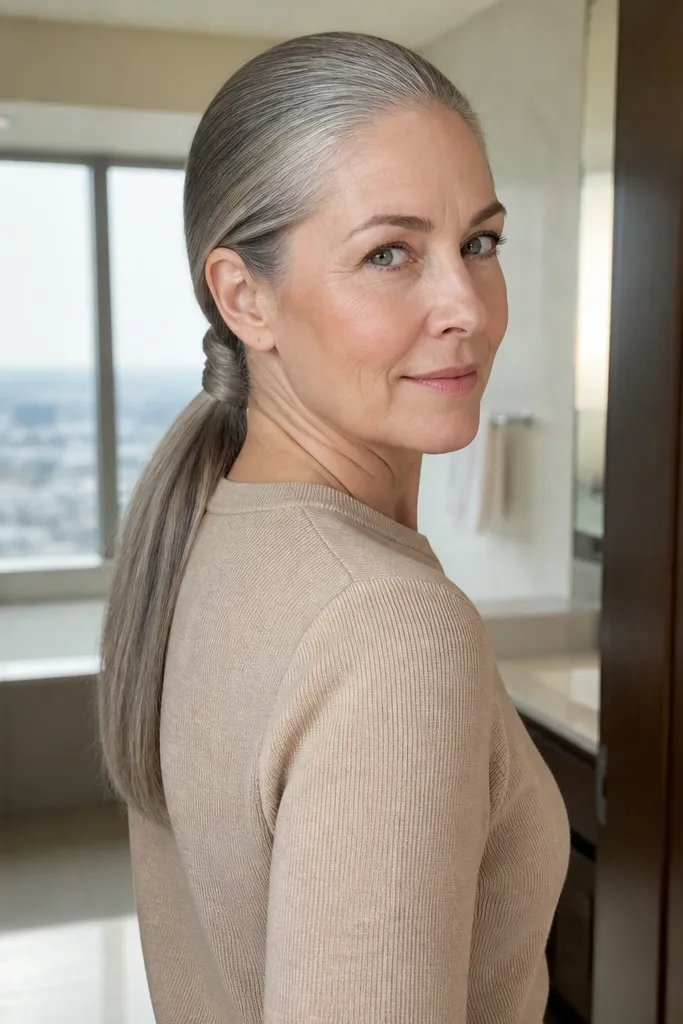
A sleek low pony gets bridal when the base is dressed up. The braided wrap hides the elastic and gives a neat, photogenic detail that looks intentional. This style works for budget wedding hairstyles because you only need one braid section and a clean finish. It suits straight hair and also works on wavy hair if you smooth the top. Pick it for modern weddings, courthouse ceremonies, and brides who want hair out of the face but still polished.
Quick tipMatch your elastic color to your hair so it disappears under the braid wrap.
Start by smoothing roots and sides with a light gel or cream; blow-dry for control if you can. Tie hair into a low pony at the nape, then take a small section from the pony and braid it. Wrap that braid around the base, pin it underneath, and mist with hold spray. For extra security, add one bobby pin through the base into the elastic. Travel tip: keep a small comb and gel in your kit for quick edge control before portraits.
Skip thisSkip high pony height if your neckline is busy; low reads cleaner in photos.
14. Classic Crown Braid with Loosened Edges
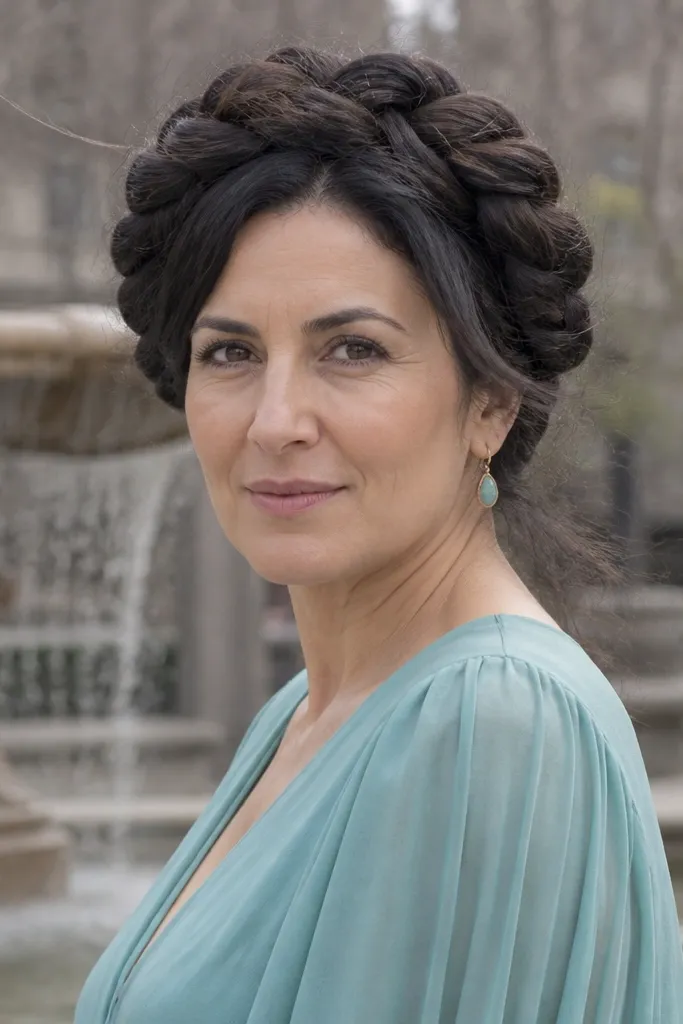
A crown braid looks bridal, but the “budget” version that looks best is the one with loosened edges. It hides minor differences in hair thickness and makes the braid look soft, not like a tight school braid. The crown placement frames your face and keeps hair off your shoulders for clear portraits. This is a solid choice for outdoor ceremonies because the braid is anchored and less likely to blow around. It also works well with flowers or a simple hair comb.
Start with a side part and braid across the top of your head, using three-strand sections from both sides. Keep the braid snug at the anchor point, then loosen each segment by gently pulling outward. Secure the braid end with a small elastic and tuck it under the braid line. Pin the crown braid in two to three spots so it stays flat. Travel tip: add extra bobby pins before you leave home — crown braids shift if you rely on only the end pin.
Loosen in small increments so you keep the crown’s shape instead of making it lopsided.
Don’t skip pinning the braid end — that’s where crown braids fail in wind.
15. Simple Twisted Bun with a Clean Middle Part
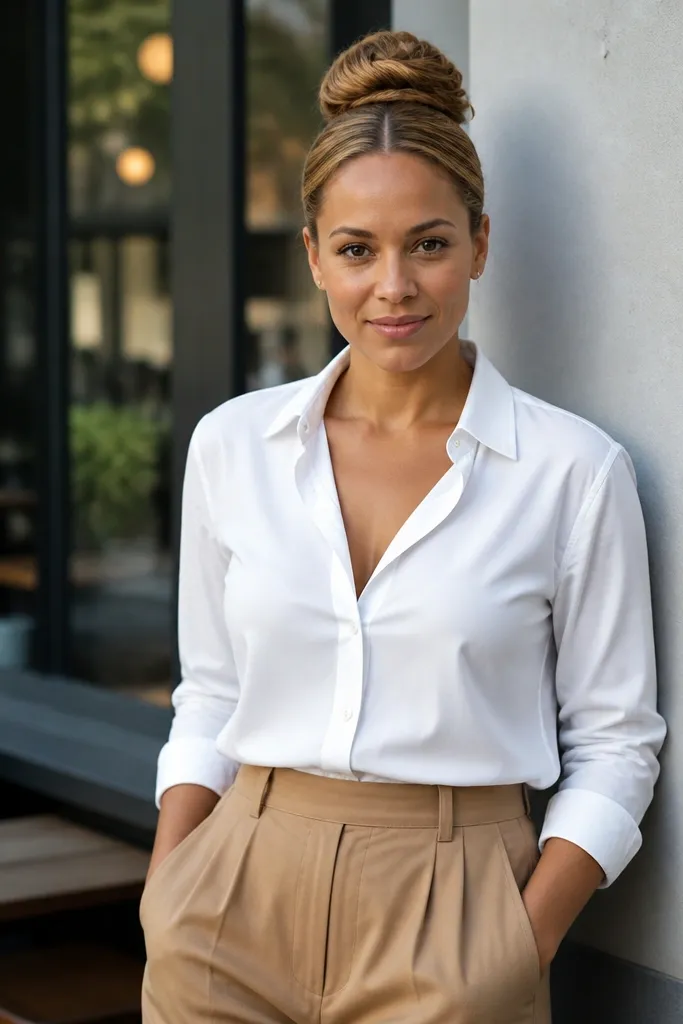
A clean middle part makes this twisted bun look intentional and modern. It’s one of those budget wedding hairstyles that looks like you planned it because the symmetry does the heavy lifting. The twist adds structure so the bun doesn’t collapse, even if your hair is fine. This is a great pick for brides who want a sleek, minimal finish with a little texture. It also pairs beautifully with high necklines and statement earrings.
Start with a precise middle part and smooth the top layer. Gather hair into a low pony at the back center, twist it into a rope, and wrap into a bun. Pin from underside and add two pins at the center seam so the bun doesn’t rotate. Use a brush to smooth flyaways around the part line, then set with firm hold spray. Travel tip: bring a tail comb — a middle part needs a quick reset after travel.
If your hair frizzes, spray the brush, not your hair, before smoothing the part line.
Don’t make the bun too tight; tight buns can look shiny and flat in photos.
16. Half-Up Knotless Braid Accent
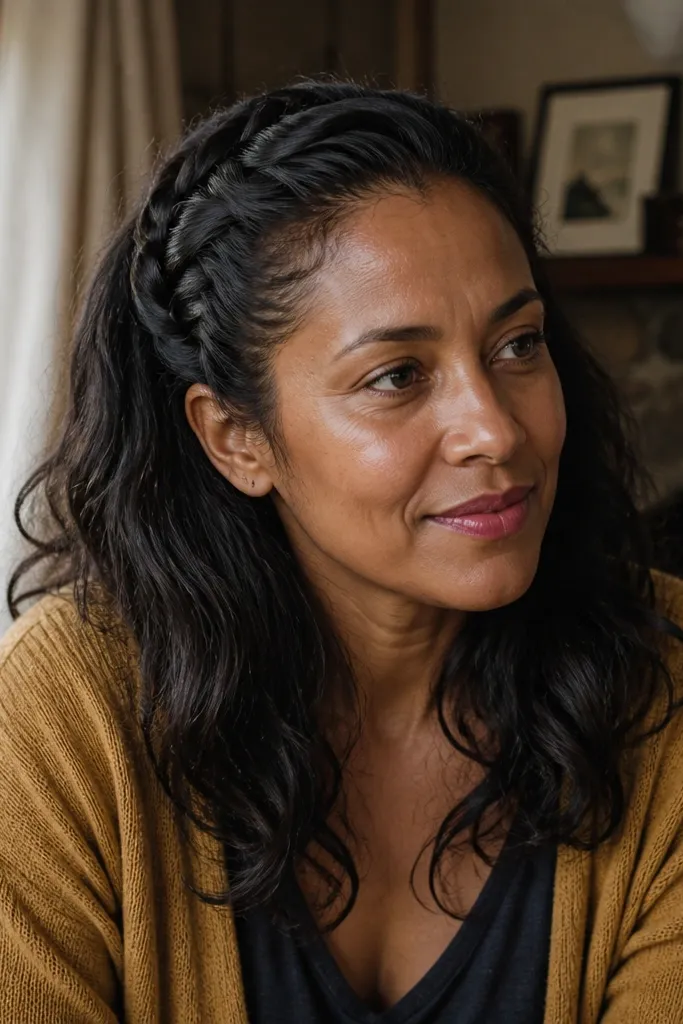
This hairstyle looks detailed while staying simple because it uses one braid accent instead of a full braided style. The half-up knotless braid effect creates a smooth, lifted front that holds better than a basic clip. It’s perfect for people who want their hair down but still want “bridal hair” structure. The braid also gives you an easy place to attach a small comb or pin if you want extra sparkle. Choose it for beach weddings, semi-formal receptions, and any day you want movement.
Quick tipPin the braid so it sits slightly angled, not perfectly straight — angled looks more natural in photos.
Start by creating a section from temple to temple, leaving the rest down. Braid only the top section, using a knotless feel by adding hair as you go and keeping tension light. Secure the braid end with a small elastic and pin it flat against the head so it doesn’t stick up. Let the remaining hair fall in soft waves or a blowout. Travel tip: bring a mini bottle of anti-frizz spray so the braid area stays neat in humidity.
Skip thisDon’t braid too tight; it can make the top section look stretched and uncomfortable.
17. Low Bun with Face-Framing Twist Sides
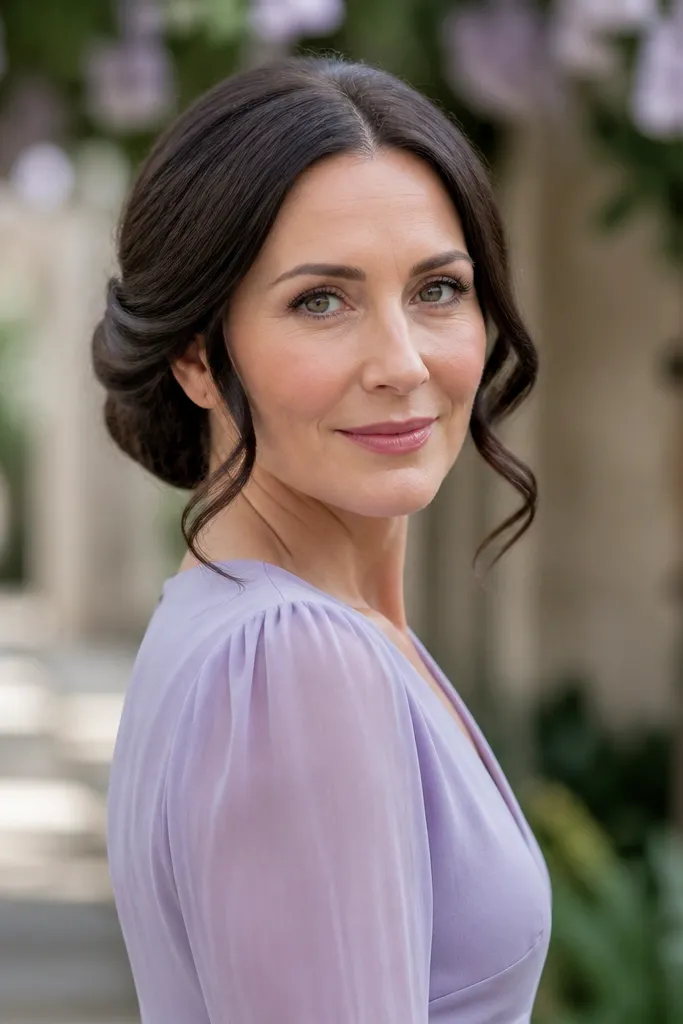
This is the “soft formal” version of a low bun. You get the polished bun finish, but the twisted sides add movement and frame your cheeks instead of leaving the face bare. It’s great for budget wedding hairstyles because the twists make the style look more complex than it is. This look photographs well because the face-framing pieces create depth and highlight your makeup. It suits most hair textures and works for both indoor and outdoor weddings.
Quick tipPin the side twists first, then build the bun around them so the placement stays symmetrical.
Start with a low pony and a light texture spray on the lengths. Create two small twist sections near the temples, twist them backward, and pin them to the sides of the bun as you build it. Twist the pony into a bun shape, wrap, and pin from underneath. Smooth the bun surface and lightly mist for hold. Travel tip: bring a few hairpins with a matte finish so they don’t catch light in flash photos.
Skip thisSkip leaving the side twists loose; loose twists pop in wind and ruin the frame.
18. Messy-Polished Bun with Intentional Strands
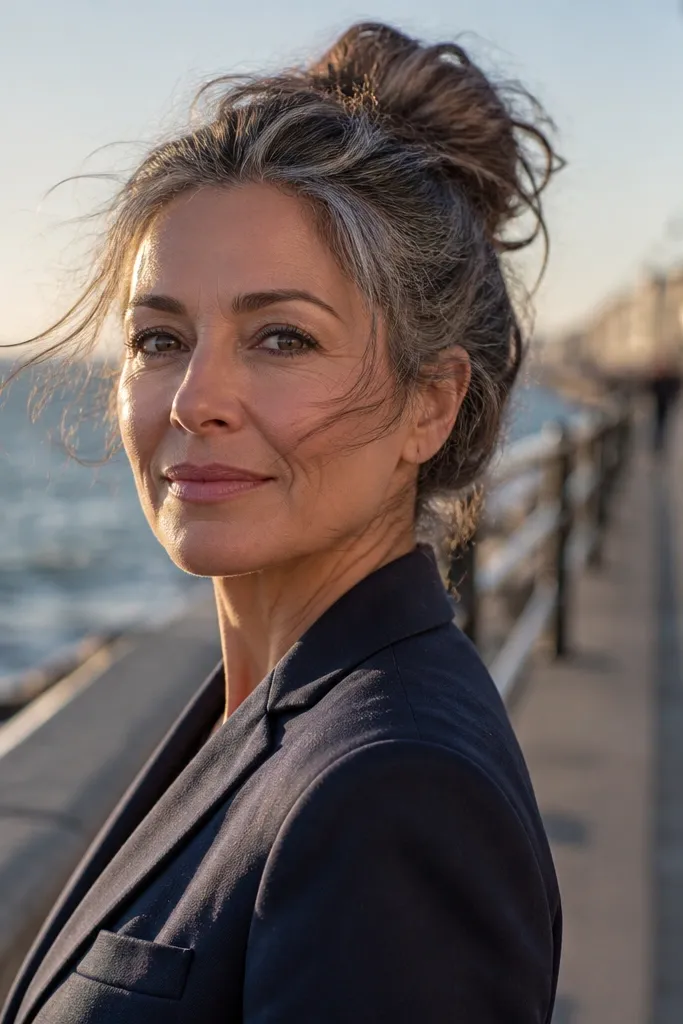
This style is budget-friendly because it forgives hair that isn’t perfectly uniform, while still looking bridal. The trick is “messy-polished”: the bun is secure, but a few strands are left to look natural around the front. It photographs beautifully in motion because the loose strands catch light instead of looking like flyaways. Choose this when you want a relaxed wedding vibe without looking unstyled. It’s especially good for outdoor photos with soft wind.
Quick tipMake the bun slightly flatter than you think; it reads more bridal than round and compact.
Start with textured hair, either from day-old roots or using a dry texture spray. Gather into a low pony, twist, and wrap into a bun, then pin firmly. Pull out two or three small strands from the front and sides, then curl them lightly if they’re straight. Mist with flexible hold spray, then gently shake the bun so it looks airy but stays anchored. Travel tip: carry a travel lint brush — it’s the fastest fix for stray strands on the day.
Skip thisDon’t leave too many strands loose — it turns into unplanned frizz in close-up photos.
19. Pinned Beachy Waves with Side Clip
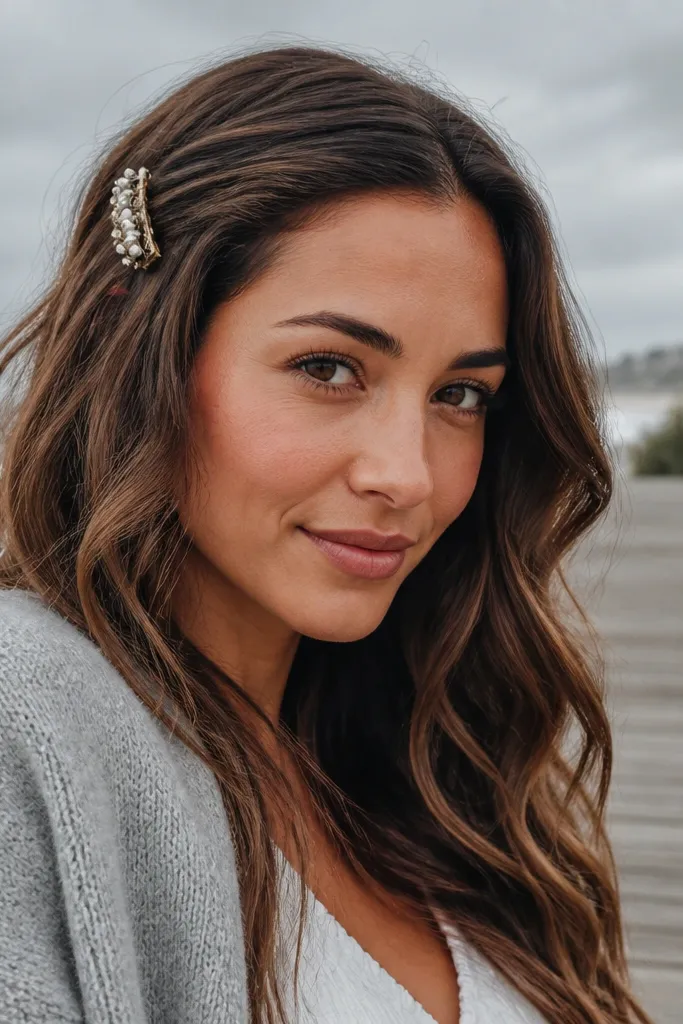
If you’re aiming for an effortless wedding look, pinned beachy waves are the easiest way to make it look intentional. The wave texture gives volume, and the side clip creates a focal point that looks great in close-ups. This style is a lifesaver for fine hair because the waves add body while the pins keep the front from falling. It’s also ideal for hot weather since you’re not fully up. Choose it for casual venues, destination weddings, and brides who want their hair down but controlled.
Start by curling or waving with a mid-barrel iron, then brush through for soft beach texture. Add a light sea-salt spray at the ends and shake hair out. Take a section from one side near the temple, twist lightly, and pin it back with a decorative clip. Leave the rest down and set with light hold spray to keep waves from collapsing. Travel tip: pack a small styling spray and a clip — waves can loosen after a car ride and need a quick reset.
Clip slightly higher than your ear so the face looks lifted in front photos.
Skip heavy hairspray on the whole head; it makes beach waves look crispy.
20. Sleek Wrap Bun with Two-Loop Hair Tie
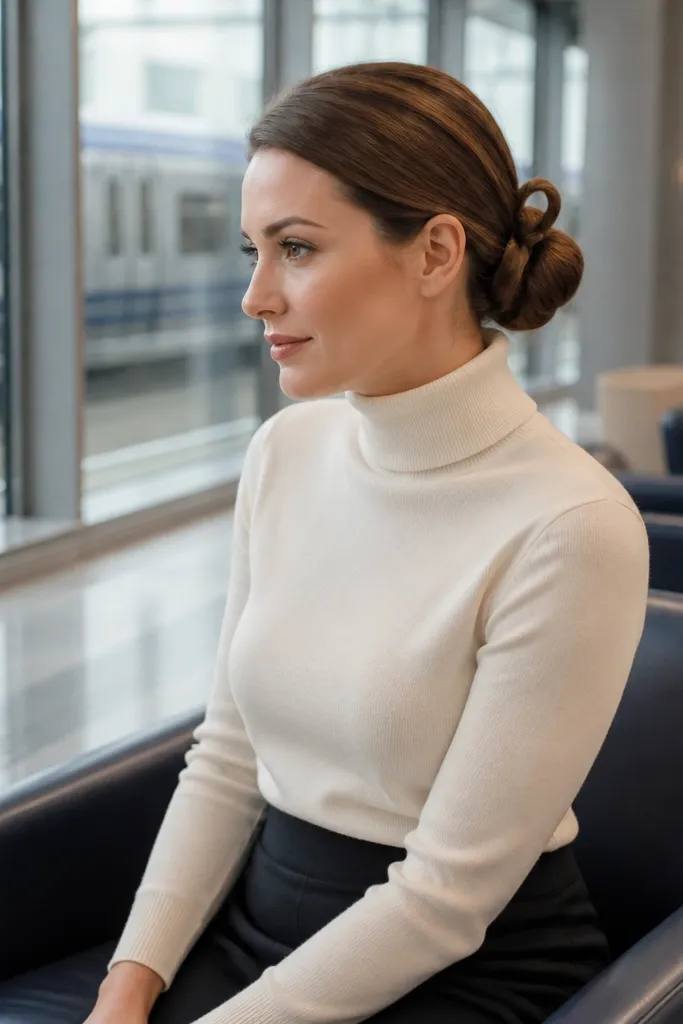
This is one of the cleanest budget wedding hairstyles you can do because it looks intentional even if you keep the technique simple. The wrap section makes the bun look fuller and more finished than a plain low bun, and the two-loop detail adds a photogenic “finishing touch” without needing a bunch of pins. It works especially well for outdoor weddings where wind can mess with loose pieces — everything stays tight and smooth. I’d pick it for spring or early fall weddings when you want a polished look that still feels light and breathable. It suits most hair textures, but it looks best when your hair has at least medium length so the wrap has something to grab. If you want a beautiful finish that photographs crisp from the front and the back, this one earns its place.
Step 1 — Get your base right. Brush hair smooth, then gather into a low pony at the nape and secure with an elastic that matches your hair color; smooth gel at the edges is worth the small effort. Do a two-loop method by wrapping the pony through the elastic twice so you get a looped bun shape, then tuck the ends under where the loops meet. Step 2 — Lock in the wrap. Wrap a thin strand or a 1-inch section of hair around the bun, then pin it with 3-4 bobby pins angled down into the bun. Lightly mist with a flexible hold hairspray so the wrap stays glossy, not crunchy. Step 3 — Travel practicality. Wear it the day you arrive if you’re doing a hair trial, or style it 1-2 hours before the ceremony so it’s set for photos; plan 25-35 minutes total. If you’re packing, bring extra pins and a travel-size hairspray — that’s cheaper than buying last-minute fixes. For booking, if you’re hiring a stylist, book early in wedding season and ask if they can recreate “wrap bun with two-loop base” so you get the exact look.
Pack a small comb and 20 extra bobby pins — the fastest fix for flyaways is pinning, not redoing the whole bun.
Avoid using a big, clear elastic that shows through — it ruins the sleek finish in photos.