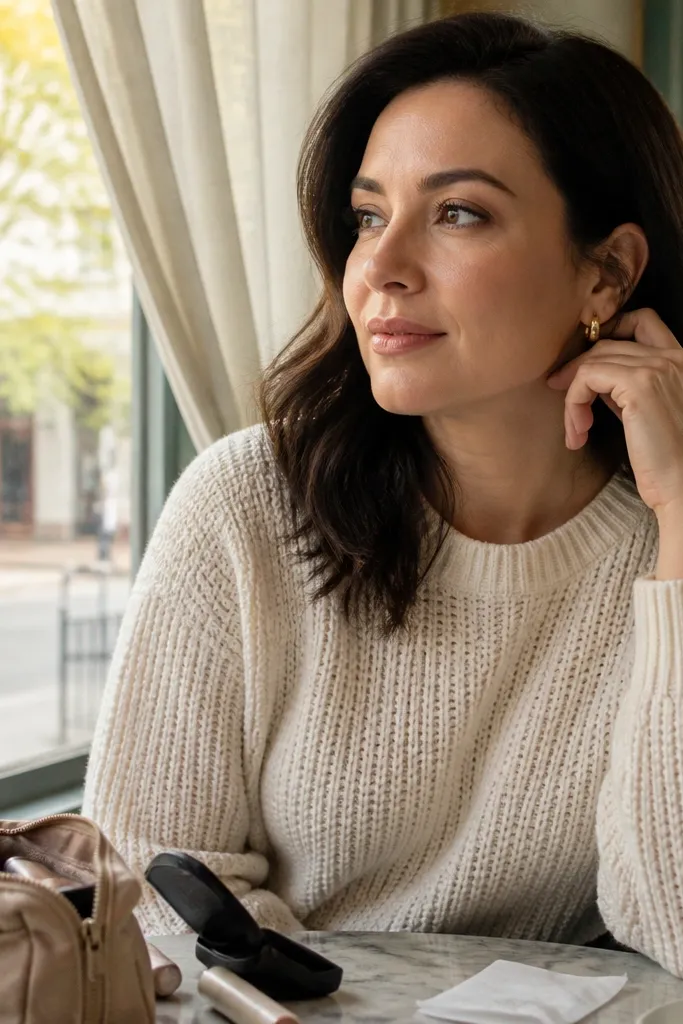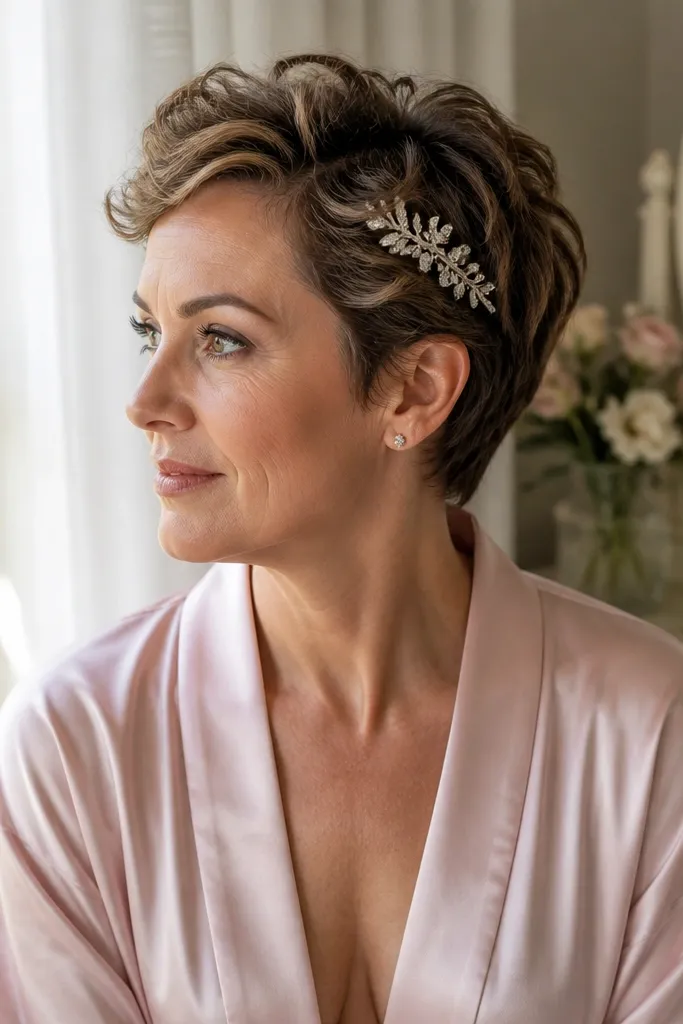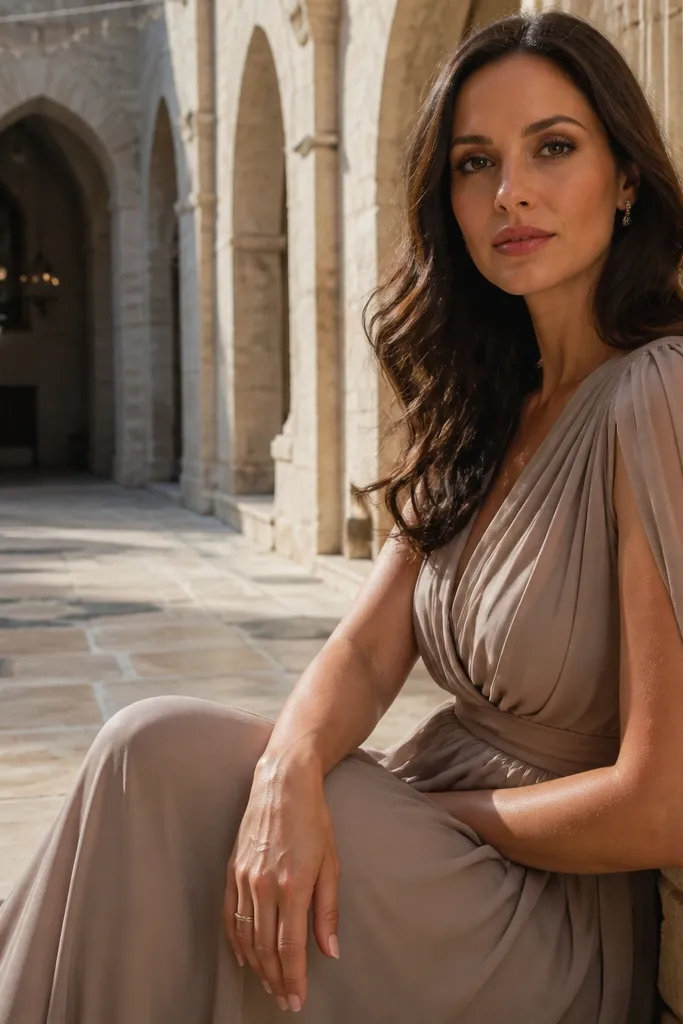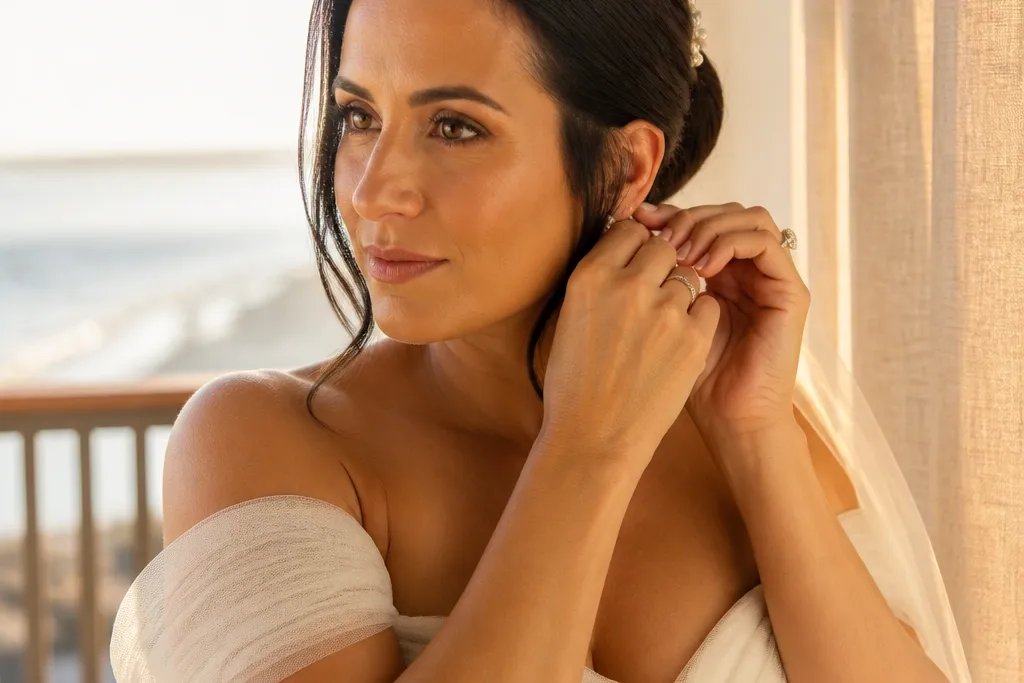
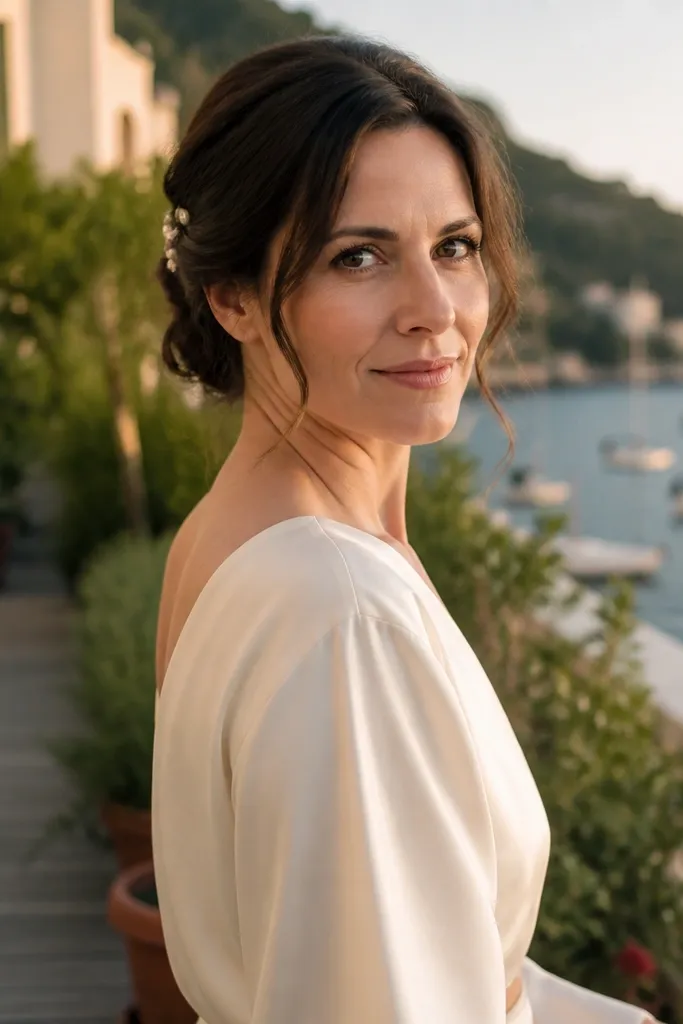
1. Side-Loop Crown Twist with Micro Braids
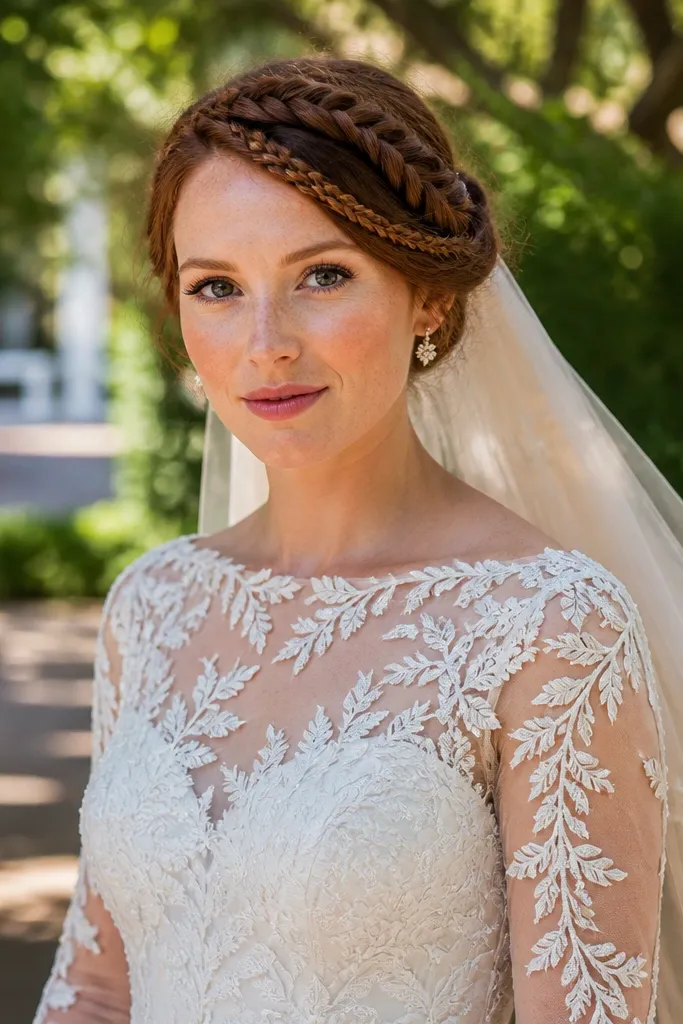
This is a hidden gems wedding hairstyles move because it looks like a couture crown without the heavy, bulky braid look. The crown twist sits diagonally, so your face gets a clean frame while the micro braids add texture right where photos catch shine. It flatters oval, heart, and round faces because the diagonal line visually lengthens. It also works with most veils since the twist is low enough to avoid veil tugging but secure enough to hold through hugs and dancing. Best for indoor ceremonies and early-evening receptions where you want a “soft but styled” finish.
Start by parting your hair slightly off-center and creating two thin sections at the front. Twist each section back loosely, then weave in tiny braids (about 1/4 inch wide) as you go so the texture stays close to the hairline. Pin the twists behind the ear with bobby pins laid horizontally for grip, then lightly mist with a flexible hold spray. Finish by tucking the ends under the twist and using 2-3 hairpins at the nape area so it doesn’t shift.
If your hair slips, add one small Velcro roller at the crown for 10 minutes before twisting — it gives lift without big backcombing.
Avoid pinning straight up and down — it creates visible pin lines and a loose, wobbling crown.
2. Low Chignon with a Hidden Under-Braid
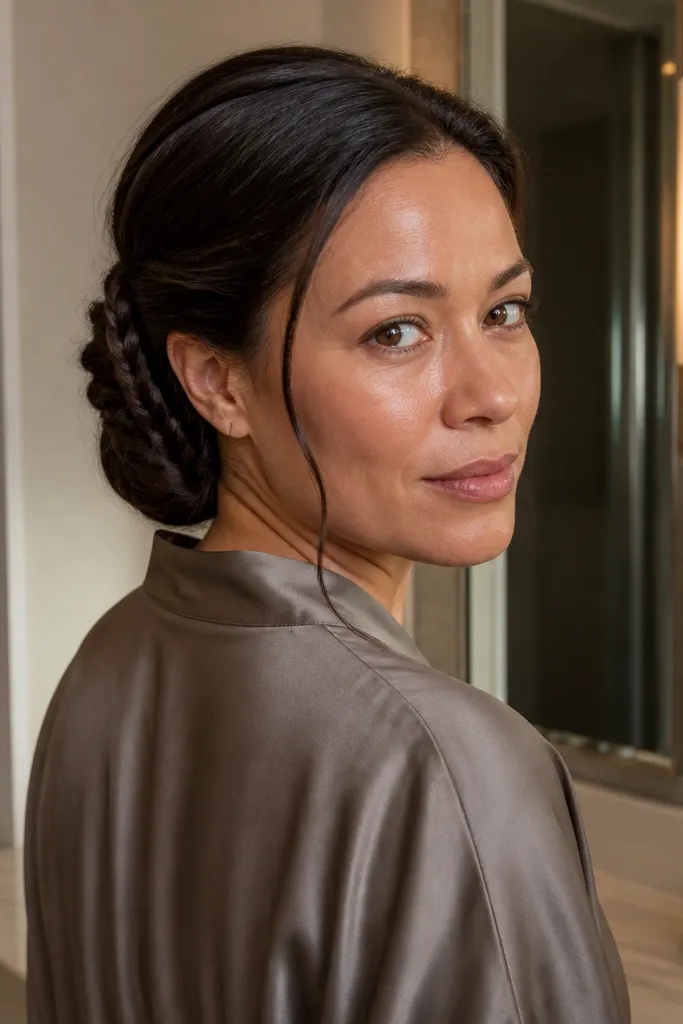
A low chignon already photographs polished, but the hidden under-braid is what makes it feel like a secret detail. The braid sits underneath the bun, so you see it when you move your head, not as a chunky top layer. This style looks expensive on camera because the top stays smooth while the underside adds depth. It’s great for weddings with a classic neckline or a veil that drapes over the back since the bun stays low and neat. Choose this if you want “clean and romantic” instead of “super glossy and tight.”
Start by prepping with a smoothing cream on the mid-lengths and ends so the bun doesn’t puff. Braid a thin 1-inch section from one side of the back and tuck the braid under where the bun base will sit. Roll the remaining hair into a low chignon at the nape, then wrap the braid around the base so it disappears under the roll. Secure with a pin cross at the base, then use a small amount of hairspray on the outer layer only, not the whole head.
Book a trial with the same veil you plan to wear so you can check that the bun height doesn’t push the veil off-center.
Skip a high bun if you have a longer veil — it makes the veil slide and can create an awkward silhouette.
3. Half-Up Waterfall with a Soft Twist Crown
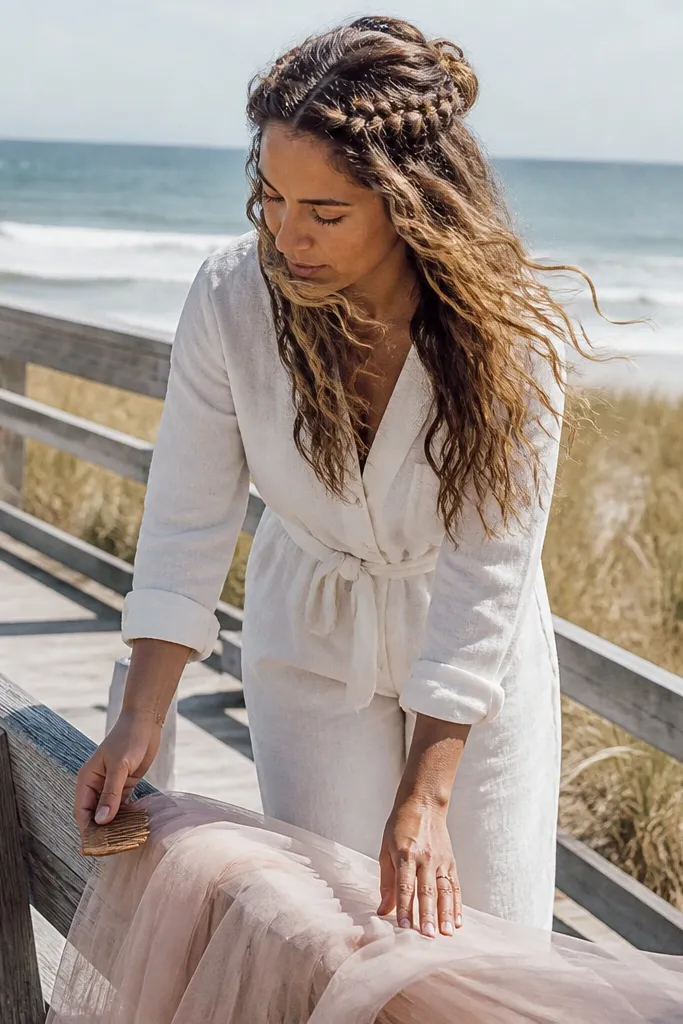
This one is a hidden gems wedding hairstyles pick because it feels delicate but still holds up to wind and dancing. The waterfall braid creates movement in the front photos, while the soft twist crown keeps the top secure without flattening your waves. It works especially well for beachy weddings, garden ceremonies, and anyone who wants their hair down but not loose and unruly. The key is that the braid is not tight — it’s structured enough to stay visible, then relaxed so it looks romantic. If you want a style that looks good when you turn your head, this is it.
Quick tipUse clear elastic for the twist base — it disappears in photos and keeps the waterfall from sagging.
Start by curling or setting your mid-lengths so the “waterfall” strands fall in a layered way. Create a side part, then take a small front section and braid across, dropping the outer strand each repeat. As you move toward the crown, convert the braid into a soft twist that pins near the back of your head. Secure with 2-3 pins, then pull one or two strands forward at the temples for a face-framing finish.
Skip thisDon’t over-tighten the braid — tight waterfall braids look rigid and can flip upward in photos.
4. Braided Faux-French Roll at the Nape
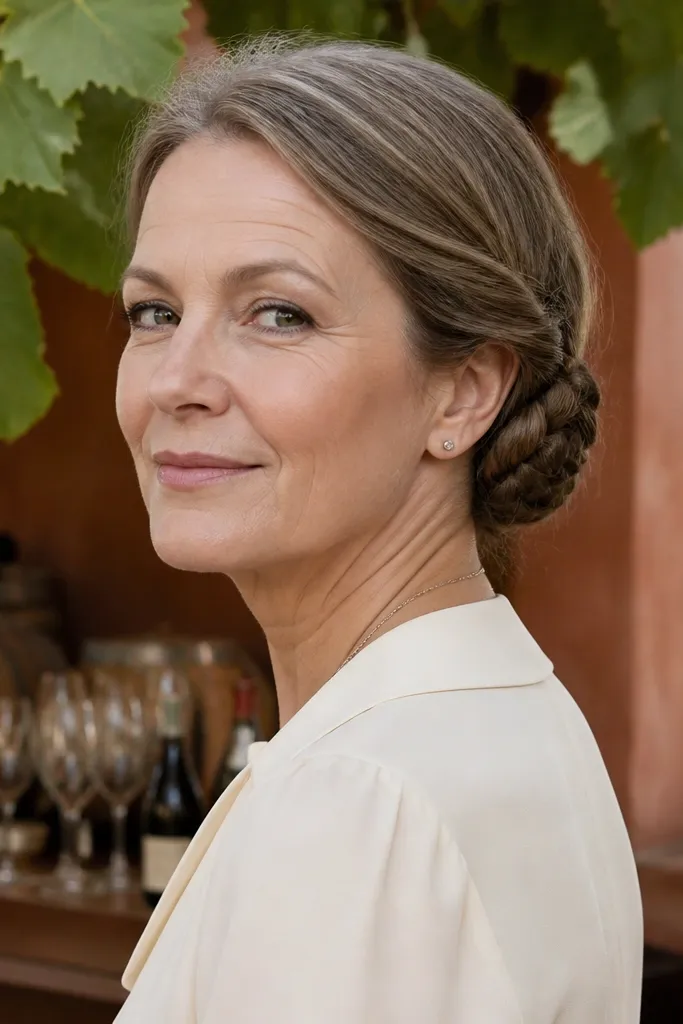
This style reads like a French twist upgrade, but it’s lighter and more photogenic because the braid defines the edge. The roll at the nape keeps everything tidy for updo photos, while the faux-french braid gives that “done” detail without the full crown weight. It’s flattering for long necks and for anyone who wants their ears visible in portraits. It also works with statement earrings because the sides stay clean. Best for formal indoor receptions where you want a sculpted look that doesn’t feel too severe.
Start by creating a low center or slight off-center part so the braid edge looks intentional. Take a 2-inch section at each side front, braid them into two thin braids, then pin them back so they line the sides of where the roll will sit. Roll the remaining hair into a nape roll, tucking the ends inside and pinning at the base. Finish by smoothing the outer surface with a little gel or cream, then mist lightly so it stays touchable.
If your hair is fine, add a root spray before rolling so the nape doesn’t go flat.
Avoid skipping the braid edge — a plain roll can look dated in straight-on photos.
5. French Braid Crown with a Lace-Soft Loose Edge
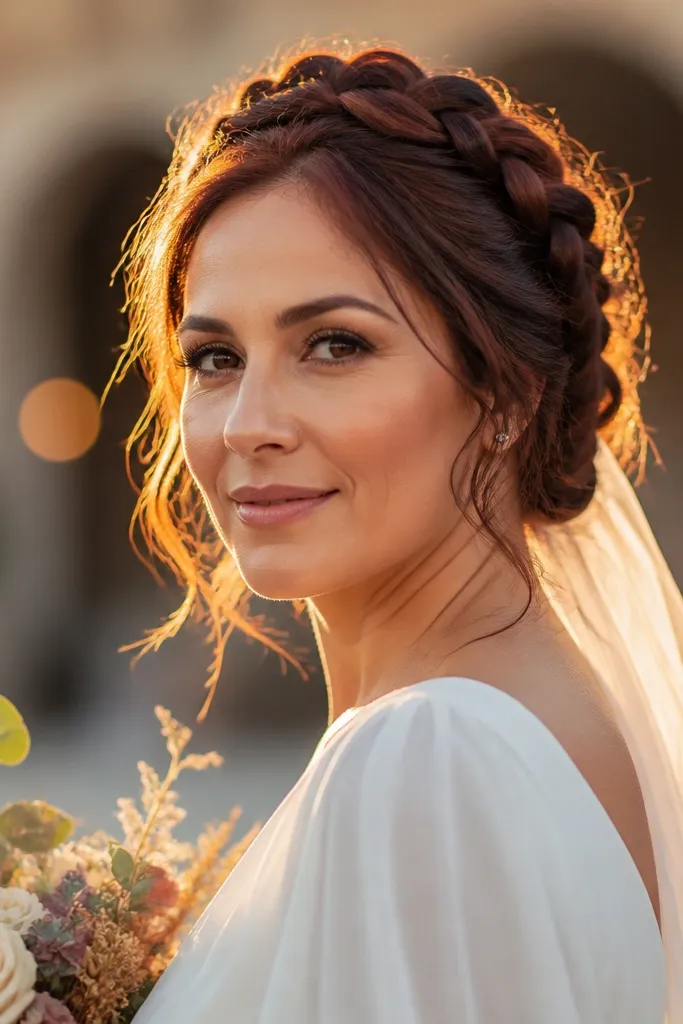
A French braid crown can feel too strict unless you add softness, and that’s the hidden gem here. The crown braid is tight enough to hold its shape, but you leave a deliberate loose edge near the hairline so it looks airy in motion. This style is gorgeous for outdoor ceremonies because the braid stays put while the loose strands catch light. It flatters most face shapes, especially if you keep the loose strands around cheekbones rather than jaw. If your wedding vibe is romantic with natural movement, this is the one.
Quick tipUse a finishing powder only on the braid surface if it looks too shiny — soft matte reads better in daylight photos.
Start with a smooth base and a light texture spray on the lengths so the braid grips. Braid from the front across the crown, adding hair consistently so there are no gaps. When you reach the back, secure and tuck the braid end under. Finally, pull 2-3 micro loops around the face and crown to create lace-soft volume, then pin those loops so they don’t fall flat.
Skip thisDon’t make the loose edge too large — it turns the look from romantic to messy fast.
6. Sculpted Twist Bun with a Side-Parted Fringe Pin
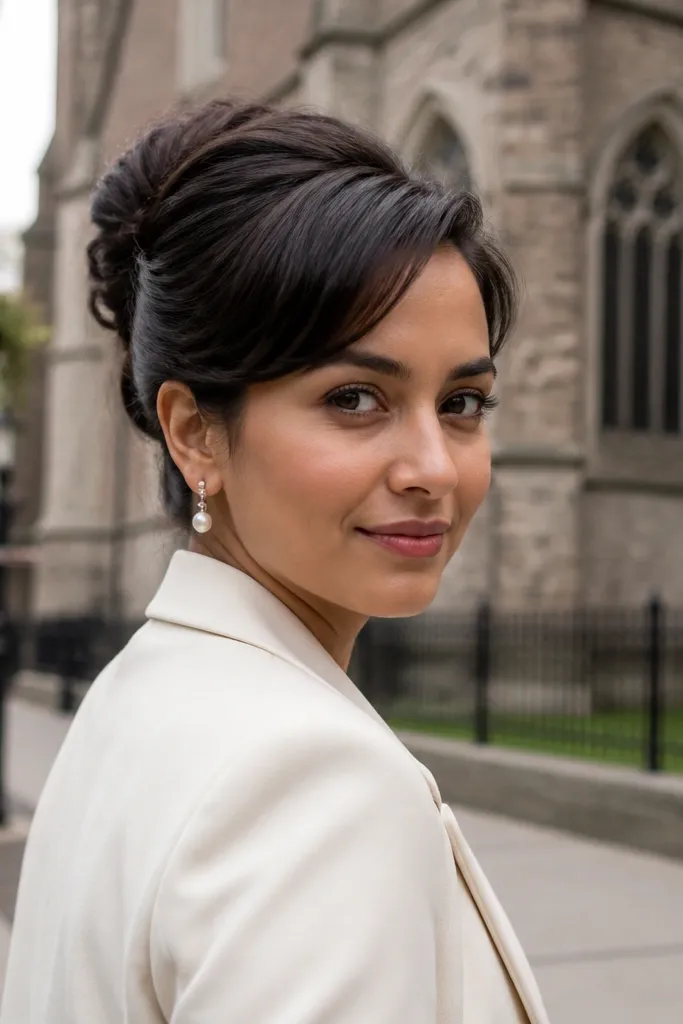
This style is a hidden gems wedding hairstyles option for anyone who has a fringe, layers, or face-framing pieces that never sit right. The sculpted twist bun gives a clean silhouette, then a single pinned fringe piece adds structure where photos focus. It’s especially flattering for petite frames because it keeps the hairstyle compact and intentional. You get that “styled by someone who knows placement” look without making your whole head feel tight. Works well with both minimal and statement veils.
Quick tipIf your fringe is short, use two pins in a small X so it doesn’t pop loose when you laugh.
Start by blow-drying fringe and front layers with a round brush so the ends curve slightly inward. Twist the back hair into a sculpted bun at mid-to-low height, then pin the twists in a way that keeps the surface smooth. Take one front piece, sweep it to the side, and pin it with a bobby pin that matches your hair color. Mist lightly and press the fringe into place for 10 seconds so it sets where you want it.
Skip thisAvoid using dry shampoo on the fringe right before pinning — it can make pieces slip.
7. Twisted Rope Bun with Pearl Pin Highlights
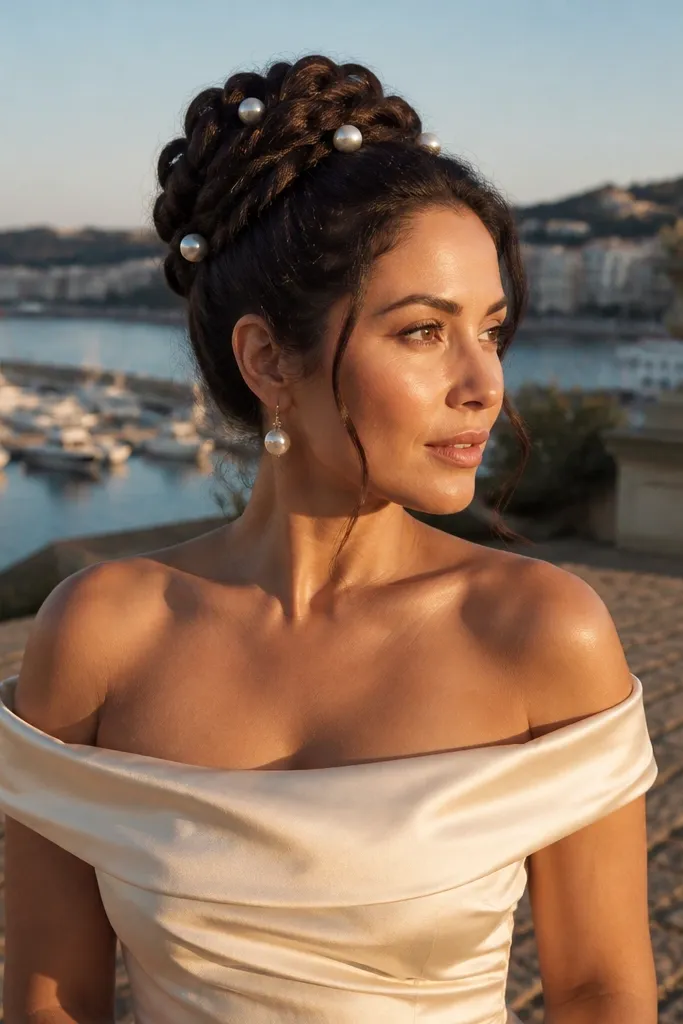
A twisted rope bun looks photo-ready because the rope pattern catches light in a way flat buns don’t. The hidden gem is using pearl pin highlights in the twist itself, not as a separate accessory that can shift. This style looks stunning with strapless, halter, and off-the-shoulder dresses because it keeps the neck clean while adding detail at the crown. It also holds well for receptions that run long because the rope texture grips itself. Best for winter weddings or any event where you want a polished, “jewelry for your hair” effect.
Quick tipWarm the pearl pins in your hands for 5 seconds before placing — they sit flatter and feel less stiff against hair.
Start by creating a deep side part and smoothing the hair with a light styling cream. Divide hair into two sections, then twist each section in the same direction and wrap them around each other to form a rope twist. Roll the rope twist into a bun and secure with hairpins at the base and mid-bun. Place 3-5 pearl pins along the rope pattern where the camera will catch them, then finish with a light hairspray mist over the bun only.
Skip thisSkip chunky clips — they can widen the bun and look bulky in close-up photos.
8. Braided Halo with a Soft Center Knot
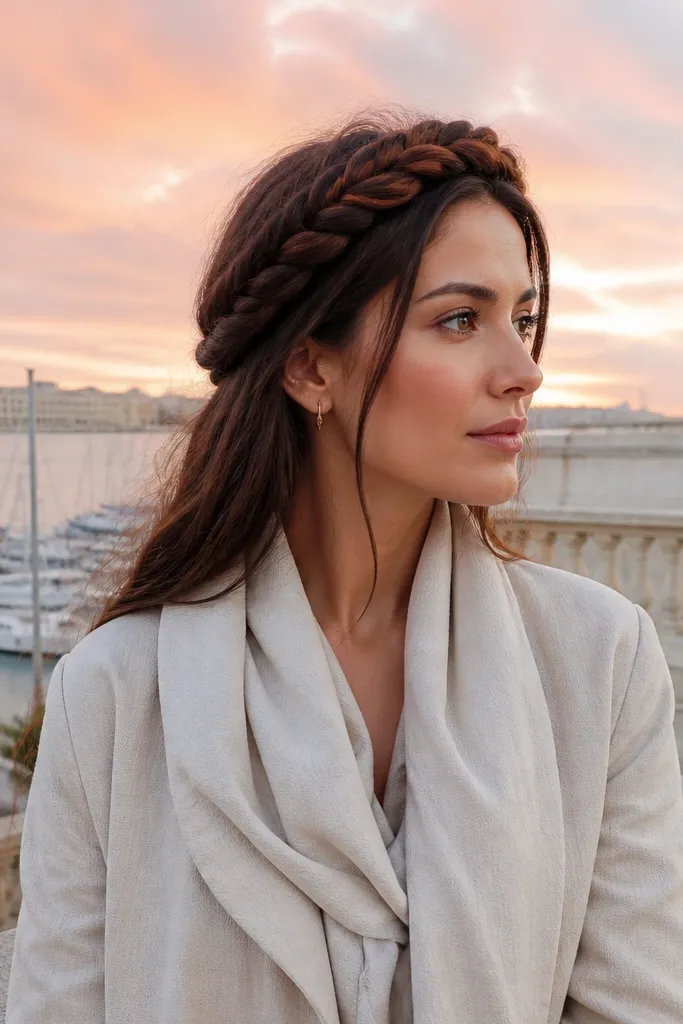
This is one of the prettiest hidden gems wedding hairstyles because it gives you that halo look without the heavy, high crown volume. The braided halo is smooth around the head, then the center knot adds a focal point that looks intentional in front portraits. It flatters round and heart faces because it draws attention upward while keeping the sides balanced. It’s also ideal when you want your hair to look styled even if you’re not wearing a veil. Great for daytime weddings, especially in bright natural light.
Quick tipIf you have flyaways, use a tiny brush and a dab of gel just on the hairline — don’t coat the braid.
Start with a side section of hair and create a French braid on both sides that meet near the crown. Keep the braid medium-tight so it holds its curve without looking stiff. When the braids meet, form a small center knot by wrapping the ends under and pinning securely. Gently tug the halo braid segments for an even, rounded shape, then spray lightly to set.
Skip thisAvoid making the knot too big — it can steal focus from your face in straight-on shots.
9. Low Twisted Chignon with a Single Teardrop Loop
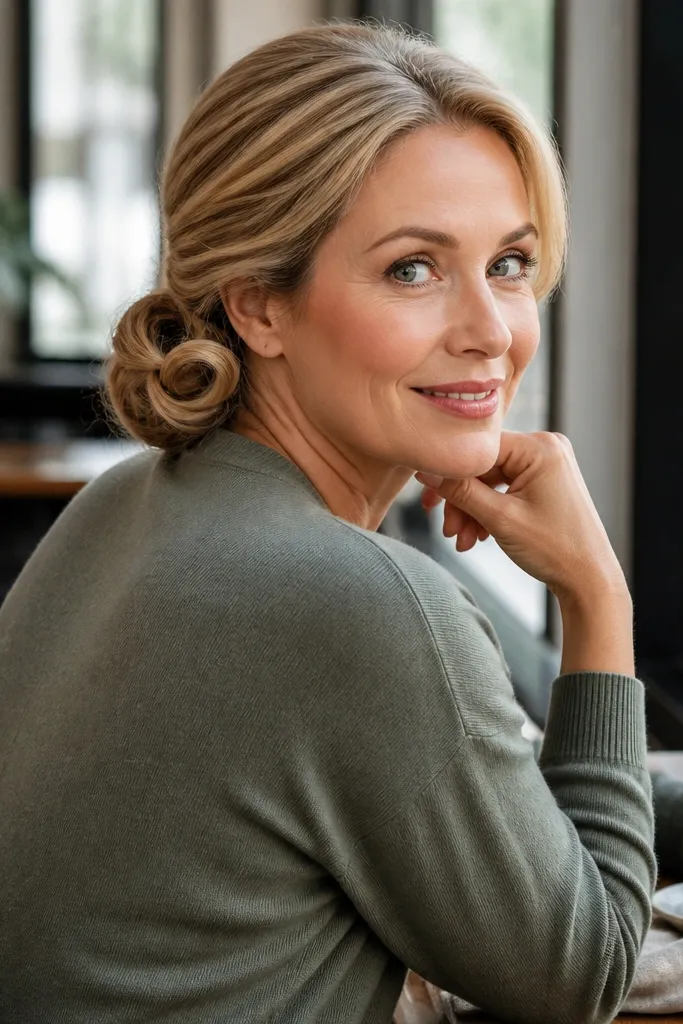
This style looks handcrafted because it has one deliberate teardrop loop, like a tiny sculpture. The low twisted chignon gives structure, and that single loop adds movement and softness without turning into a messy bun. It’s a hidden gems wedding hairstyles pick for people who want something different from the usual low bun but still easy to wear. It flatters long faces because the loop sits near the cheekbone and balances vertical lines. Best for classic venues where you want a refined, modern-romantic finish.
Start by twisting the back hair into a low chignon base, keeping the outer layer smooth with a light cream. Leave one thin section loose at the side front, then twist it into a teardrop shape and pin it so the point faces downward. Secure the chignon with pins at the base and one at the side wall so it doesn’t rotate. Finish by lightly pulling the loop to check it looks like a clean teardrop, then mist lightly.
Take a quick mirror check from the front and the side before you leave — that loop is the whole look and it needs perfect placement.
Don’t add multiple loops — one teardrop is what keeps it elegant in photos.
10. Half-Up Bubble Braid with a Soft Crown Lift
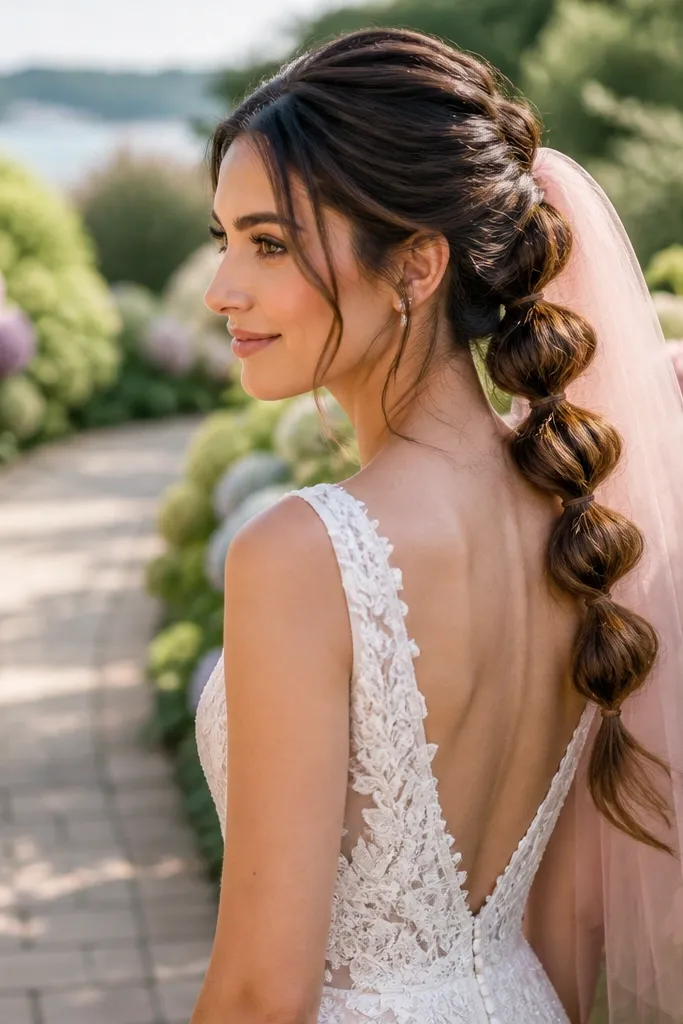
Bubble braid is playful, but the hidden gem is doing it half-up so it stays wedding-appropriate. The bubbles create dimension on camera, and the soft crown lift keeps the overall look airy instead of flat. This works great for medium hair because you can shape the bubbles without needing a huge amount of length. It’s also ideal if you want a style that looks great in both indoor portraits and outdoor candid shots. Best for spring and summer weddings where movement and light make the braid pop.
Quick tipUse elastics in a matching color and cut them out later with small scissors — they can be a pain to remove if you use clear ones.
Start by adding a little volume at the crown with a root spray and blow-dry. Gather the top half of hair and secure with a combed section so it’s clean. Braid the gathered section into a simple braid, then add small elastic ties along the braid to create bubbles. Gently tug each bubble outward, then pin the braid ends and smooth the bottom layer so it doesn’t look heavy.
Skip thisAvoid tight bubbles — they look stiff and can make the braid look smaller than it is.
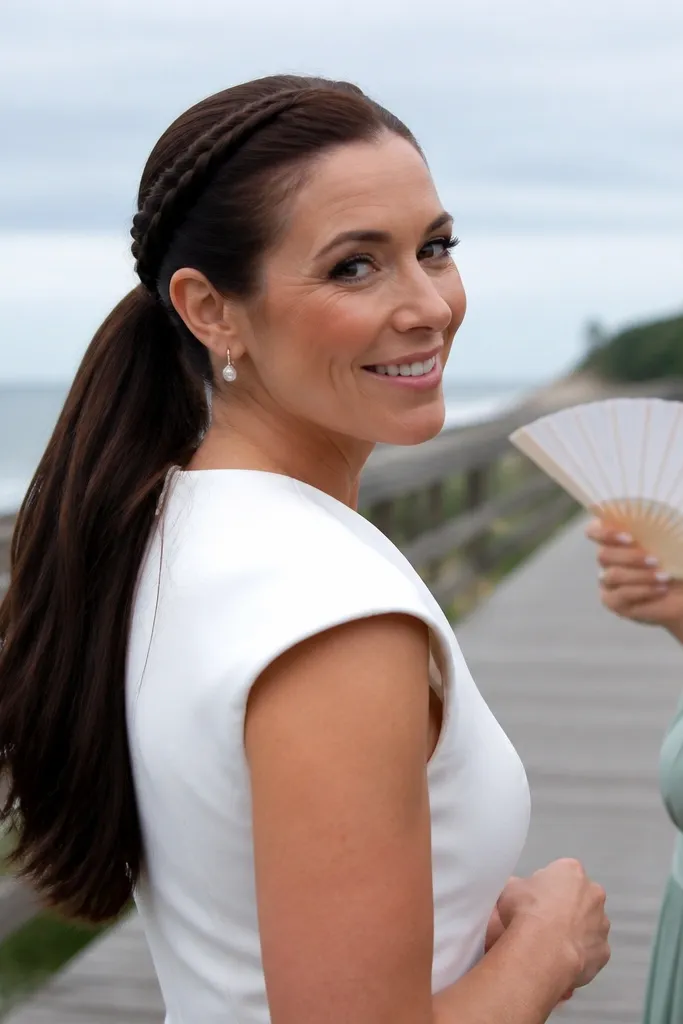
11. Sleek Low Pony with a Braided Wrap Crown
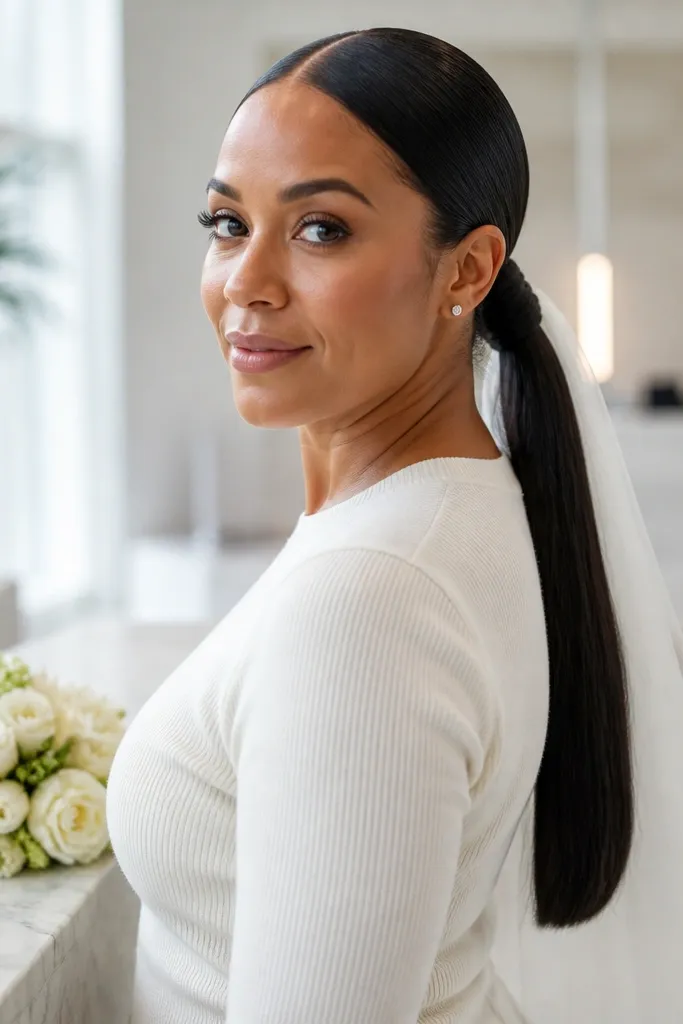
If you want modern and photogenic, a sleek low pony with a braided wrap is a hidden gems wedding hairstyle that reads fashion-forward. The pony keeps your face open, and the braided wrap at the base adds texture where photos catch at chest level. This works beautifully with minimal veils and with dresses that show the back. It also handles heat better than many buns because there’s less packed hair at the nape. Choose this for late-day weddings when you want shine and a clean silhouette.
Start with damp hair and blow-dry straight or slightly smooth with a paddle brush and heat protectant. Tie a low pony at the nape, then take a small section from underneath and braid it. Wrap that braid around the pony tie base, pin it so it hides the elastic, and smooth the outer pony with a tiny amount of gel. Finish by curling just the pony tail ends or leaving them sleek depending on your dress vibe.
Use a satin scrunchie or soft elastic — it reduces kinks that show up in photos.
Avoid a high pony if you’re wearing an up-facing veil — it can tug and shift the veil line.
12. Vintage-Inspired Finger-Wave Accent with Soft Waves
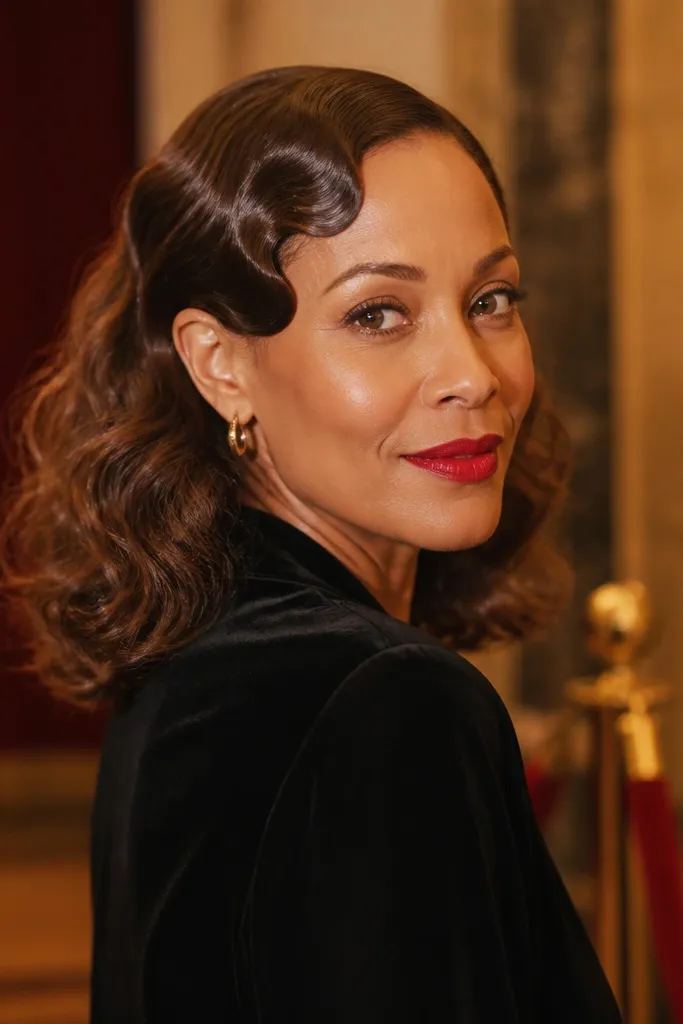
This is a hidden gems wedding hairstyles option for people who want “old Hollywood” vibes without doing full finger waves everywhere. You create a single finger-wave accent near the temple, then let the rest of your hair fall into soft waves. The accent is what makes it look intentional and photogenic, especially in side profiles. It flatters most face shapes because it frames the cheek and adds shape without adding bulk at the crown. Best for evening receptions and indoor venues with warm lighting.
Start by styling your hair into loose waves, then section out a small panel near the temple for the finger-wave accent. Use a comb and a strong hold gel, then press the wave pattern with your fingers into shallow S-shapes. Let it set fully (cool it with a hair dryer on low or wait until dry), then brush gently so it softens. Finish by pinning the accent so it sits flat, then mist lightly across the waves so they don’t frizz.
Finger-wave accent looks best when the rest of your hair has movement — don’t make everything sleek and flat.
Avoid doing the accent on soaking wet hair — it won’t set sharply and can look smudged.
13. Three-Strand Twist Crown with a Low Ribbon Tie
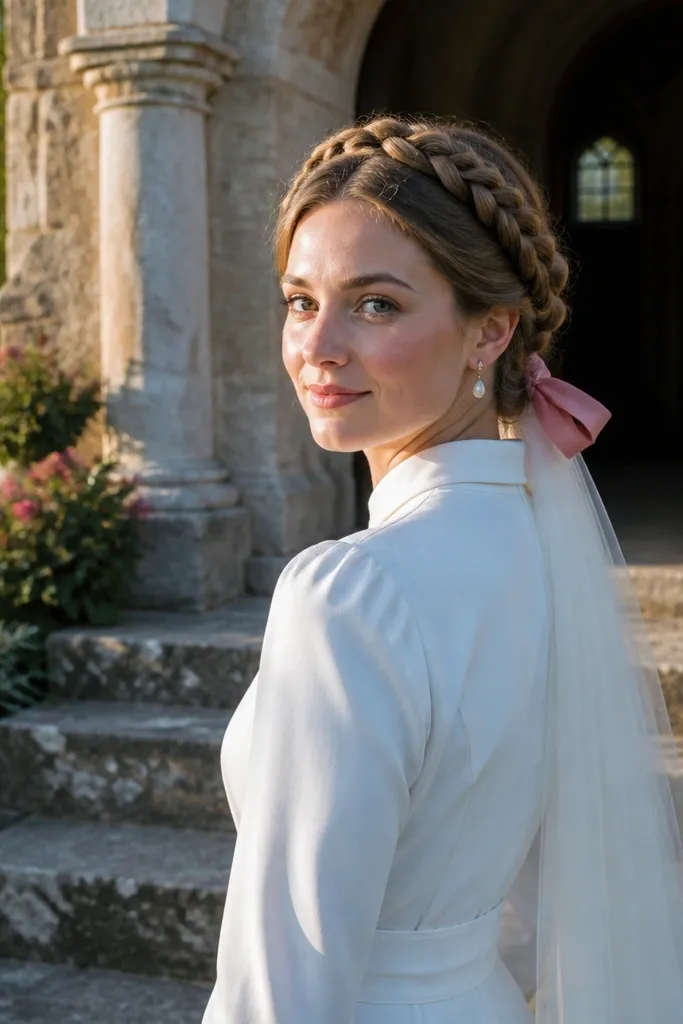
This style feels bridal and a little unexpected, which is exactly what hidden gems wedding hairstyles should do. A three-strand twist crown creates a sculpted texture that photographs well, and the low ribbon tie adds softness without turning into a thick bow. It’s great if you want a romantic look but hate the idea of a heavy bun. The ribbon makes the back view look finished in wedding photos, especially if your dress has an open back. Best for garden weddings, courthouse-to-reception days, and anyone who wants a soft, sweet vibe.
Quick tipUse a ribbon that matches your dress fabric undertone, not just color — satin reads different than matte in photos.
Start by tying a low ribbon loosely at the nape so you know where the hair will anchor. Create a crown twist by taking three sections at the front and twisting them back across the top, adding hair as you go. Pin the twist into the ribbon area so it holds and hides the tie. Smooth the sides, then add one small tug at the twist segments for a fuller, rounded shape.
Skip thisAvoid wide ribbons that cover too much of your hair — they can block the twist detail.
14. Braid-to-Roll Combo with a Side Part Sweep
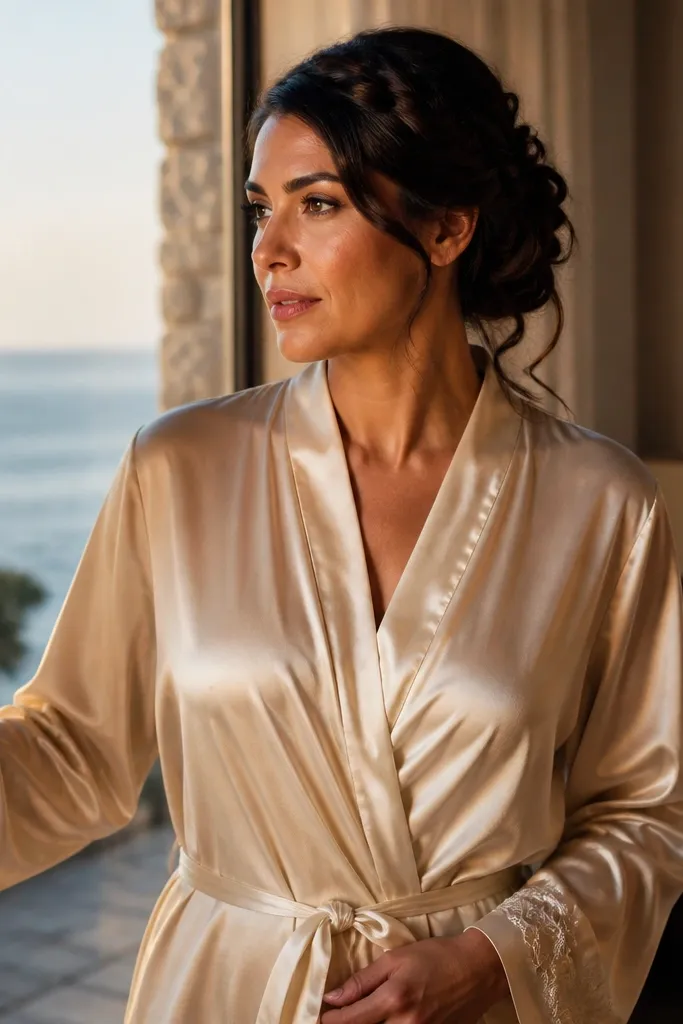
This is a hidden gems wedding hairstyles combination that looks more complex than it is. The side part sweep creates a flattering diagonal line, and the braid-to-roll structure gives you texture in the back without a bulky braid sitting on top. It’s photogenic from every angle because the braid shows in motion, then the roll keeps everything secure. This works well for thick hair that can be hard to tame into neat buns. Best for outdoor photos where wind might otherwise separate sections.
Start with a deep side part and smooth the top with a light styling cream. Braid a narrow section from the side across the back, then continue braiding just enough to create a secure base. Roll the braided section into a bun, tucking the rest of the hair around it, then pin at the base and the side wall. Finish by lifting the crown slightly with gentle tugging so it doesn’t look flat.
If your hair is thick, secure the bun with one extra pin near the side braid anchor — it stops rotation.
Avoid a too-tight side part — if it’s razor-sharp, it can look harsh with soft bridal makeup photos.
15. Tucked-Behind-Ear Twisted Half-Up with Textured Ends
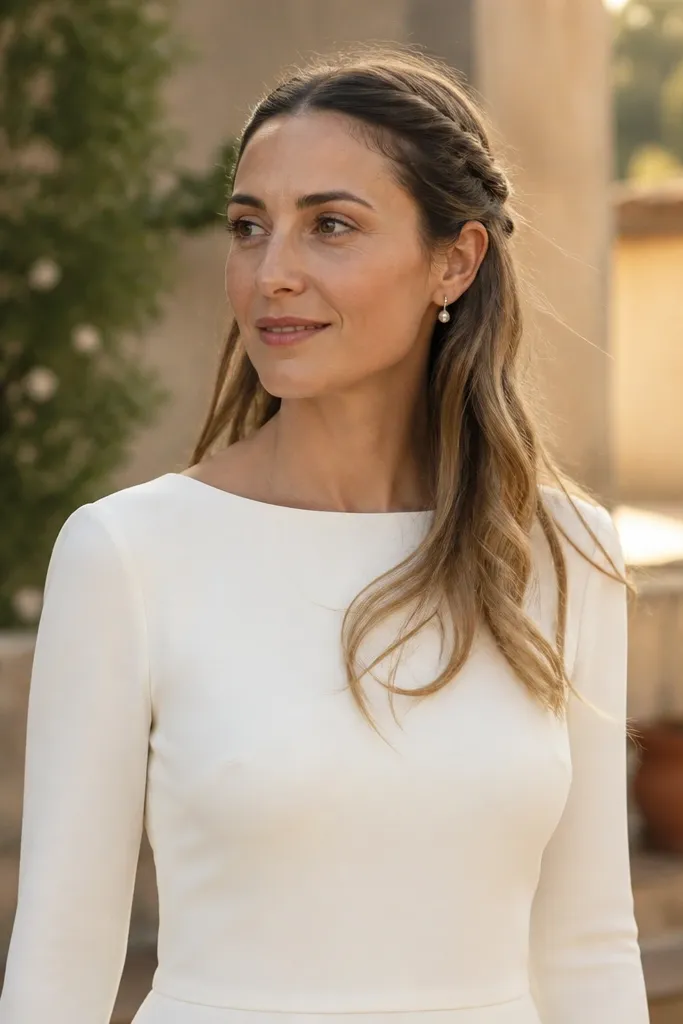
This style is a hidden gem because it looks effortless but still intentional. The twisted half-up panels are tucked behind the ears, so your face is open for portraits and close-ups, while the ends stay textured and move naturally. It’s ideal for medium hair and for brides who want a down look that doesn’t fall into your neckline all day. The tucked placement also works with earrings and keeps the hair from tangling in veil straps. Best for casual-chic weddings, beach ceremonies, and receptions where you want comfort without sacrificing photos.
Quick tipPin slightly higher than you think — tucked twists sag by the time you reach the ceremony aisle.
Start by curling only the ends or mid-lengths so you have movement. Take two small sections from each side near the temples, twist them back, and pin behind each ear at ear height. Pull the center top hair slightly for lift, then secure with one pin at the back so it doesn’t slide. Finish by adding a light texturizing spray to the ends and gently separating strands with your fingers.
Skip thisAvoid using heavy wax on the ends — it can make textured hair look stringy in warm lighting.