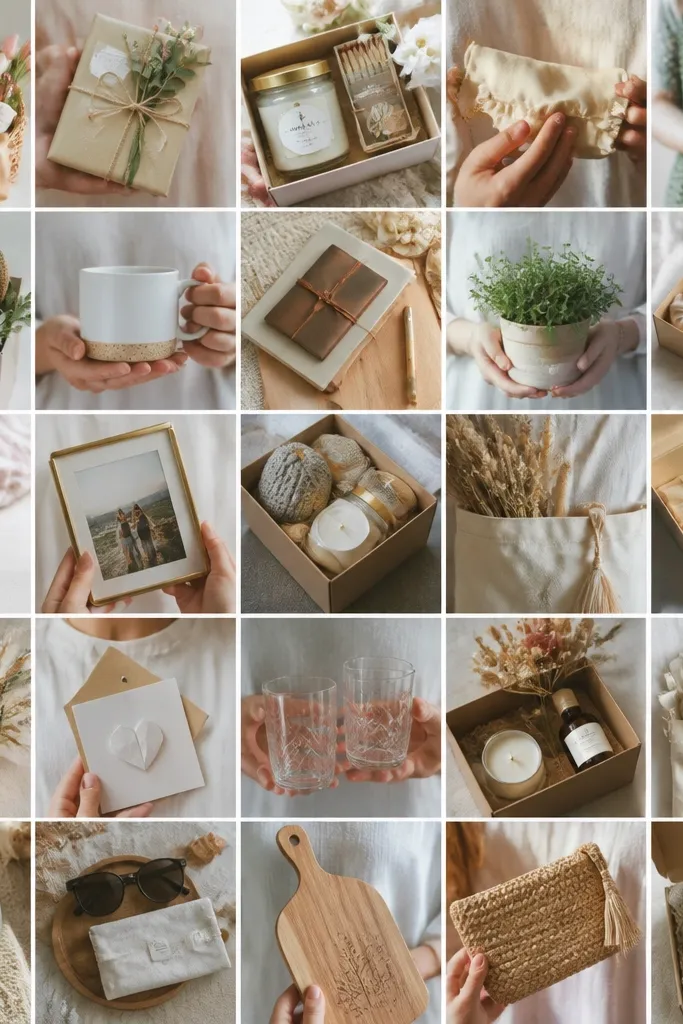
1. Kraft Paper Tea Party Proposal with Mini Sachets
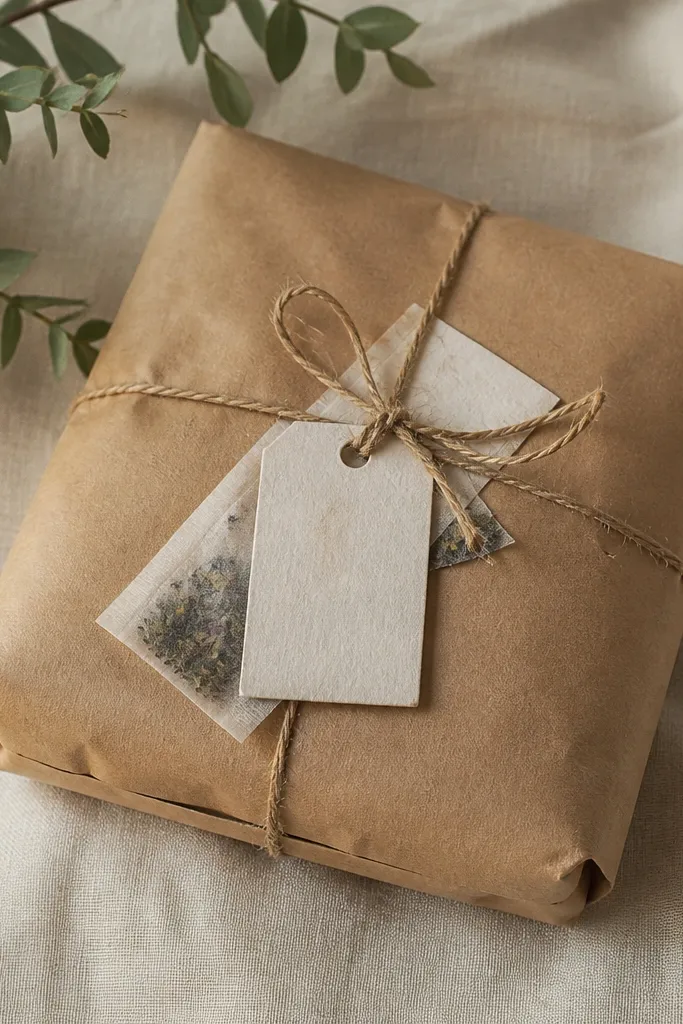
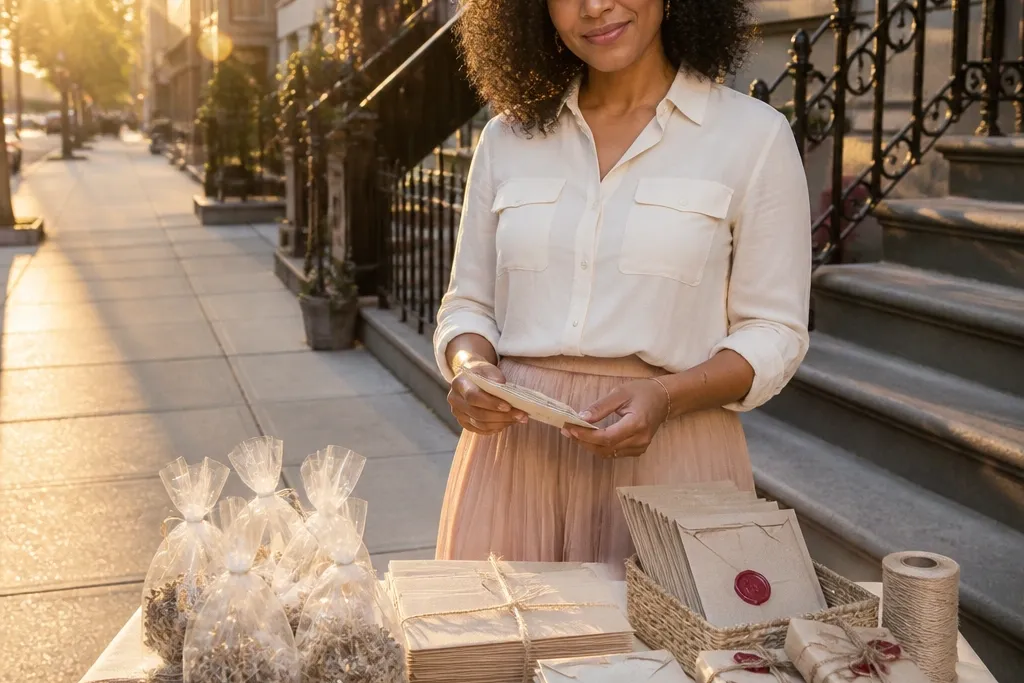
This one looks expensive because kraft paper gives you that warm, vintage texture and the tea sachets add a neat, uniform focal point. The label is where you make it feel like a proposal, so keep it simple: “Will you be my bridesmaid?” plus a single color accent. It’s also practical — your bridesmaids get something they can use right away. The best part for photos is the clean stack — wrap, label, tie, done. It suits fall and winter plans, and it works year-round if you choose floral or citrus tea blends.
Step 1: Buy a 12-pack of single-serve tea sachets and choose one theme blend (chamomile for soft, earl grey for classy, berry for playful). Print a small label on matte cardstock (about 2.5 x 3.5 inches), then punch a hole and thread twine through the top. Step 2: Wrap 2-3 sachets in a square of kraft paper, fold the corners tight, and tie the twine in a bow right under the label. Step 3: Seal the back with a thin strip of clear tape so it stays crisp when handled. Keep it flat if you’re mailing.
Quick tipPick one tea color story and stick to it — floral sachets plus a dusty rose label looks cohesive in photos.
Skip thisDon’t add loose candy or random add-ons that make the wrap look lumpy.
2. Bridesmaid Passport Cards with Mini "Stamps"
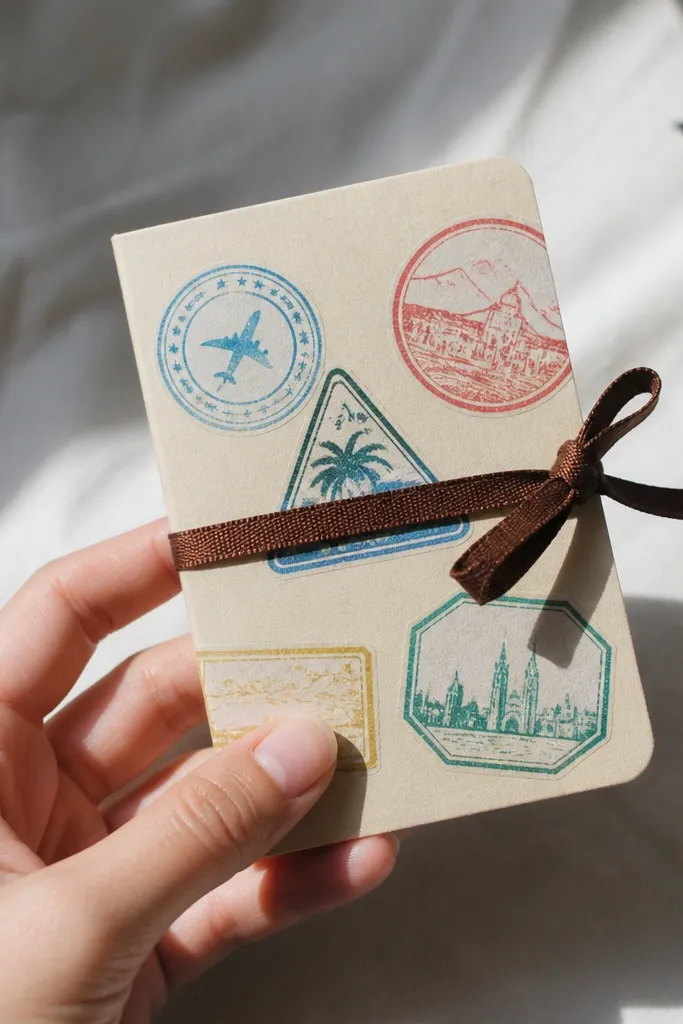
This looks cute because it has a clear graphic concept: passport pages. You’re giving a card that feels like a collectible, and the “stamp” details make it feel playful without adding bulk. It’s perfect if you want the proposals to match a travel-themed wedding or a honeymoon vibe. The photos read clean because the design is centralized and the package stays flat. It also works well for last-minute proposals since printing and assembly are fast.
Step 1: Use cardstock cut to about 4 x 6 inches. Create a passport-style layout with three “stamp” boxes using a simple grid, then print “Will you be my bridesmaid?” on the cover. Step 2: Add faux stamps with sticker sheets or print-and-cut circles, and place them in the boxes so everything lines up. Step 3: Slide the card into a clear mini sleeve, then tie a thin ribbon around the sleeve with a small knot at the top. Add a second small insert card inside with your wedding date and a short note.
Use one stamp color (black, dark brown, or deep teal) so the package looks intentional in a group photo.
Skip busy patterns behind the text — they make the card harder to read and less photogenic.
3. Mini Flower Seed Packets with Photo-Label Wrap
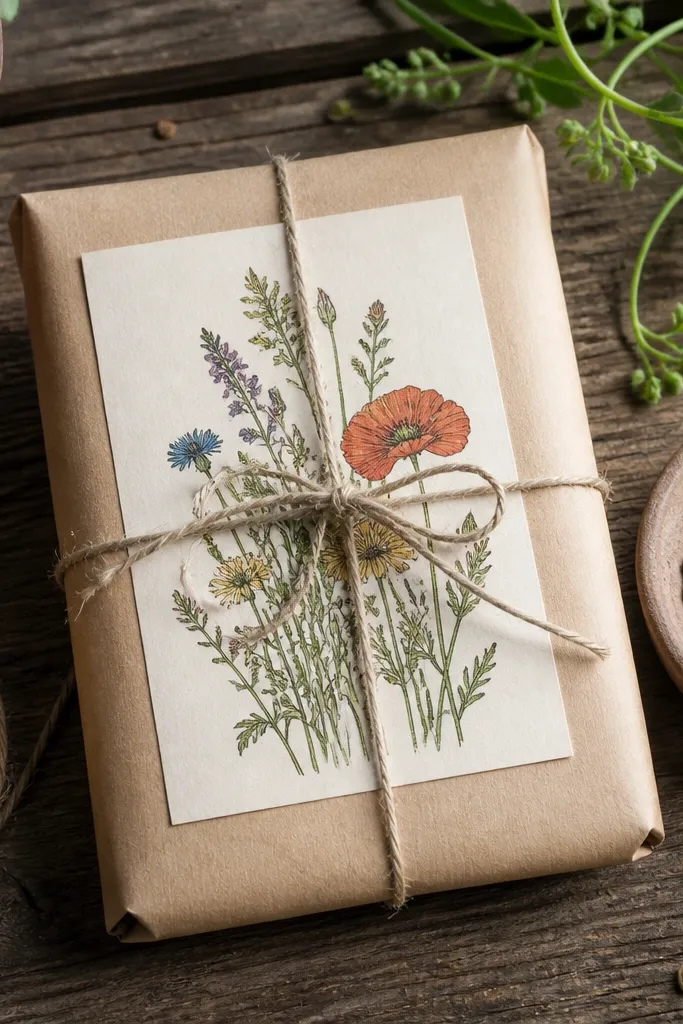
Seed packets look great because they’re already designed as small, uniform items. Your label turns it into a proposal, and the natural packaging feels soft and romantic without needing a florist. This is a strong choice if you want something that fits outdoorsy weddings or spring celebrations. For photos, keep the background simple and let the label be the focal point. It also gives your bridesmaids a “future moment” gift they can plant later.
Step 1: Buy small seed packets (one type per theme, like wildflowers or herbs) and print labels on matte cardstock sized to wrap around the packet width (about 2 x 3.5 inches). Step 2: Wrap the seed packet with a strip of kraft paper and tape the ends, then add the label on top. Step 3: Tie a short piece of twine around the packet so it looks finished. Step 4: If you want a more polished look, add a small cellophane window bag around the whole thing so light hits the label.
Quick tipChoose seed packet artwork that already matches your palette; you’ll spend less time covering it up.
Skip thisDon’t use glossy photo paper labels — they glare in daylight and flatten the look.
4. Movie Night Proposal with Popcorn + Printable Ticket
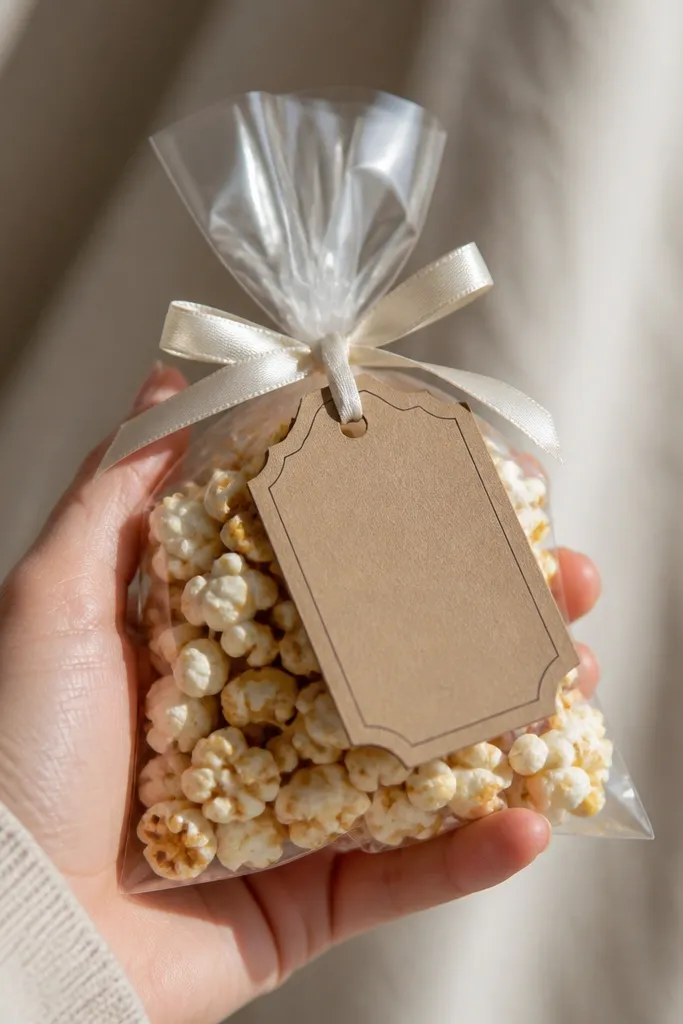
This idea photographs well because the popcorn bag is bright and the ticket shape looks playful. It feels personal fast: “I’m asking you to be there for the best day.” Your printed ticket becomes the hook, and you can color-code each bridesmaid’s “seat number” to make it look custom. It’s great for indoor seasons and for bridesmaids who love cozy plans. Keep the package neat and it will look like a themed party favor rather than a random snack.
Step 1: Use small microwave-safe popcorn bags or mini bags of kettle corn. Print a ticket label sized about 2.5 x 4 inches with your message and a “row/seat” line. Step 2: Tie the ticket label onto the bag with ribbon, then add a small sticker on the bottom corner that matches your wedding color. Step 3: If you’re mailing, put each bag in a small flat mailer to prevent crushing. Budget stays low because popcorn is cheap and the “custom” part is just printing.
Quick tipPick one ribbon color across all packages so the group photo looks cohesive.
Skip thisSkip loose popcorn inside — use sealed bags so the contents don’t spill and stain.
5. Bridesmaid Hot Chocolate Bundle with Marshmallow Toppers
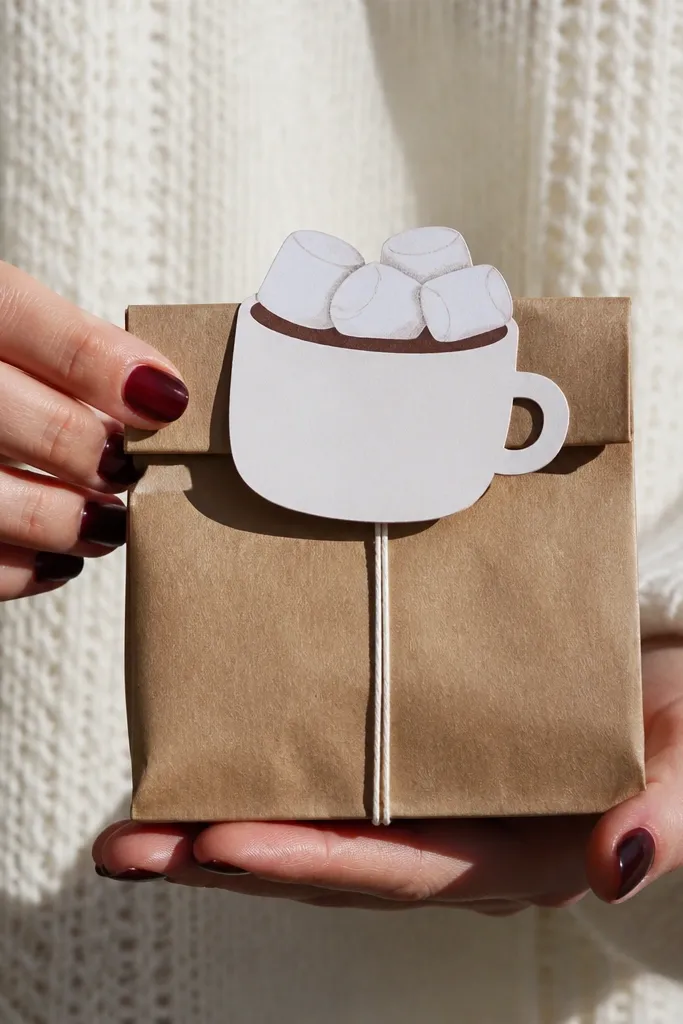
Hot chocolate proposals look instantly cozy in photos. The brown paper wrap gives you a warm tone, and the marshmallow add-on adds a cute visual detail without needing fancy baking. It’s a strong fit for winter weddings, rainy-season engagement photos, or any time you want a soft, comfort vibe. The key is keeping the bundle tidy: one packet, one topper card, one label. That keeps the package photogenic and easy to carry.
Step 1: Buy individual hot chocolate mixes and print a topper card sized about 3 x 4.5 inches with “Will you be my bridesmaid?” plus a short note. Step 2: Wrap the mix in brown kraft paper, tuck in a small handful of marshmallows, then tie with twine. Step 3: Attach the topper card to the front with a mini clothespin or tape tab so it stands out in photos. Step 4: Seal the back flap with a strip of tape so the paper doesn’t open in transit.
Use mini marshmallows — they look neater than large ones and don’t crowd the label.
Don’t mix in multiple drink flavors; it makes each package look random in the same photo set.
6. Linen-Texture Wrap with "Emergency Kit" Mini Cards
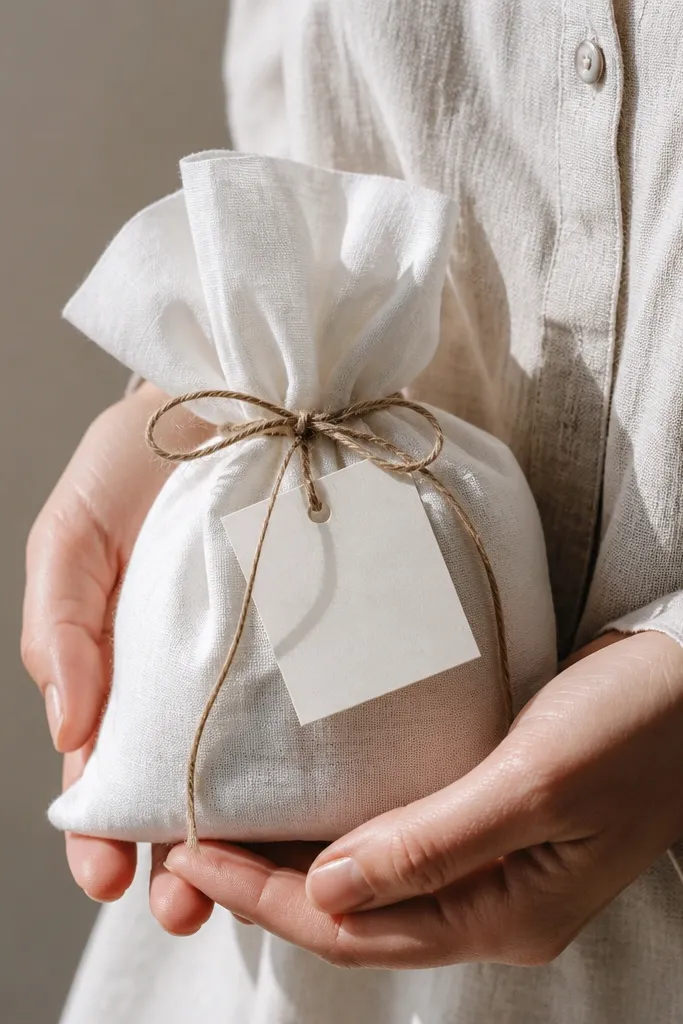
This one is high-impact because it looks like an actual bridesmaid gift, not a craft project. A small linen-texture pouch reads luxe, and the “emergency kit” concept is instantly useful. You’re not stuffing it with a ton of items; you’re giving just enough to photograph and to feel thoughtful. It suits weddings where the group is doing a lot of travel, long weekends, or outdoor photos. For the aesthetic, keep the contents minimal and the label clean.
Step 1: Buy small linen-texture drawstring pouches in a neutral color like cream or light gray. Print a label that says “Bridesmaid Emergency Kit” and “Will you be my bridesmaid?” on matte cardstock. Step 2: Add 3 items that are flat and photo-friendly: mini stain remover wipes, a small pack of band-aids, and a mini lip balm. Step 3: Tie the label to the pouch with twine and keep the pouch packed so it holds a crisp shape in photos. Step 4: If you want it extra neat, use tissue paper in one color to fill gaps.
Quick tipChoose pouches with a structured drawstring so they don’t collapse into a flat mess in group shots.
Skip thisSkip bulky items like hair tools — they ruin the shape and make the pouch look messy.
7. Polaroid-Style "You're In My Wedding" Photo Cards
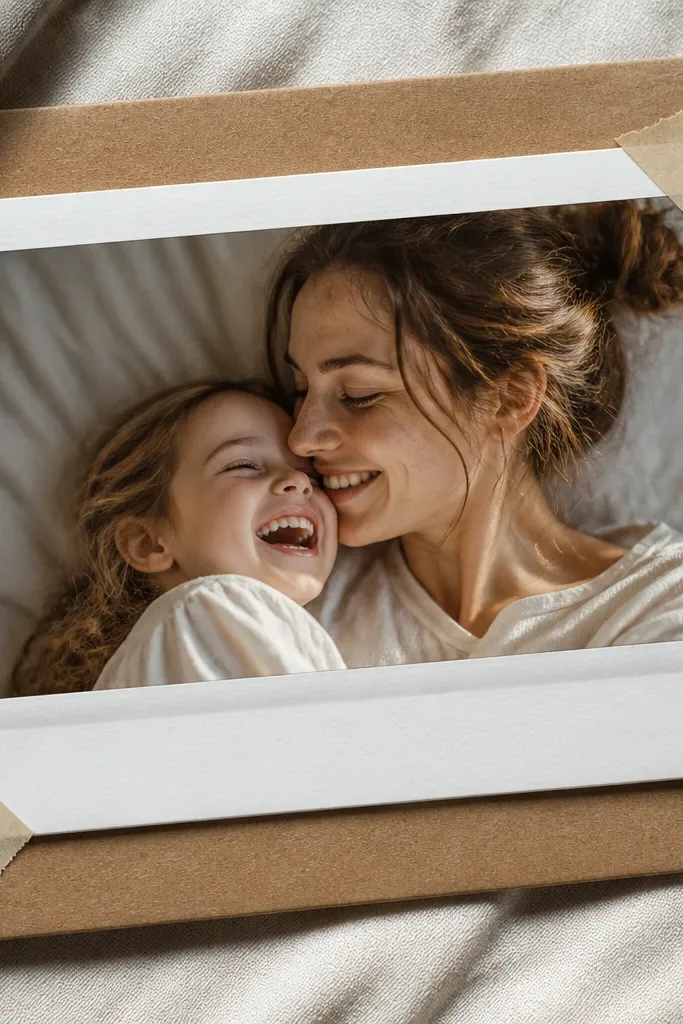
This looks photogenic because it mimics a memory you want to keep. You’re giving a card that looks like it belongs on a desk, and the “tape corners” detail reads real even when it’s paper. It’s ideal if you’re doing a warm, nostalgic wedding theme or if you want each bridesmaid to feel seen. Keep the message large and centered. The photo aesthetic is strong without needing actual photo printing.
Step 1: Create a polaroid-style template on cardstock sized about 4 x 6 inches. Add a faux “photo” area with a simple color block (your wedding color gradient or a flat floral pattern) and print “Will you be my bridesmaid?” in bold. Step 2: Add two small tape corners at the top edges using tape strips so the card looks like it’s been stuck on purpose. Step 3: Write the bridesmaid’s name on the lower caption line and add the wedding date. Step 4: Place each card on a kraft backing sheet and wrap with a thin ribbon for a clean presentation.
Use one font style for all cards — consistency makes it look intentional even if it’s DIY.
Don’t use busy sticker borders around the edges; it competes with the message.
8. Garden Romance Proposal with Twine-Wrapped Mini Vases
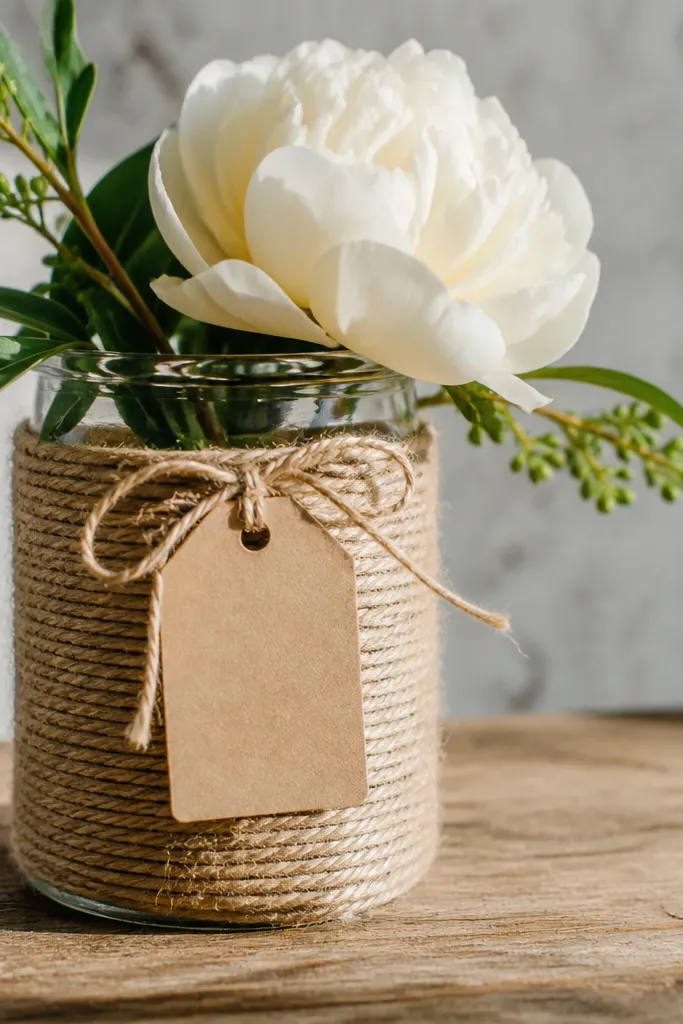
Mini vases photograph beautifully because glass adds light and your flower gives a natural focal point. Twine wrapping makes it look handmade but still polished. This fits garden weddings, spring weekends, and any “fresh” aesthetic. The secret is to keep the flower choice consistent so the set looks cohesive. You’re also giving a reusable item that bridesmaids can keep on a shelf.
Step 1: Buy small clear glass jars or mini vases and clean them well so they don’t look cloudy. Print labels sized to wrap around the jar with your message and a small icon like a tiny heart or leaf. Step 2: Add one small stem per jar (baby’s breath, daisies, or a single greenery sprig) and wrap the jar with twine. Step 3: Tie the twine knot at the front and attach the label over the knot area for symmetry. Step 4: If you’re moving them to a venue, pack jars in a box with paper dividers to prevent knocks.
Quick tipChoose stems that hold their shape for the length of your reveal day; droopy flowers make the photos look sad.
Skip thisSkip multiple stems in one jar — it crowds the label and looks chaotic.
9. Bookmark Proposal with Aesthetic Bookmarks and Matching Envelope
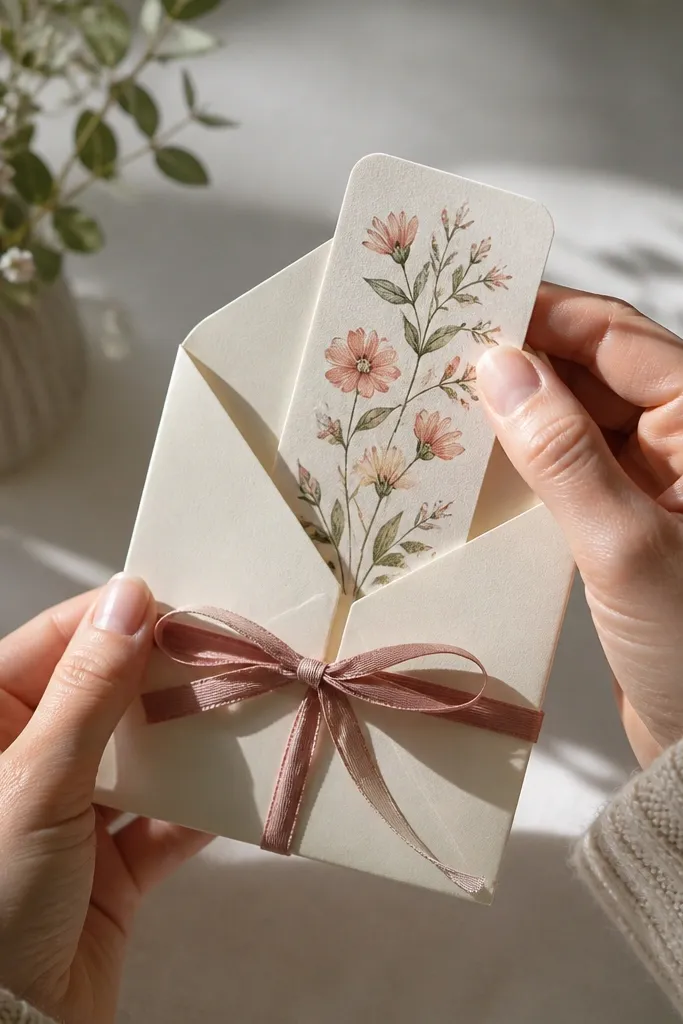
Bookmarks are simple, budget-friendly, and they look clean in photos because the shape is consistent. The aesthetic comes from the finish: laminate or clear tape over printed text so it gleams slightly. Pair it with a matching envelope and the whole set looks like a coordinated stationery set. This works well for bridesmaids who love reading, and it’s a safe option for mailing. It also avoids the “what if it spills?” problem.
Step 1: Print bookmarks on cardstock sized about 2 x 6 inches and trim neatly. Add a bold message on the front and the bridesmaid’s name on the back. Step 2: Laminate each bookmark using self-adhesive laminate sheets, then cut the edges cleanly with a paper trimmer. Step 3: Slide each bookmark into a small envelope and seal it with a matching sticker. Step 4: Tie a thin ribbon around the envelope for a finished look.
Quick tipUse a single color ink for the message across all bookmarks so the set reads cohesive.
Skip thisDon’t skip lamination — unlaminated ink scuffs and looks cheap in daylight.
10. Bridesmaid Nail Polish Proposal with Color-Coded Labels
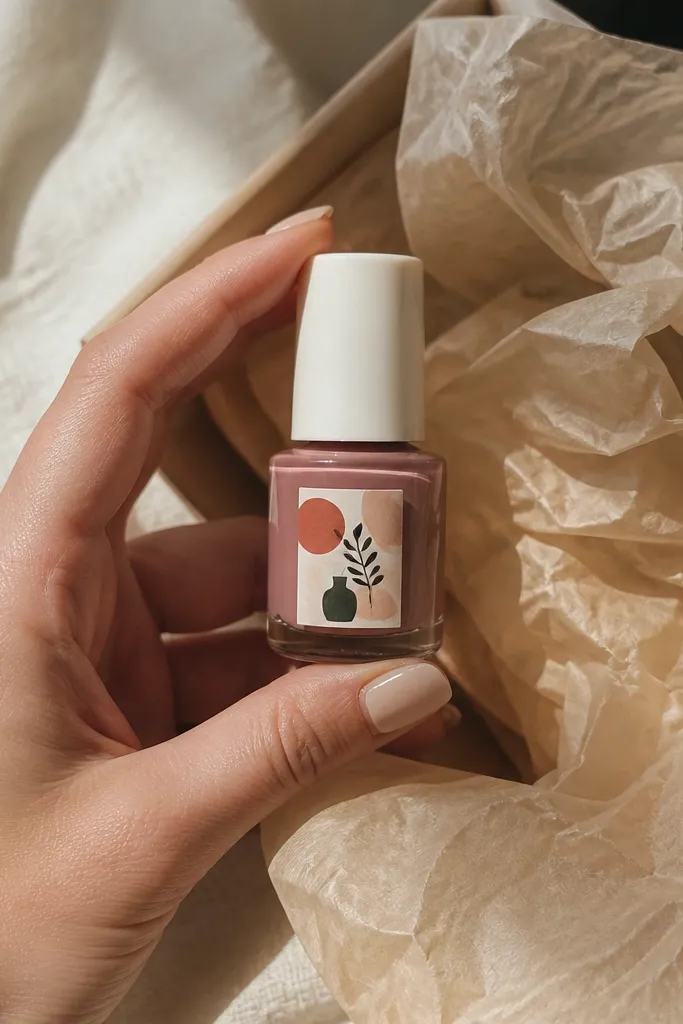
This is a crowd-pleaser because it’s useful and it looks great in flat-lay photos. The aesthetic comes from color coordination: each bottle label matches your wedding palette, and the tissue paper background makes everything glow. It’s best for bridesmaids who’ll be doing hair and makeup around your wedding weekend. Keep the packaging tight so it doesn’t look like a random toiletry. The label carries the proposal message so the gift feels intentional.
Step 1: Choose 1-2 nail polish shades that match your palette and buy mini bottles to keep costs down. Print a label sized to wrap the bottle neck (about 1.5 x 3 inches) with “Will you be my bridesmaid?” and the bridesmaid’s name. Step 2: Place the bottle in a small tissue wrap in a single background color (cream, blush, or sage), then tuck the label into view. Step 3: Add a small note card on top with your date and a short line. Step 4: If you’re mailing, wrap the bottle in bubble wrap and place it in a sturdy box.
Quick tipPick shades that look good under warm indoor light, not just daylight.
Skip thisAvoid mixing too many shades in one proposal set; it makes the photo look scattered.
11. Sunset Glow Suncatchers with Window-Label Proposals
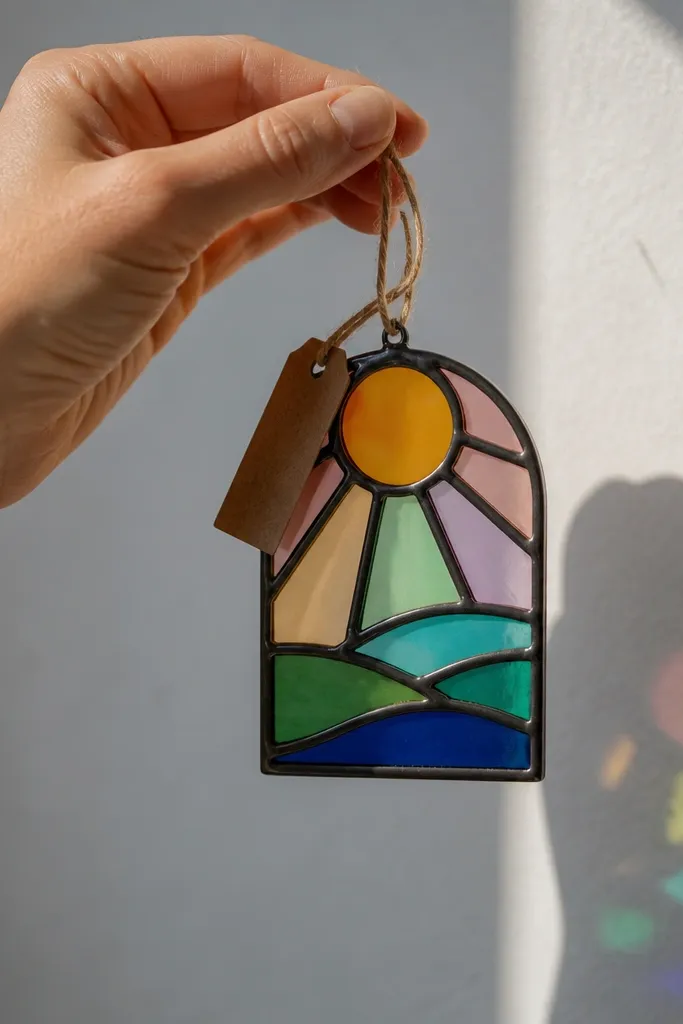
Suncatchers look magical in photos because light hits the colored panels and creates a glow effect. You get that “wow” look without needing a big budget, because the craft is mostly paper and film. This is perfect if you want a light, airy vibe and you’re asking bridesmaids to be part of something bright. It also gives a keepsake they can hang where they’ll see it every day. The key is a clean label and a simple string tie.
Step 1: Buy suncatcher kits or use colored translucent film sheets cut to a simple shape like a heart or circle. Assemble the suncatcher and let it dry flat. Step 2: Print a label about 2 x 3.5 inches and tie it to the suncatcher with string. Step 3: Package it in a clear cellophane bag so light passes through the colors during the reveal. Step 4: Photograph near a window for the best glow.
Quick tipUse one main color per package so each photo looks consistent and not over-saturated.
Skip thisDon’t use tiny shapes — small suncatchers look flimsy and the glow won’t read well.
12. Custom "Bridesmaid Squad" Stickers on a Gift Bag
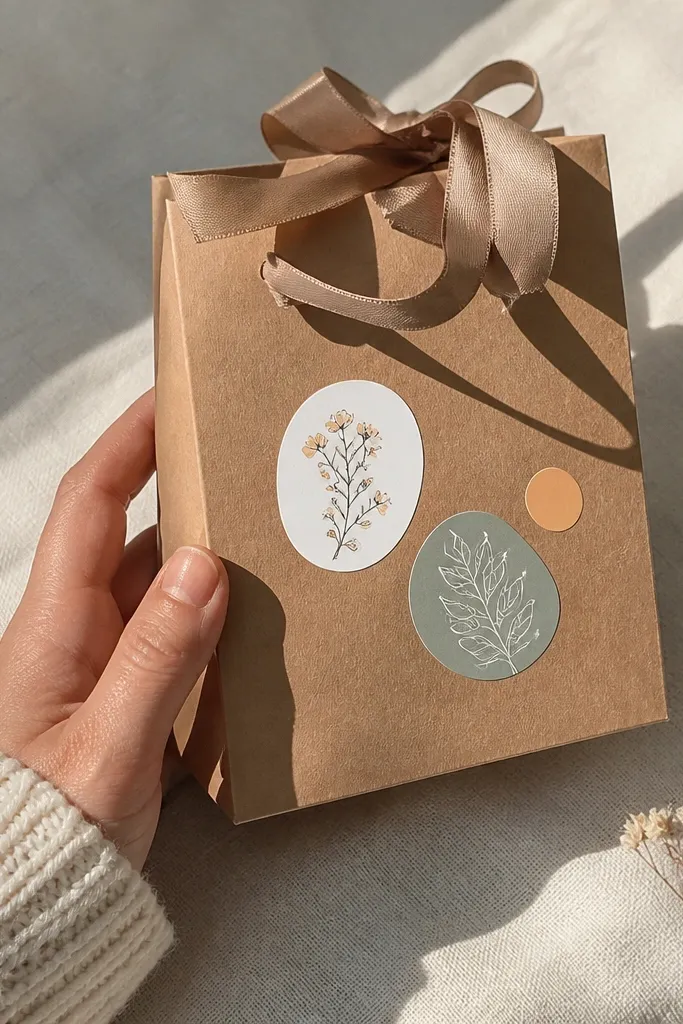
Stickers do heavy lifting here. A plain mini gift bag turns into a branded proposal when you add bold, readable sticker art and one clear message label. This is one of the easiest ways to get a high-end look without custom printing every element. It’s also flexible: you can put inside any small item your bridesmaids will use. For photos, the sticker placement creates instant focal points and makes each bag look designed.
Step 1: Buy kraft mini gift bags and choose a sticker pack with your color vibe (matte black, deep green, or rose). Create one label that reads “Will you be my bridesmaid?” and add each bridesmaid’s name. Step 2: Stick the main message label centered, then add two or three smaller stickers around it like a frame. Step 3: Fill the bag with one theme item set (tea sachets, mini lotion, or a small snack pack) and keep the top flat. Step 4: Tie the ribbon handles into a neat bow for symmetry.
Place stickers on the front only — side stickers make the bag look messy in group photos.
Skip a mix of random sticker styles; it looks like leftovers.
13. Bridesmaid Proposal Chocolate Bar with Foil Name Tag
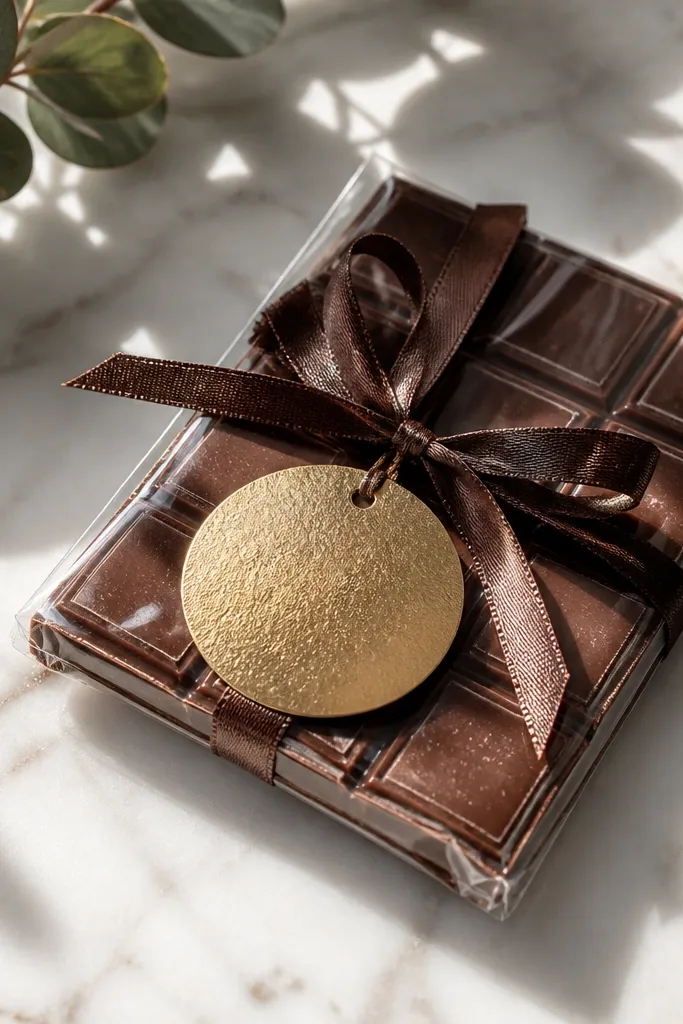
Chocolate bars photograph like luxury favors because the wrapper has shine and the cellophane adds gloss. Your foil name tag makes it feel customized even if you’re using the same base item for everyone. This works for weddings at any time of year and for groups that need an easy, universally liked gift. The aesthetic is clean when you keep the wrapper unwrinkled and center the label. It’s also fast — assemble in minutes.
Step 1: Buy standard-size chocolate bars or mini bars and wrap each in clear cellophane. Print a name tag sized about 2 x 3 inches and cover it with foil label paper or a foil-effect sticker sheet. Step 2: Attach the tag to the front with a small ribbon loop and place the “Will you be my bridesmaid?” message on the tag or a small matching card. Step 3: Seal the cellophane edges with a twist tie so the bar sits flat. Step 4: If you’re mailing, use a rigid mailer to keep the corners clean.
Use matte ribbon (not shiny satin) so the shine stays on the chocolate, not on the packaging.
Don’t overstuff the cellophane; it wrinkles and ruins the crisp look.
14. Map Pin Proposal with Printed Coordinates Card
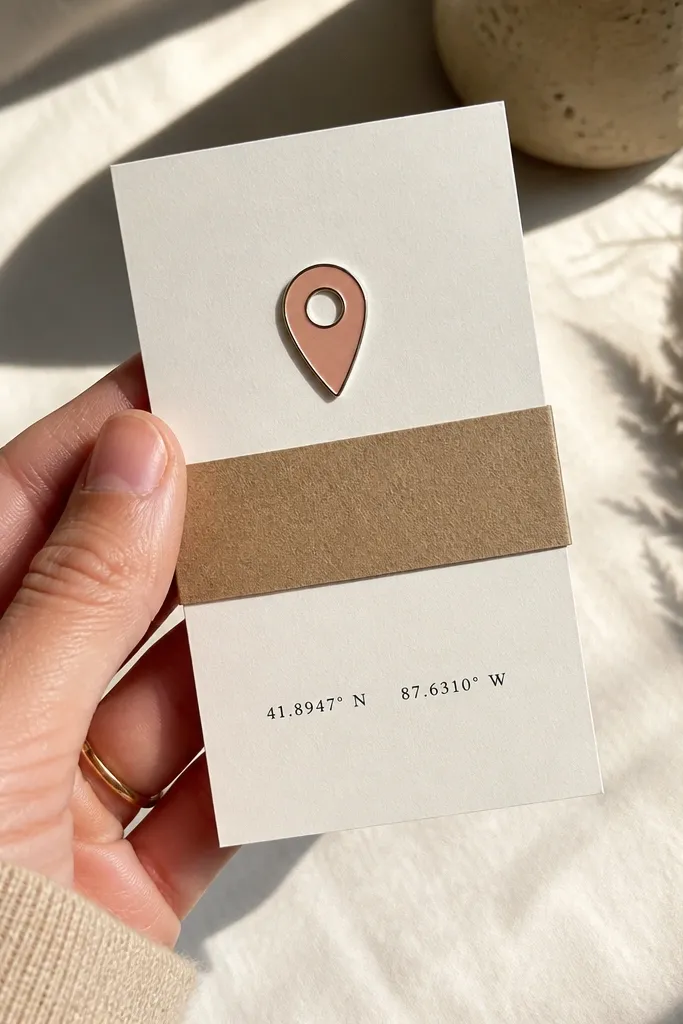
This is a travel-themed proposal that looks sharp without being complicated. The printed coordinates card becomes the focal point, and a small map pin sticker adds a satisfying “destination” detail. It’s especially good if the wedding location, honeymoon spot, or a meaningful hangout has a date or address you want to reference. Photos look clean because you’re working with graphic elements and a simple wrap. It’s also easy to personalize without buying anything extra.
Step 1: Print a coordinates card sized about 4 x 6 inches on matte cardstock. Use a simple design: coordinates in large text, a small map line icon, then your message. Step 2: Add a map pin sticker at the bottom and put the card into a clear sleeve. Step 3: Wrap the sleeve with kraft paper and tie with twine. Step 4: Add one small item inside a mini envelope, like a travel-size lip balm, so the proposal feels complete without turning into a cluttered bag.
Use dark ink on cream cardstock — it reads best in both indoor and outdoor light.
Avoid multi-color map backgrounds; they create visual noise behind the message.
15. Bridesmaid Candle Tealights with Matchbox Labels
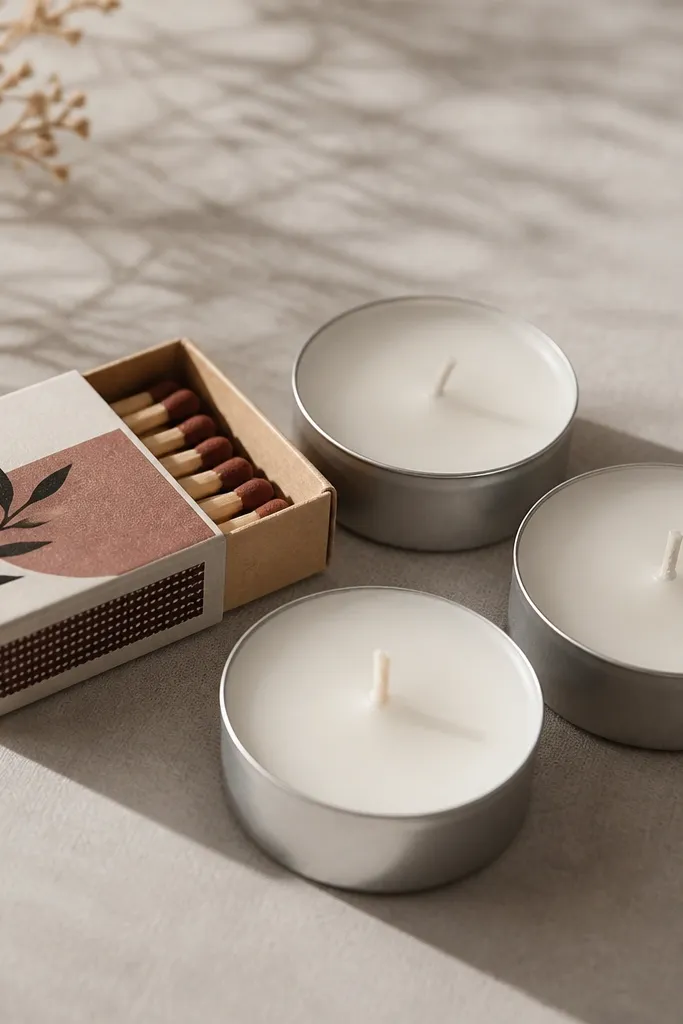
Tealights look great because they add warmth and motion in photos, and matchbox labels make the theme feel deliberate. You’re basically creating a branded mini “light the night” moment. This works for evening reveals, weddings with a candlelight vibe, or anyone who loves cozy atmospheres. The package is small, easy to budget, and easy to photograph on a tray or tabletop. Keep the label typography crisp so it reads from a distance.
Step 1: Buy a pack of tealights and plain matchboxes (or label sheets for matchboxes). Print matchbox labels sized to wrap around the front panel, and add “Will you be my bridesmaid?” plus a short note. Step 2: Wrap the matchbox with the label and place it in a small clear gift bag with 2-3 tealights. Step 3: Add a ribbon tie and keep the bag flat so it looks tidy. Step 4: For best results, photograph near a window or warm lamp light.
Use matte paper labels and skip glossy — glossy reflectors steal attention from the text.
Don’t use too much ribbon; it tangles and makes the bag look messy.
16. Bridesmaid Proposal "Scent Strip" with Perfume-Free Notes
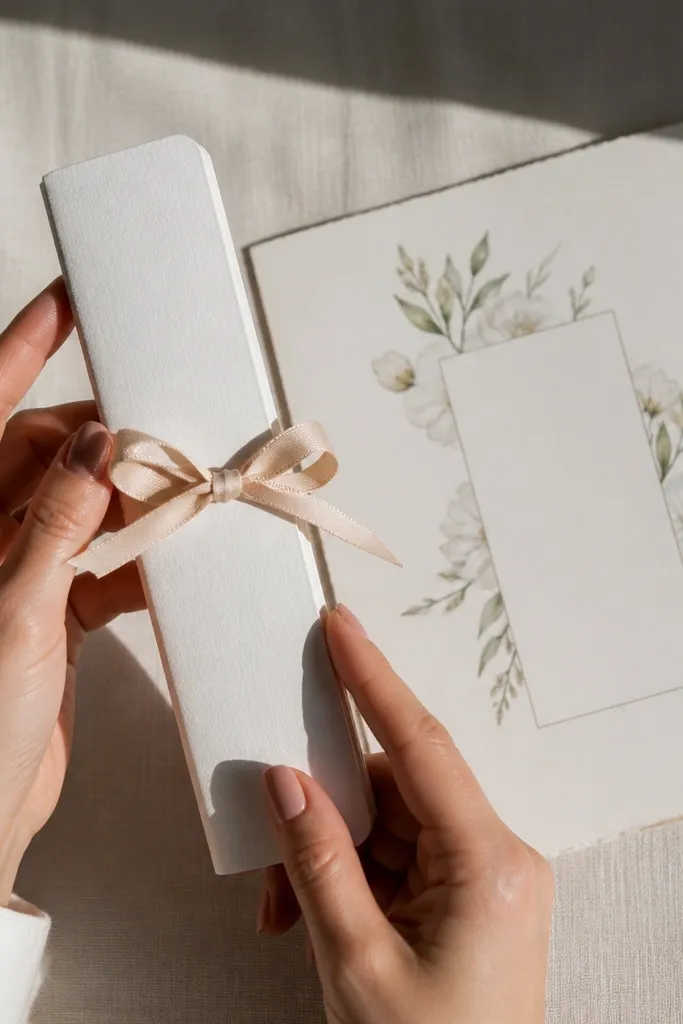
This one is clever and looks high-end because it’s graphic and minimal. You’re making a scent strip mini booklet, then pairing it with a proposal card. It feels personal without needing expensive perfume — and it photographs cleanly because the design is mostly paper. It’s great for bridesmaids who are sensitive to strong fragrances. For the aesthetic, use one color background and keep the strips uniform.
Step 1: Use pre-cut scent strips (or make your own with thin paper and a drop of essential oil) and write a short scent note like “citrus + clean linen” on each strip. Step 2: Print a cover card sized about 3.5 x 5 inches that says “Will you be my bridesmaid?” and add their name. Step 3: Bind the strips to the cover with a small ribbon tie or mini binder clip. Step 4: Put the mini booklet into a clear sleeve to protect it and keep it crisp in photos.
Quick tipChoose light scents and keep oil amount tiny; heavy scent strips darken and look messy.
Skip thisDon’t use perfume bottles or loose liquids — they leak and ruin the neat look.
17. Bridesmaid Photo Frame Card with Faux Polished Edges
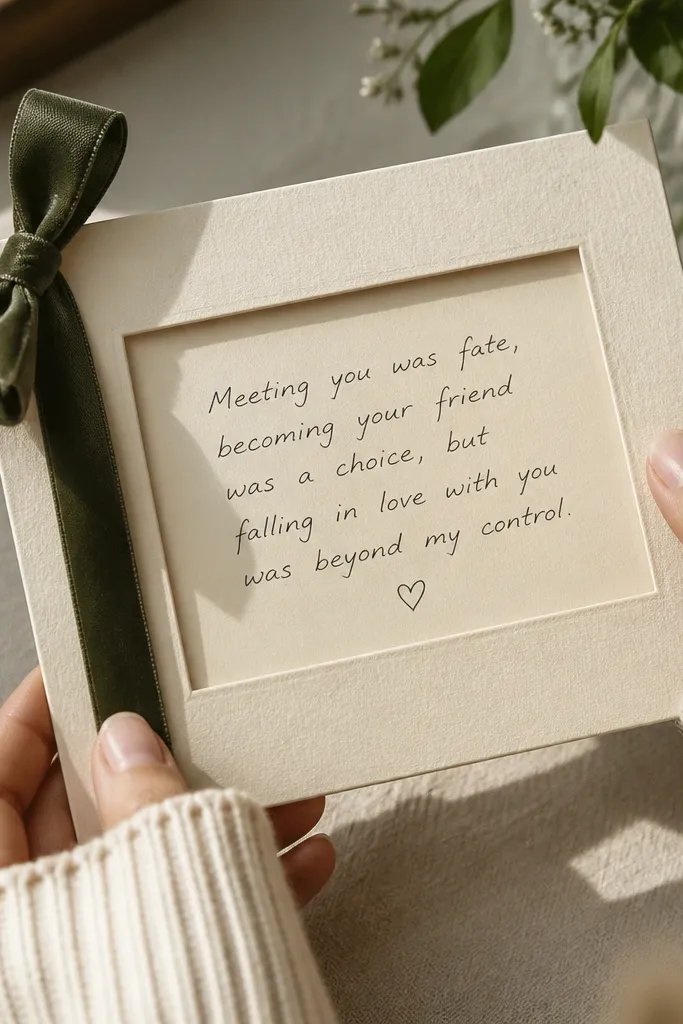
Photo frame cards look like keepsakes because they’re framed and structured. You get that “designed stationery” feeling without printing full photo sets. This is a great pick if you want each proposal to look slightly different but still cohesive — you can swap the interior color block. It’s also mail-friendly because it stays flat. For photos, the frame shape makes the message easy to spot and gives you a clean silhouette.
Step 1: Cut cardstock into a frame shape about 5 x 7 inches with a center window area. Print a message inside the window and add a small line with the wedding date. Step 2: Use a white gel pen or gold paint pen to draw a thin border around the window for the polished edge effect. Step 3: Place the card in a clear sleeve, then tie a ribbon around the sleeve. Step 4: Add a small “stand here” backing card so it can sit upright during the reveal.
Use a single border color across all frames so the set looks coordinated in a flat-lay.
Skip thick glitter — it sheds and looks messy on camera.
18. Bridesmaid Cocktail Kit with Rim Salt and Mini Recipe Card
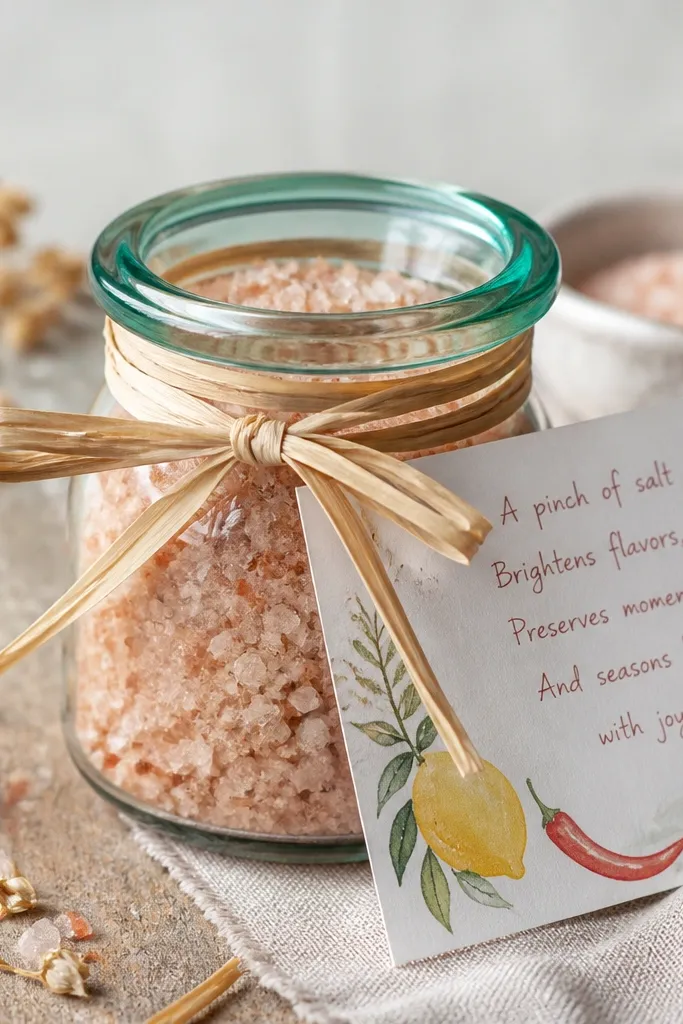
This looks fun and grown-up because the jar is clear, the rim salt color is pretty, and the recipe card makes it feel curated. It’s perfect for bachelorette season or weddings with a cocktail vibe. The jar is your focal point; the label is the proposal message. Keep the kit small so it stays under budget and doesn’t turn into a complicated supply list. For photos, use a dark background so the salt color pops.
Step 1: Make or buy rim salt in one color theme (pink + citrus, or deep green + herb). Fill a small glass jar about halfway, then print a label with “Will you be my bridesmaid?” and their name. Step 2: Tie a ribbon around the jar neck and attach the label at the front. Step 3: Print a mini recipe card with one simple drink instruction and tuck it behind the jar in the package. Step 4: If you’re mailing, pack jars in a box with crumpled paper separators so nothing shifts.
Quick tipChoose jar sizes that are easy to stack (like 2-3 inch jars) for a clean group photo.
Skip thisDon’t add wet ingredients or liquids — salt kits look best when everything stays dry.
19. Bridesmaid "Choose Your Color" Ribbon Swatch Proposal
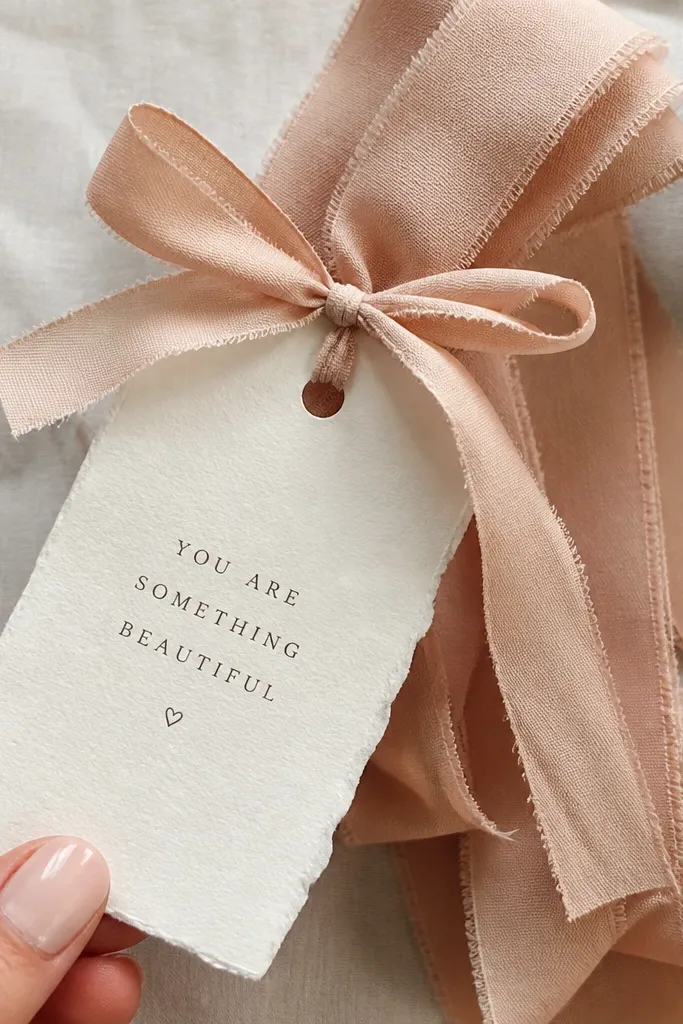
Ribbon swatch proposals look polished because ribbon is inherently photogenic. You’re giving something tactile, and it also hints at your wedding style. The “choose your color” angle makes it feel interactive, so it’s a fun option if you have multiple shades in your palette. For photos, the trick is to keep each swatch arranged neatly and attach the message card centered. It’s also cheap because ribbon off the bolt is usually less than you think.
Step 1: Buy ribbon by the yard in 2-3 shades that match your palette, then cut each swatch about 10-12 inches long. Print a card about 3.5 x 5 inches with “Will you be my bridesmaid?” and a line like “Your ribbon shade: ___”. Step 2: Tie each swatch to the card with a small knot and trim the ends cleanly. Step 3: Put the card in a clear sleeve and add a tiny sticker on the corner to make it feel branded. Step 4: Photograph on a neutral cloth so the ribbon colors stand out.
Quick tipUse satin ribbon sparingly and choose matte or grosgrain for most swatches; it reads better in daylight.
Skip thisDon’t use frayed ribbon ends — trim ends with sharp scissors for a crisp look.
20. Bridesmaid Mini Candle + Matchbook Combo in Clear Wrap
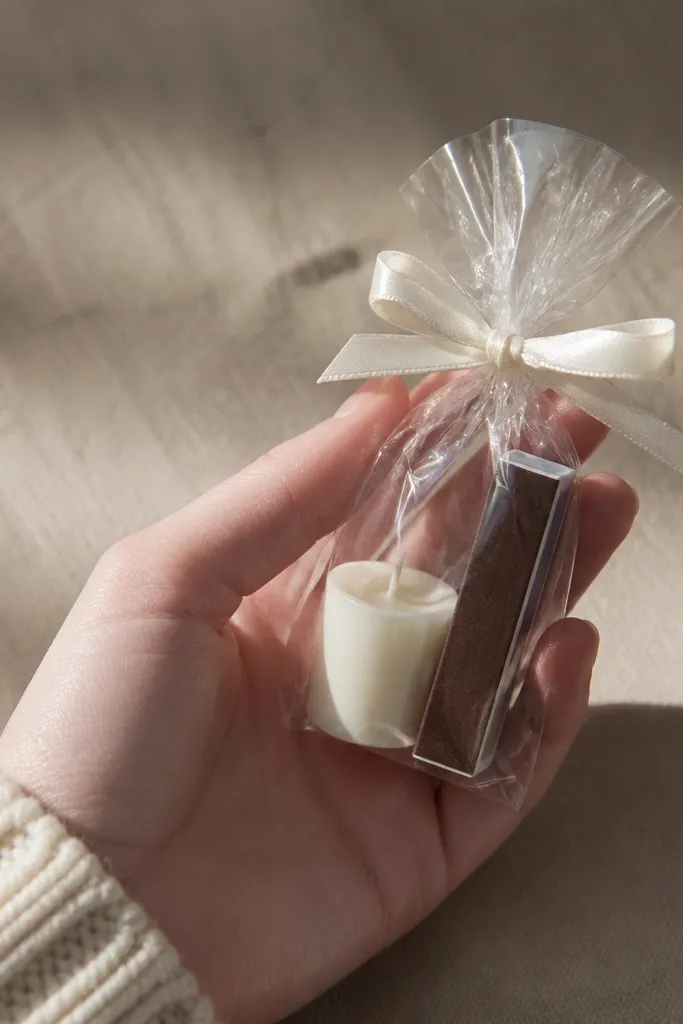
This is the “looks like a real gift” version without paying boutique prices. The mini candle adds height and warmth, while the matchbook label ties the proposal together visually. Clear wrap makes it look intentional because you can see the items cleanly. It’s a great choice for evening reveals and for bridesmaids who love home decor. Keep the label design consistent across all packages so the set looks like one collection.
Step 1: Buy small tea candles or mini jar candles and plain matchbooks. Print matchbook labels and a main label that says “Will you be my bridesmaid?” plus the name. Step 2: Place the candle in clear cellophane, add the matchbook next to it, then tie a ribbon around the top. Step 3: Attach the main label to the front of the cellophane with a small tape tab. Step 4: For photos, set the candles on a tray with plain paper underneath to prevent clutter.
Quick tipChoose a candle scent that is light and not overpowering; strong odors can be uncomfortable.
Skip thisSkip adding extra trinkets — the candle and label already carry the look.