1. Mini Bouquet Role Reveal in a Paper Cone
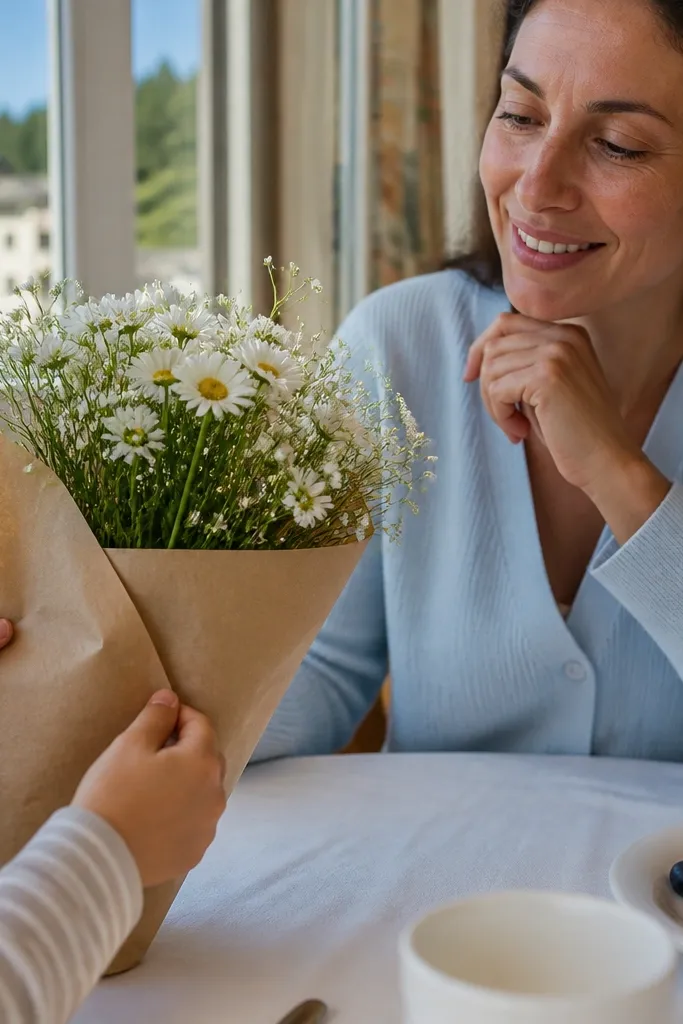
Start by buying a pack of mini artificial or fresh stems and choosing one hero color that matches the wedding palette. Wrap the stems with a small satin ribbon and tuck them inside a sturdy paper cone (the kind used for party favors), then seal the bottom so it won’t slide. Then write a short role card and tape it to the outside of the cone so adults can point to it quickly. Finally, set it on a flat surface (blanket on grass, hotel desk, or picnic table), present the cone, and let the child pull — no instructions beyond “open it.”
This is the cleanest “sweet surprise” look because the reveal happens instantly and looks great from every angle. The child pulls the cone open and the mini bouquet pops up, so the camera captures the moment without waiting. Choose a bouquet size that fits one hand — small enough for kids, big enough to read in photos. It’s family friendly because it’s low-stress and doesn’t require anyone to run around. Spring and early fall work best outdoors, but it also looks great in a hotel room near a window.
Skip thisDon’t use a bouquet that’s too tall — it blocks the face in photos and makes the reveal feel slow.
Quick tipPack a small roll of double-sided tape so you can fix the ribbon and cards quickly if the cone shifts in transit.
2. Ribbon Badge Proposal on a Soft Cardigan
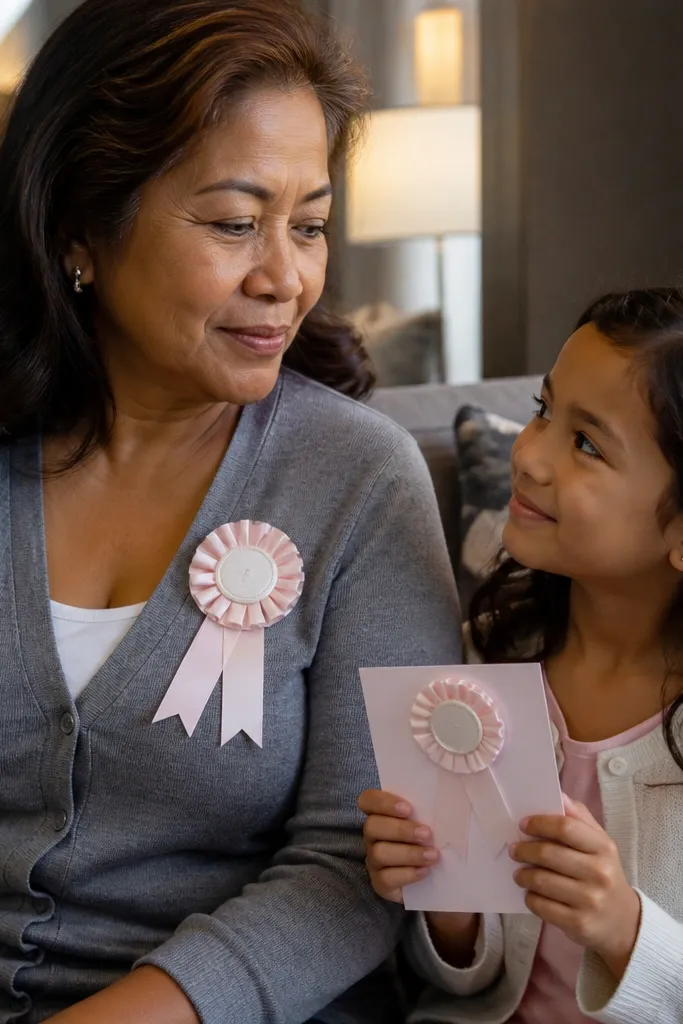
Start by selecting a satin ribbon in your wedding accent color and cutting a strip about 18 inches long. Fold it into a loop and attach it to a badge backing (cardstock or a small felt circle), then add a printed “Junior Bridesmaid” card behind clear tape so it stays readable. Then lay the cardigan flat on a bed or chair with soft natural light, and center the badge at chest height. Finally, present it like a gift: let the child lift the badge from the card and pin it (safety pin or iron-on tab) onto the cardigan.
If you want a proposal that looks polished and feels gentle, this badge-on-cardigan setup is a winner. The badge gives a clear, role-specific visual, and the soft fabric background makes the photo look warm instead of chaotic. It’s family friendly because it’s calm and seated — no running, no noise. Choose a cardigan color that contrasts with the ribbon so the badge reads instantly. This works year-round, especially in fall and winter when cozy textures look best in photos.
Skip thisDon’t choose a ribbon color that blends into the cardigan — the badge disappears in photos.
Quick tipUse a safety pin with a pin cover, not a loose pin, so a curious kid doesn’t poke themselves.
3. Cupcake Topper Reveal with a Hidden Note
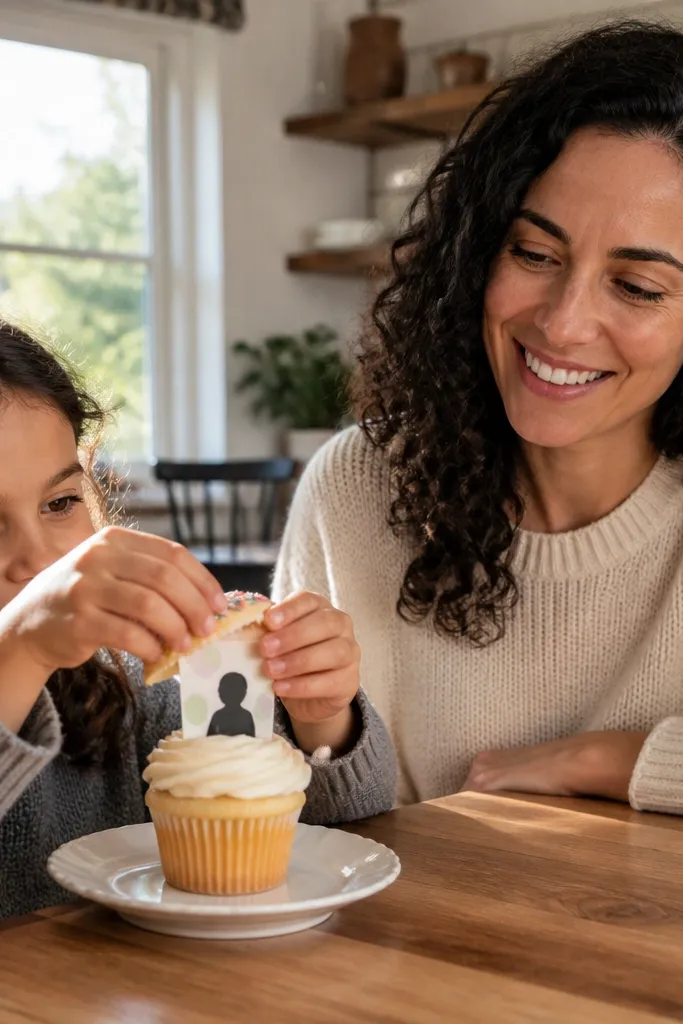
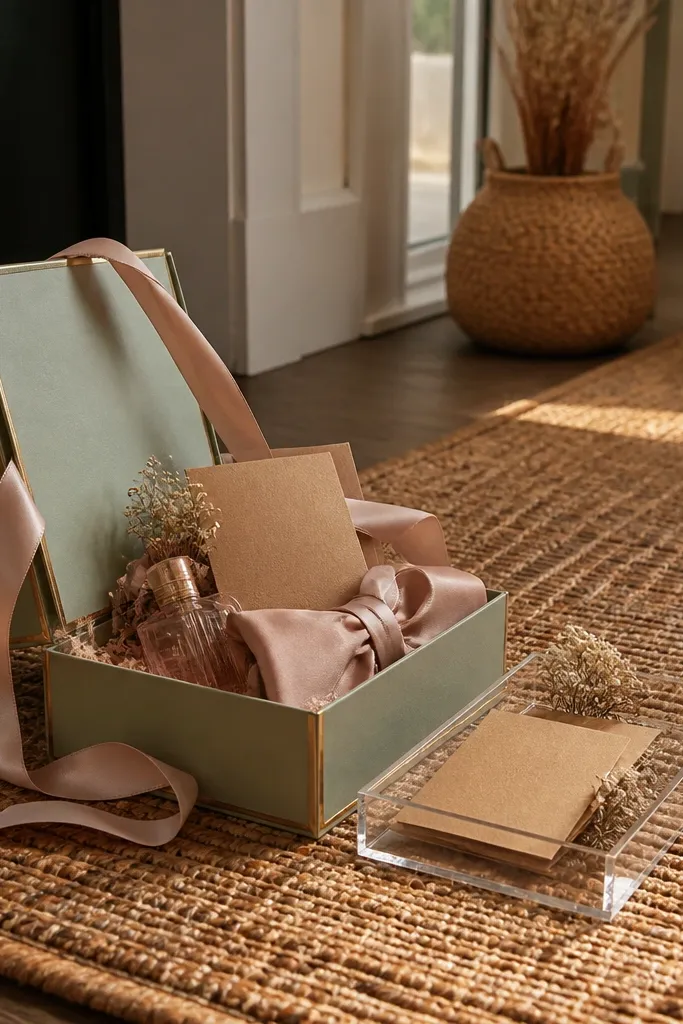
This idea looks cute and tastes good, which is the fastest path to a happy “yes.” The visual hook is the topper: it signals celebration, and it frames the child’s hands holding the cupcake. Hide the role card under the topper so the surprise happens as they lift it, not as adults try to explain. It’s family friendly because the food element reduces nerves and gives everyone something to do together. It’s best in spring and summer, but you can do it indoors with bright window light any time.
Start by buying a simple cupcake kit or a small box of cupcakes and choosing toppers that look clean in photos (gold or pastel acrylic works well). Then write a folded note that says “Will you be our Junior Bridesmaid?” and tuck it under the topper before you set it on the cupcake. Finally, set the cupcakes on a tray with coordinating napkins and tissue paper, then let the child choose one cupcake and lift the topper to read the note. Keep the moment short: after they read, adults should immediately celebrate and take 3 quick photos.
Choose toppers that don’t wobble — a stable topper keeps the note from falling, which ruins the reveal.
Skip complicated assembly. If the note slips, the photo becomes messy and the mood drops.
4. Lantern "Yes" Reveal at Dusk
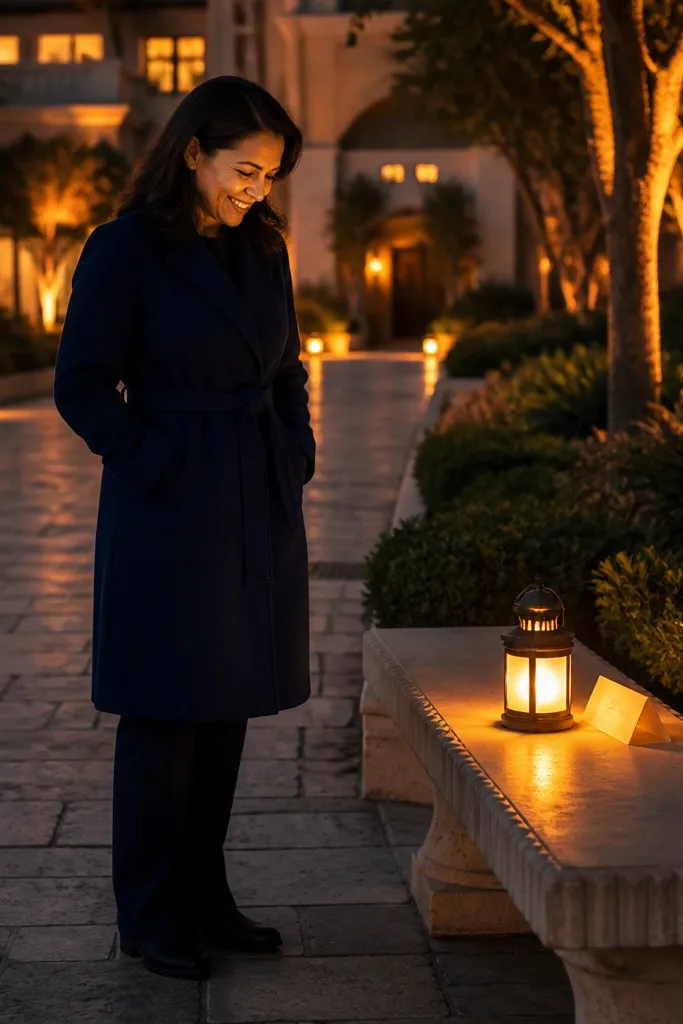
Start by buying a child-safe lantern (battery LED is easiest) and preparing a role card that you place on the handle or attached with ribbon. Then set up at a safe outdoor spot — a driveway, garden path, or balcony — where you can frame the lantern against a darker background. Finally, hand the lantern to the child and ask them to “find the card” — the role reveal is immediate. Take photos within the first minute so the lantern doesn’t look dim as the child shifts.
A lantern reveal looks magical without being complicated. Dusk lighting makes everything soft and warm, and the glow turns a simple card into a real moment. This is family friendly because it’s quiet and controlled — no loud games, just a calm reveal that works for mixed ages. Use a small lantern sized for a child to carry safely. It’s most photogenic in late summer and early fall when dusk is pretty and the air is comfortable.
Skip thisDon’t do this in windy conditions with loose paper cards — the note can fly and ruin the moment.
Quick tipBring a small pair of gloves for adults handling the lantern so you don’t smudge the surface before photos.
5. Chalk Sidewalk Path to the Role Card
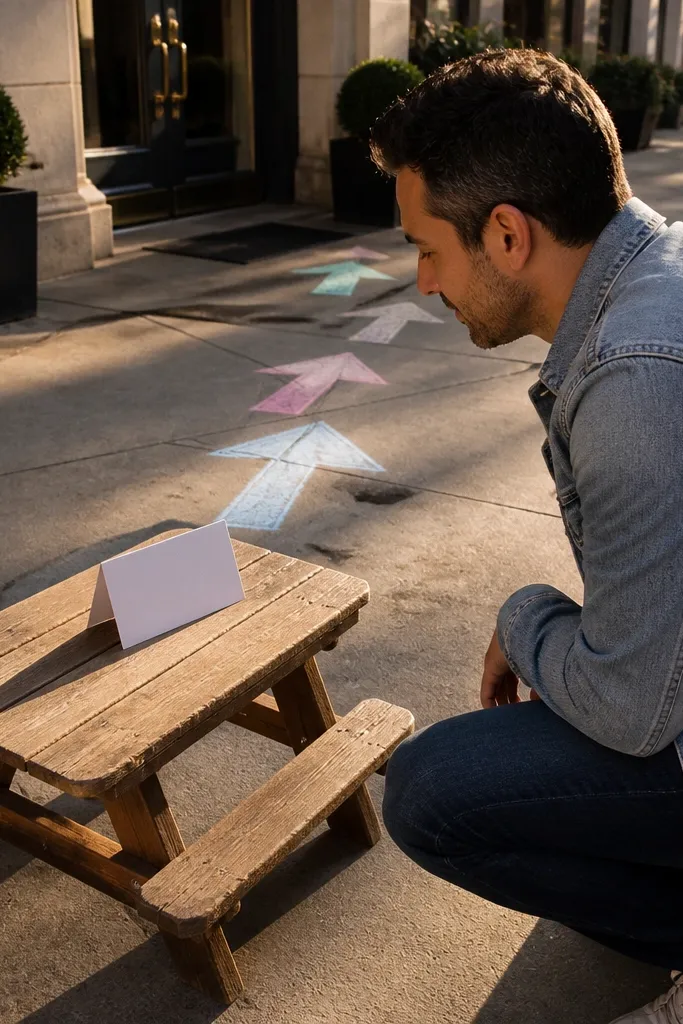
Start by choosing a flat, safe area near where you’ll be staying and sketching 4-6 arrows that lead to the role sign. Write the “Junior Bridesmaid” card large so it reads from a few feet away. Then place the sign at the end of the chalk path and have an adult stand at the start to guide the child — no running needed. Finally, take one photo at the start (showing the path) and one at the reveal point.
This turns a simple role card into a visual story, and the photos look playful without being messy indoors. Chalk arrows guide the camera and the child’s eyes, which makes the reveal feel like an event. It’s family friendly because it’s outdoor and quick, with no props that can break in a hotel room. Pick pastel chalk colors that match the wedding palette so the scene looks cohesive. It’s best on dry pavement or a quiet driveway in the late afternoon when the light makes chalk pop.
Skip thisDon’t do this on wet surfaces. Chalk looks dull and smudged, which kills the aesthetic.
Quick tipUse a thick sidewalk chalk stick and press hard — light chalk smears in photos and looks patchy.
6. Hotel Bed Banner with a Bow and Role Card
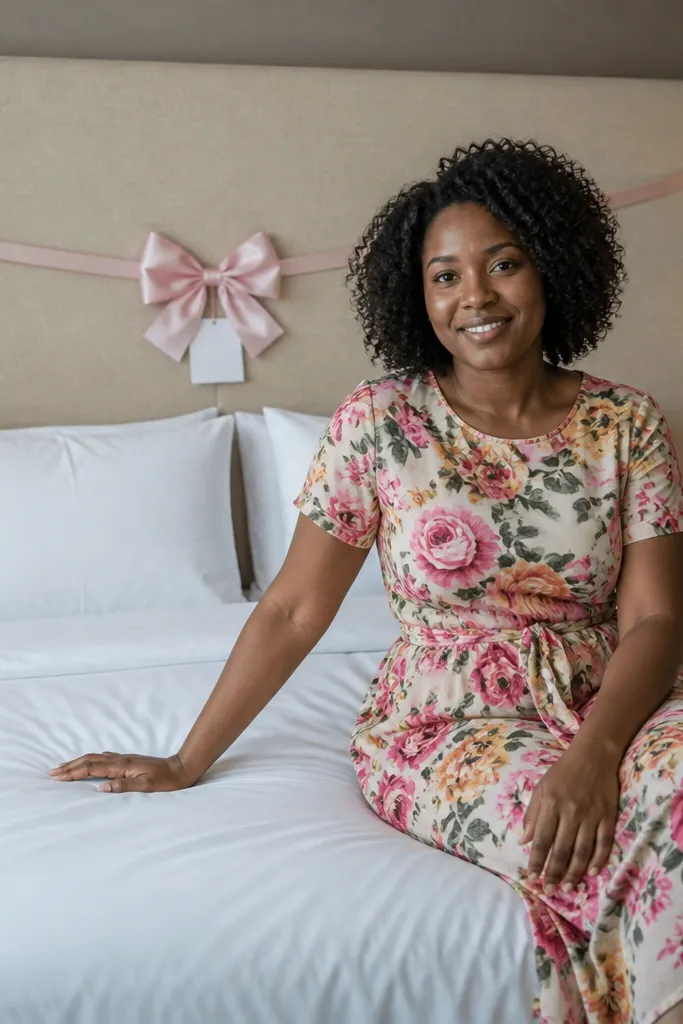
Start by packing a mini banner (or making one from cardstock) that reads “Junior Bridesmaid” and a small bow ribbon in your wedding accent color. Then attach the banner to the headboard or a curtain rod using removable hooks or painter’s tape. Place the role card under the banner and fold the bow around it so the child sees it first. Finally, have the child sit on the bed, lift the bow, and read the card while adults take photos from the end of the bed for a clean frame.
If you’re traveling, this is one of the easiest ways to get a “real proposal” look without hauling a ton of gear. A banner above pillows creates instant composition, and a bow at the center makes it feel celebratory. The role card in the middle gives a clear read for the child and the camera. It’s family friendly because it keeps everyone in one spot and reduces chaos in unfamiliar spaces. This works year-round, especially with morning light from the window.
Skip thisDon’t hang the banner too low. If it covers faces in photos, the whole moment looks off.
Quick tipUse painter’s tape, not regular tape — it peels cleanly from hotel surfaces and saves you stress.
7. Beach Shell Button Bag with a Secret Badge
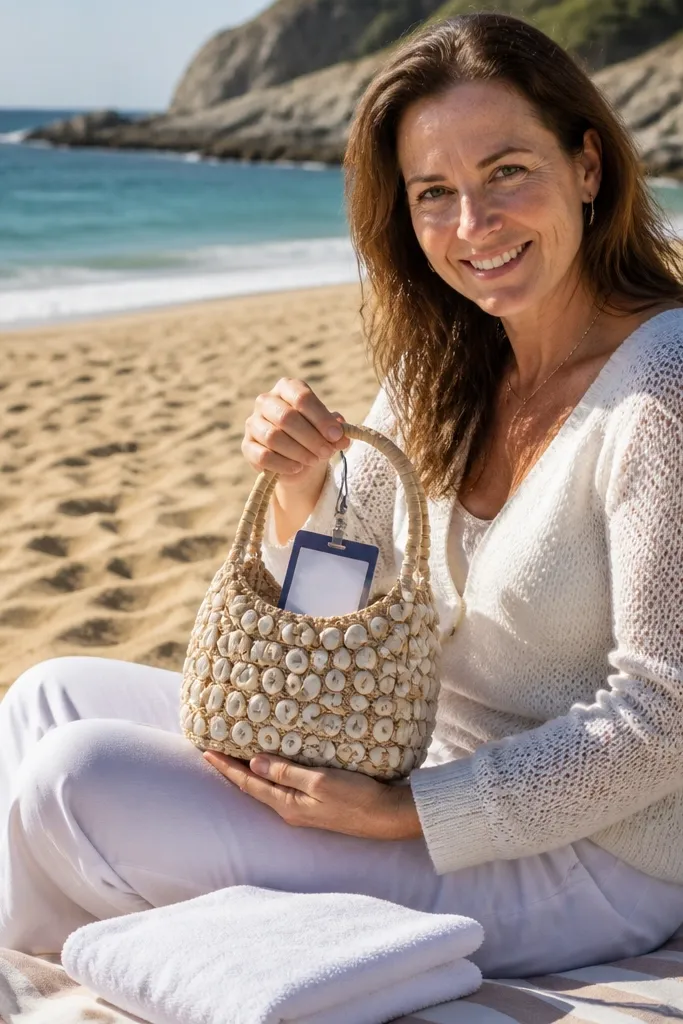
This works beautifully for family-friendly beach trips because it uses a natural material kids love. The bag gives the “gift” feel, and the shell texture looks photogenic against sand and light-colored towels. Hide a role badge card inside, and the reveal happens as they reach in. It’s sweet rather than noisy, and it keeps the child engaged while adults enjoy the moment too. Choose a calm beach with shade so the child isn’t overheating during photos.
Start by buying a small canvas drawstring bag (cream or pale blue looks best) and filling it with a handful of smooth shells and a few sea-themed paper confetti pieces. Then write the role card and tuck it inside a small clear pouch so it doesn’t get sandy. Place a small ribbon loop on the outside of the bag so it reads as a gift from across the towel. Finally, hand the bag to the child and ask them to “find the badge” — they pull it out, read it, and you take 3 quick photos.
Bring a small zip bag for shells. Sand gets everywhere, and it ruins the look if shells shed on the card.
Skip dark shells as the main fill if your wedding palette is pastel — the bag looks heavy in photos.
8. Park Picnic Proposal with Color-Coordinated Snacks
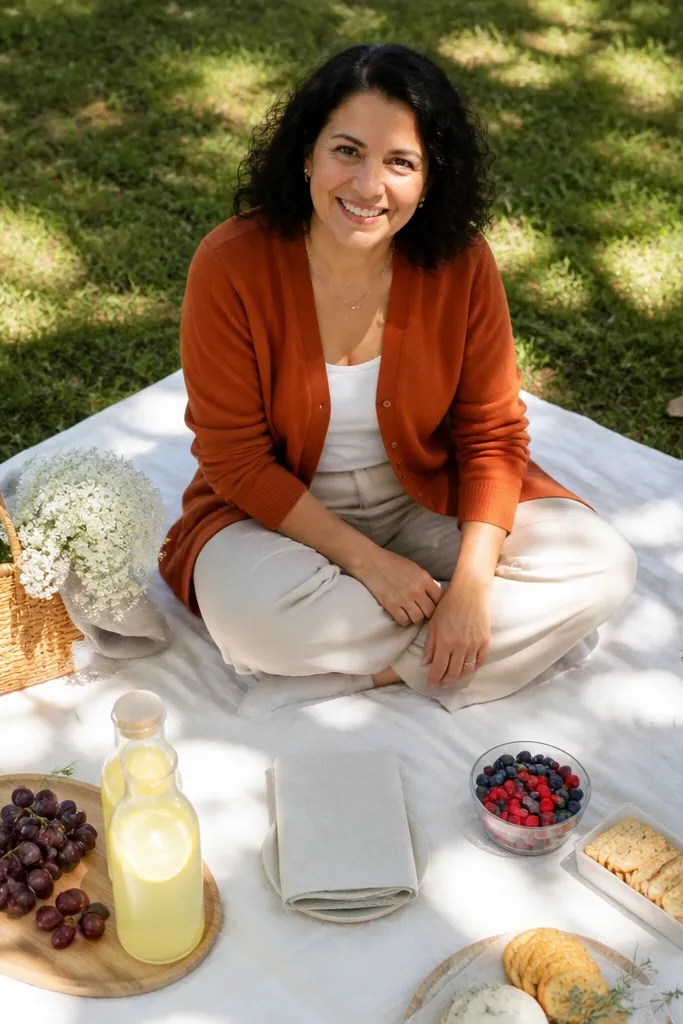
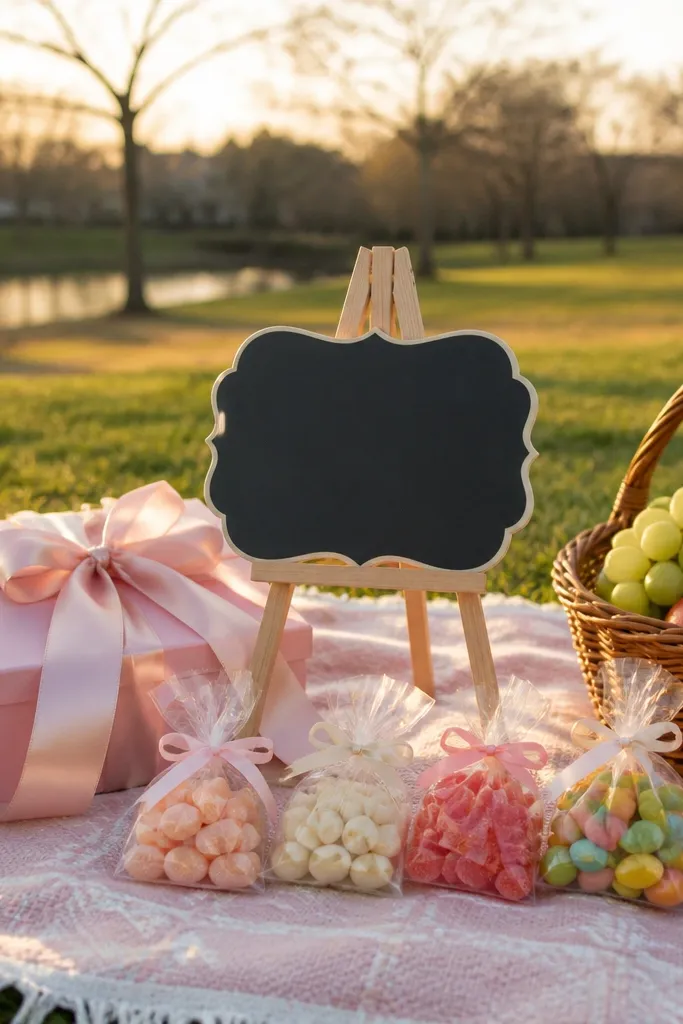
This is a family-friendly proposal because it turns the reveal into a shared snack moment. The photo looks intentional when the snacks match a color palette: berries and white crackers, lemonade in a clear bottle, and a small sign centered on the blanket. The role card sits under a napkin so the child lifts it and reads. It feels warm and casual, not forced. Late spring through early fall gives you the best natural light and comfortable picnic weather.
Start by choosing a simple color theme that matches your wedding: blush and white, or mint and peach. Then pack 6-8 items that photograph well and travel well: grapes, strawberries, mini sandwiches, yogurt drops, and a couple of small cookies. Place a “Junior Bridesmaid” sign on top of the blanket and tuck the role card under a napkin on the sign base. Finally, have the child sit, lift the napkin, and read the card before eating — take the first photo right at the reveal.
Bring a small roll of wax paper. It keeps snacks from getting crushed in the bag and keeps the photo neat.
Don’t add too many different snack colors. A messy snack board makes the role sign disappear.
9. Polaroid-Style Photo Strip with a "Will You?" Card
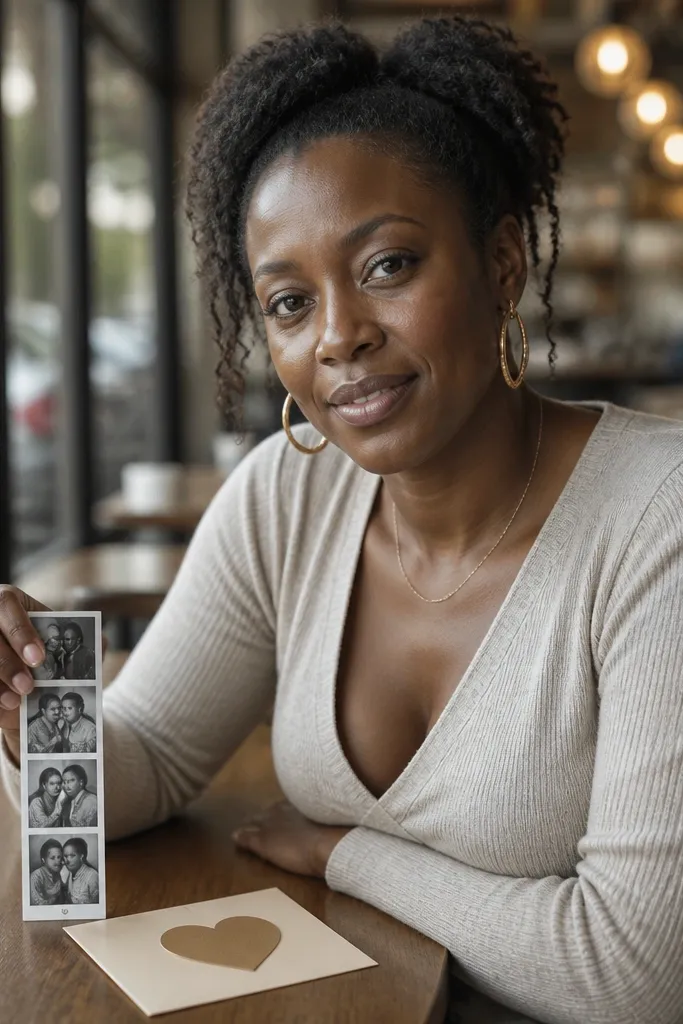
This looks modern and sweet because it turns the proposal into a mini keepsake. The photo strip layout gives you a story frame, and the “Will you be my Junior Bridesmaid?” card is readable without extra explanation. It’s family friendly because it’s quiet and keeps the child engaged with something they can hold. Do this in a place with clean background — white tablecloth, light wood table, or a hotel desk. It shines indoors under soft window light.
Start by printing or creating a 4-photo strip layout on cardstock, leaving one space for the role card. Choose photos that match the wedding vibe: close-up of shoes, a bouquet detail, or a simple portrait with neutral background. Then place the role card in the empty space and tape it so it can be lifted. Finally, put the strip on a table, hand it to the child, and take photos as they read and point to their own “spot.”
Use matte photo paper. Glossy paper shows harsh reflections and makes the strip look messy in travel lighting.
Skip tiny fonts. If the role text is hard to read, the reveal loses its main point.
10. Garden Rose Petal Envelope with a Wax Seal Look
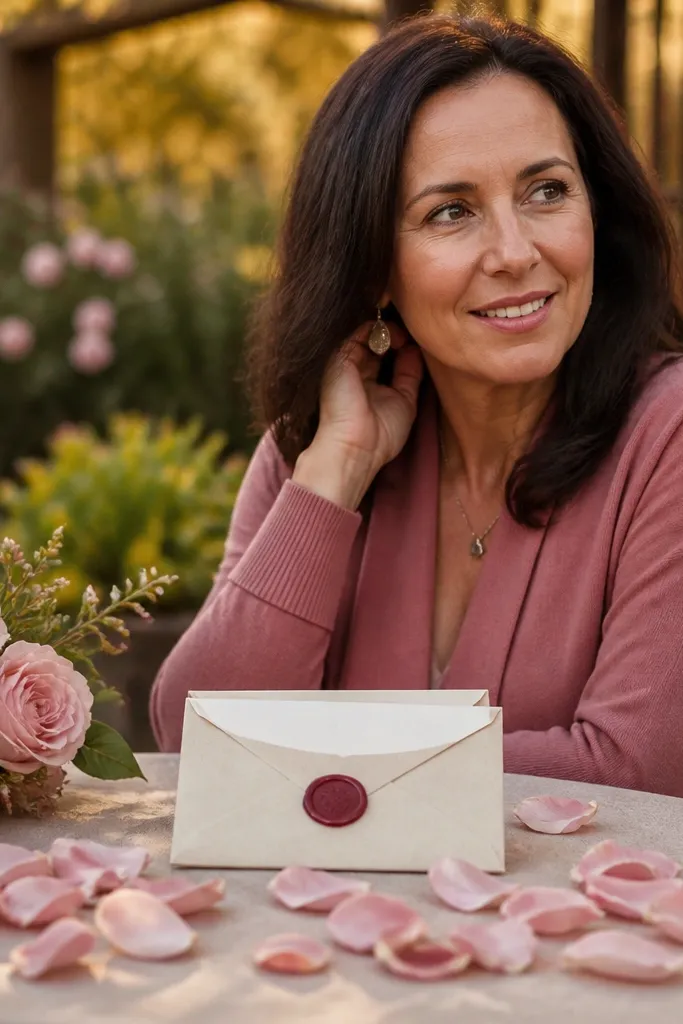
Start by buying thick cream envelopes and a wax seal sticker in a deep rose or burgundy tone. Place a small handful of rose petals (real or dried) inside a clear bag so they don’t shed everywhere. Then write the role card and tuck it under the petals so the child sees it when they tip the envelope. Finally, seal it, place it on a picnic blanket or garden bench, and let the child open it for the read.
Petals make this feel romantic without being overdone, and the envelope is easy to transport. The photo look is soft and classic: cream paper, rose petals, and a seal dot that reads like a real invitation. This is family friendly because it’s a seated, hands-on reveal. Kids can open the envelope carefully, and adults can help without turning it into a production. It’s best in spring and early summer when you can match the colors to real garden flowers.
Skip thisDon’t use loose glitter or confetti inside the envelope. It sticks to fingers and ruins the clean photo look.
Quick tipDried petals look better in photos than fresh petals once they’re handled. They also stay tidy in transit.
11. Ribbon Pull Reveal from a Small Gift Box
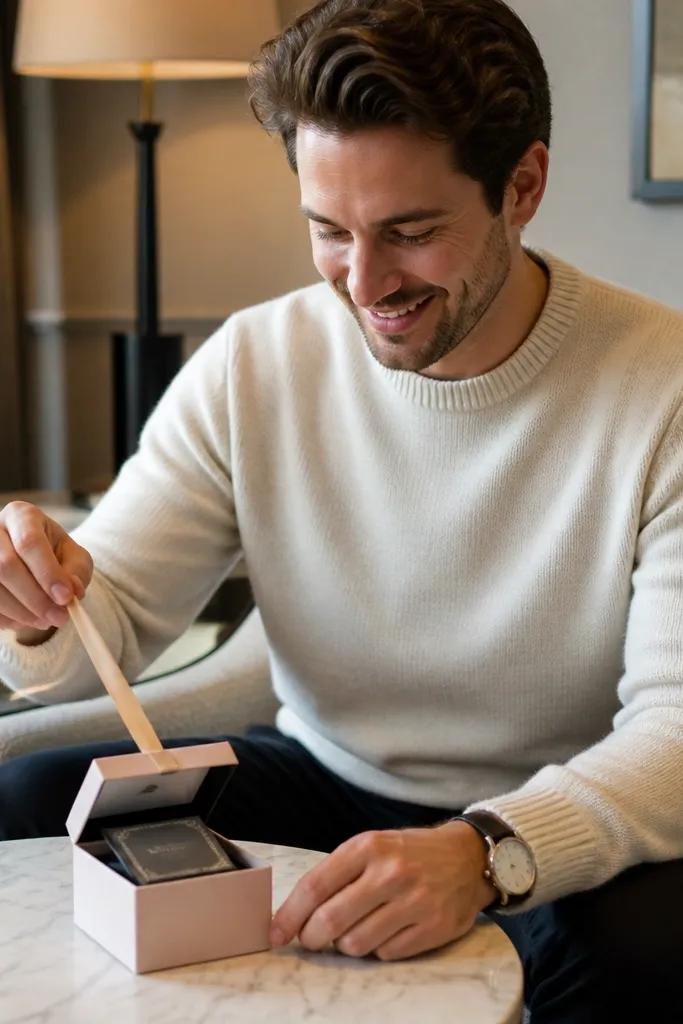
Start by using a small gift box with a removable lid and a ribbon long enough to pull while standing. Tape the role card to the inside of the lid so it appears as soon as it opens. Thread ribbon through a small hole in the lid edge and tie it into a simple pull knot so it doesn’t slip. Then place the box on a table, hand it to the child, and film or photograph the exact pull moment. Take two photos: one before the pull and one right after the lid opens.
A ribbon pull is the most satisfying kind of surprise because it feels like a game and looks great in motion. The child pulls the ribbon, the top lifts, and the role card is immediately visible. It’s family friendly because you can keep it indoors or in a car, and it doesn’t require the child to read complicated instructions. Choose a box size that’s easy to hold and set on a table. Best time is any time you can control lighting — morning window light or evening with warm lamps.
Skip thisSkip boxes with flimsy lids. If the lid sticks, the surprise drags and the photos blur.
Quick tipUse a ribbon color that contrasts the box. White ribbon on white box looks bland, but burgundy on kraft paper pops.
12. Storybook Page Turn Proposal with a Bookmark Badge
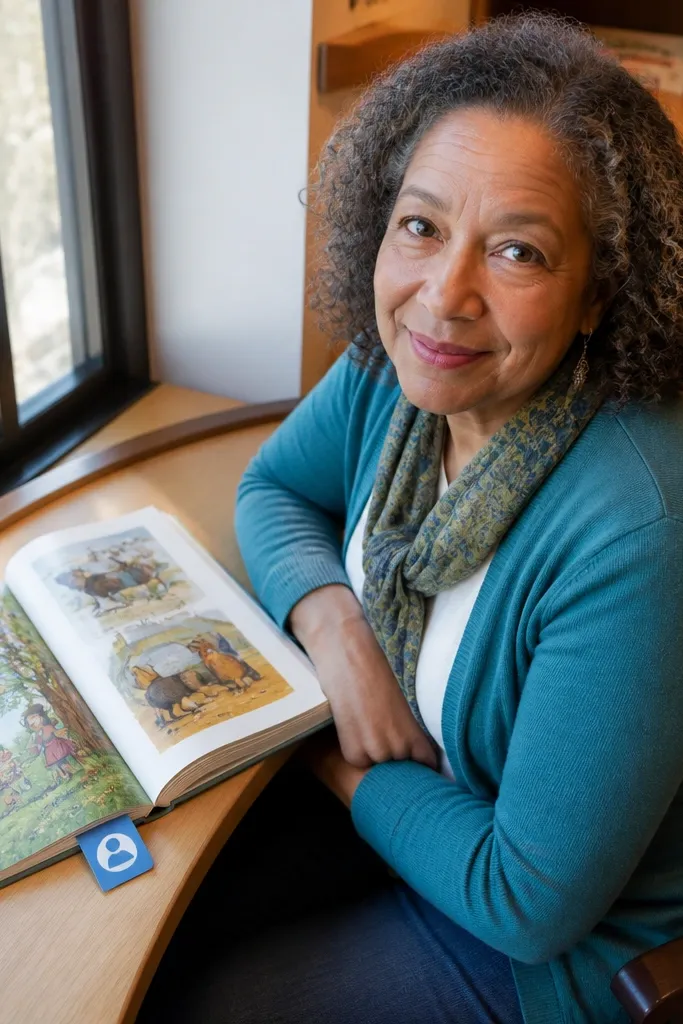
Start by choosing a book with a neutral cover and laying it open on a blanket. Create a bookmark badge in your wedding accent color and write “Junior Bridesmaid” on it so it reads in close-up. Then place the bookmark in the exact page where the child will find it when they turn the page. Finally, prompt them with a single line like “Find the special bookmark” and take photos as they lift it out and show it.
This works for kids who love reading or calm activities. The photo looks sweet because you get hands-on detail — the bookmark badge is small, clear, and readable. It’s family friendly because it’s quiet and doesn’t require loud cues. Use a simple hardcover or a themed book cover you can customize with the role card. This is best at home, in a quiet hotel corner, or in a shaded park spot where the light is soft.
Skip thisDon’t use a bookmark that’s too small. Small text becomes unreadable in travel photos.
Quick tipLaminate the bookmark if you can. Kids touch everything, and laminated edges stay clean in photos.
13. Family-Style Role Card at a Local Ice Cream Shop Window Seat
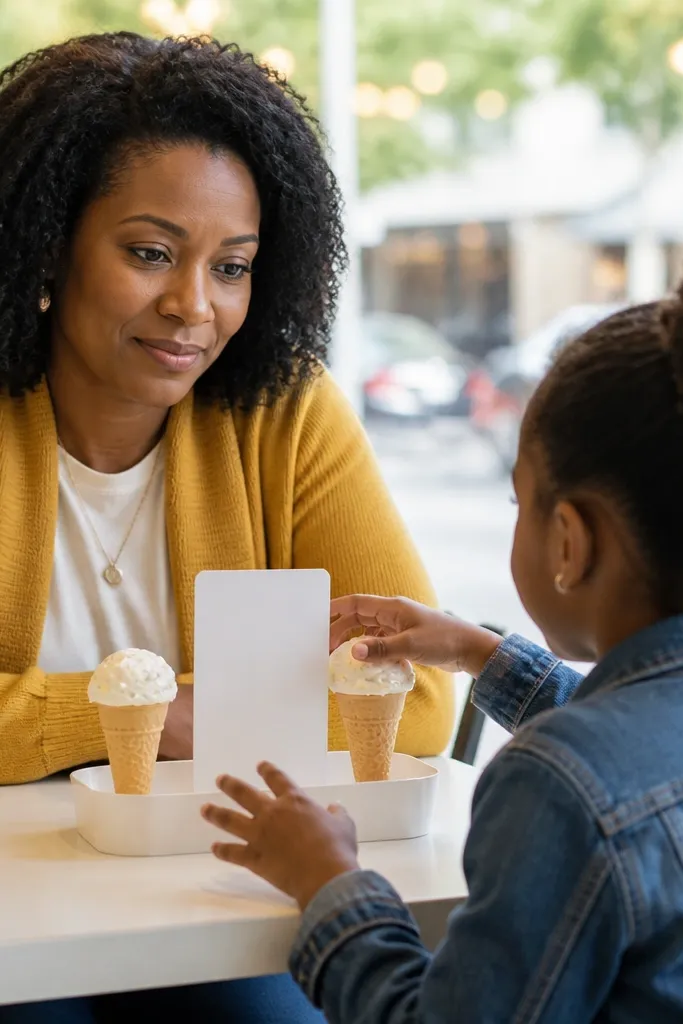
This is a travel-friendly idea that turns the proposal into something everyone enjoys. Window-seat photos look clean because the background is bright and the table setting stays centered. The role card sits between two mini cones, so the child’s hands and the surprise are both in frame. It’s family friendly because the child can eat right after the reveal, which keeps the mood easy. Best time is late afternoon when daylight is strong but not harsh.
Start by finding an ice cream place with a window seat and bringing a small role card in a clear sleeve. Then order two mini cones or sundaes so the colors match your palette — pastel scoop flavors look best. Place the role card upright in the middle of the table and let the child choose the first bite after reading. Finally, take photos from one side of the table to avoid glare from the window and capture the role card clearly.
Bring a small napkin packet in your bag. Sticky hands ruin the look fast, and quick wiping keeps photos clean.
Don’t write the role text on a tiny paper receipt. It won’t read clearly in busy shop lighting.
14. Beach Towel Monogram + Role Card Under the Knot
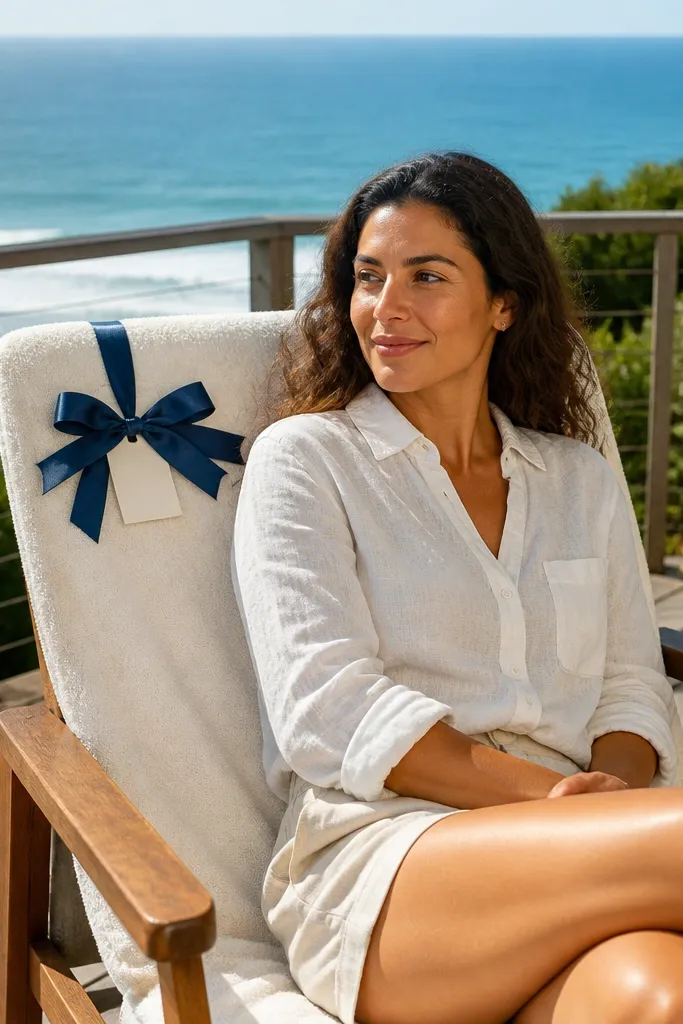
Start by buying a plain beach towel in a light color and adding a monogram ribbon or fabric patch in your accent hue. Fold the towel neatly and tie a ribbon around it so the knot sits at the center. Then tuck the role card under the ribbon knot (inside a small clear sleeve) so it’s revealed when the child loosens the ribbon. Finally, place the towel on a clean beach chair or a towel spread and take photos as the child unties and pulls the card.
This is a high-aesthetic beach proposal that still feels simple for kids. A monogram ribbon creates a clean, luxe look, and the role card tucked under the knot gives a satisfying reveal when the ribbon is undone. It’s family friendly because it’s quiet and doesn’t require extra movement, just one untying moment. Choose towel colors that match your wedding palette and avoid dark towels in bright sun — they look harsh in photos. Late morning through early afternoon is fine if you pick shade.
Skip thisSkip bulky knots. A big knot hides the card and makes the untying slow.
Quick tipUse a satin ribbon with a slightly matte finish. Glossy ribbon reflects harsh sun and looks washed out.
15. Snowy Day Hot Cocoa Kit with a Role Sticker Seal
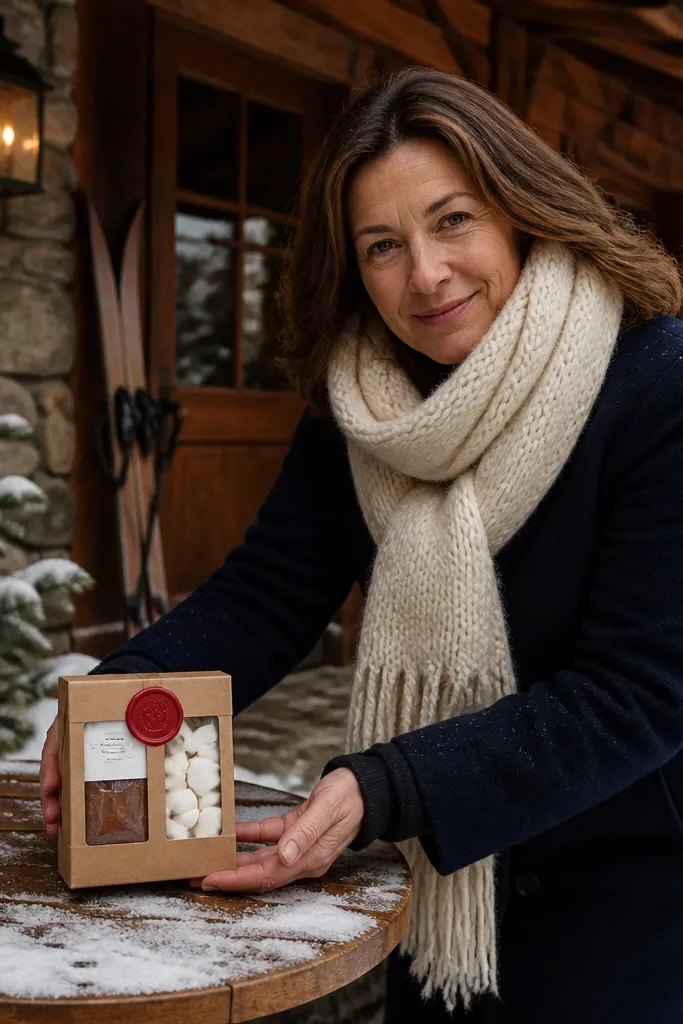
Start by assembling a hot cocoa kit in a small tin or cellophane bag with cocoa packets, mini marshmallows, and a stir stick. Put the role card under the kit lid or inside a small pocket on the top layer. Seal it with a sticker that reads “Junior Bridesmaid” so the role is visible before opening. Finally, set the kit on a café table or hotel desk, hand it to the child, and take photos as they peel the seal and pull out the card.
Cold-weather travel makes cocoa proposals feel extra cozy, and the photos look warm even in snowy settings. The visual is clean: a small kit, marshmallows, and a role sticker seal on the top. It’s family friendly because kids can open the kit safely at a table and enjoy the drink right away. Choose a kit that’s compact and doesn’t spill — the aesthetic matters as much as the surprise. Winter and early spring are the best seasons for this look.
Skip thisDon’t skip the role sticker. Without it, the reveal becomes a reading moment with no clear photo hook.
Quick tipUse a tin instead of a bag if you’re traveling by car. It prevents cocoa powder from getting everywhere.